Getting Started
This section shows how to put a working AI chat into an application: enable server push, connect a model, and add the component.
Prerequisites
Install the add-on as described in Installation.
Enabling Server Push
Answers arrive token by token, from a thread other than the one that handled the request, so the application must have server push enabled. Add @Push to the application class:
@Push
@SpringBootApplication
public class AiChatEx1Application implements AppShellConfigurator {
Without it the components render, but nothing an answer produces ever reaches the browser.
Connecting a Model
The chat does not talk to a model itself. It asks the application for one function: given a request, return the answer as a stream of text. That function is an LLMProvider, and the chat cannot answer until it has one.
This example uses Ollama, which runs a model locally and needs no API key. Add the Spring AI starter for it:
implementation 'org.springframework.ai:spring-ai-starter-model-ollama'And configure it in application.properties:
spring.ai.model.chat=ollama
spring.ai.ollama.base-url=${OLLAMA_BASE_URL:http://localhost:11434}
spring.ai.ollama.chat.model=${OLLAMA_CHAT_MODEL:qwen3:8b}
spring.ai.ollama.init.pull-model-strategy=never
Then give the chat a provider. Spring AI autoconfigures a ChatClient.Builder, from which the view builds its client:
@Autowired
private ChatClient.Builder chatClientBuilder;

private ChatClient chatClient;

@Subscribe
public void onInit(final InitEvent event) {
    chatClient = chatClientBuilder.build();
}

@Install(to = "chat", subject = "llmProvider")
private Flux<String> llmProvider(final LLMProvider.LLMRequest request) {
    return chatClient.prompt()
            .user(request.userMessage())
            .stream()
            .content();
}
The example declares the provider with @Install, which is the usual way in a view. setLlmProvider(…) does the same from code, wherever the chat is created programmatically.
LLMProvider comes from com.vaadin.flow.component.ai.provider, not from a Jmix package.
The request carries more than the text the user typed: it also holds the system prompt and any attached files. The provider decides what of it reaches the model. Whatever it does not read is not sent. The method above forwards the message alone, which is all a chat with neither of the other two needs. See System Prompt and Sending Files to the Model.
| Nothing above is specific to Ollama except the starter and the properties. To use OpenAI, Anthropic, Azure OpenAI, or any other Spring AI model, swap those two and leave the provider method as it is. |
Adding the Chat
Declare the component in the view descriptor. Give it a width and a height. A chat with neither sizes itself to its content, which in a view’s root layout means a narrow column:
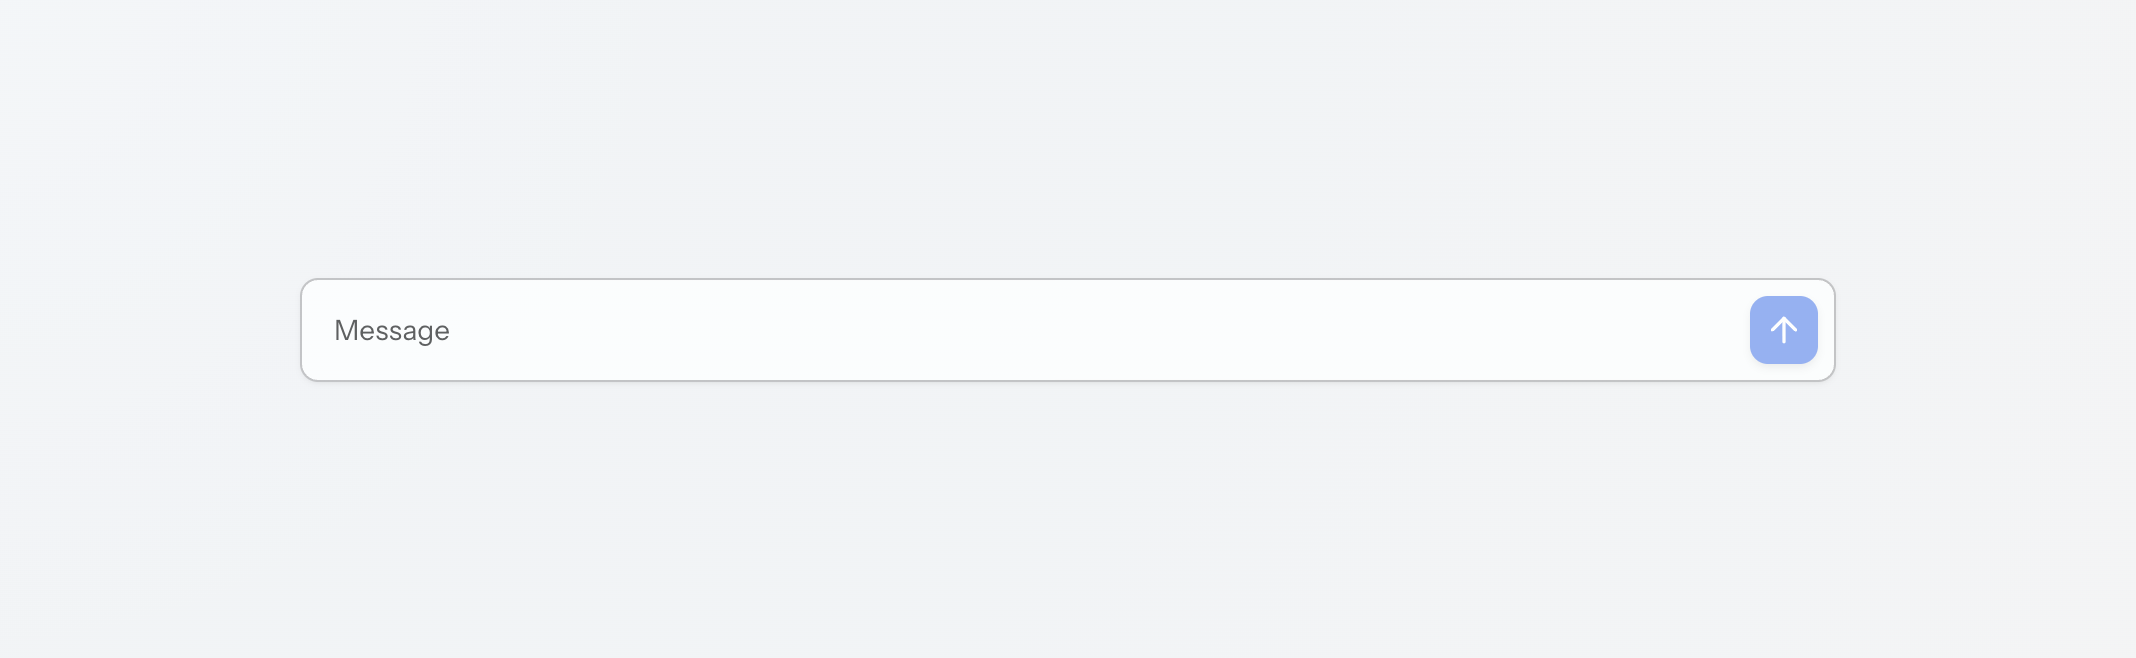
<aichat:aiChat id="chat" width="100%" height="100%"/>That is the whole configuration. The chat keeps the conversation in memory, renders the answers, and needs nothing else to work:
|
The application starts normally when no model is reachable, and the view opens as usual. The failure appears on the first message, as a failed generation in the chat rather than as a startup error. |
What Next
The chat above keeps its conversation in memory, so it is gone when the view closes. See aiChat for binding the chat to your own message entity, persisting the conversation, controlling generation, and configuring the parts it is assembled from.
The components it assembles are usable on their own as well: aiMessageList to display a conversation or drive one yourself, aiMessageInput to collect a message, and aiCodeBlock to show code anywhere in the application.