Email Sending
Jmix provides the following email sending functionality:
-
Synchronous and asynchronous sending: In synchronous mode the calling code waits until the message is sent to the SMTP server; in asynchronous mode the message is persisted to the database for later sending and control is returned immediately to the calling code.
-
Scheduled sending via Quartz: Defer sends, create recurring messages, or align sending with specific time zones using Quartz jobs.
-
Reliable tracking: Send timestamps and error details are saved in the database for both synchronous and asynchronous modes.
-
User interface: A user interface to search and view sent emails, including full message content, attributes, sending status, and attempt count.
Installation
For automatic installation through Jmix Marketplace, follow instructions in the Add-ons section.
For manual installation, add the following dependencies to your build.gradle:
implementation 'io.jmix.email:jmix-email-starter'
implementation 'io.jmix.email:jmix-email-flowui-starter'|
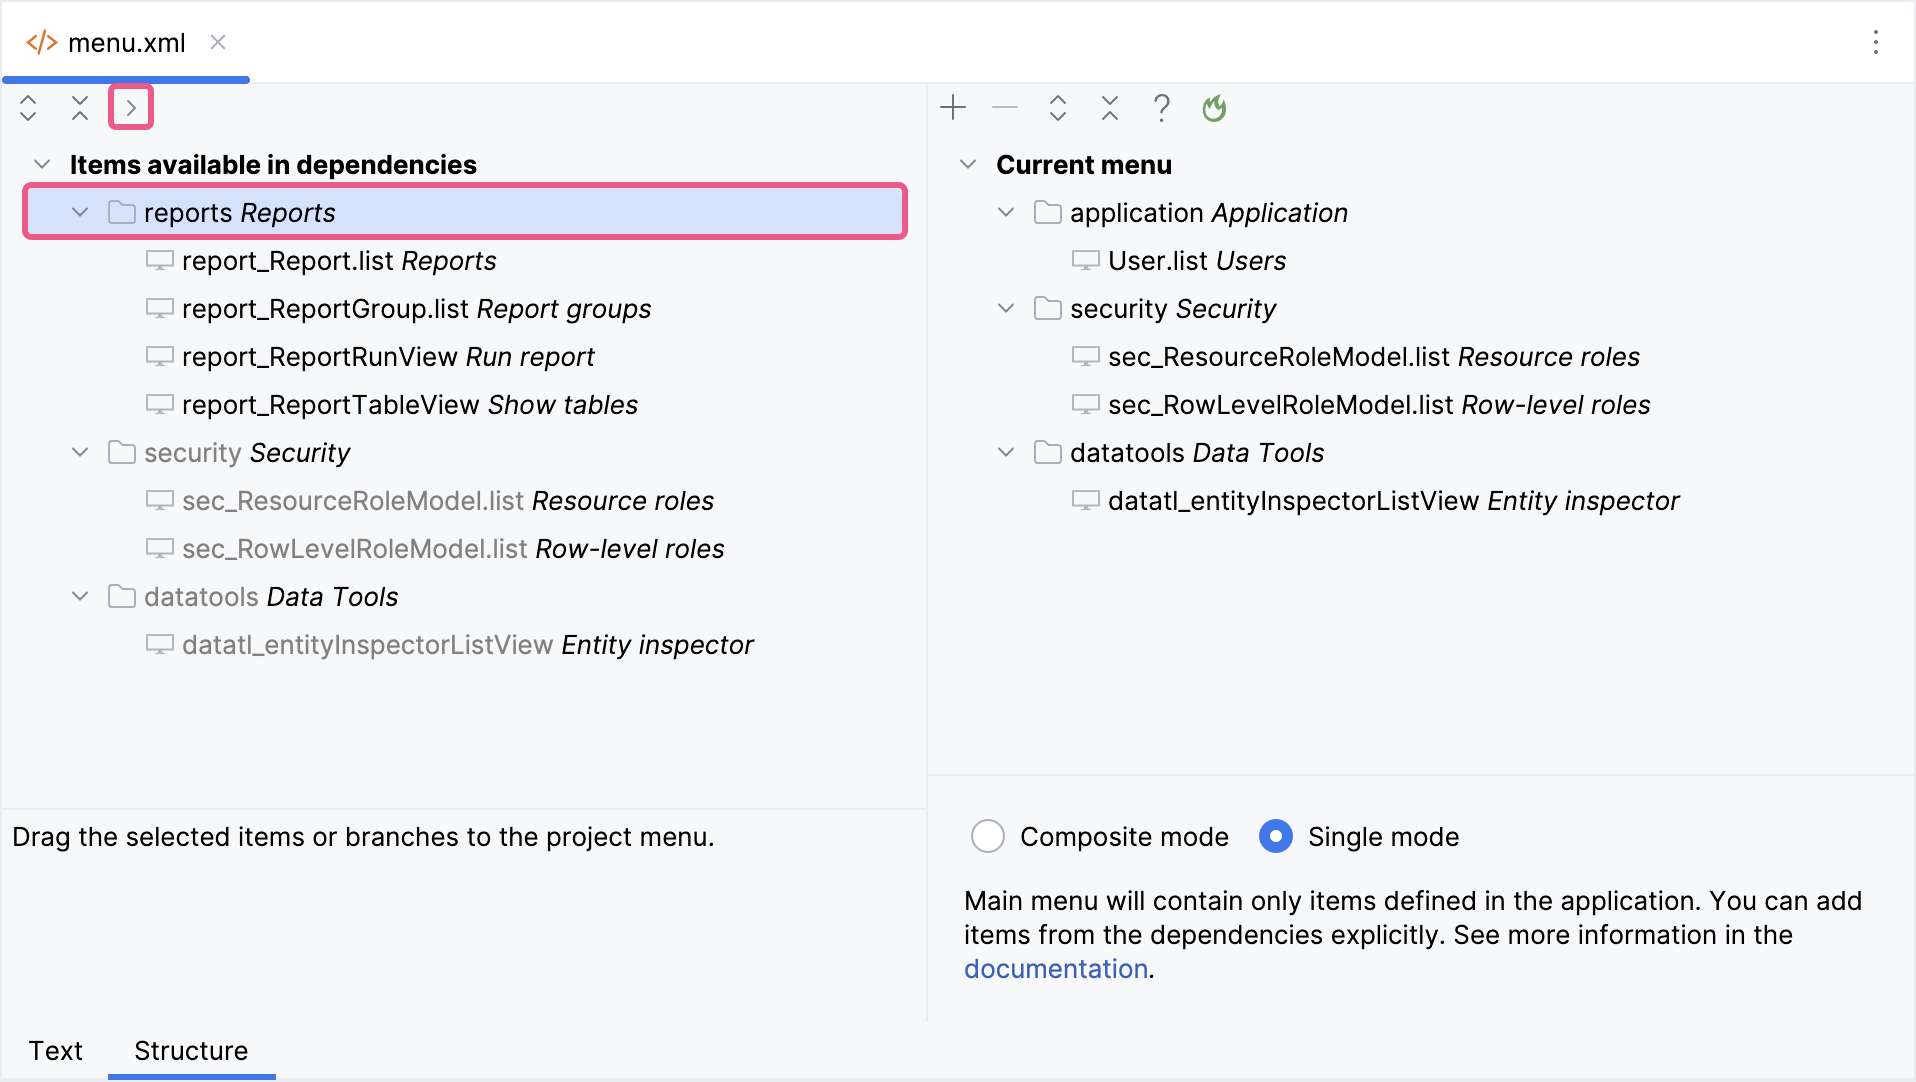
Important Note for Single Menu Mode Applications If your application uses Single menu mode, you should manually add menu items after installing an add-on.
This step is required because applications in Single menu mode do not automatically merge add-on menus with the existing structure. |