Add-ons
Jmix not only provides a platform to build your applications. It also contains an ecosystem of add-ons that enrich the core functionality. Many add-ons are provided by the Jmix team, while others are contributions from the community.
Jmix add-ons are published on the Jmix marketplace. You can browse and install them directly in Studio as described below.
The Creating Add-ons section describes how to create your own add-ons to modularize your applications and reuse functionality. To publish your open-source add-on to the Jmix marketplace, see Publishing an Add-on.
Installation
Follow the instructions below to install add-ons into your project automatically. If you want to install an add-on manually by editing build scripts, see the documentation of the particular add-on.
-
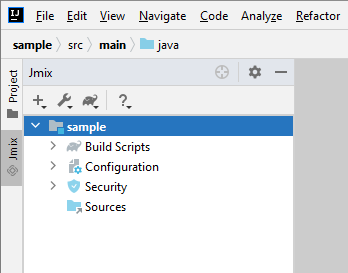
Launch Jmix Studio and switch to Jmix tool window.
-
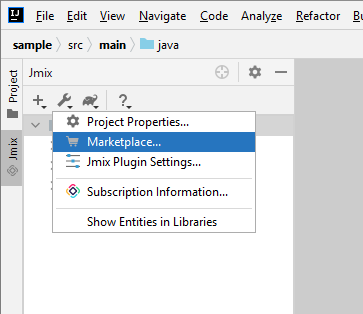
Expand the Settings menu from the toolbar and select Marketplace.
-
Find the add-on and click Install.
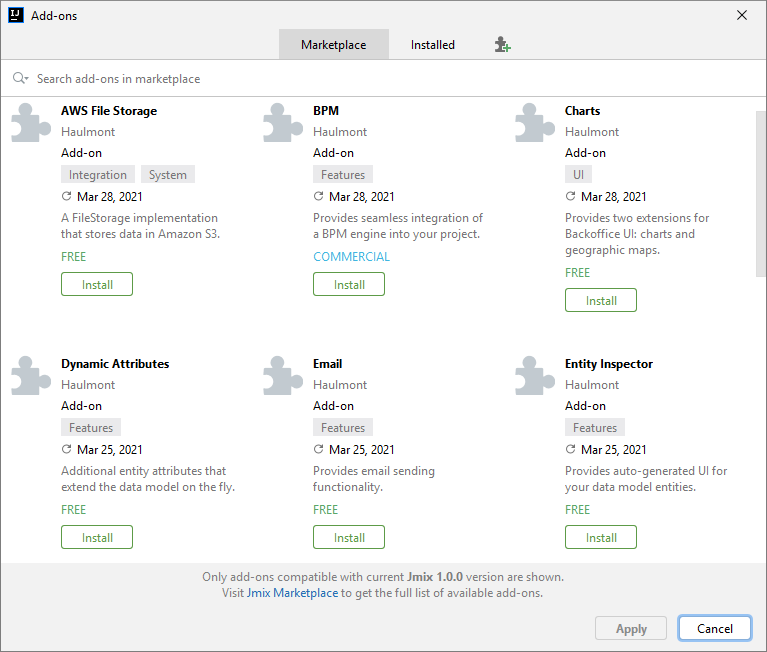
In order to install a commercial add-on, you need an active Enterprise subscription. If you don’t have a subscription, see the Enterprise Trial section for how to get a trial version. -
Click Apply & Close.
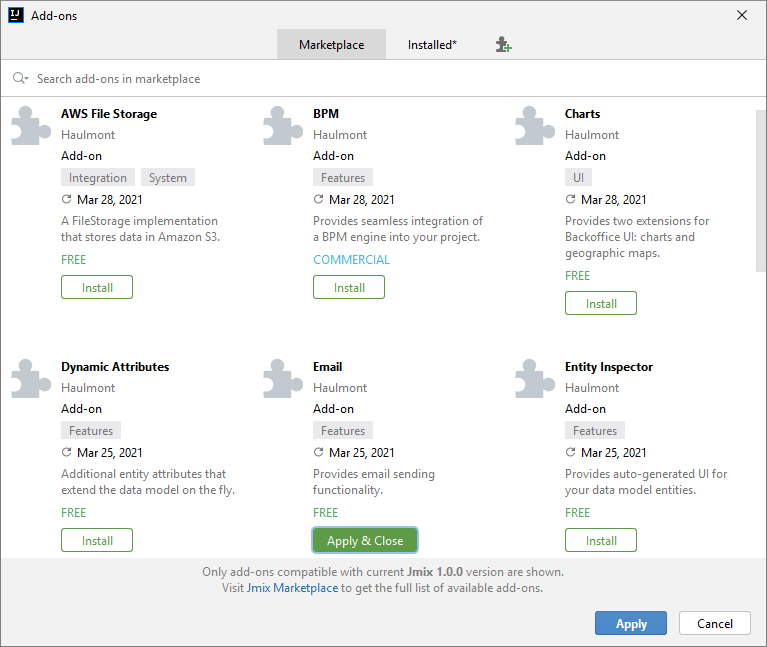
The add-on will be installed into your project.
