1. Calendar Data Binding
In this section, you will create:
-
The
MeetingJPA entity. -
The
FullCalendarcomponent with a data provider.
Meeting Event
The Meeting will represent an event within the FullCalendar component. It requires specific properties for correct display:
-
name- represents the event title. -
startDate- represents the event’s start date and time. The component will not display events without astartDate. -
endDate- represents the event’s end date. IfendDateis not specified, the component will apply a default duration based on theallDayproperty. This tutorial omits theallDayproperty; therefore, events are treated as non-all-day events.
Creating Meeting Entity
Refer to the Simple CRUD section of the Tutorial for detailed instructions on creating JPA entities.
The Meeting entity has the following attributes:
-
namewithStringtype. Select the Mandatory checkbox. -
startDatewithLocalDateTime. Select the Mandatory checkbox. -
endDatewithLocalDateTime. -
user- has theAssociationattribute type,Userentity as a Java type and the many-to-one cardinality. Select the Mandatory checkbox.
The Meeting entity does not require standard list and detail views as it will be programmatically generated and displayed within the FullCalendar component.
Generating Meeting
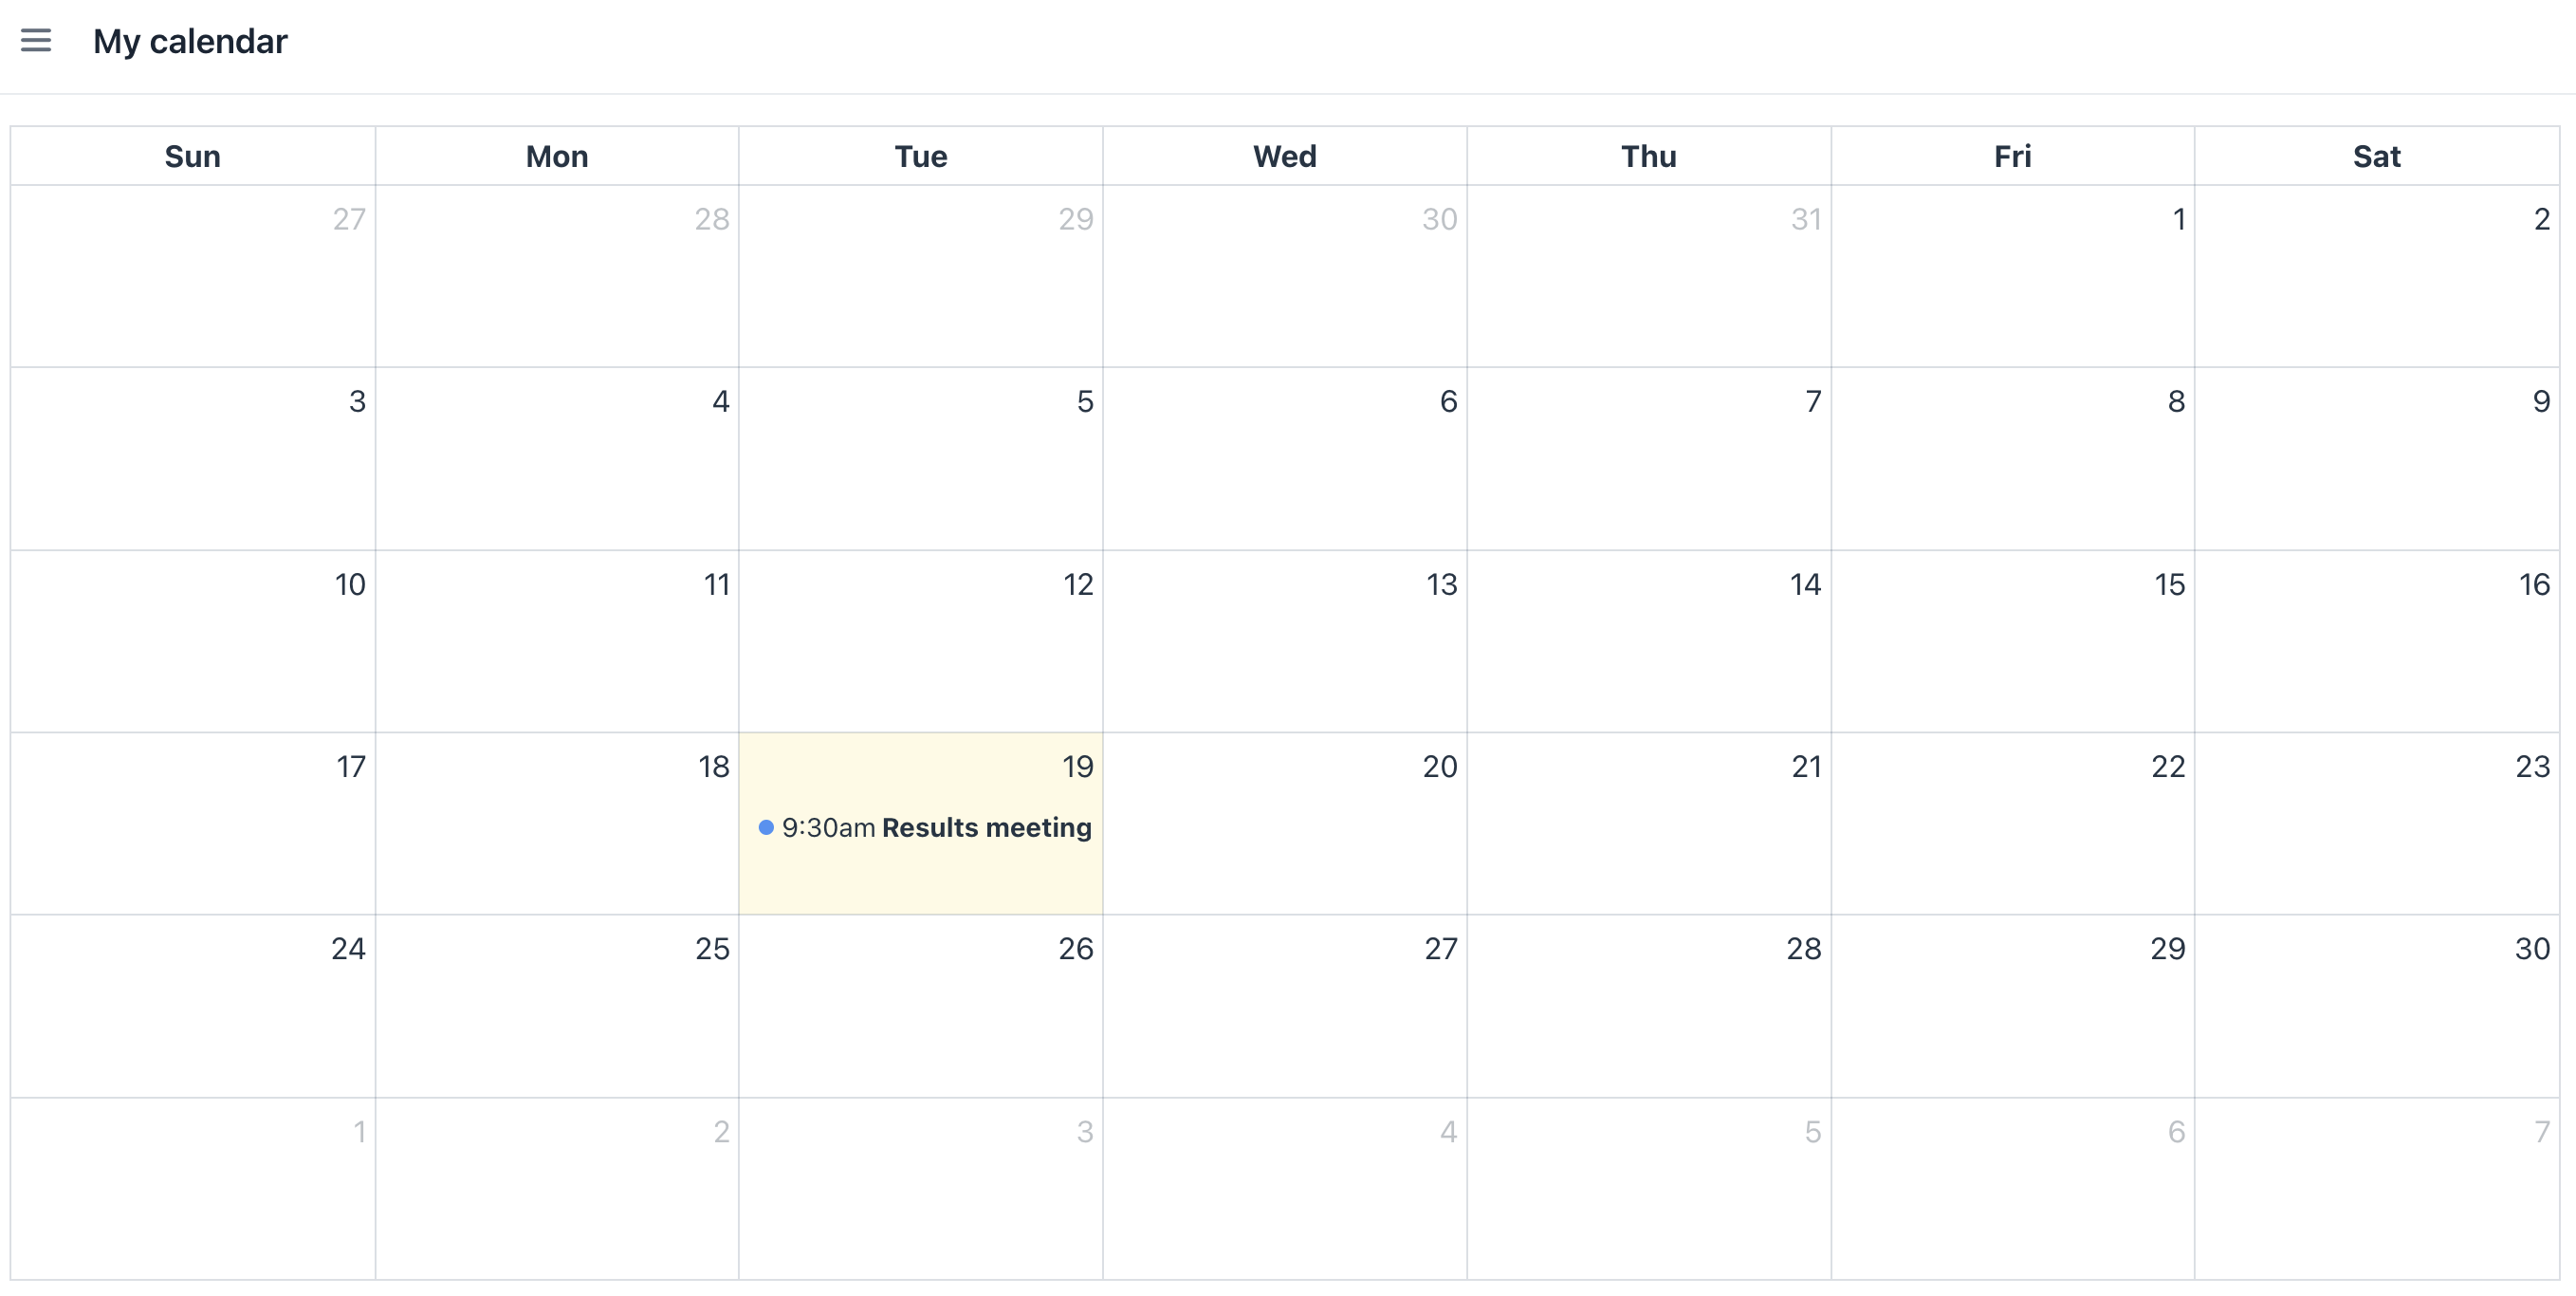
After a user completes all onboarding steps, the application generates a meeting event to review the completed tasks. This event will be displayed in the user’s MyCalendar view.
The best moment to check whether the user has finished all steps is during the PreSaveEvent of DataContext. This event listener checks for incomplete onboarding steps. If no incomplete steps remain, a new meeting event is created.
@Subscribe(target = Target.DATA_CONTEXT)
public void onPreSave(final DataContext.PreSaveEvent event) {
    List<UserStep> userSteps = userStepsDc.getItems().stream()
            .filter(us -> us.getCompletedDate() == null)
            .toList();
    if (userSteps.isEmpty()) {
        generateOnboardingResultsMeeting();
    }
}
Next, we implement the generateOnboardingResultsMeeting() method. This method creates a Meeting event instance scheduled for the next business day.
protected void generateOnboardingResultsMeeting() {
    Meeting meeting = dataContext.create(Meeting.class); (1)
    meeting.setName("Results meeting");
    meeting.setUser((User) currentAuthentication.getUser());

    int inDays = LocalDate.now().getDayOfWeek() == DayOfWeek.FRIDAY ? 3 : 1; (2)
    LocalDateTime start = LocalDateTime.of( (3)
            LocalDate.now().plusDays(inDays),
            LocalTime.of(9, 30));

    meeting.setStartDate(start);
    meeting.setEndDate(start.plusMinutes(30));
}| 1 | Creates and merges a new Meeting instance into the DataContext, automatically persisting the entity. |
| 2 | Calculates the next business day; if today is Friday, the meeting is scheduled for Monday. |
| 3 | Sets the meeting’s start date and time to 9:30 AM on the calculated next business day. |
Adding Components to MyCalendar
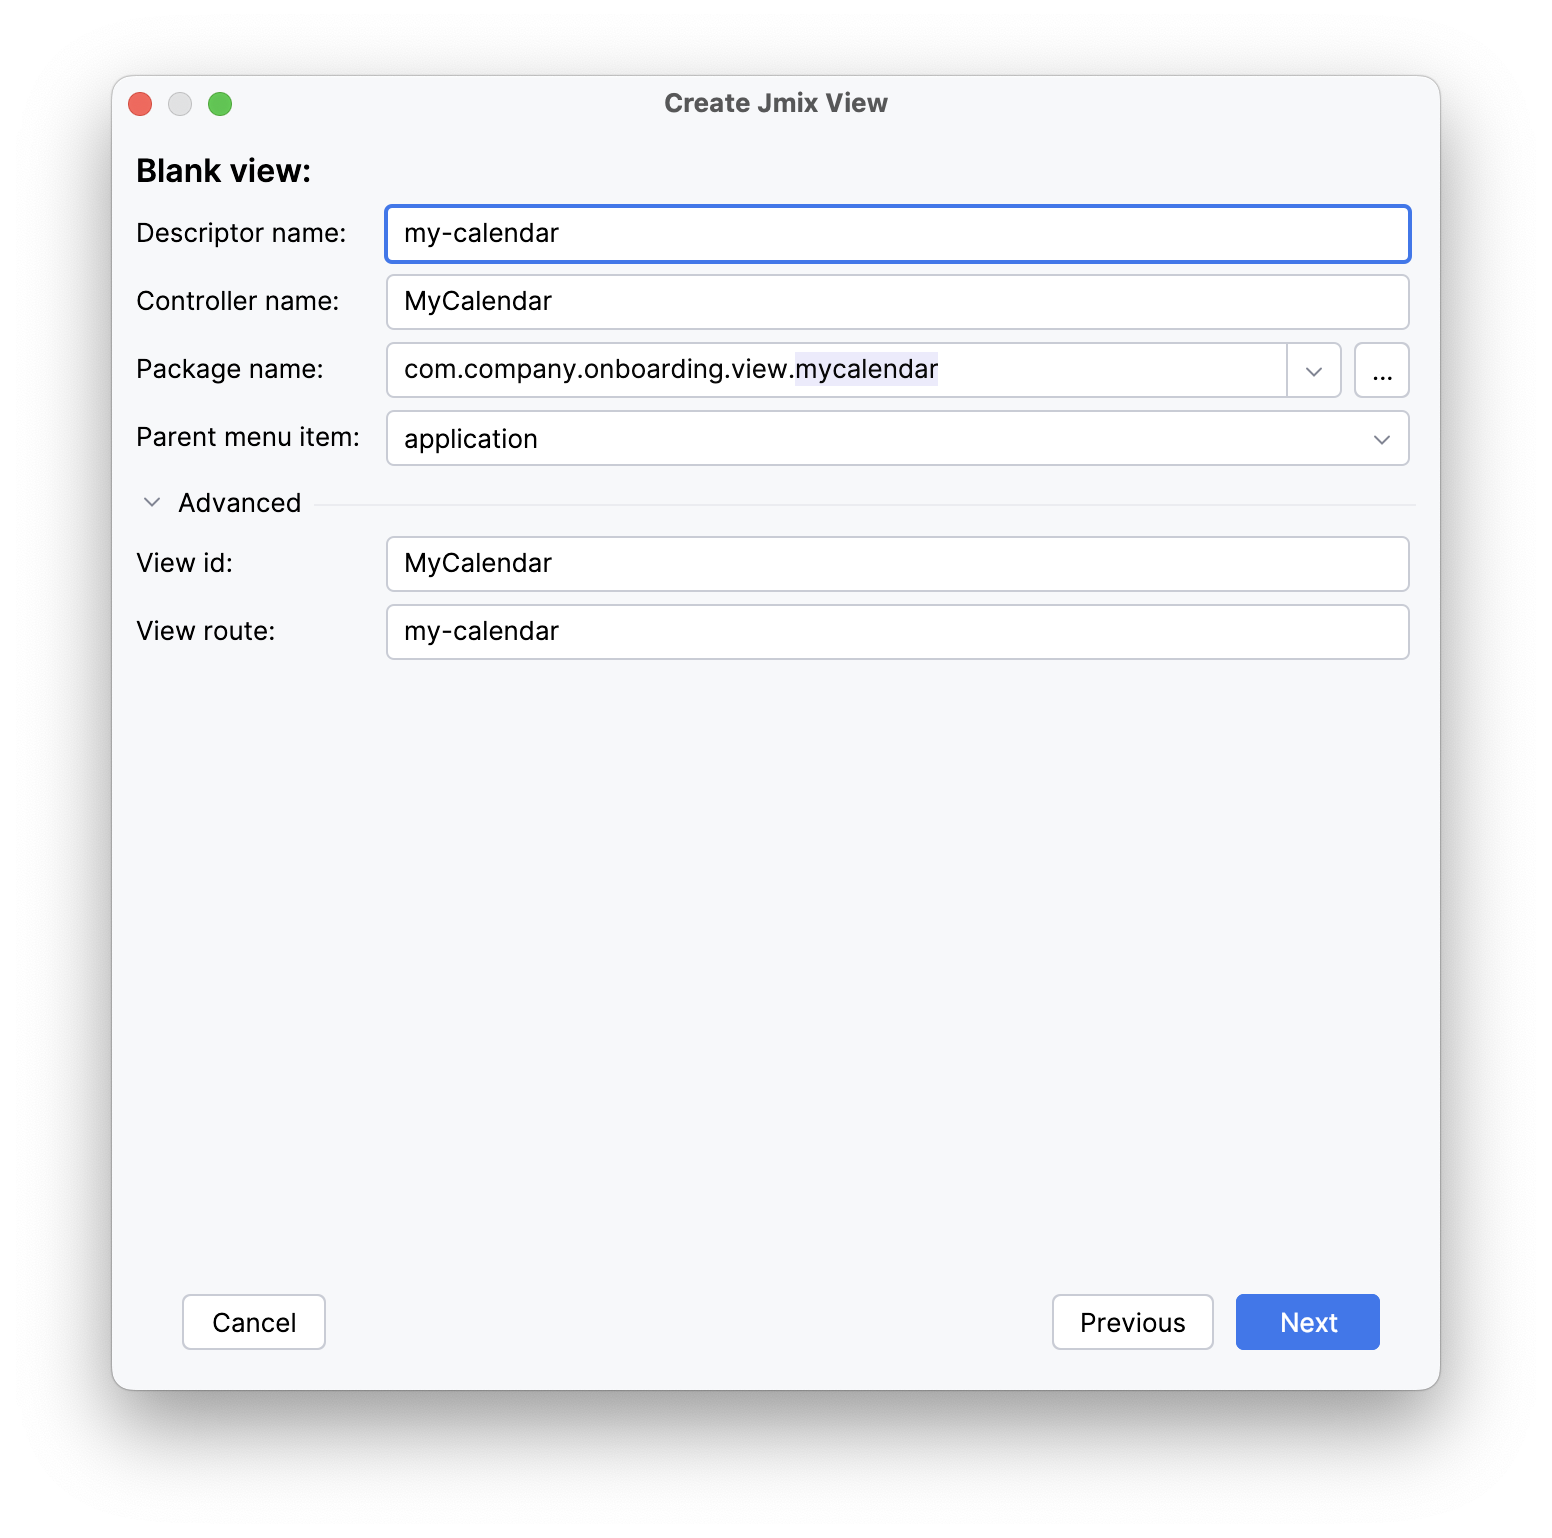
First, create a new, empty view named MyCalendar.

Studio will generate and display the empty view in the designer.
Loading Data
Before adding the FullCalendar component, create a collection container for the Meeting entity.
In the actions panel, click Add Component, navigate to the Data components section, and double-click Collection container. In the dialog that appears, select Meeting in the Entity field and click OK.
<collection id="meetingsDc" class="com.company.onboarding.entity.Meeting">
    <loader id="meetingsDl" readOnly="true">
        <query>
            <![CDATA[select e from Meeting e]]>
        </query>
    </loader>
    <fetchPlan extends="_base"/>
</collection>
The current data loader configuration retrieves all events from all users. However, users should only view their own events. To implement this filtering, modify the JPQL query - either using the editor or manually - to include a condition that restricts results to the currently logged-in user:
<query>
    <![CDATA[select e from Meeting e where e.user = :user]]>
</query>
We obtain the currently logged-in user from the CurrentAuthentication bean and pass this information to the data loader within the BeforeShowEvent:
-
Subscribe o the
BeforeShowEvent. -
Inject the
meetingsDlloader. -
Inject the
CurrentAuthenticationbean.
Now we can set a parameter for the loader to fetch events for the current user:
@ViewComponent
private CollectionLoader<Meeting> meetingsDl;
@Autowired
private CurrentAuthentication currentAuthentication;

@Subscribe
public void onBeforeShow(final BeforeShowEvent event) {
    final User user = (User) currentAuthentication.getUser();
    meetingsDl.setParameter("user", user);
    meetingsDl.load();
}
Adding FullCalendar Component
In the actions panel, click Add Component, locate the FullCalendar item, and double-click it.
Then new calendar element will be generated. Configure the id, height and width attributes as shown below.
<calendar:calendar id="calendar"
                   height="100%"
                   width="100%"/>
Adding Data Provider
The data provider is a source of events displayed in the FullCalendar. There are different types of data providers, but we will use the data provider based on a data container.
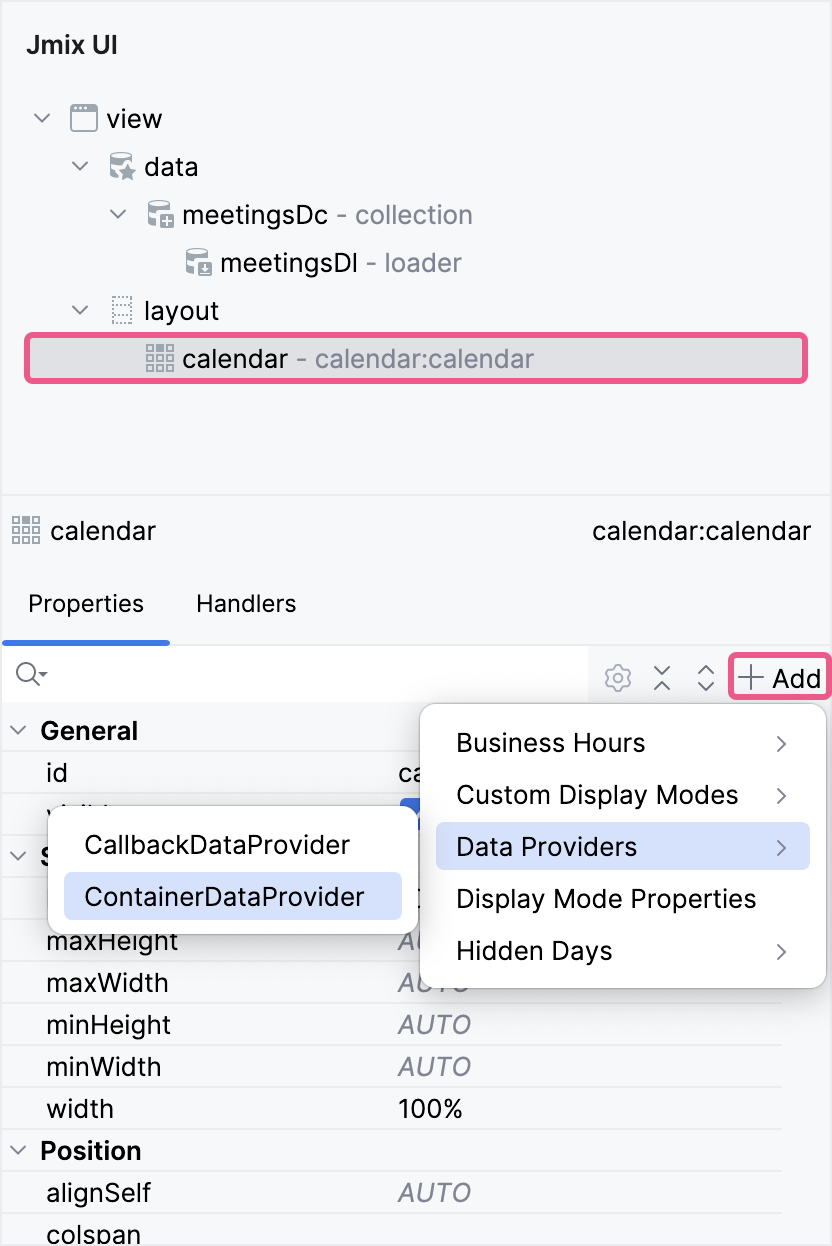
To add the ContainerDataProvider to the FullCalendar component:
-
Select the
calendarcomponent in the Jmix UI structure panel or the view’s XML descriptor. -
Click the Add button in the inspector panel.
-
From the dropdown menu, select Data Providers → ContainerDataProvider.

In the dialog that appears, select meetingsDc.
The containerDataProvider element allows configuration of entity property mappings. The Meeting entity includes the following properties:
-
name -
startDate -
endDate
Therefore, the following attributes should be specified:
<calendar:dataProviders>
    <calendar:containerDataProvider dataContainer="meetingsDc"
                                    title="name"
                                    startDateTime="startDate"
                                    endDateTime="endDate"/>
</calendar:dataProviders>
Let’s take a look: the complete description of our calendar is as follows:
<calendar:calendar id="calendar"
                   height="100%"
                   width="100%">
    <calendar:dataProviders>
        <calendar:containerDataProvider dataContainer="meetingsDc"
                                        title="name"
                                        startDateTime="startDate"
                                        endDateTime="endDate"/>
    </calendar:dataProviders>
</calendar:calendar>
Launch the application and log in as the admin user. The admin user does not have onboarding steps, so we need to generate them:
-
Access the
User.listview by selecting Users from the application menu. -
Select the
adminuser in the DataGrid and click the Edit button. Then, fill Joining Date field, generate onboarding steps and save the changes. -
Access the
MyCalendarview by selecting My Calendar from the application menu.

