4. Using Enumerations
In the previous chapters, you implemented management of Steps and Departments. Your application also has the default User management which came from the project template.
In this chapter, you will add the onboardingStatus attribute to the User entity and show it in the UI. This attribute can have one of three values: Not started, In progress, Completed.
Creating Enumeration
An enumeration is a set of constants that is defined at design time and is not changed by users at runtime.
Let’s create an enumeration to use in the onboardingStatus attribute.
If your application is running, stop it using the Stop button ( ) in the main toolbar.
In the Jmix tool window, click New ( ) → Enumeration:

In the New Jmix Enumeration window, enter OnboardingStatus in the Class field and select Integer in the Id type radio buttons:
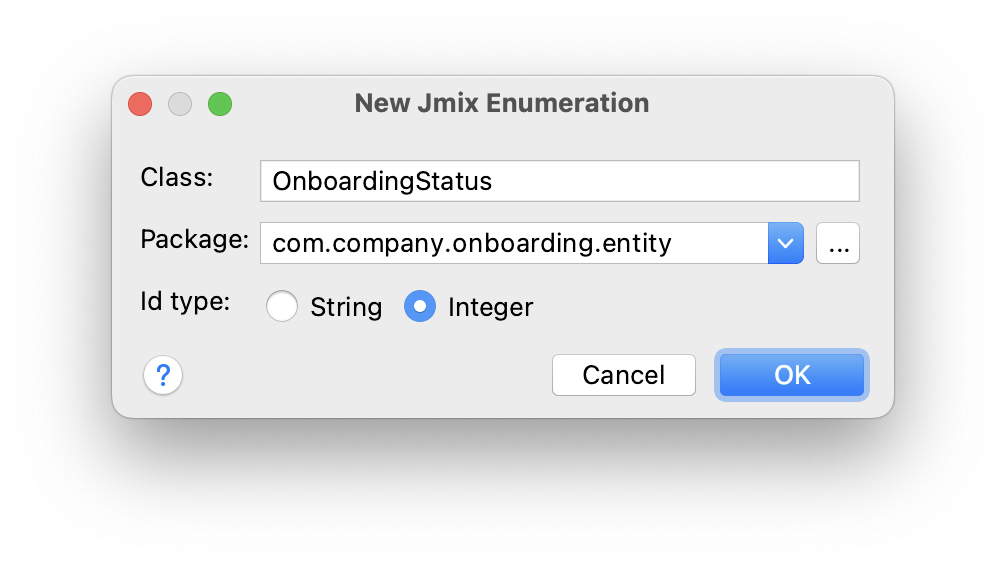
Click OK.
Studio will show the enumeration designer:

Add the required constants (NOT_STARTED, IN_PROGRESS, COMPLETED) by clicking to the Add Value () button in the toolbar of the Values table:
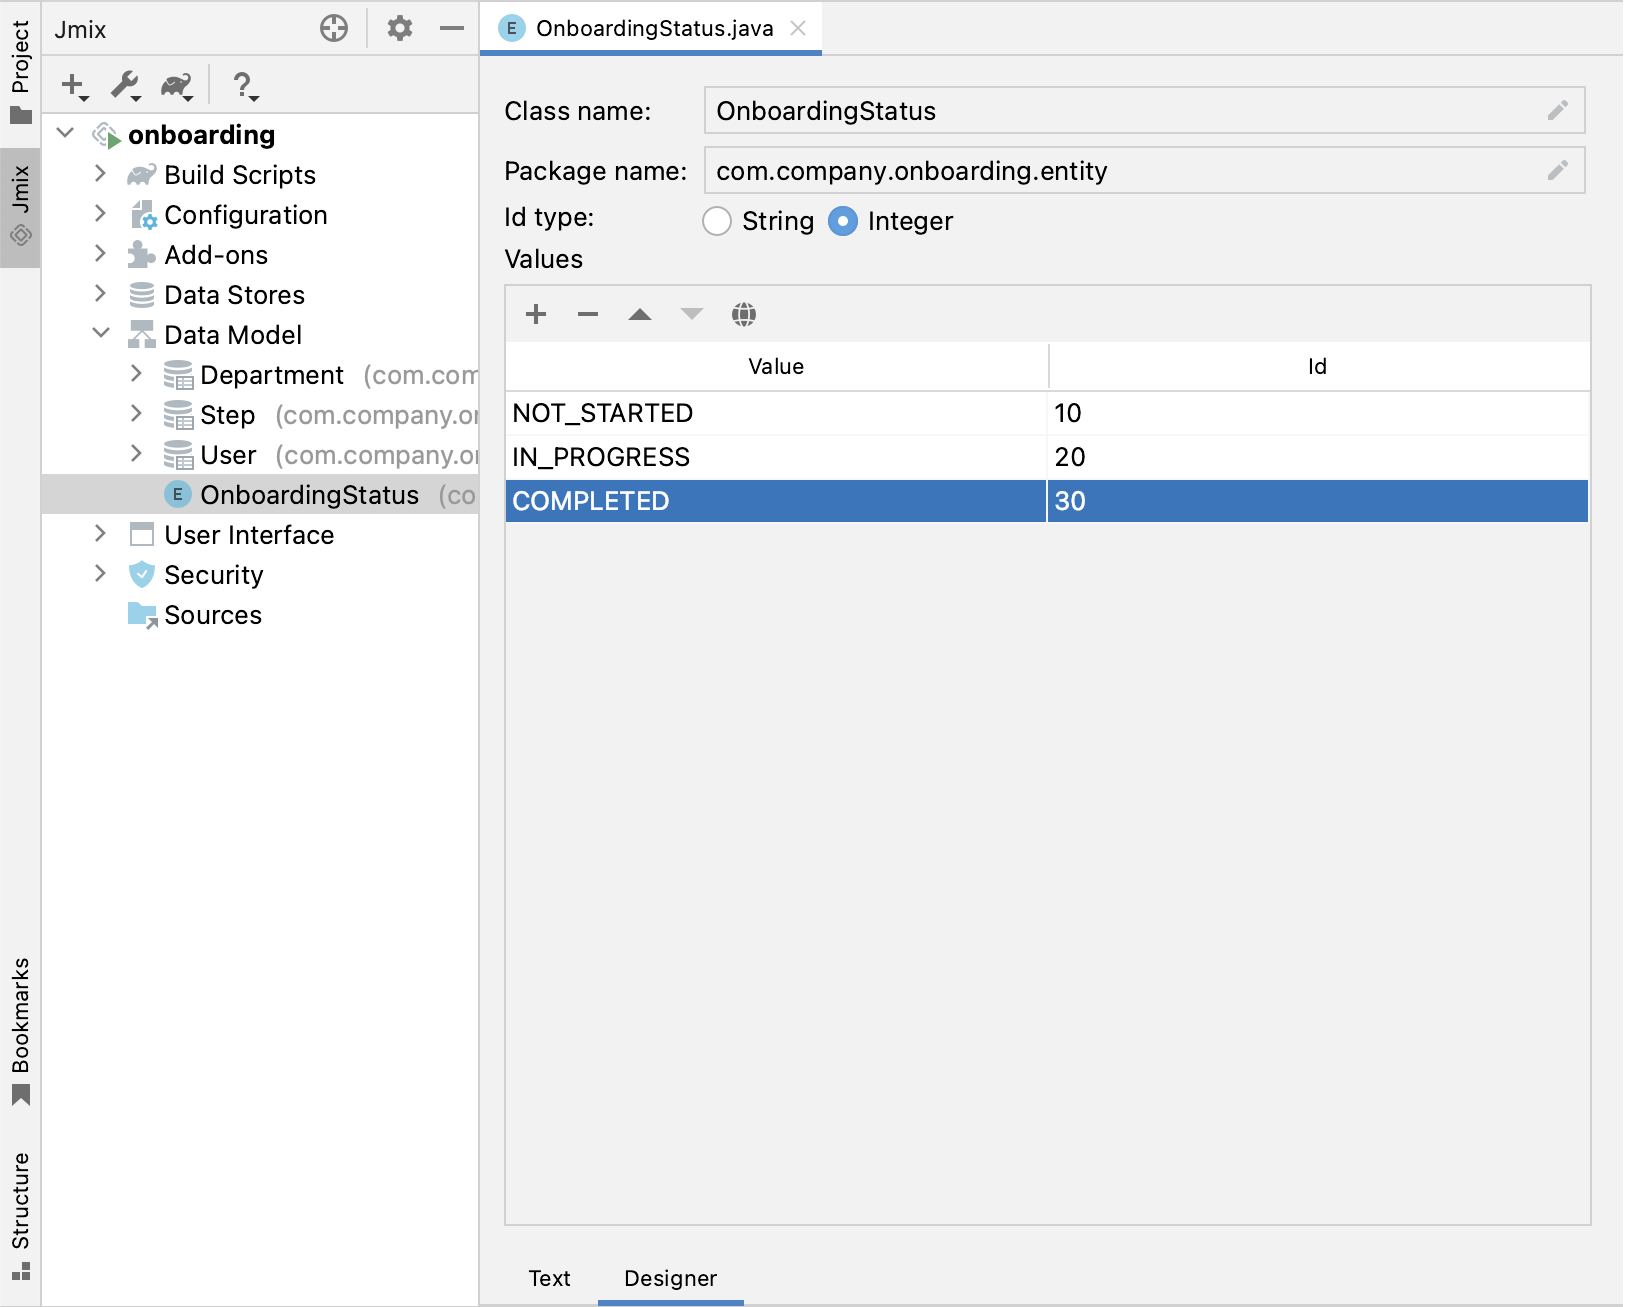
The Value here is the value of Java enum, Id is the corresponding value stored in the database. For example, instead of IN_PROGRESS value or its ordinal position (1), the database will contain the number 20.
We recommend using String enum identifiers unless the enum constants should be sorted in a particular order. The OnboardingStatus enum is a good example of the need for sorting: you will want to show the constants in this exact order.
|
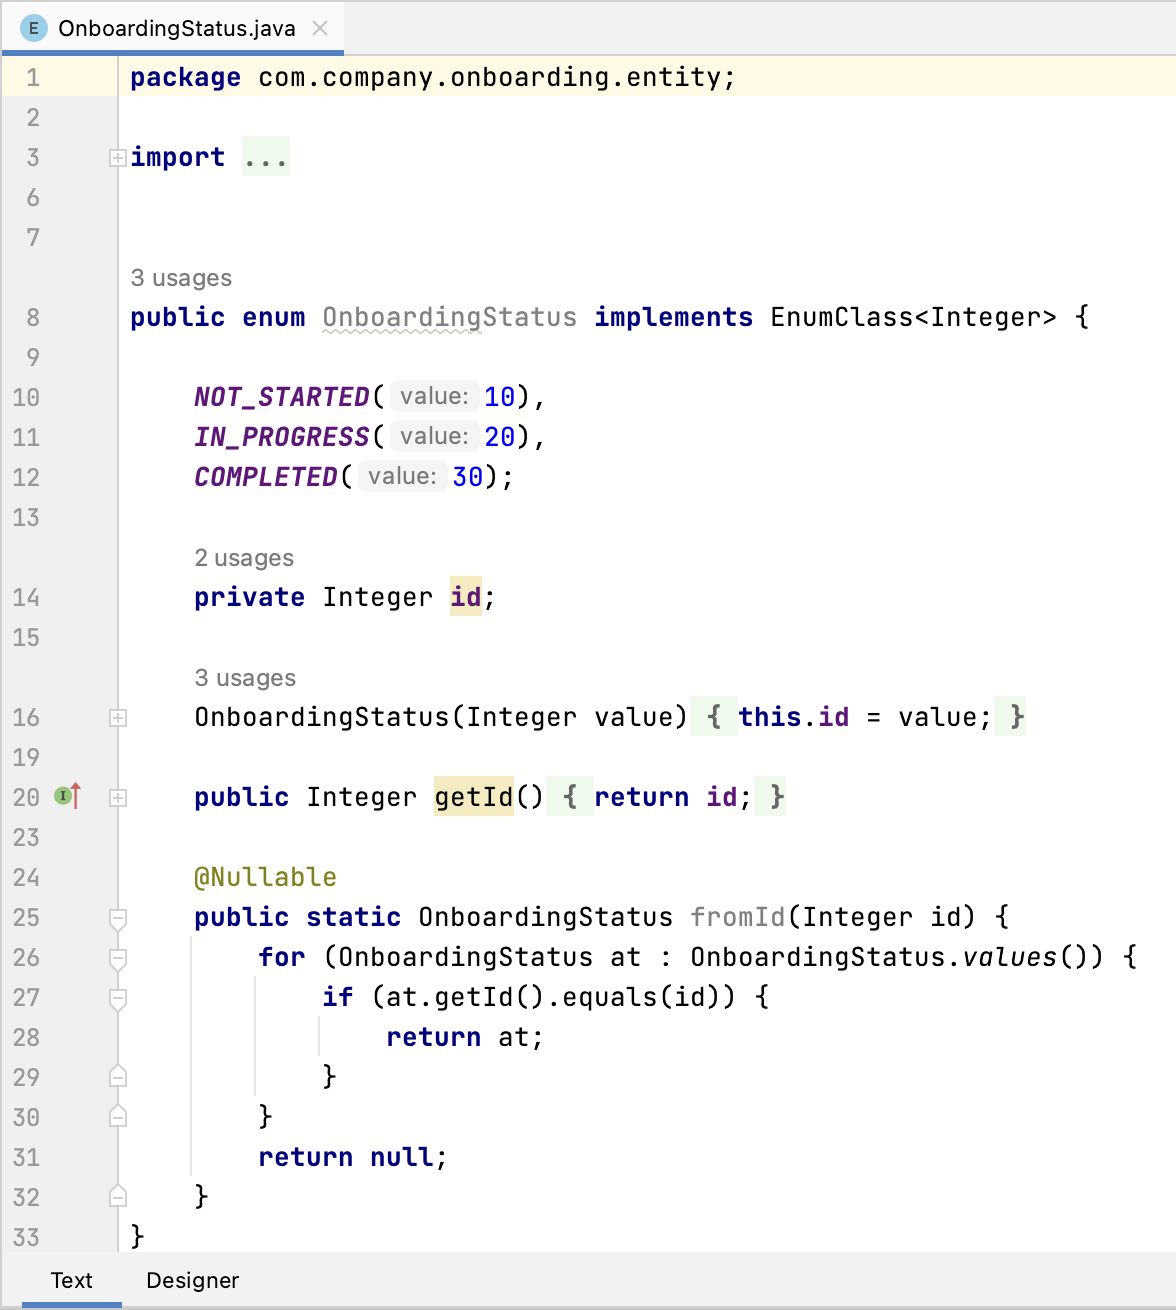
You can see the enumeration source code if you switch to the Text tab:
Adding Attribute to Entity and UI
Let’s add the onboardingStatus attribute to the User entity:
Double-click on the User entity in Jmix tool window and select its last attribute (to add the new attribute to the end):
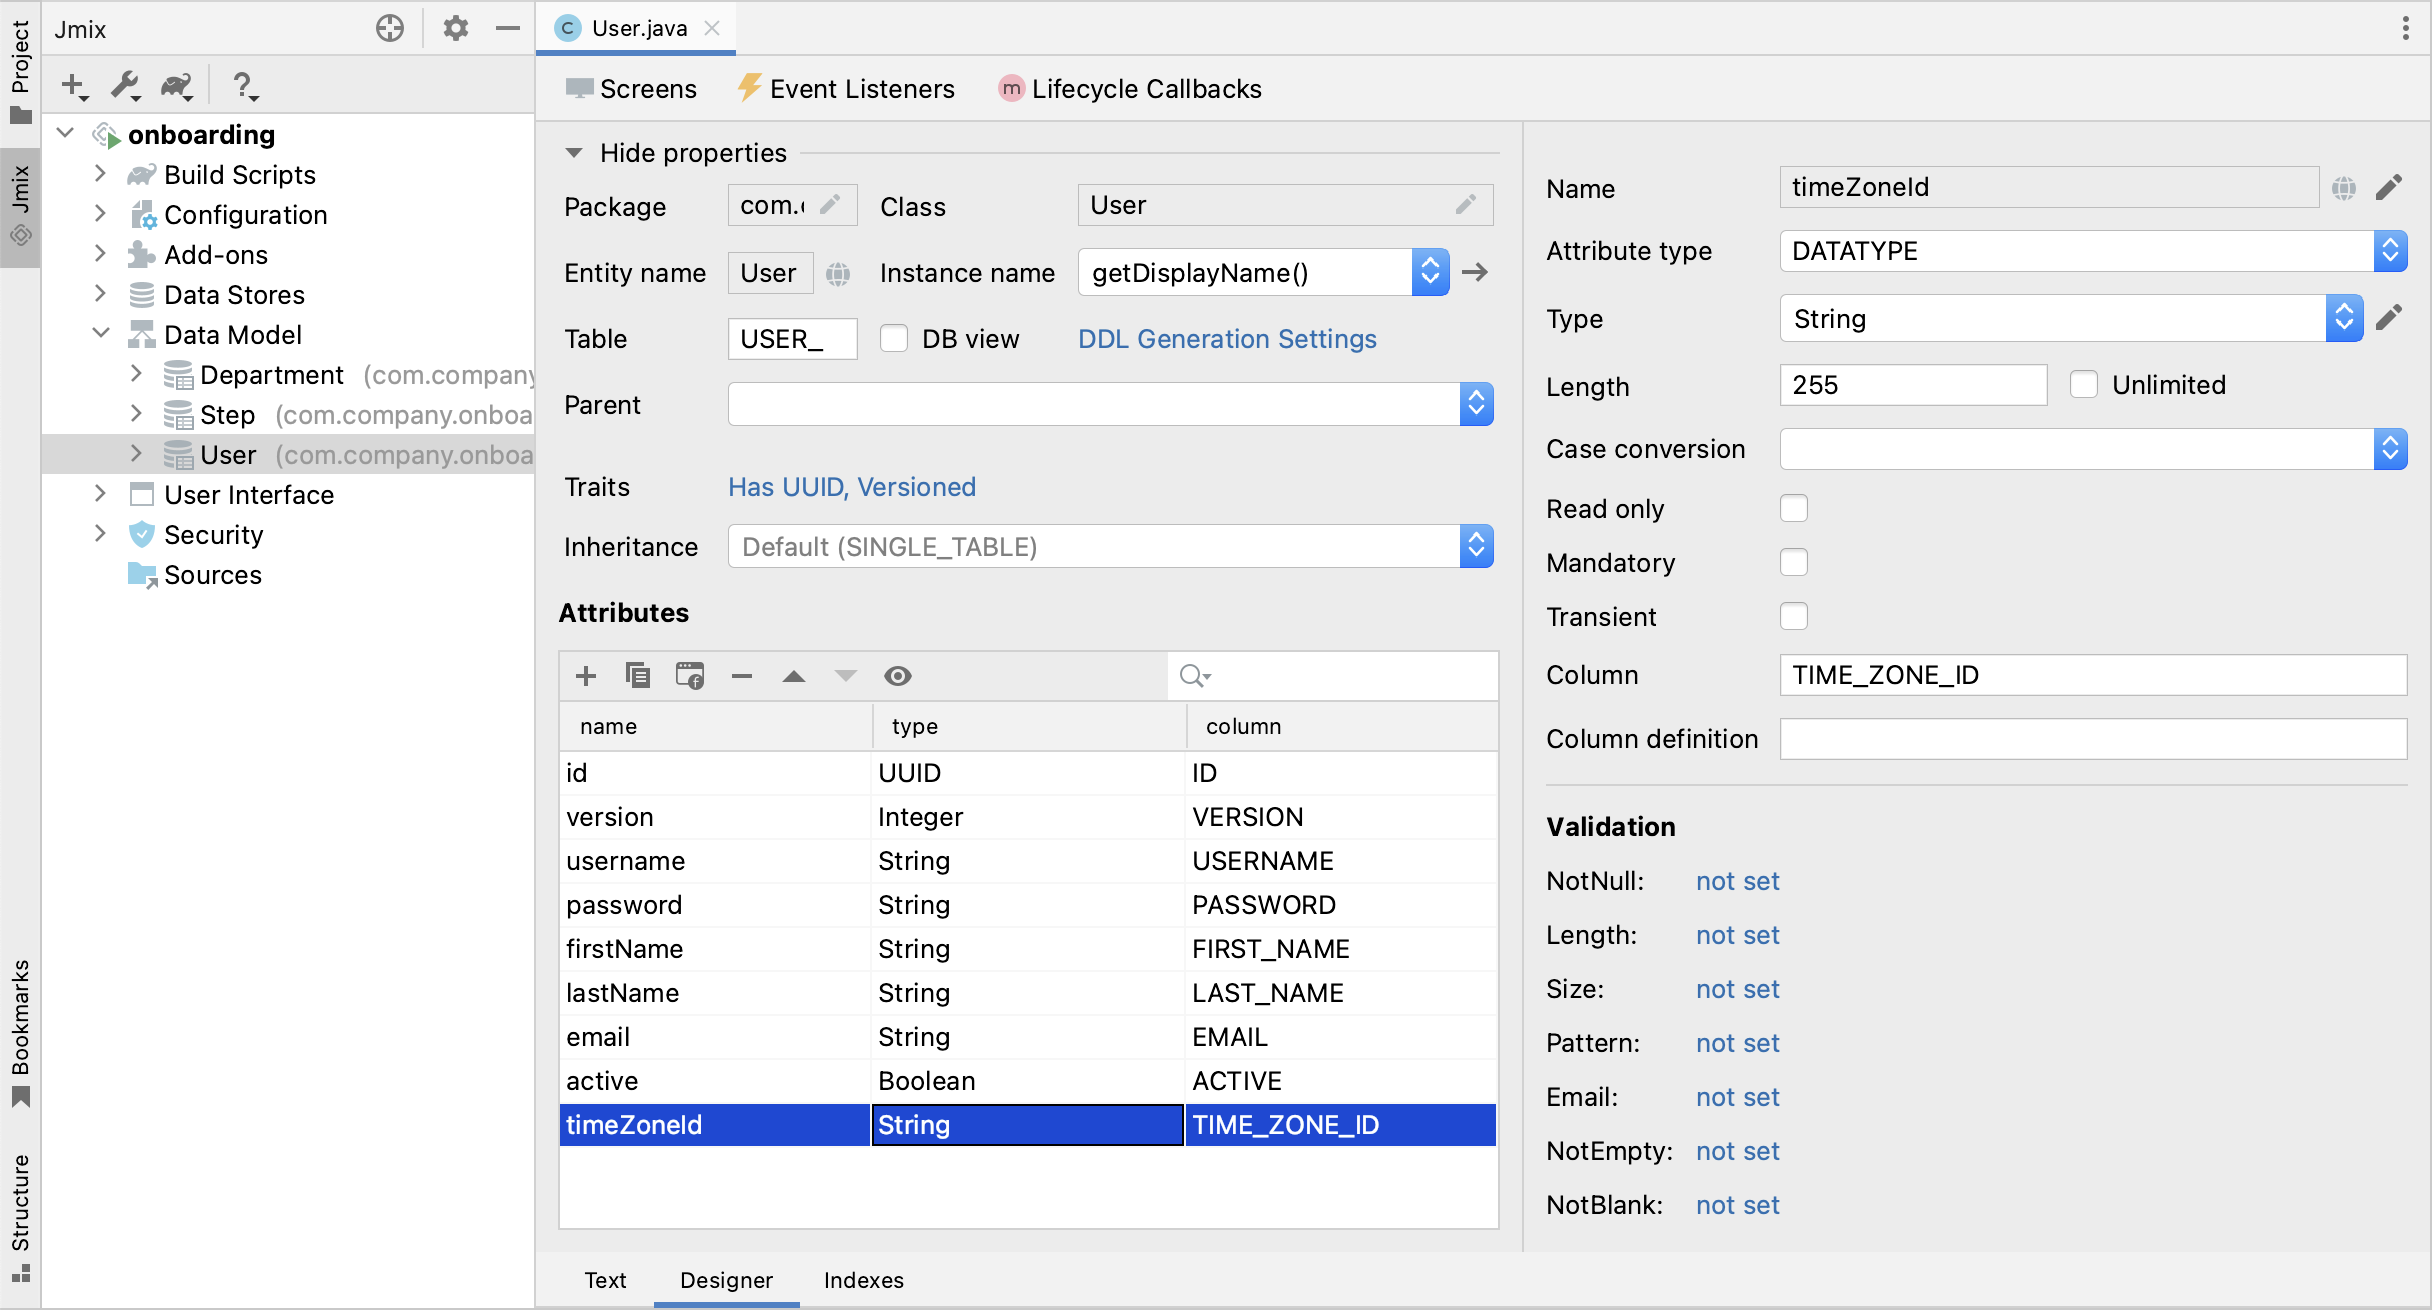
Click Add () in the Attributes toolbar. In the New Attribute dialog, enter onboardingStatus into the Name field, select ENUM in the Attribute type dropdown and OnboardingStatus in the Type dropdown:
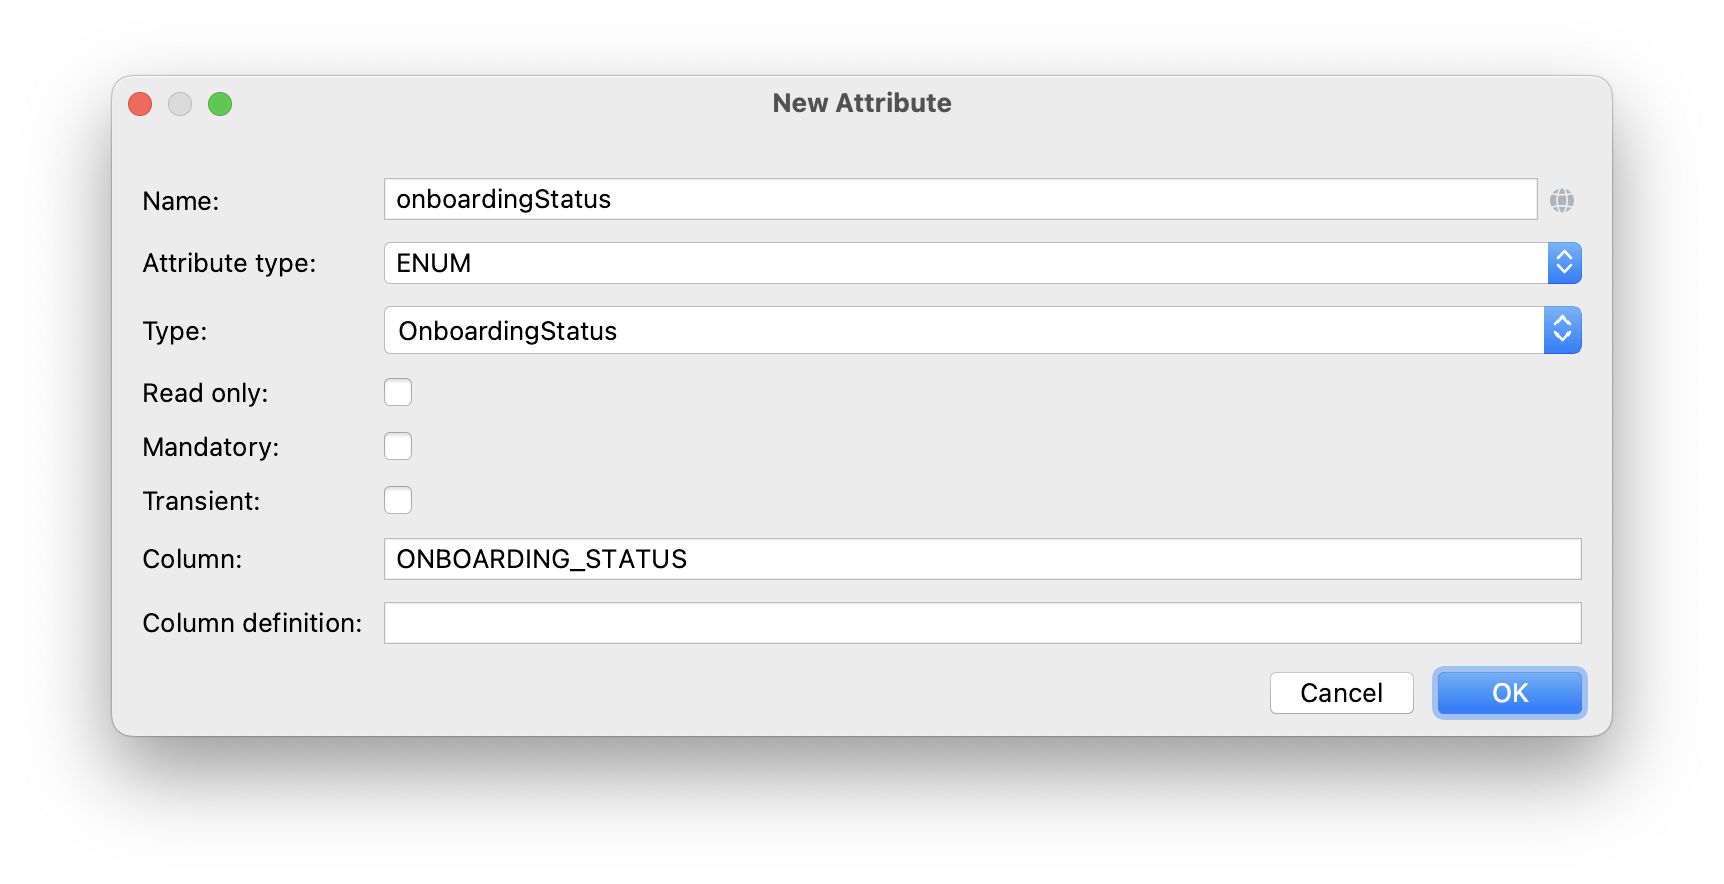
Click OK.
Select the onboardingStatus attribute and click the Add to Views ( ) button in the Attributes toolbar:

The dialog window that appears will show all views that display the User entity. Select both User.detail and User.list views:
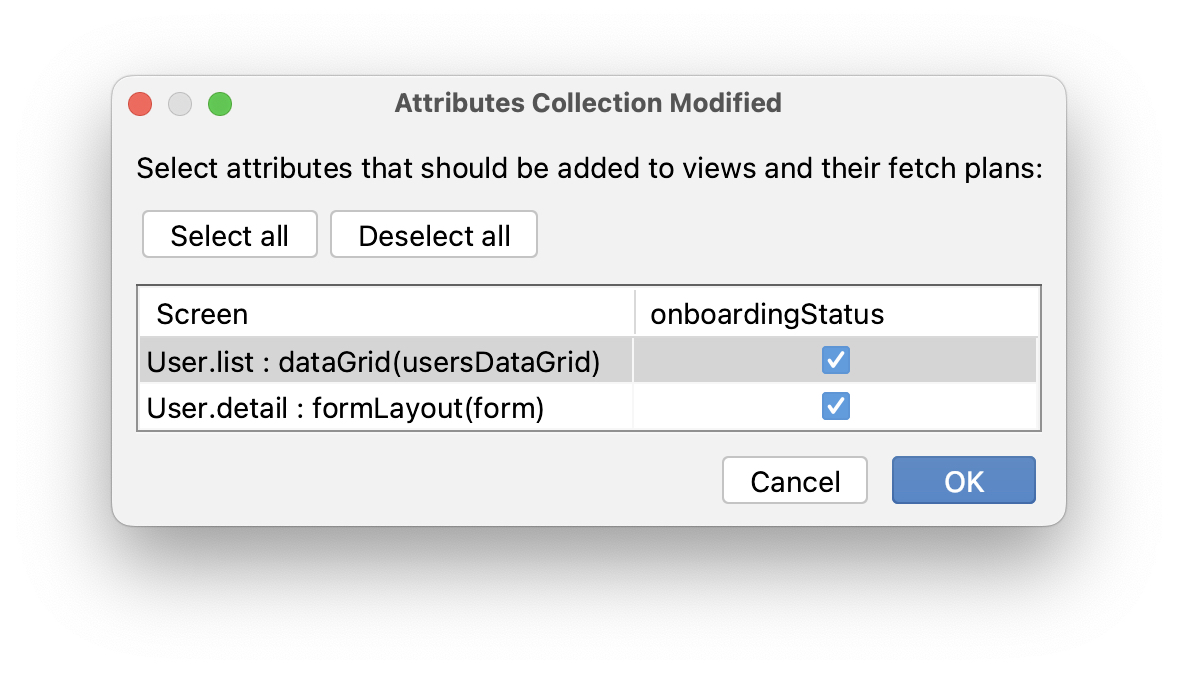
Click OK.
Studio will add the onboardingStatus attribute to dataGrid of the User.list view and to formLayout of the User.detail view.
Running the Application
Click the Debug button ( ) in the main toolbar.
Before running the application, Studio will generate a Liquibase changelog:
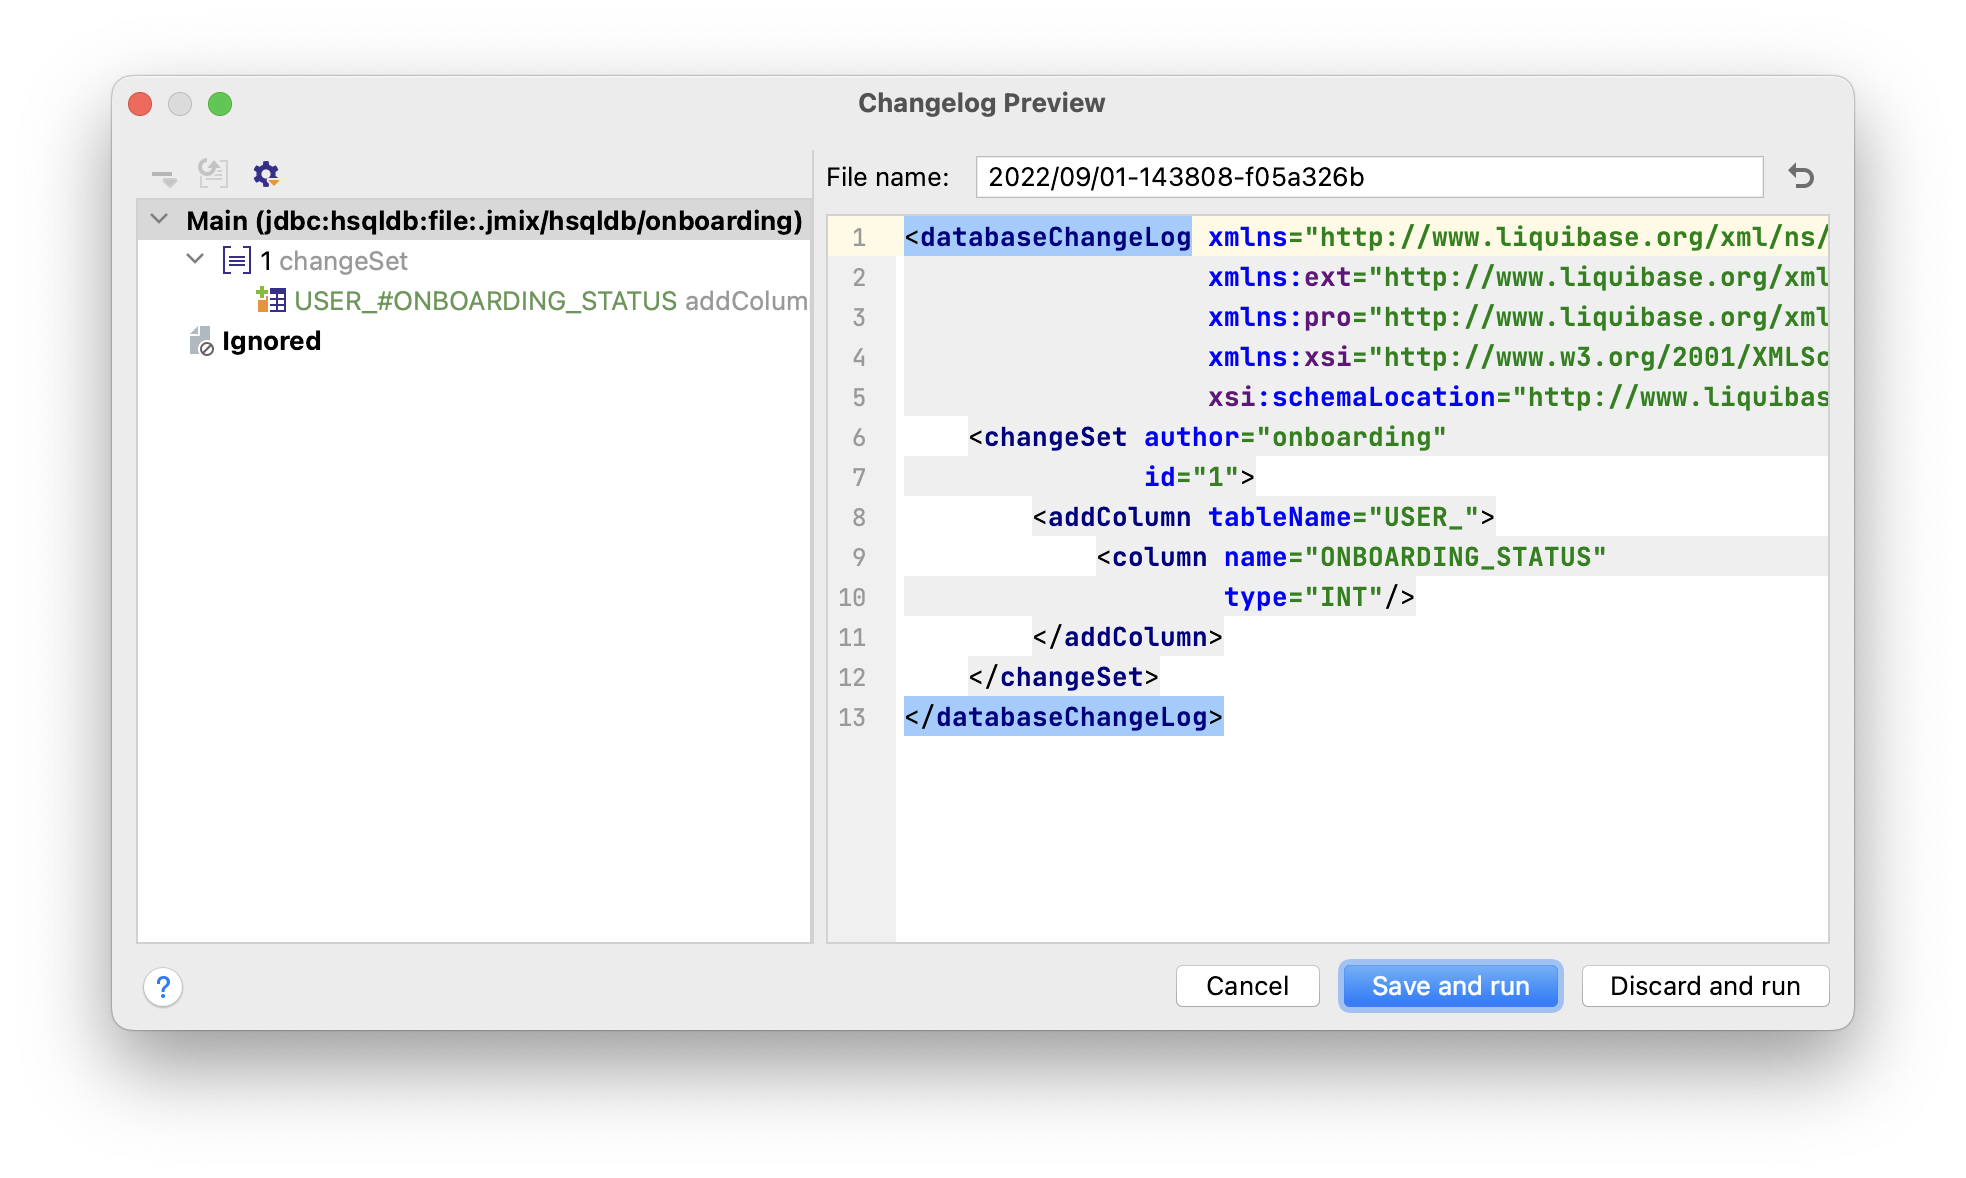
As you can see, the changelog contains a command for adding the ONBOARDING_STATUS column to the USER_ table. The column is of type INT, which corresponds to the Integer type of the enumeration id.
Click Save and run.
Studio will execute the changelog, then build and run the application.
Open http://localhost:8080 in your web browser and log in to the application with admin / admin credentials.
Click on the Users item in the Application menu. You will see the Onboarding status column in the User.list view.
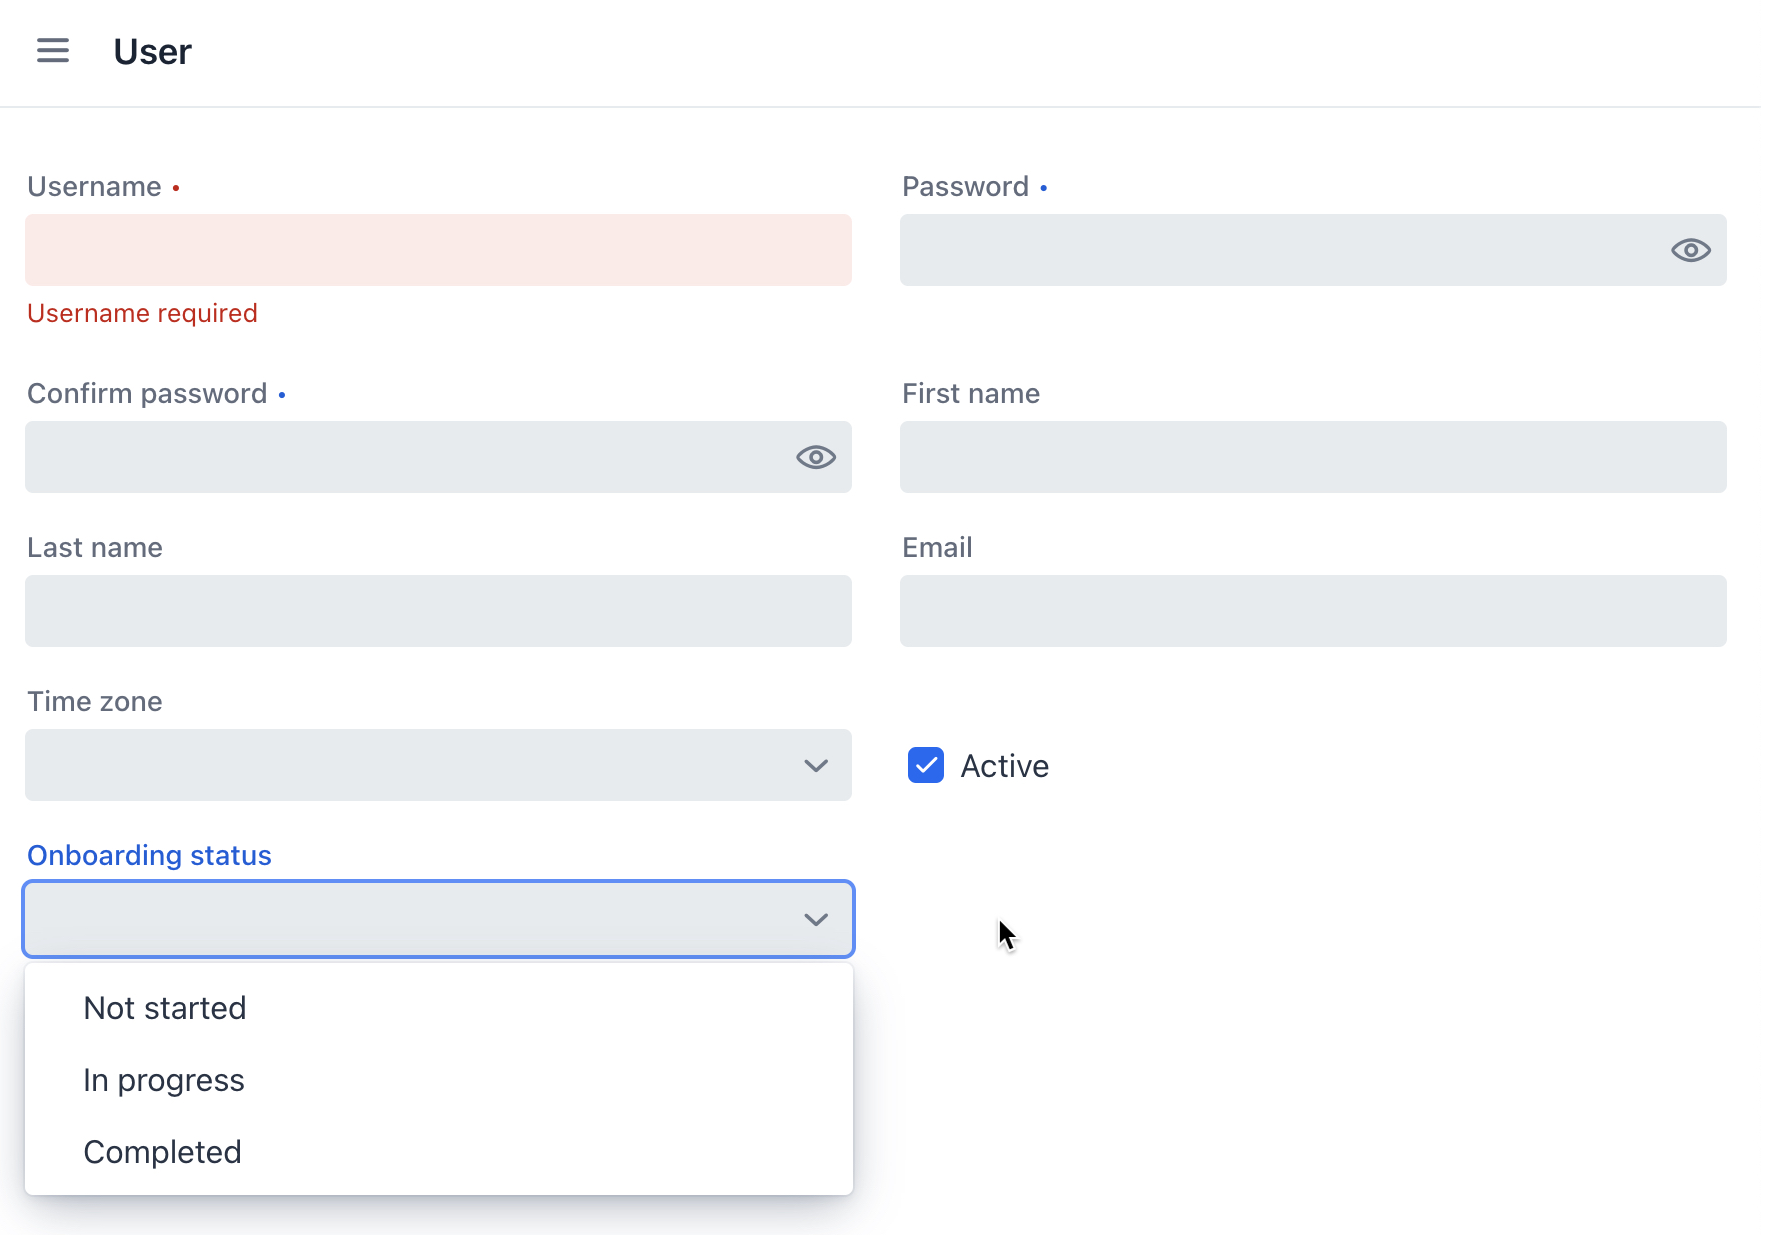
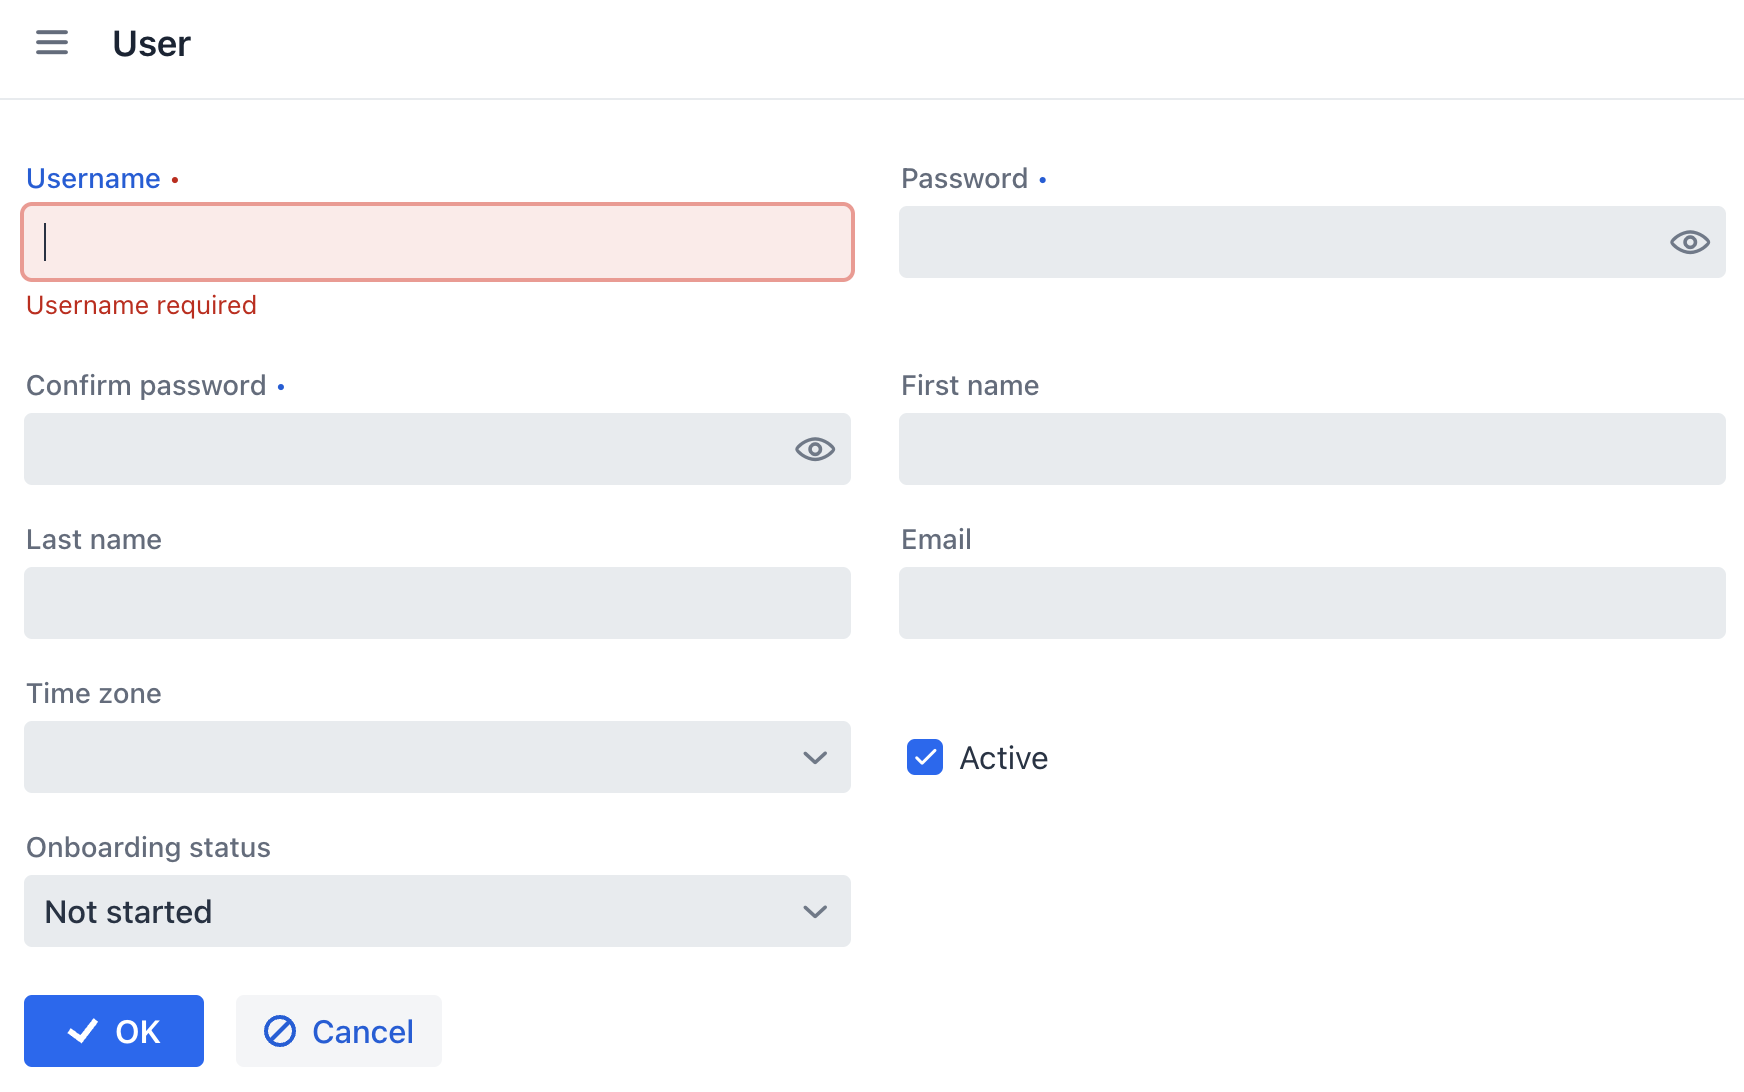
Click Create. The UI control for selecting a status is shown at the bottom of the form:
Setting Initial Value for Attribute
For a newly created user, the onboardingStatus attribute should be automatically set to Not started. In this section, you will learn how to configure the User.detail view to initialize this attribute.
Open the UserDetailView.java class and find its onInitEntity() method:
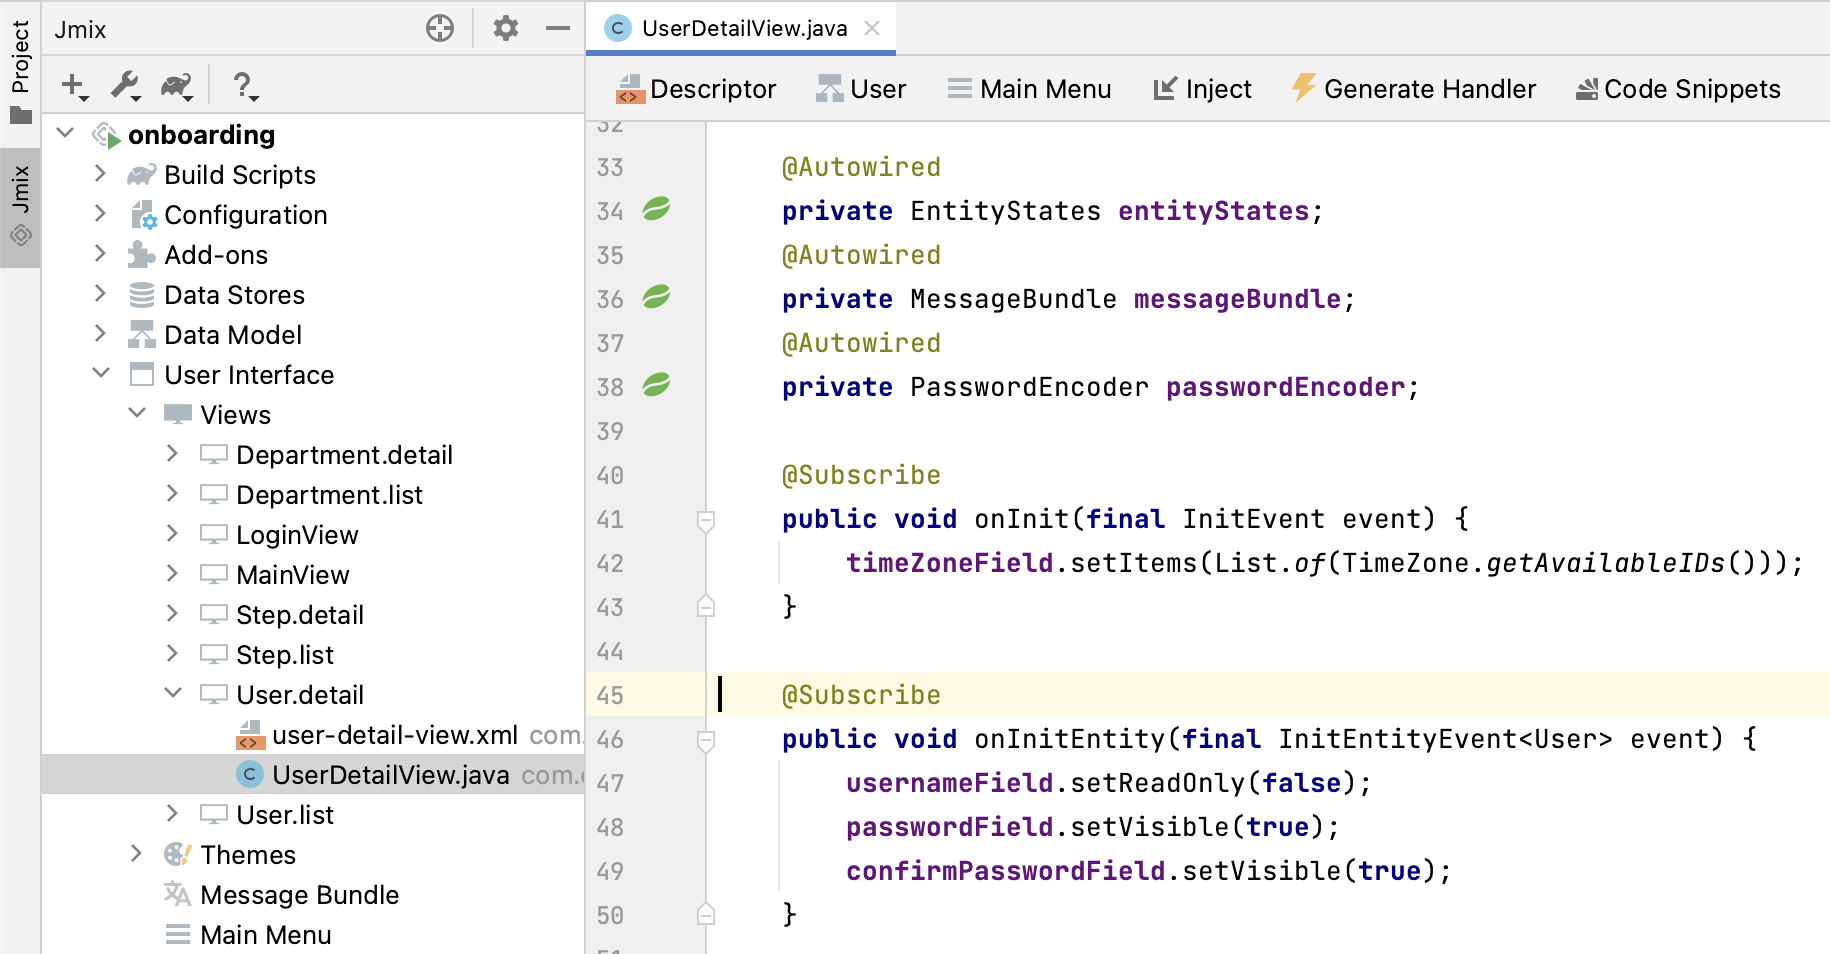
This method is an event handler invoked by the framework when the detail view is opened for a new entity instance. The event object passed to the method contains the new entity.
Add the following lines to the end of the method body:
@Subscribe
public void onInitEntity(InitEntityEvent<User> event) {
    // ...

    User user = event.getEntity();
    user.setOnboardingStatus(OnboardingStatus.NOT_STARTED);
}
If you switch to the running application, close the detail view and click Create again, you will see the Onboarding status initialized automatically:
|
To generate the handler method from scratch, click Generate Handler in the actions panel on top of the code editor and select 
|
Summary
In this section, you have added the Onboarding status attribute to the User entity. This attribute is an enumeration with three possible values: Not started, In progress, Completed.
You have learned that:
-
Enumerations represent sets of constants that are defined at design time.
-
In Jmix, an enumeration constant has a value and an id. The id is stored in the database instead of the constant or its ordinal value.
-
A newly created entity attribute can be easily added to existing views using the Add to Views (
) button in the Attributes toolbar of the entity designer. -
The
InitEntityEventhandler can be used to initialize attributes of a new entity instance in a detail view. The handler stub can be generated by Studio if you click Generate Handler in the actions panel of the code editor.
