1. Project Setup
In this chapter you will go through a few simple steps to set up a new project. You will learn how to navigate the project structure and locate essential components. Once your project is set up, you will be able to run it and explore its pre-built features.
Setting Up Development Environment
Install Jmix Studio and JDK as described in the Setup section if you haven’t done it yet.
In this tutorial, we will use some premium Studio features such as visual designers and code generation capabilities. These features are available for free in small projects containing up to 10 entities and roles, such as the tutorial project.
When you run Jmix Studio for the first time, you should log in to the Jmix account, and after that a trial subscription for 28 days is activated. The subscription allows you to use the premium features in projects of any size. After the trial subscription expires, Studio will continue working without subscription, providing premium features only for small projects.
Creating Project
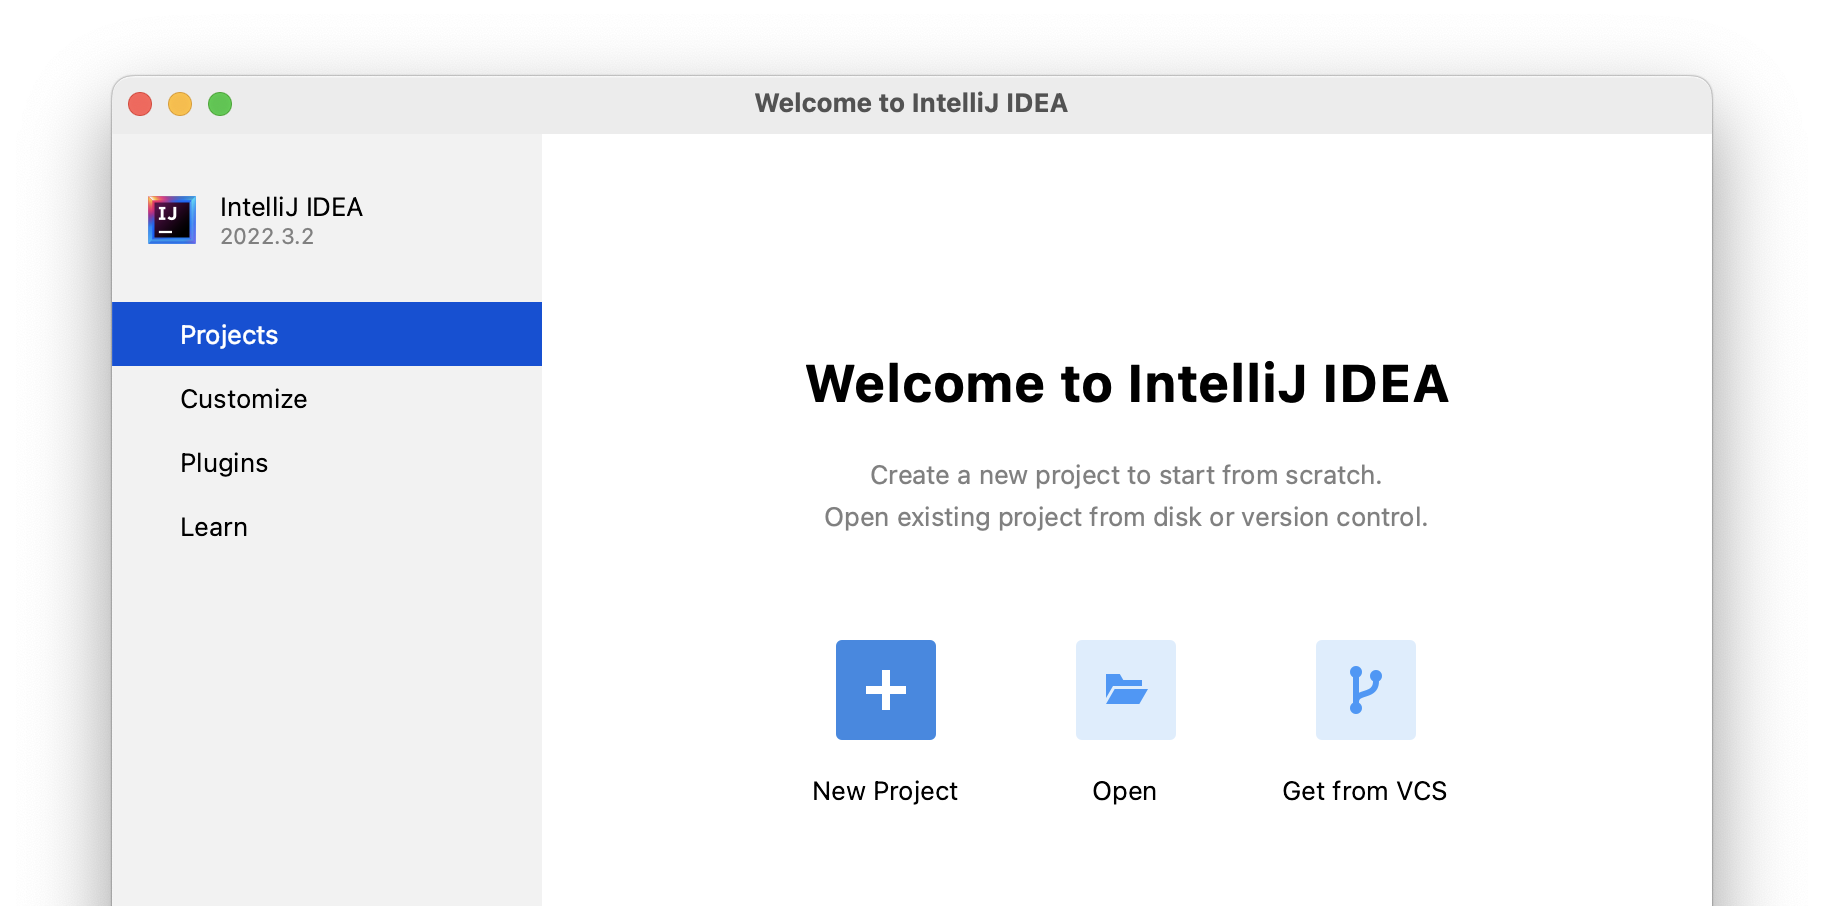
Run IntelliJ IDEA with Jmix Studio plugin installed, switch to the Projects tab and click New Project:
On the first step of the New Project wizard, select Jmix Project in the list and leave default values in the Repository and Jmix version fields:
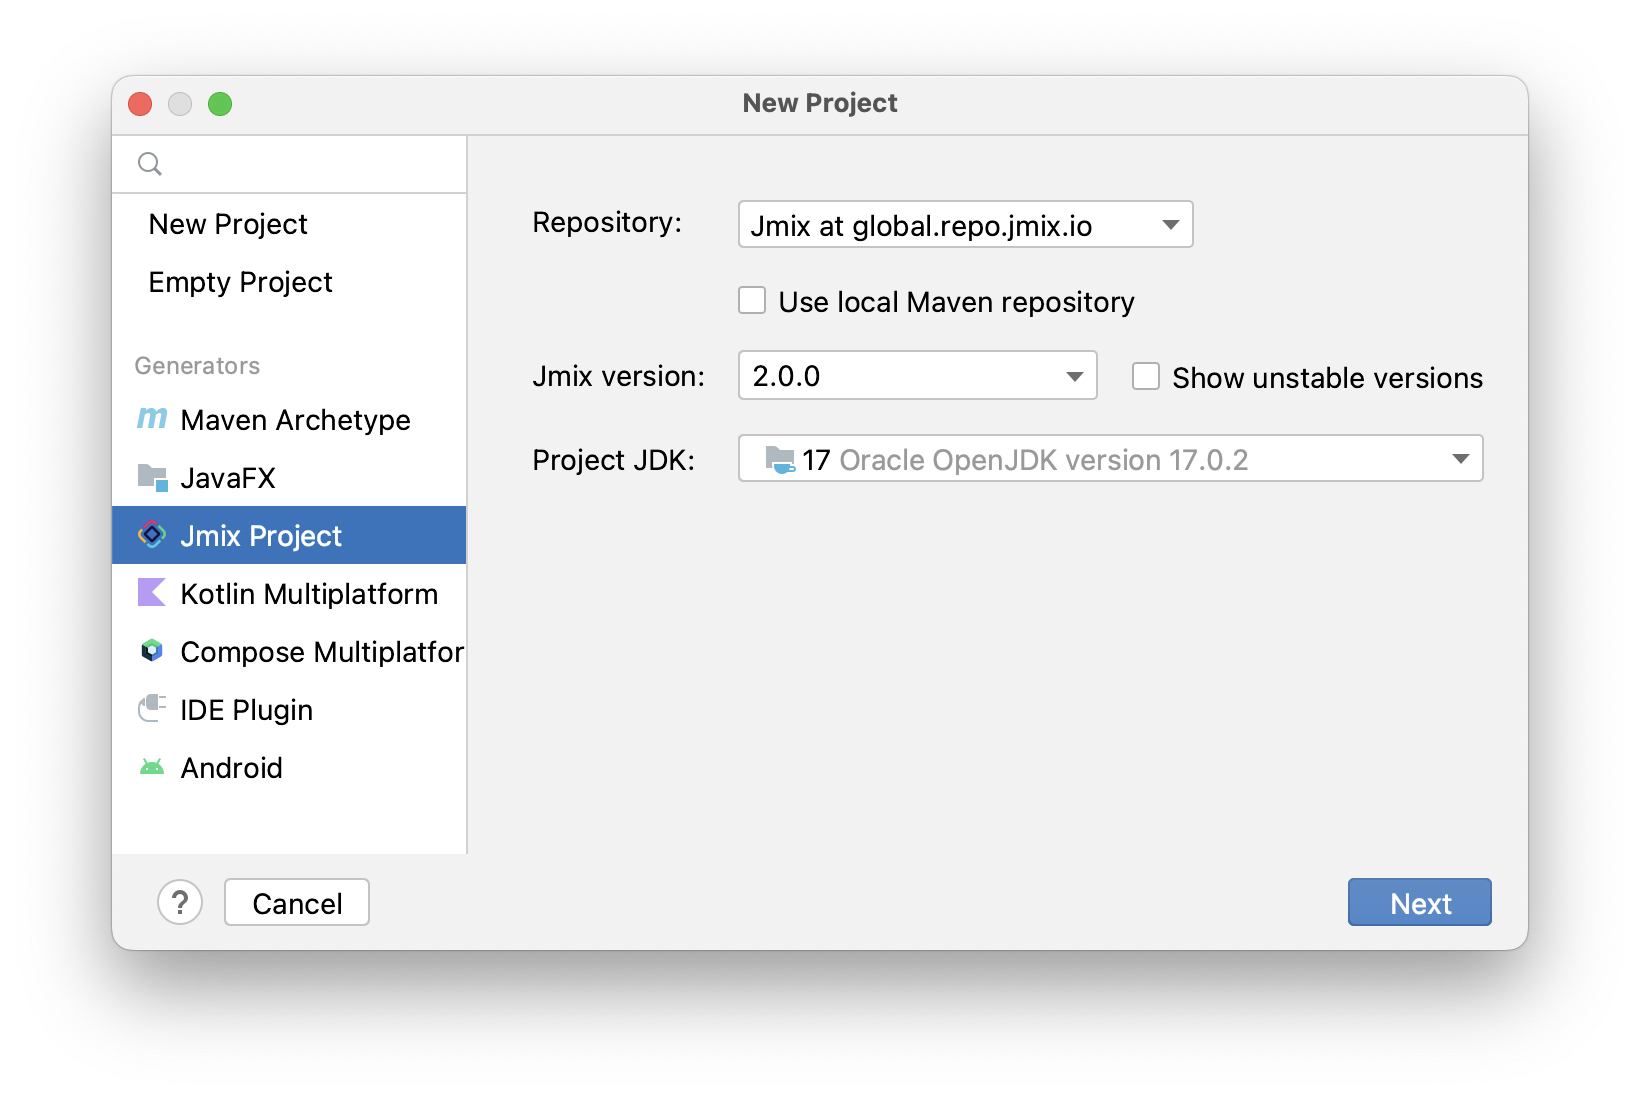
In the Project JDK field, select a JDK version 17 or 21. If the field displays <No SDK>, select Download JDK in its dropdown list and follow further instructions to download and select a JDK.
Click Next.
On the next step of the New Project wizard, select the first project template from the list: Full-Stack Application (Java):
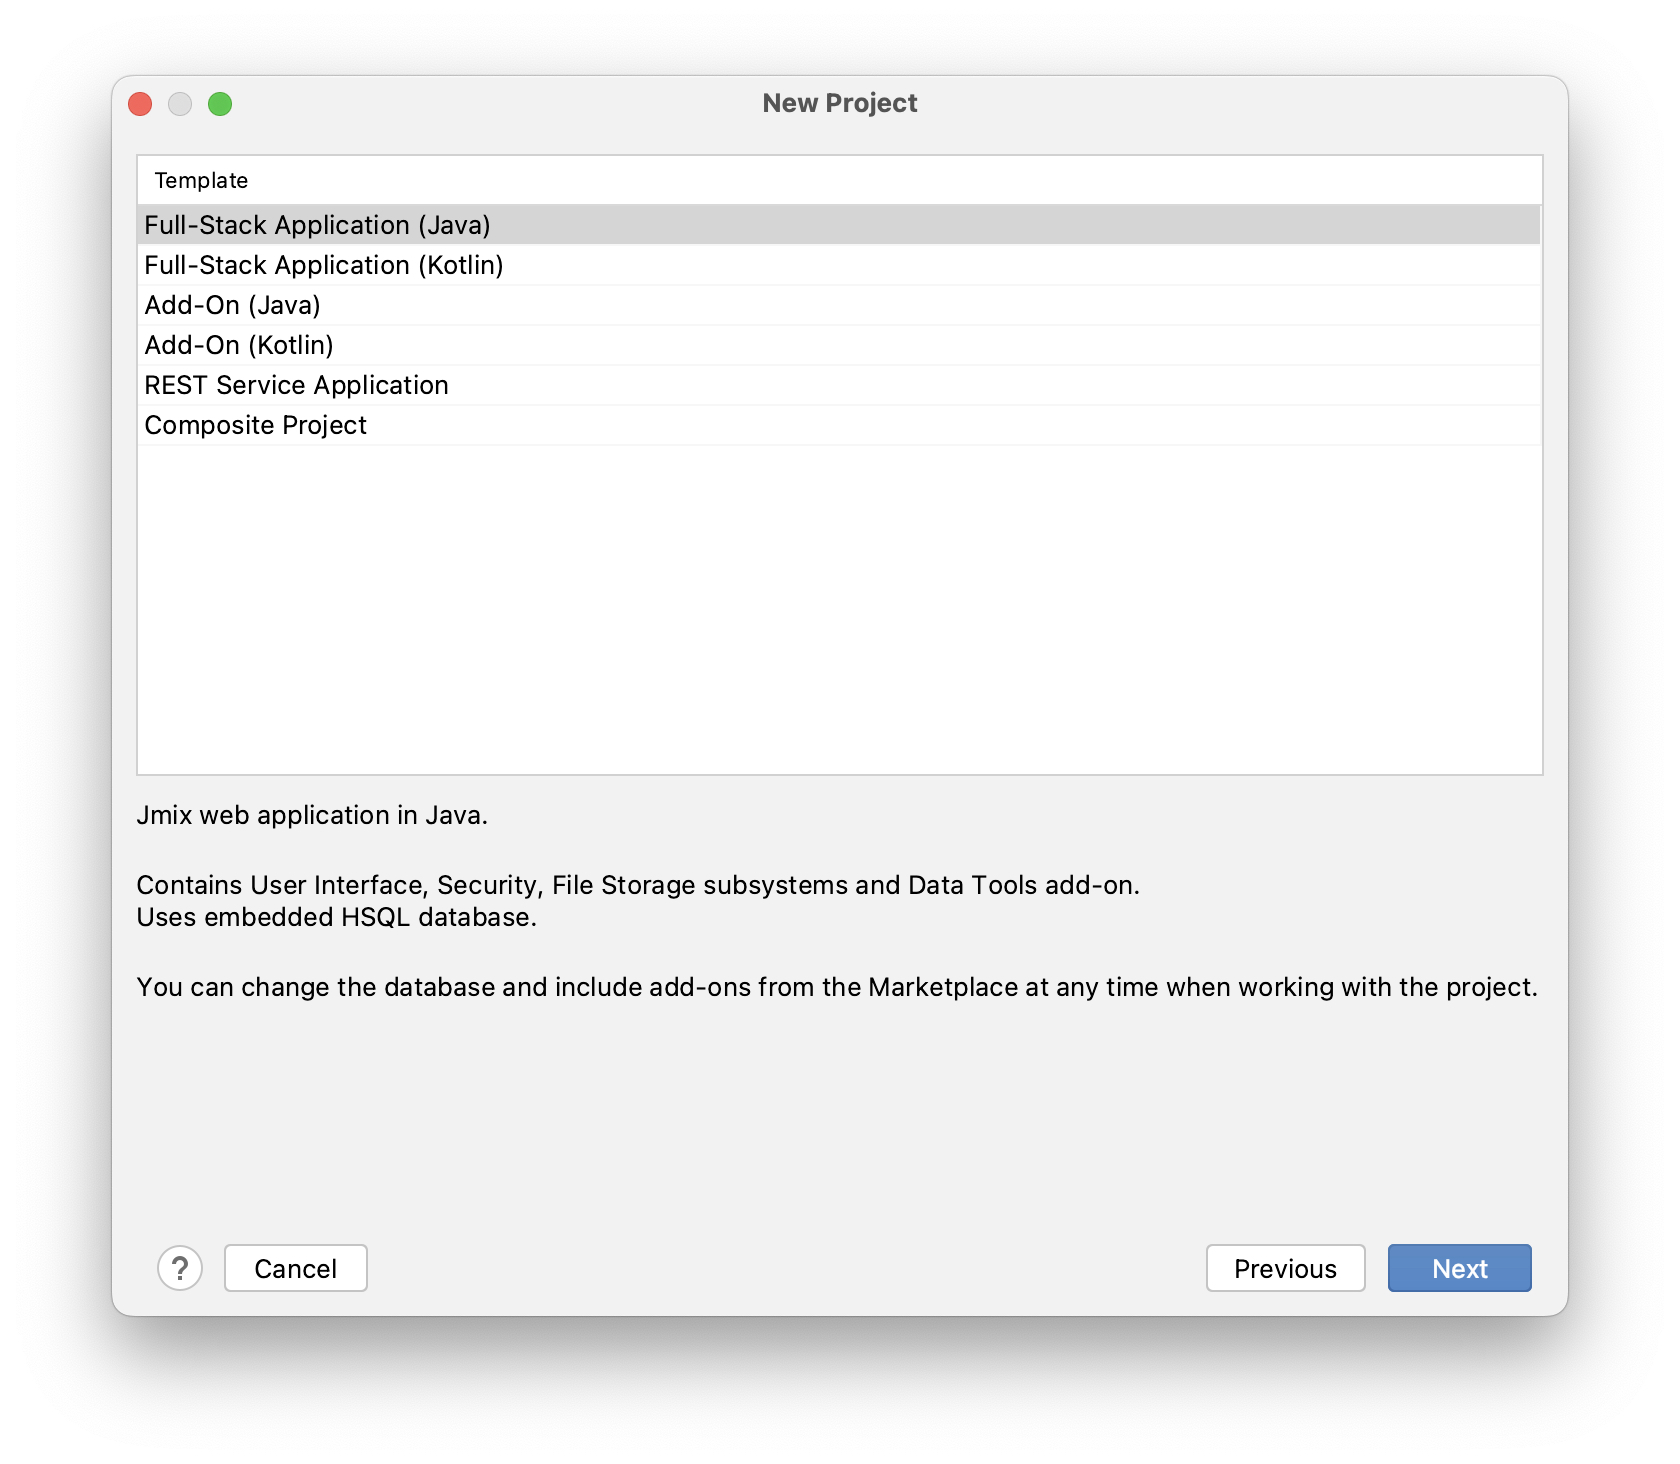
Click Next.
On the last step of the New Project wizard, enter onboarding to the Project name field:
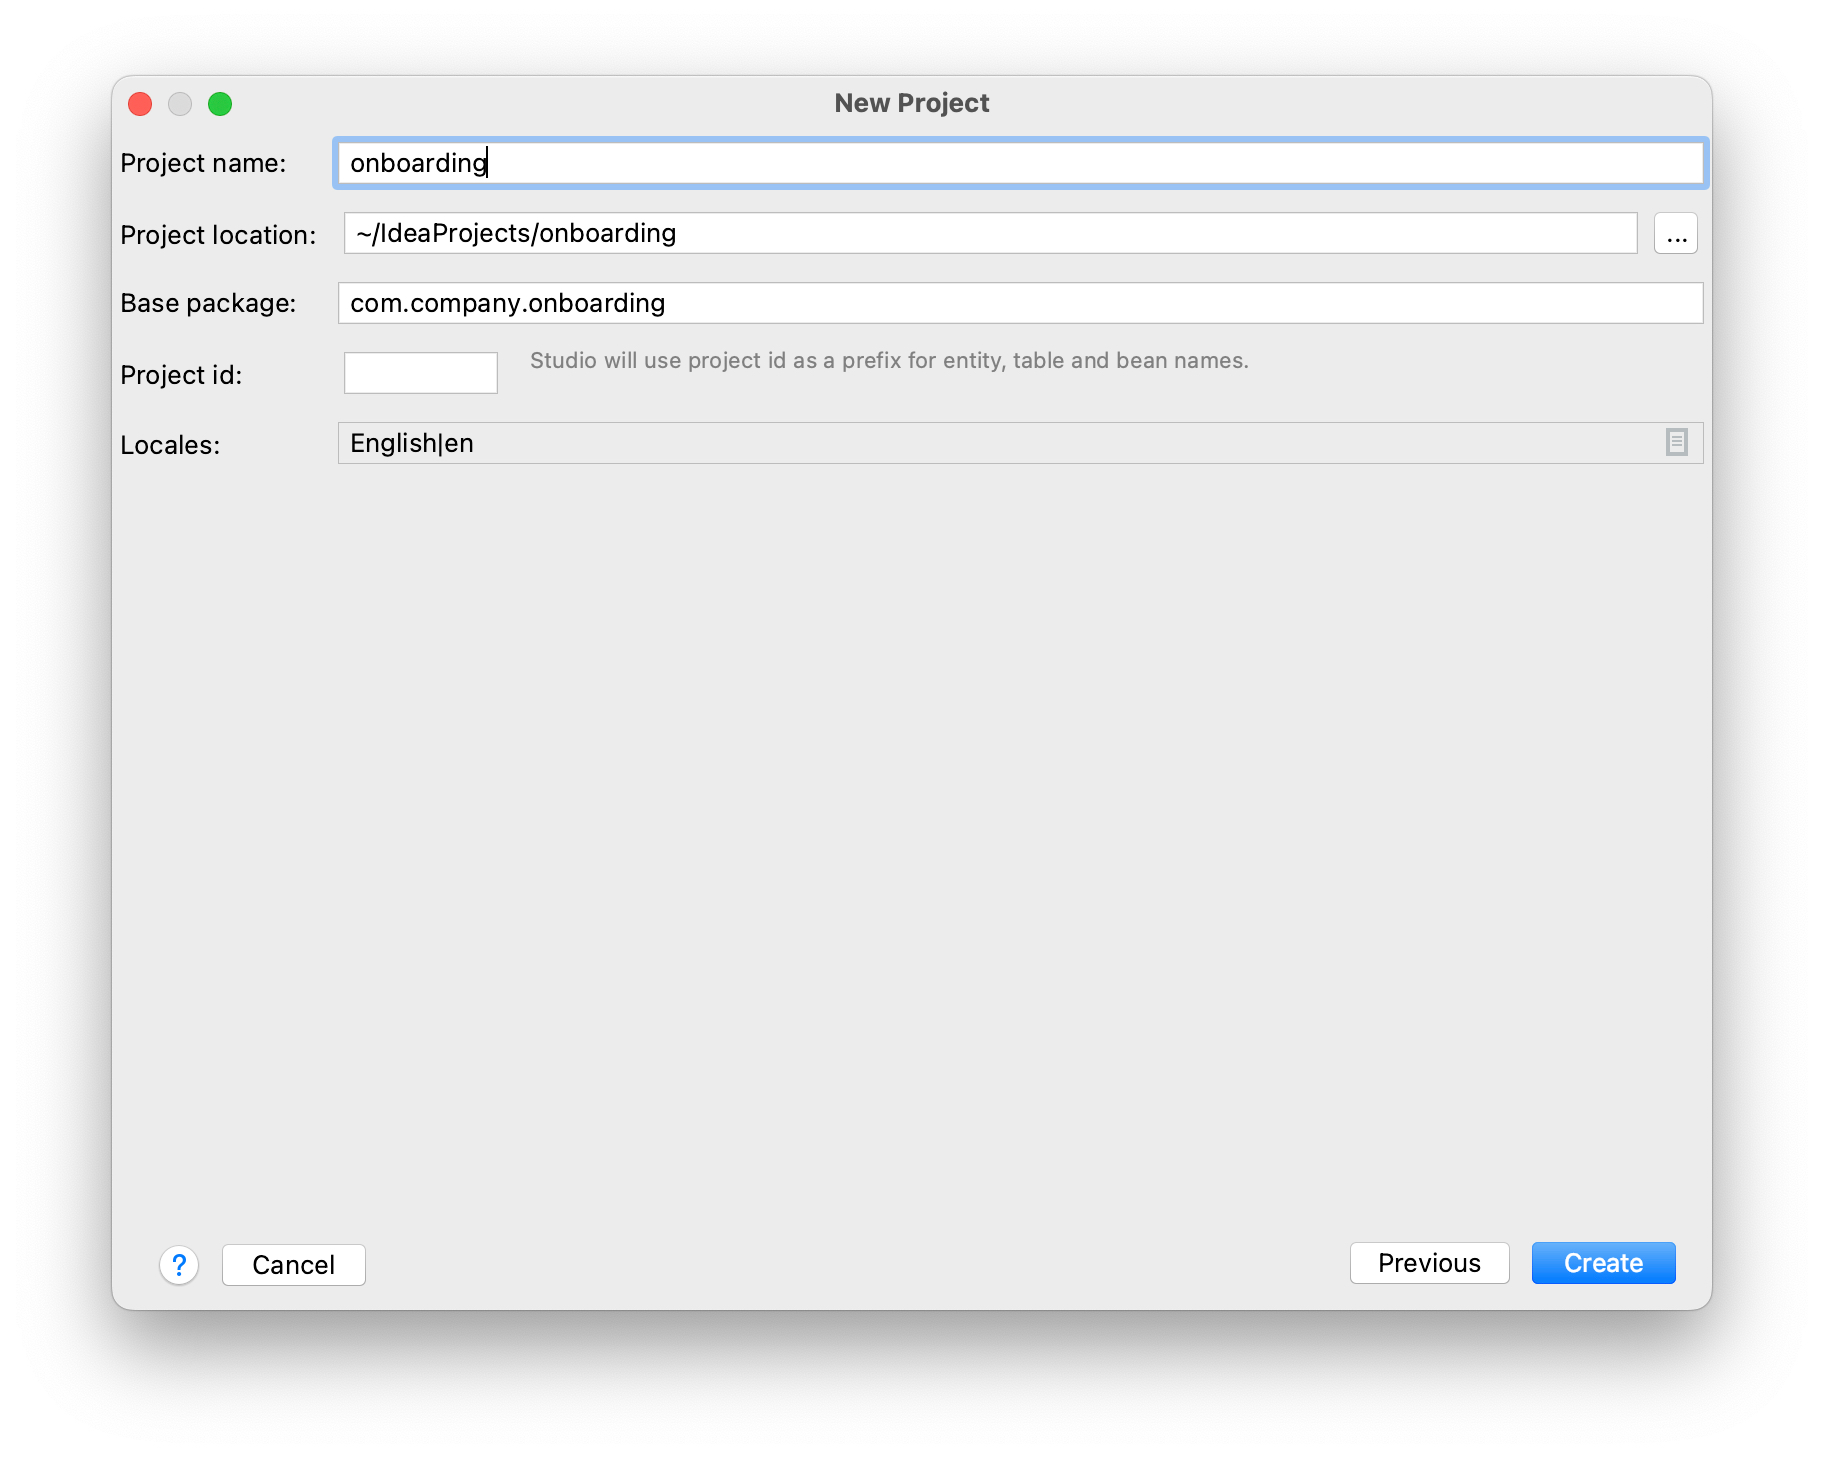
The Base package field defines the Java package which will contain all classes and resources of the project. Keep the value suggested by the wizard (com.company.onboarding) to conform the code in the tutorial.
Project id is optional for an application, so leave the field empty.
Click Create.
| After the project is created, IDE starts downloading dependencies and indexing the project. On the first launch, it may take significant time (up to 10 minutes or more, depending on your internet connection and computer power). Please wait until the progress indicator in the status bar disappears. |
|
The IDE will show a number of notifications suggesting to download "pre-built shared indexes" and install additional plugins. You can safely refuse them. |
Logging in to Jmix Account
After downloading dependencies and indexing a project for the first time, Studio will show the Jmix Sign In dialog. In this dialog, you should log in to your Jmix account or register the new one.
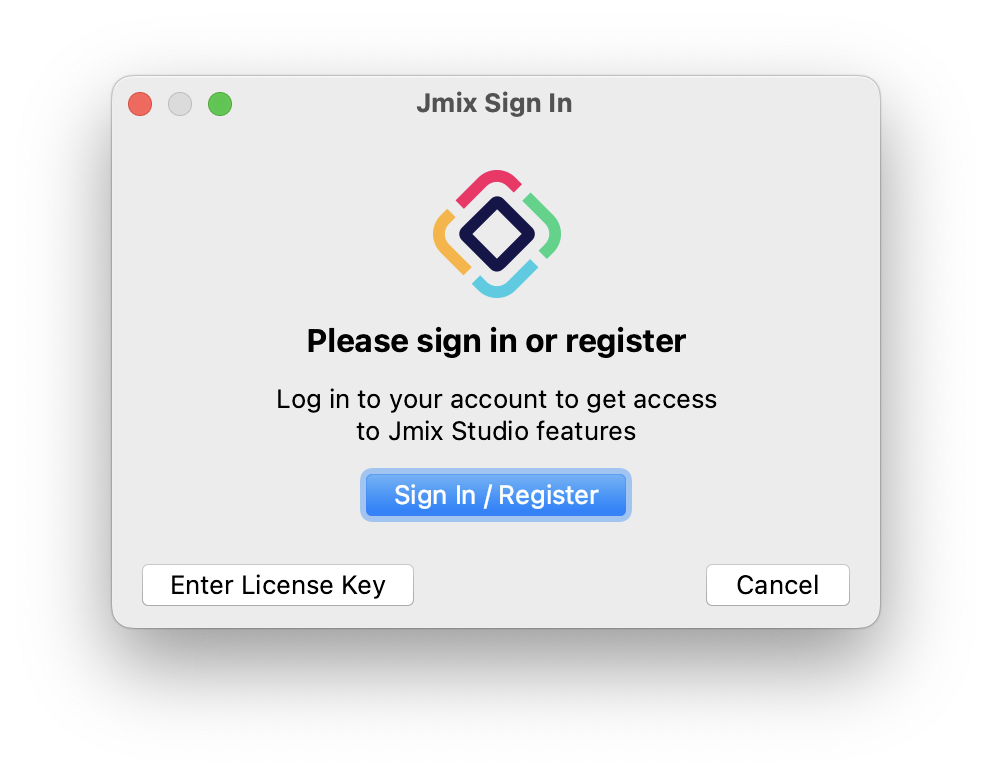
Click on the Sign In / Register button. You will be redirected to the system browser.
-
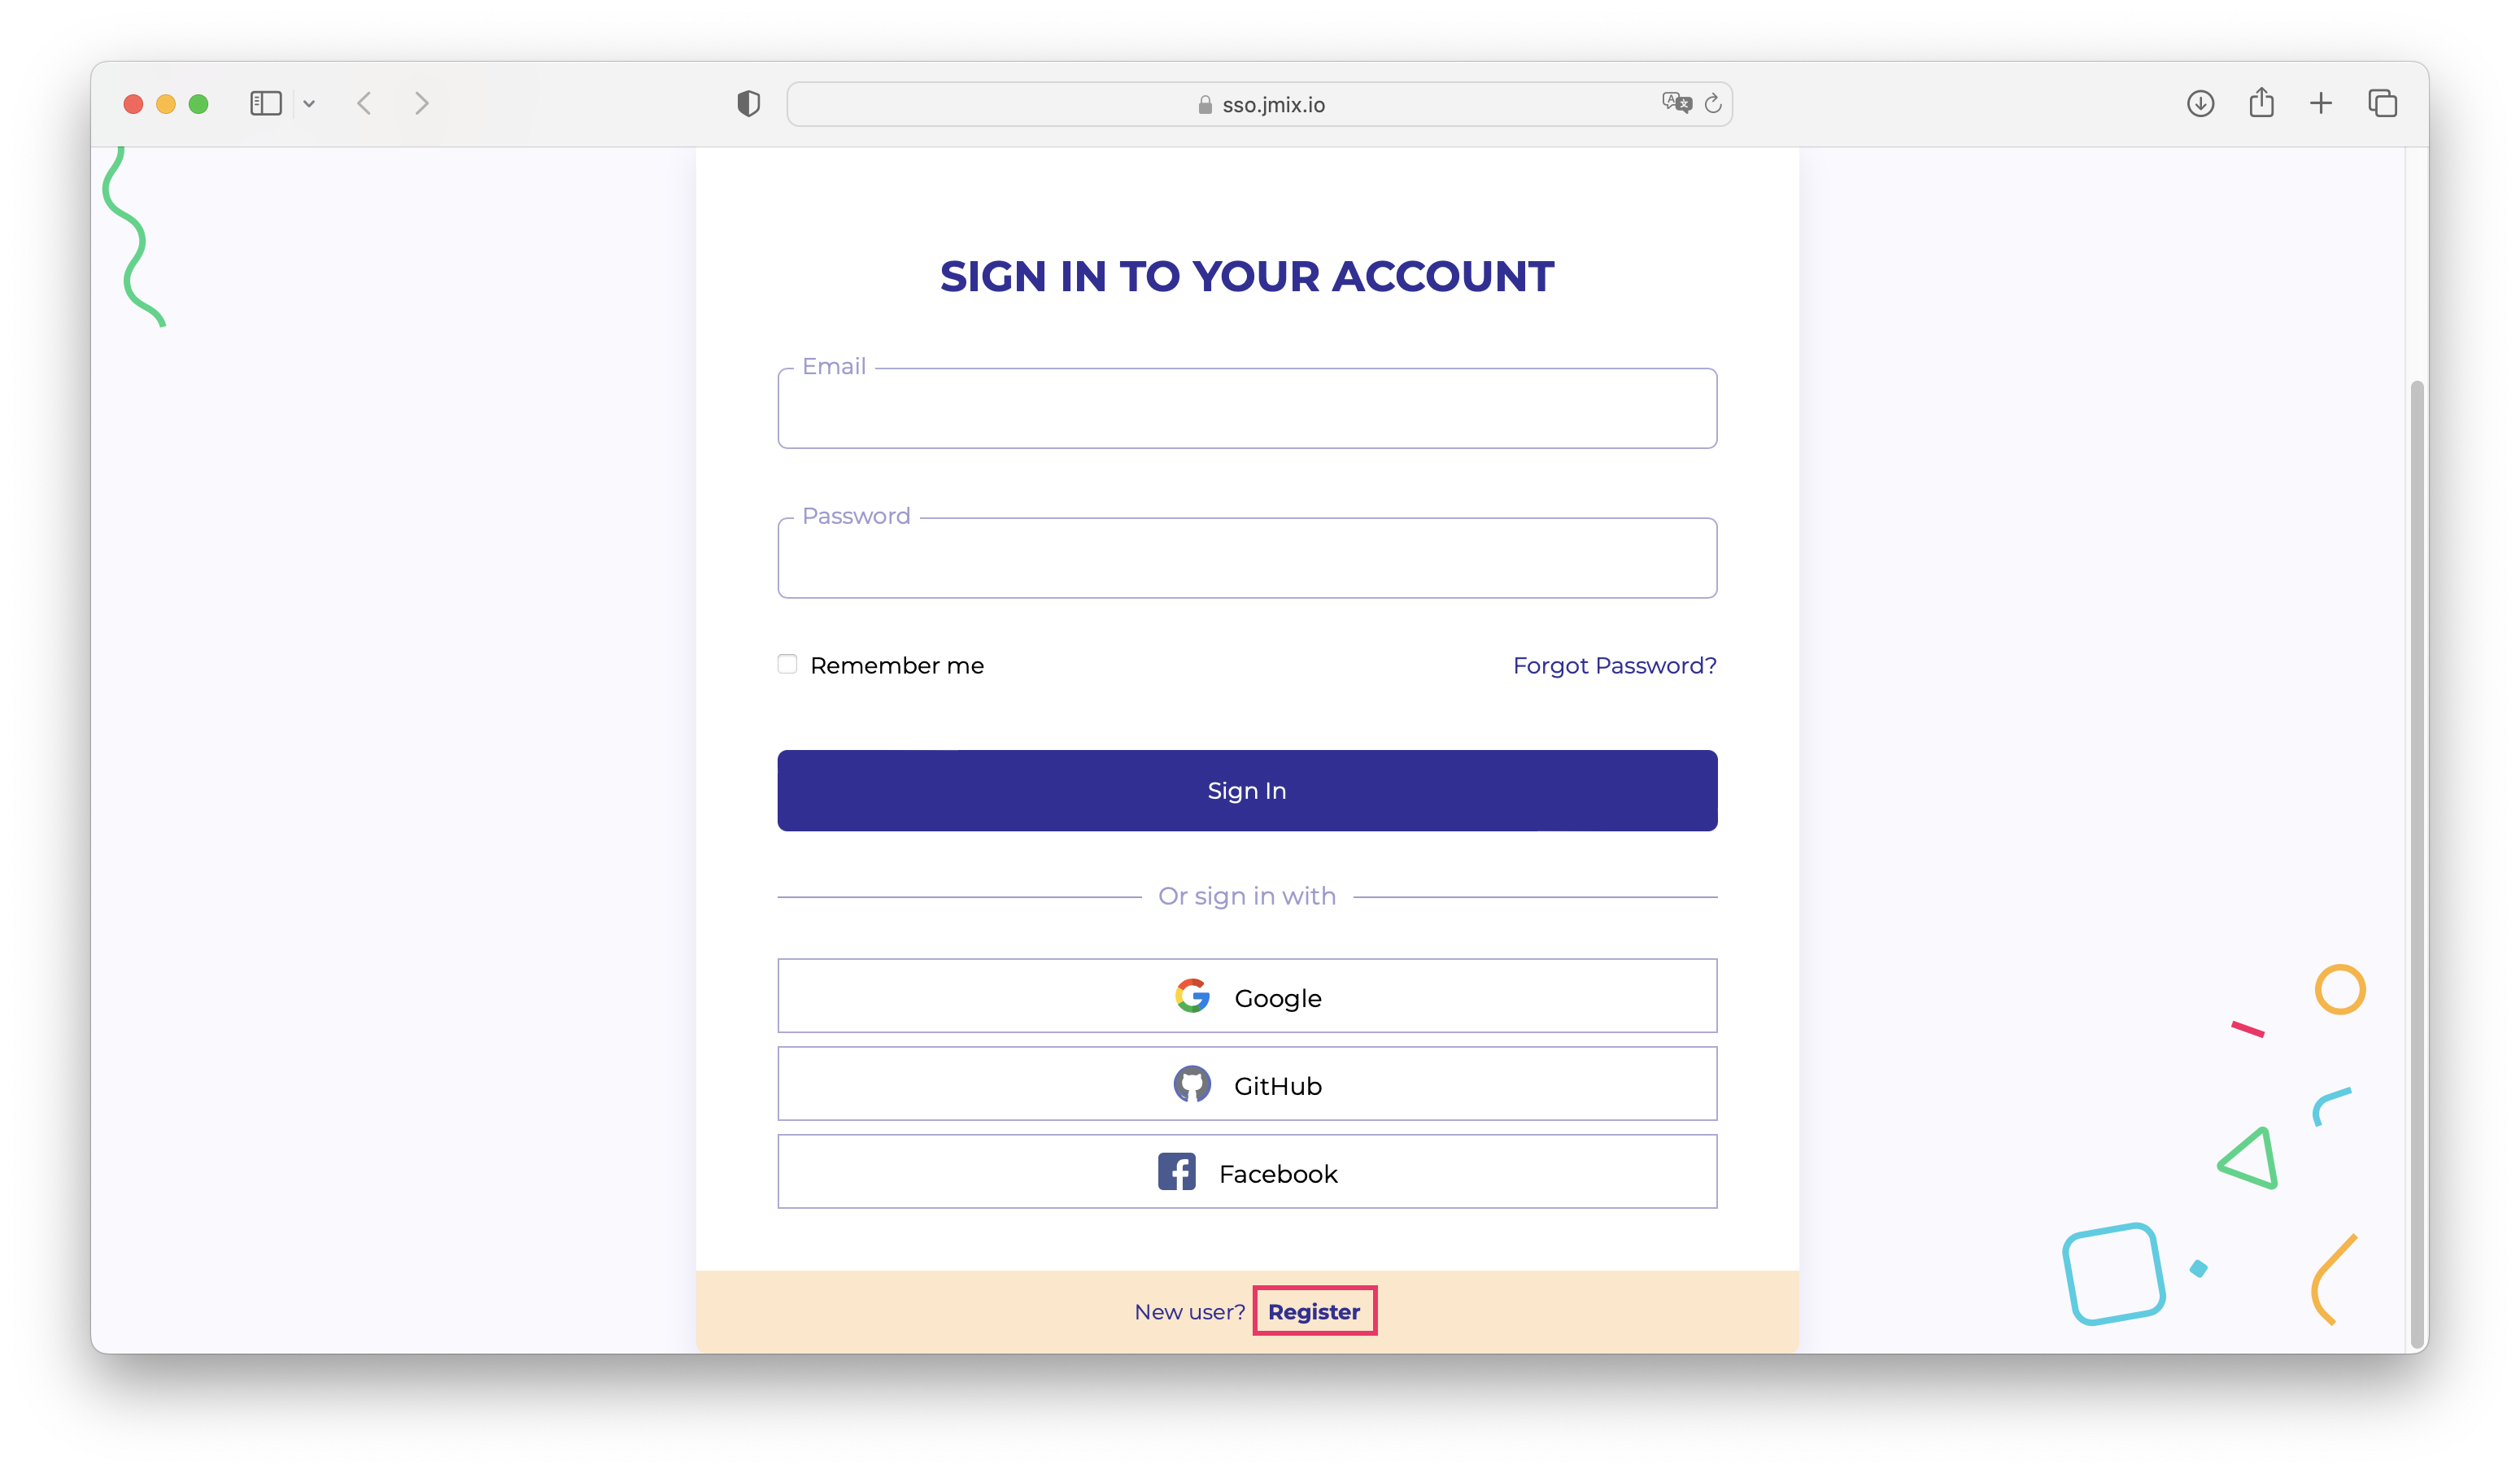
If you don’t have a Jmix account, click on the Register link. In the Registration form, fill in the First name, Last name, Email, and Password fields, accept the privacy policy and click on the Register button.
The email address you entered will be used as your login and the primary email address for your account. After you have submitted the registration form, you should verify your email address to activate your account. Find the verification email in your inbox and click the link in the email to finish the registration.
-
If you already have a Jmix account, enter the Email and Password and click the Sign In button.
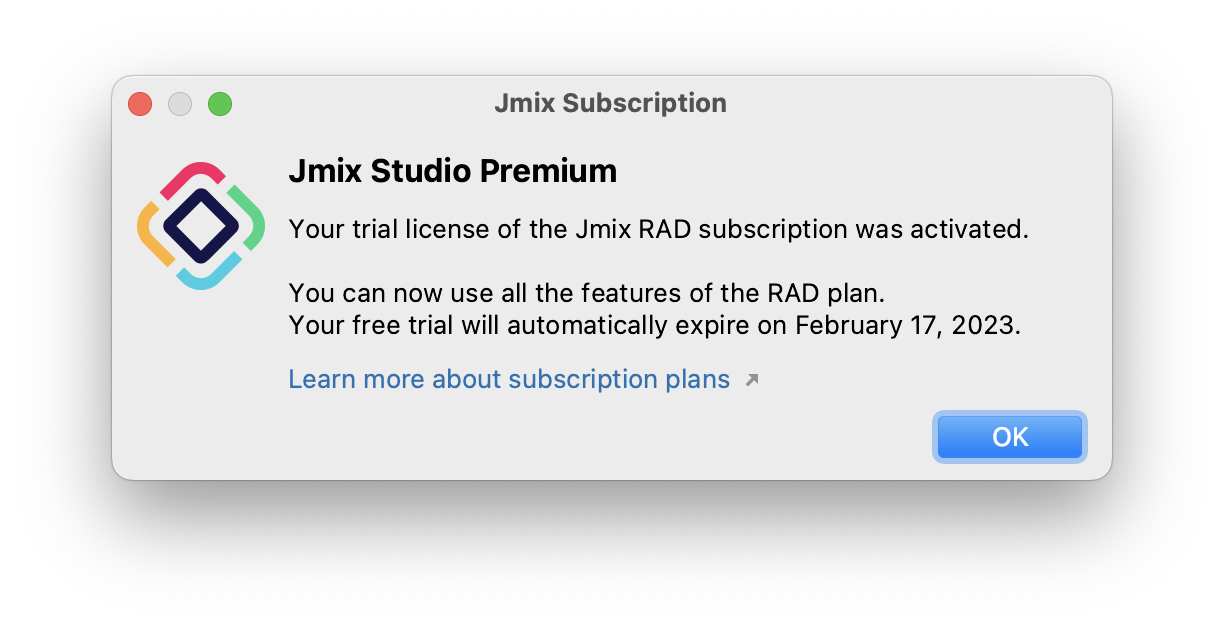
A new user automatically gets a trial subscription to evaluate the full capabilities of the Studio for 28 days.
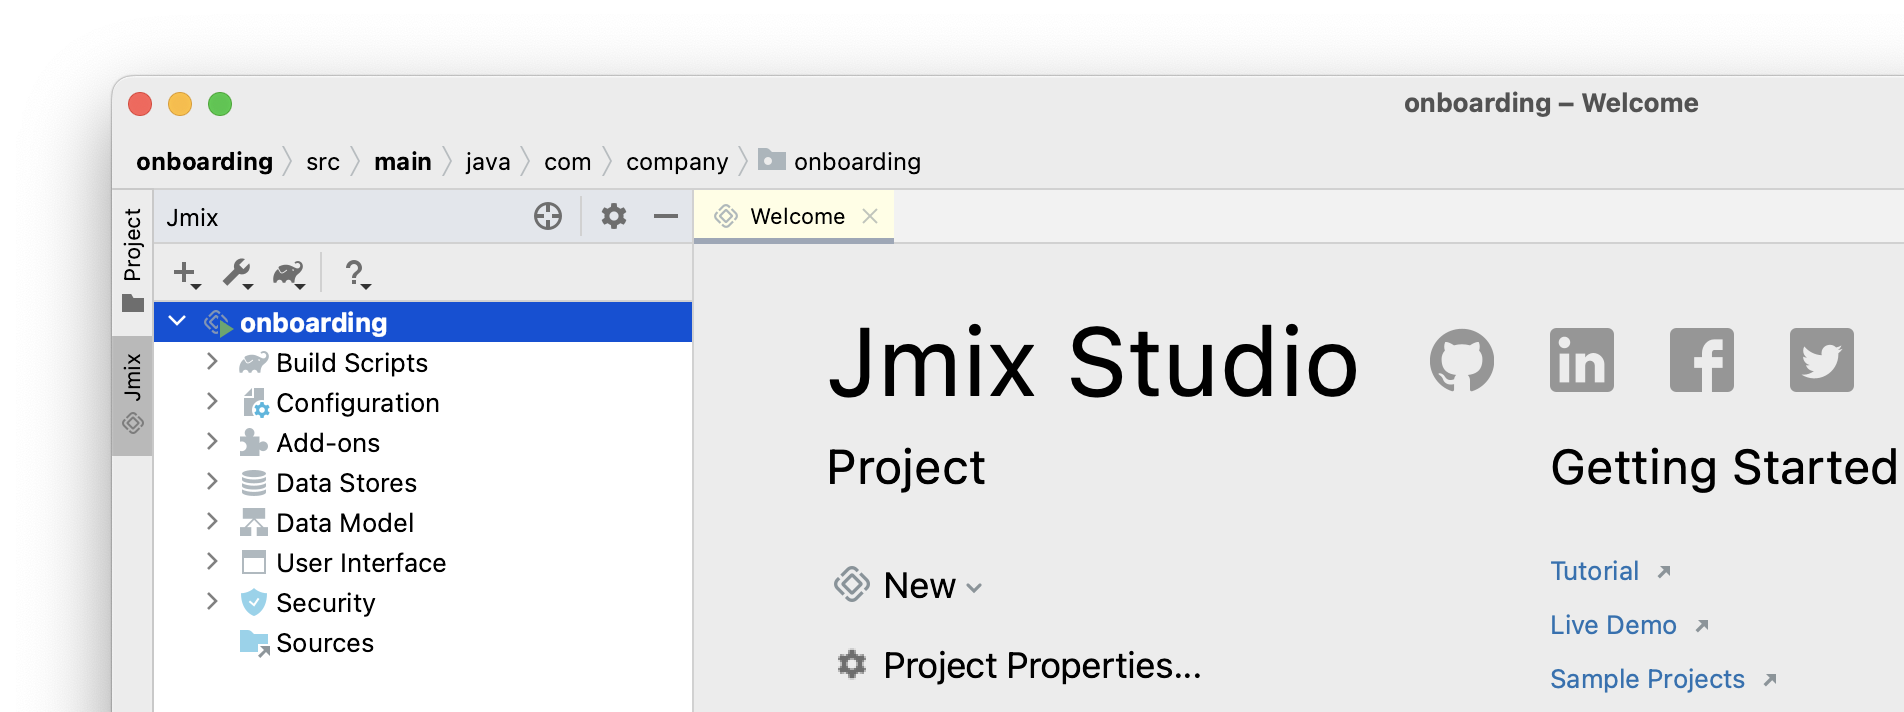
When the project is ready, and Jmix Studio is activated, IDE opens the Jmix tool window on the left and the Welcome page in the working area:
|
If all progress indicators have disappeared, but you don’t see the Welcome page and Jmix tool window, do the following:
|

Exploring New Project
The Jmix tool window presents a structured view of the project. Let’s figure out what a newly created project contains.
-
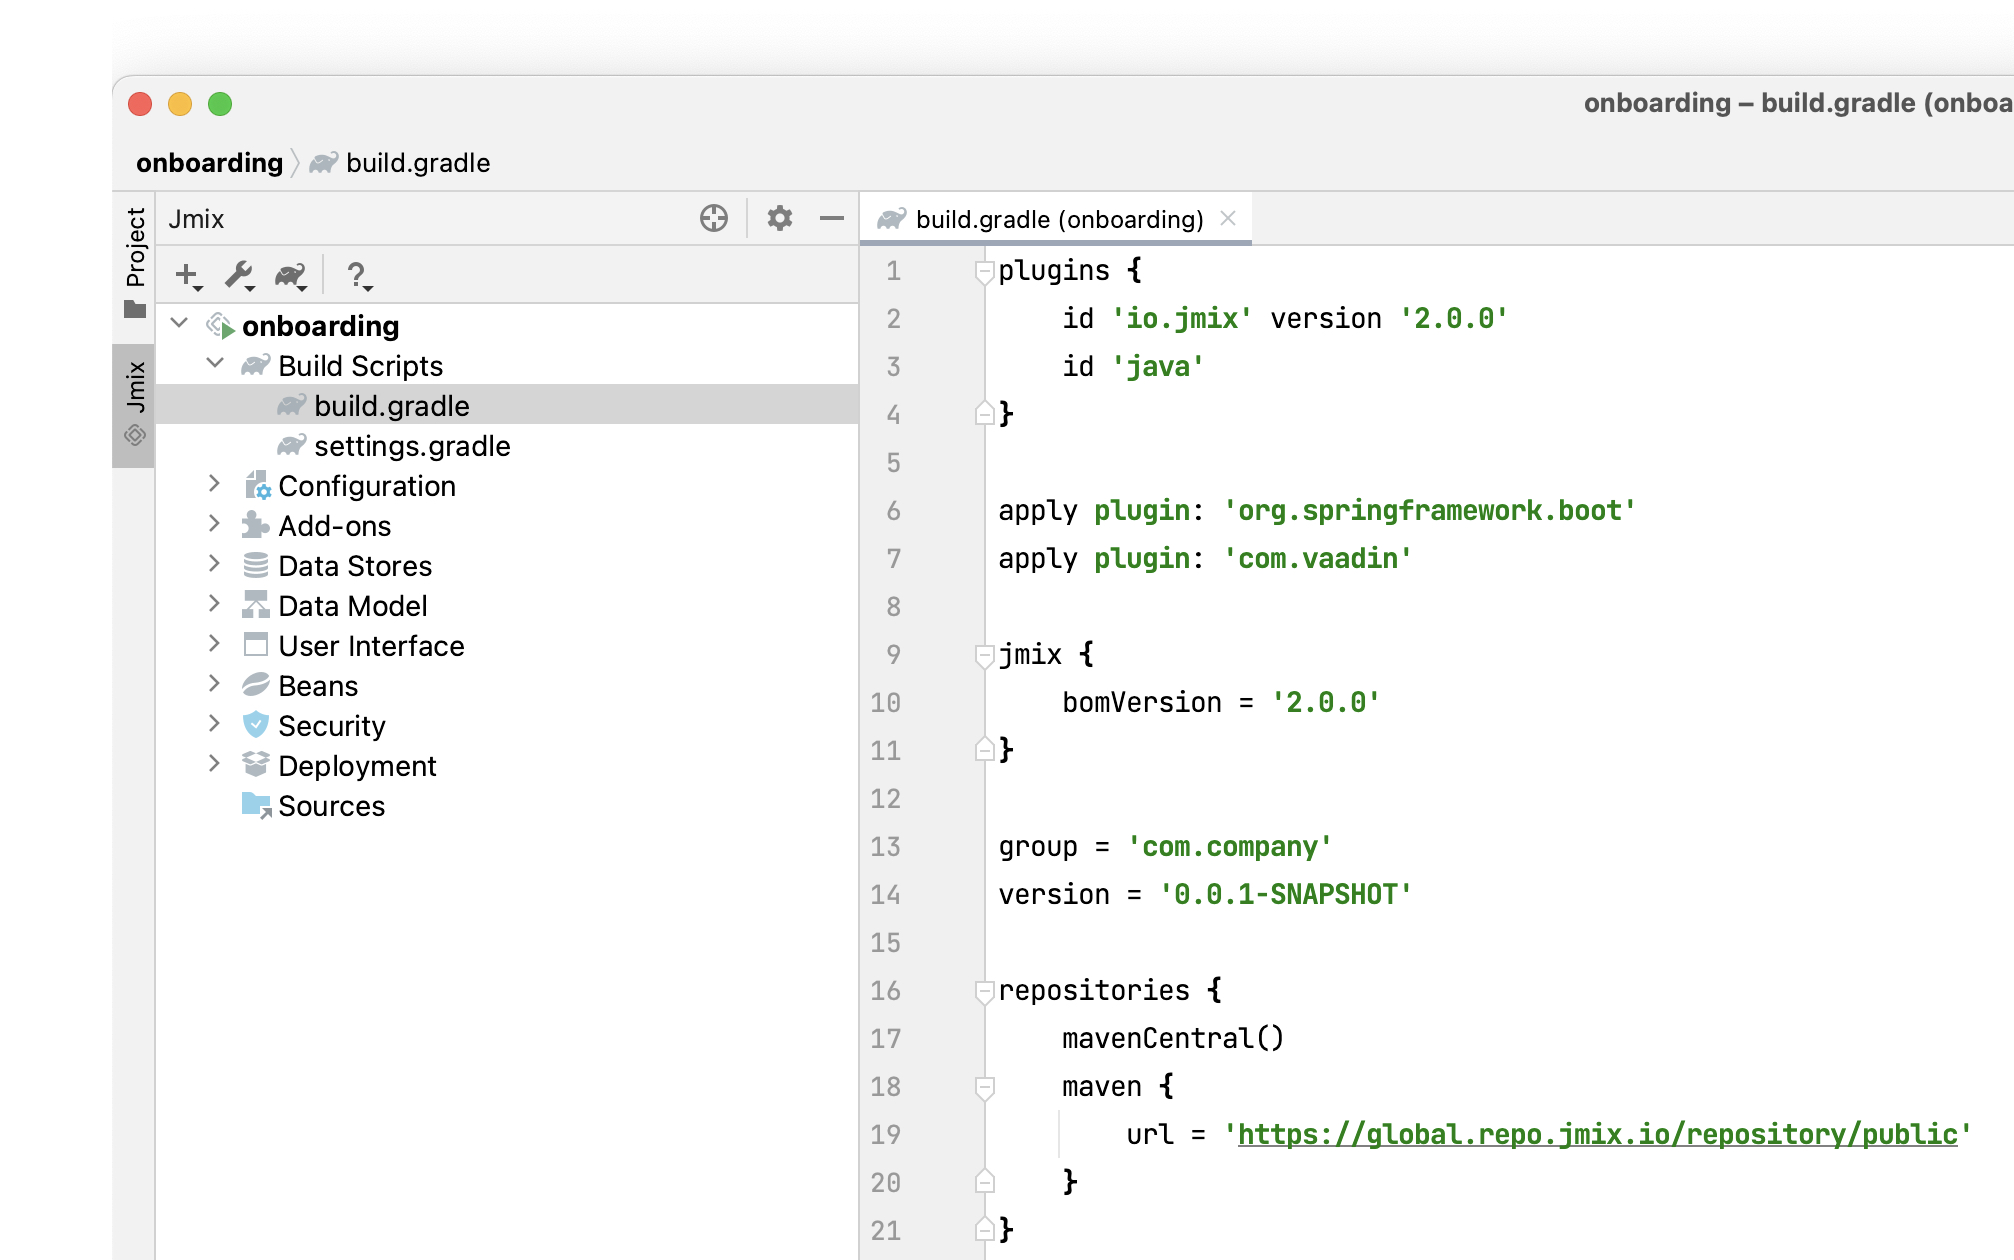
In the Build Scripts section you can see the Gradle build files:
-
The Configuration section contains the main application class
OnboardingApplicationand theapplication.propertiesfile which defines database connection parameters, logging levels and other properties: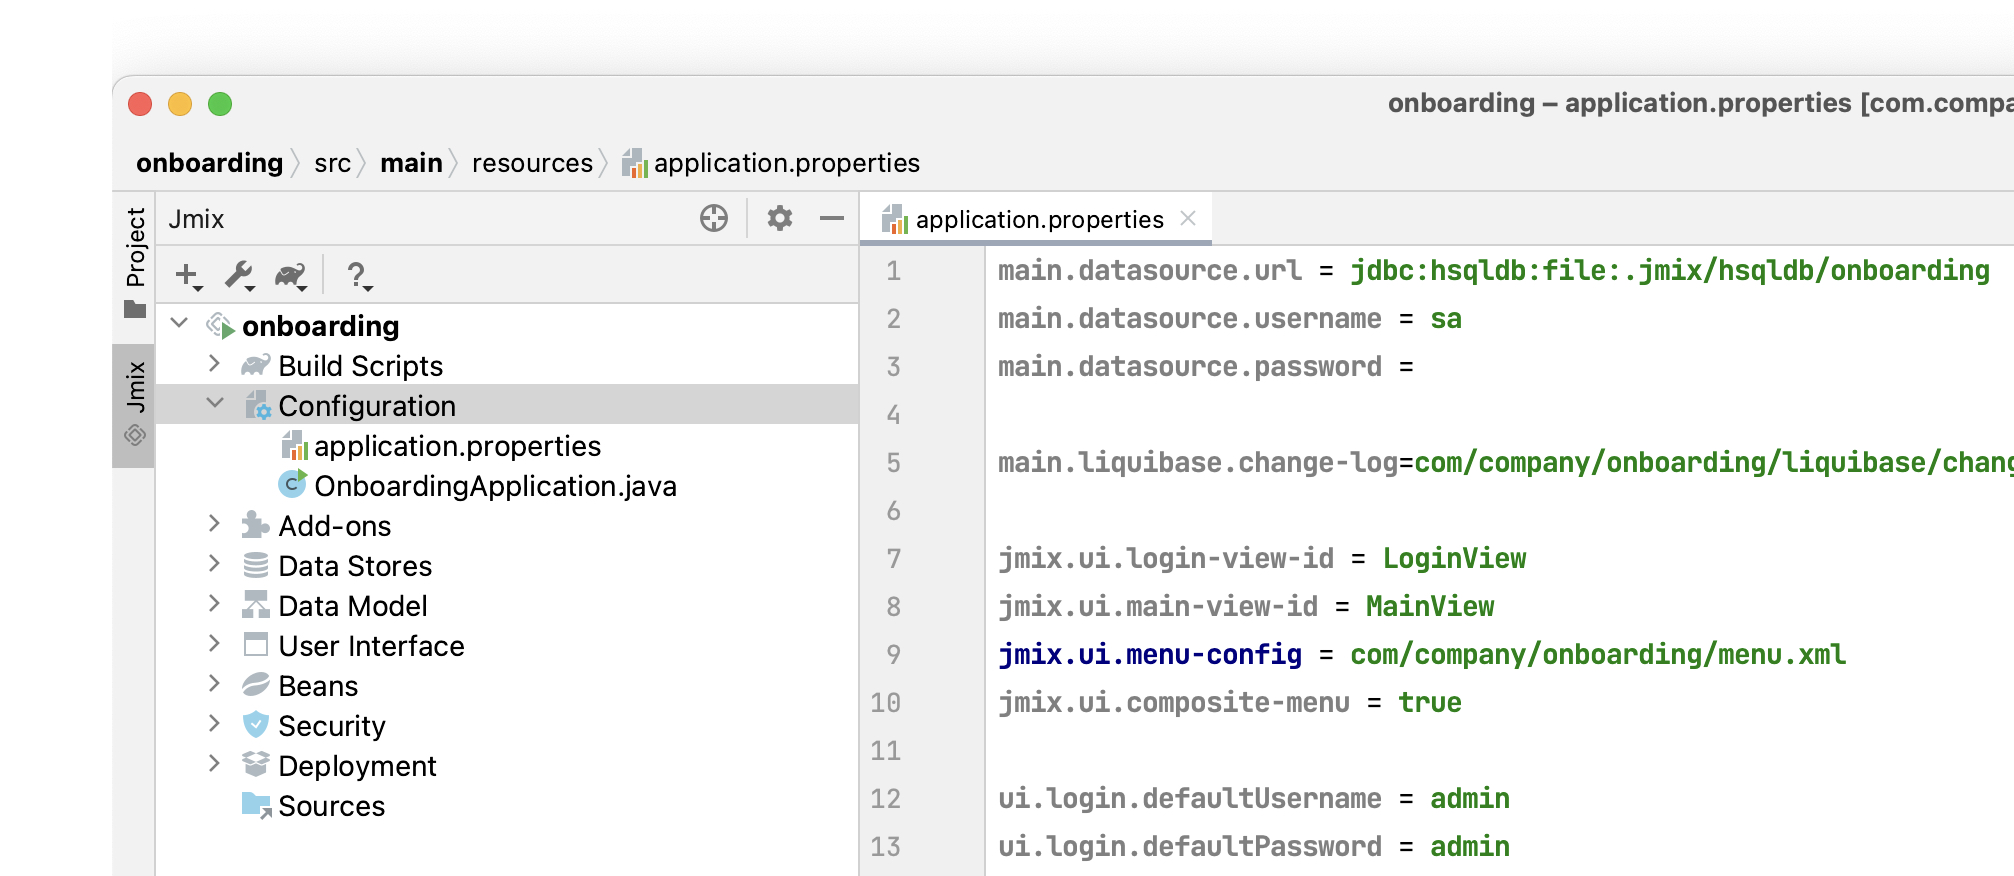
The
OnboardingSecurityConfigurationclass complements the standard security configurations provided by Jmix modules. You can configure custom API endpoint security by definingSecurityFilterChainbeans within this class. -
The Add-ons section displays the list of installed Jmix add-ons:
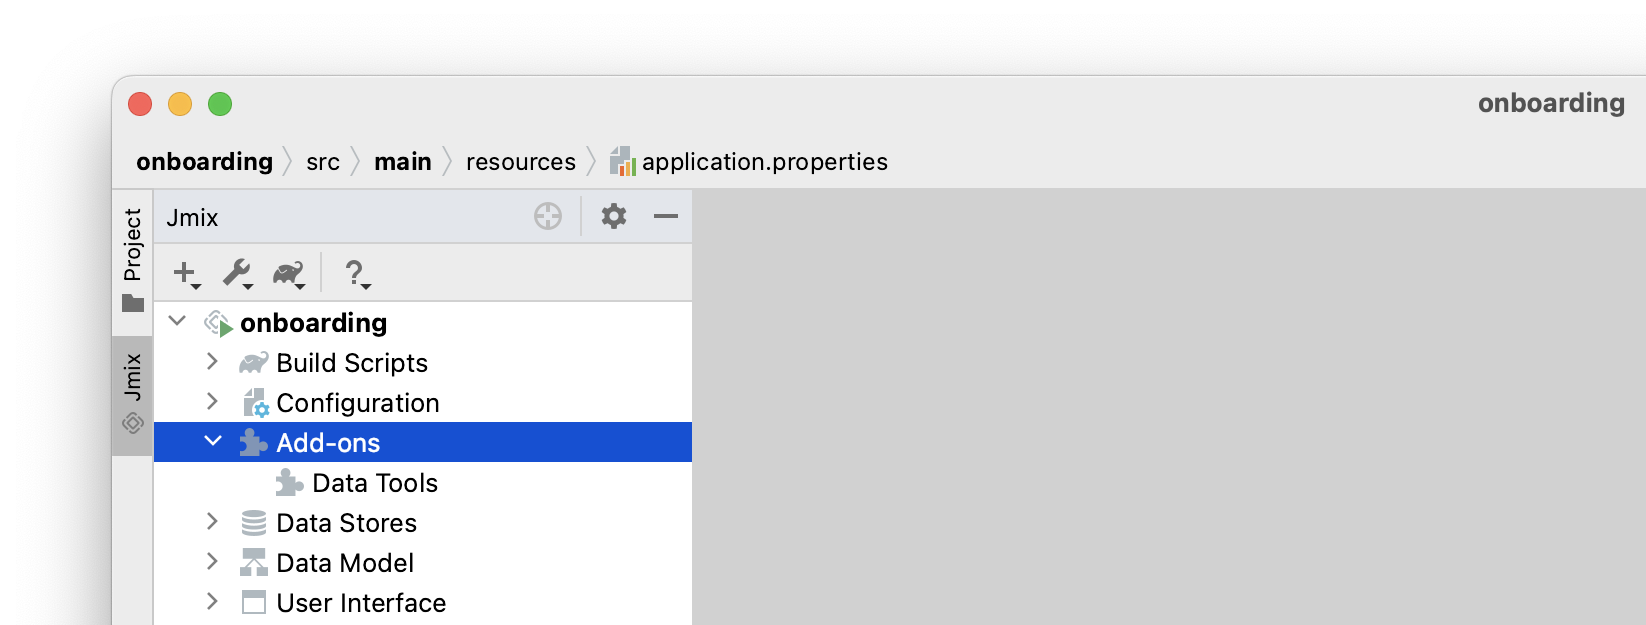
If you double-click on the Add-ons node, Studio will open a dialog window for managing add-ons in your project.
-
The Data Stores section displays the list of databases used in the project, and their Liquibase changelogs:
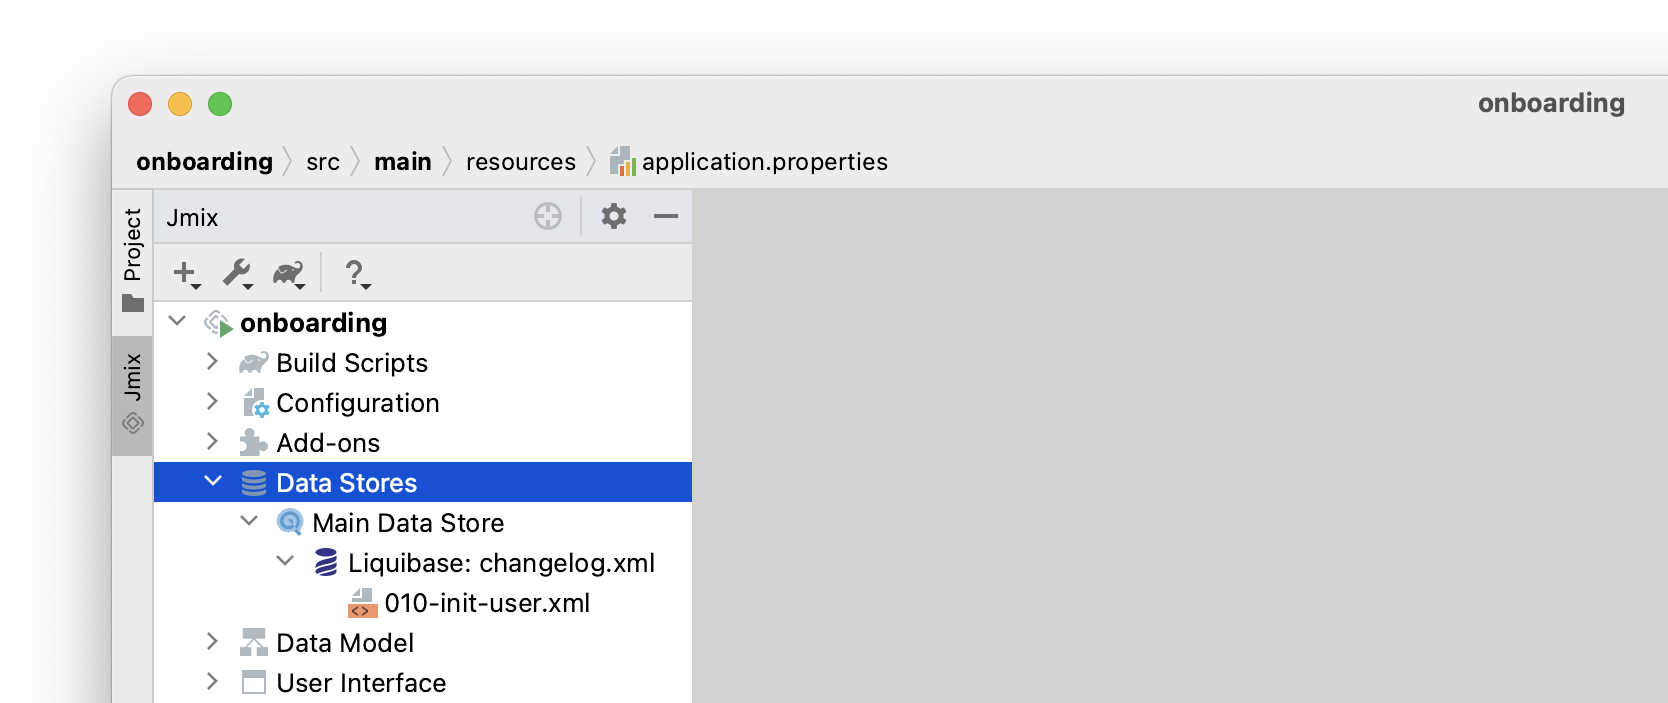
In the new project, the HSQL relational database is used by default. It stores data in the
.jmix/hsqldbfolder of the project.Liquibase changelogs are XML files describing the database schema changes.
If you double-click on the Main Data Store node, you will see parameters of the database connection in a dialog window. These parameters are stored in the
application.propertiesfile. -
The Data Model section displays all project entities. There is a single
Userentity in the new project:
-
The User Interface section contains the project views, as well as the Themes node to manage custom CSS, the Message Bundle node for quick access to localized messages and the Main Menu node for opening the menu descriptor:
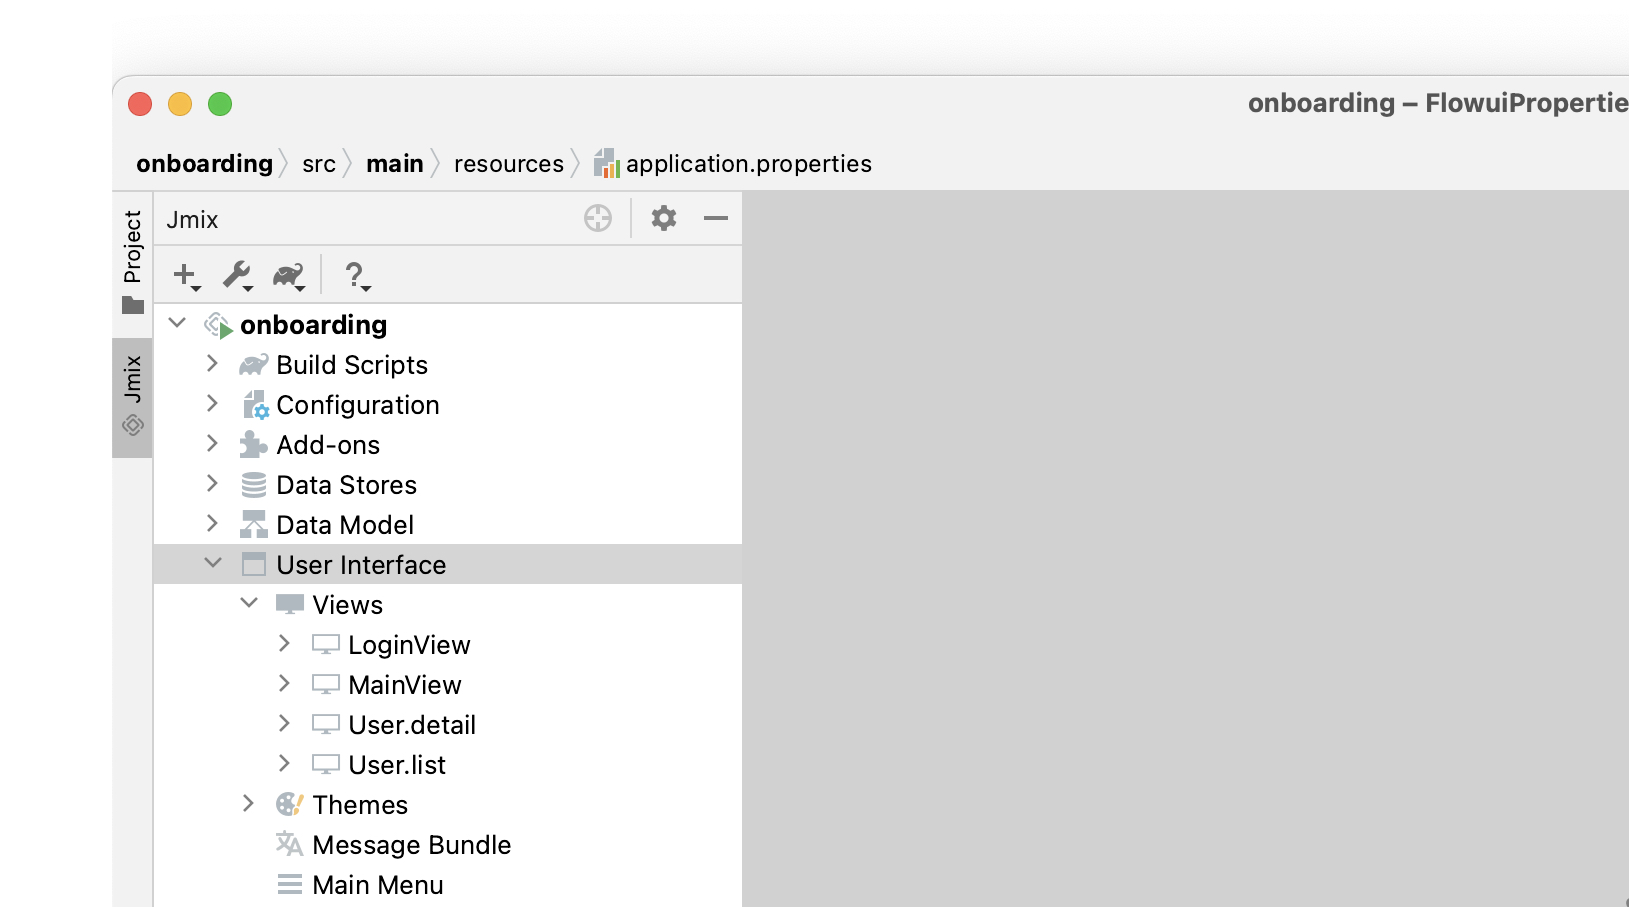
As you can see, the project already contains a few views:
-
LoginViewaccepts username and password for user authentication. -
MainViewopens after login and contains the main menu. -
User.listandUser.detailare CRUD views for theUserentity. In Jmix, by convention,listsuffix means a view displaying the list of entities, anddetailmeans a view editing a single entity instance.
-
-
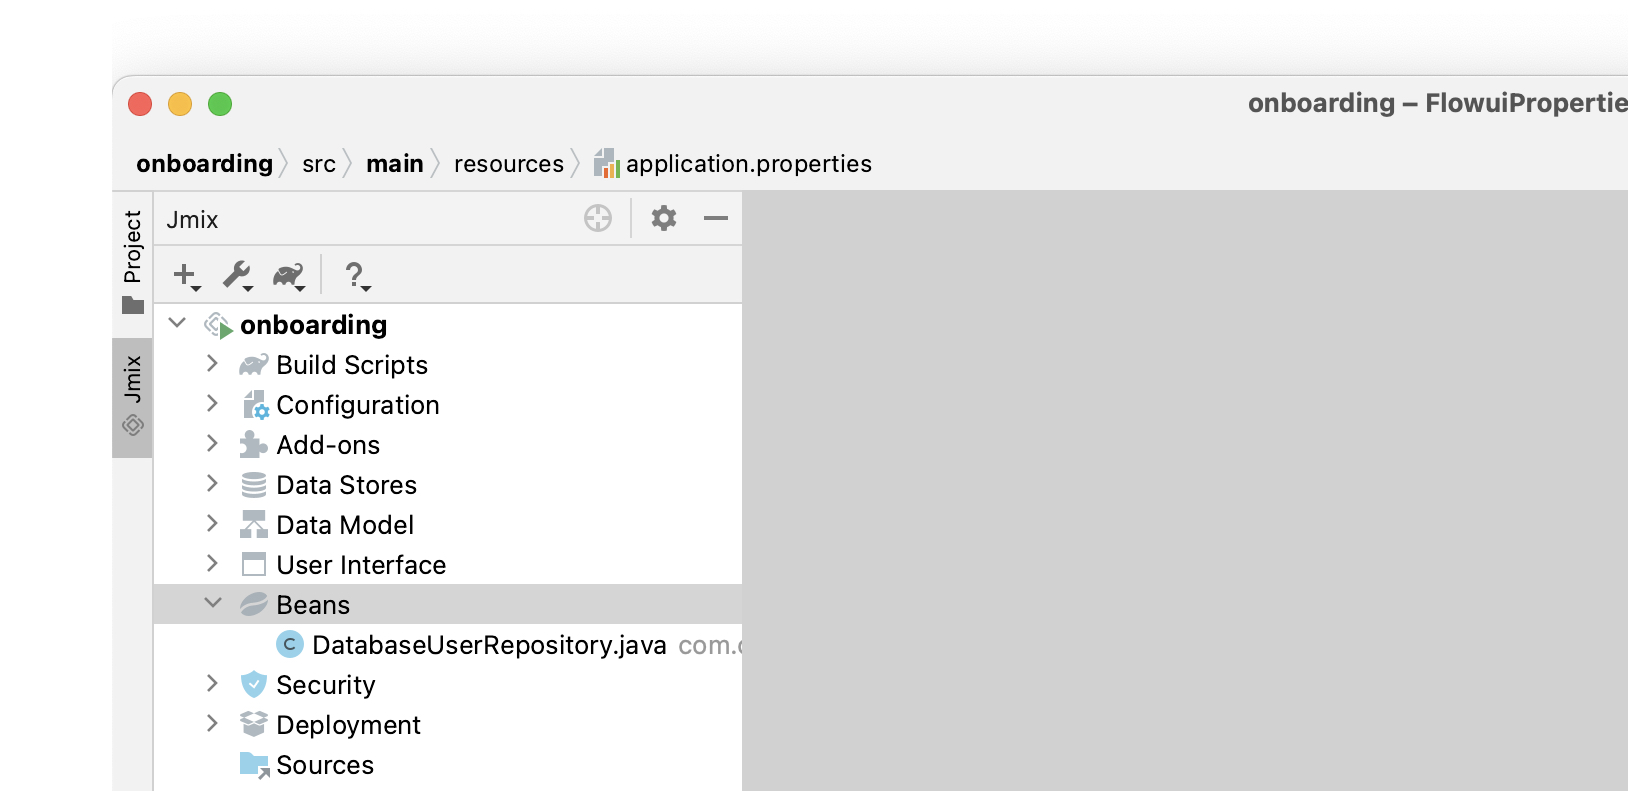
The Beans section displays Spring beans defined in the project.
-
The Security section shows a list of roles. The new project contains the
FullAccessRolewhich is assigned to theadminuser andUiMinimalRolewhich gives minimal permissions to users: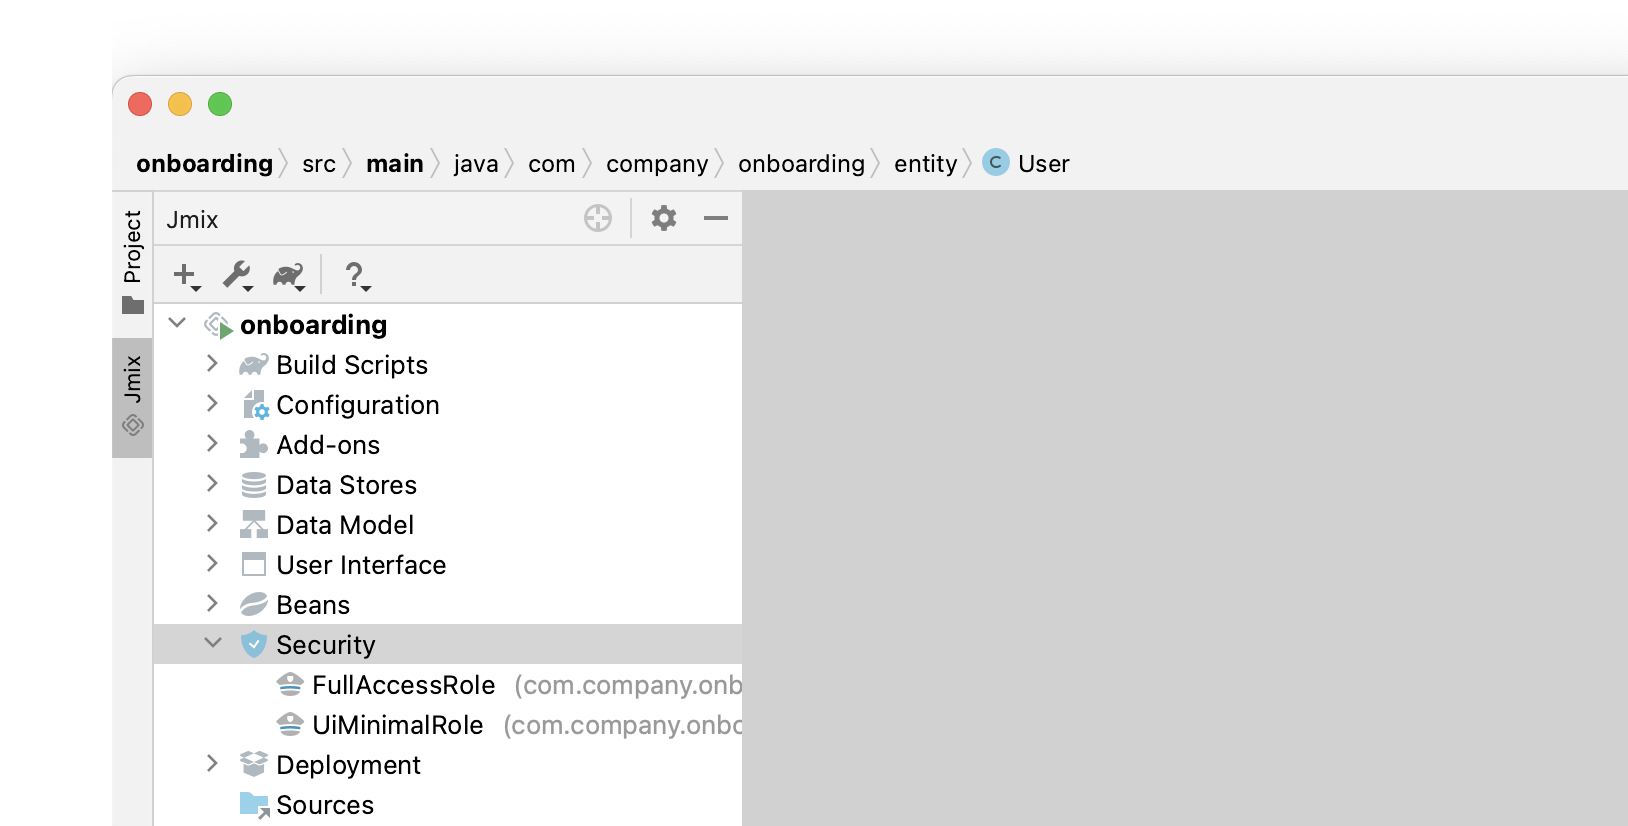
-
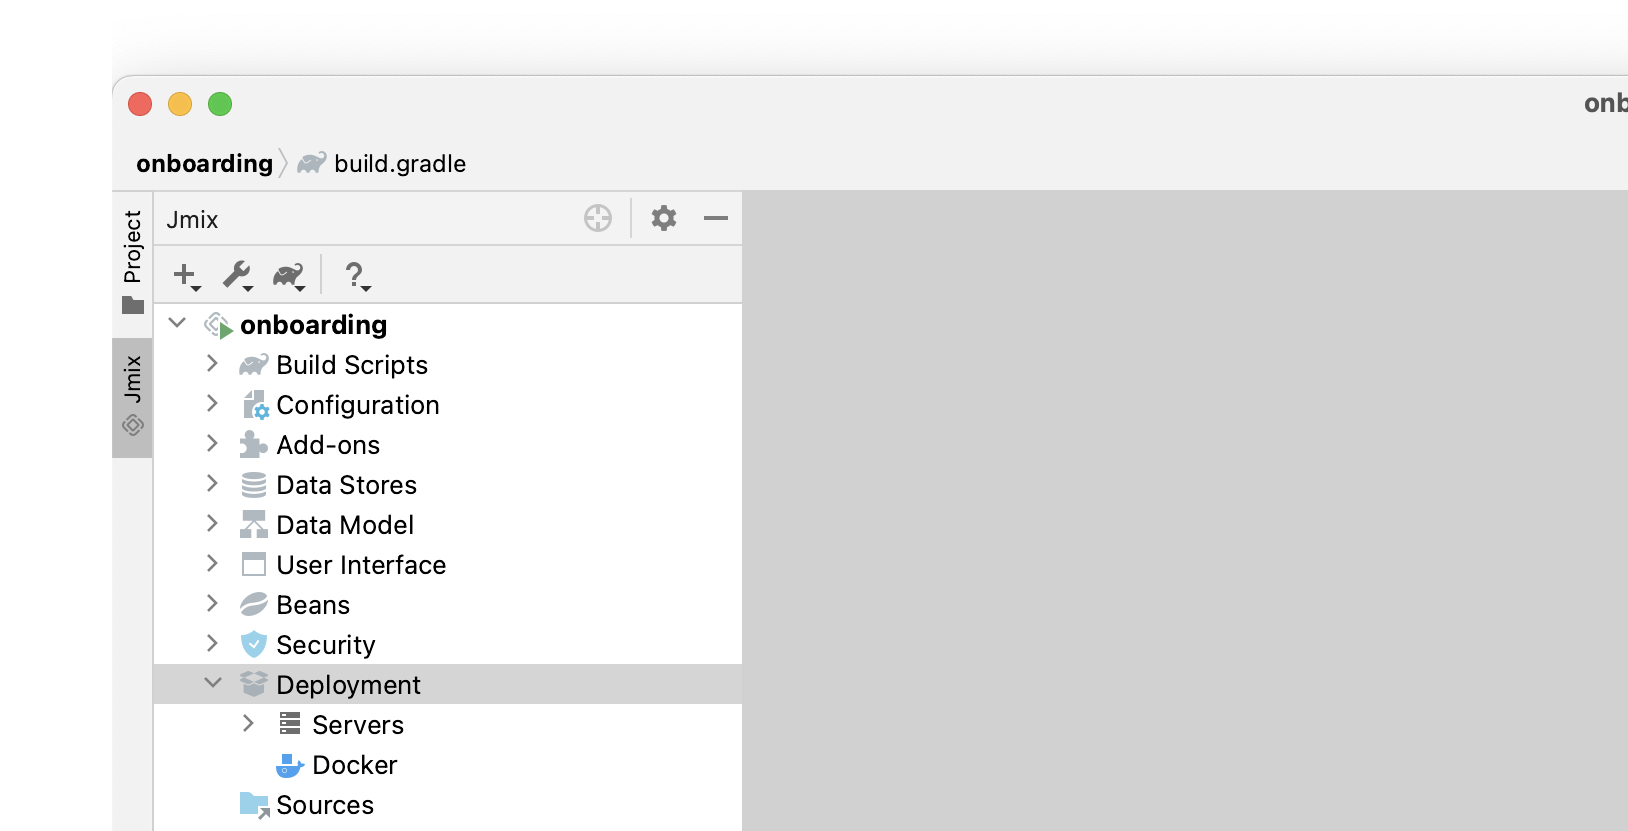
The Deployment section will let you quickly deploy a containerized application to the cloud:
-
If you double-click on the Sources node, Studio will open the Project tool window with the usual view of the entire source code:
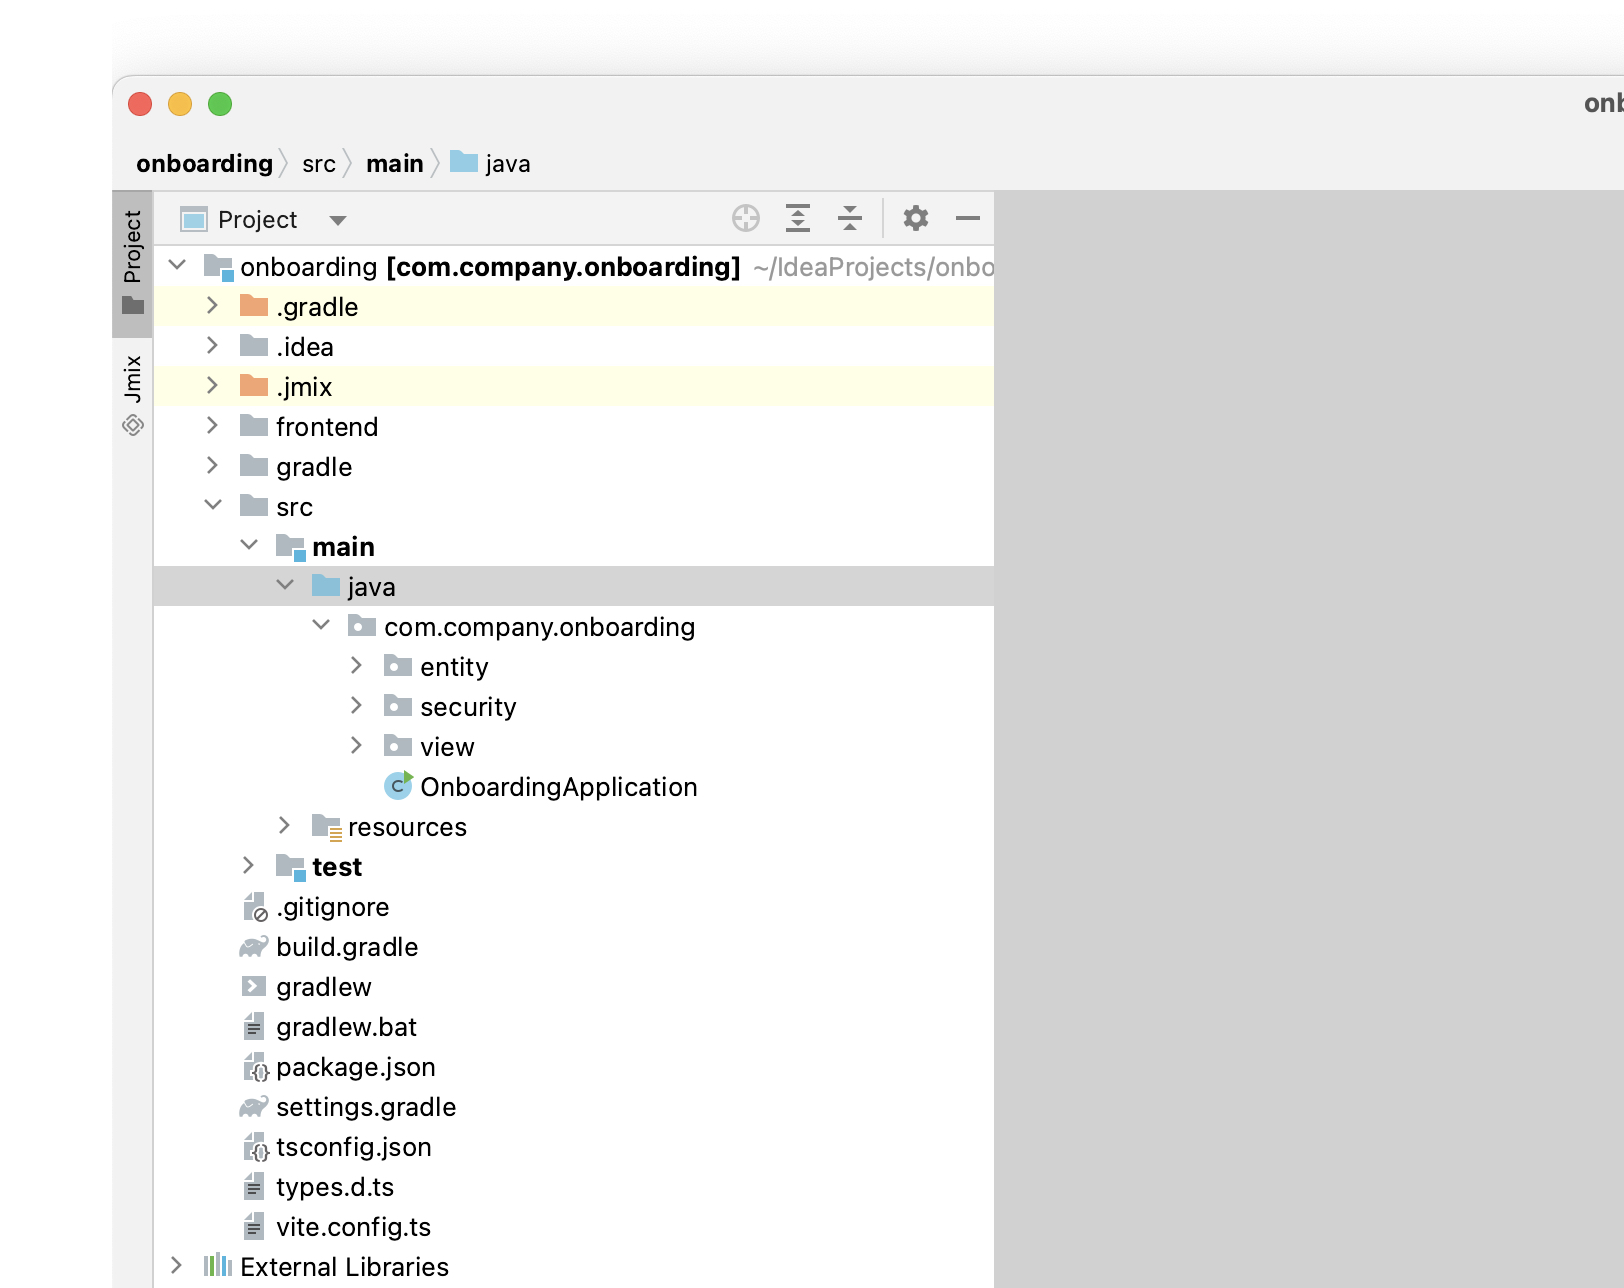
Navigate to the Jmix tool window by clicking on the tab located on the left side of the IDE window.
Running Application from IDE
You can run the new project right after opening it in the IDE and see the initial state of your application.
Starting Application
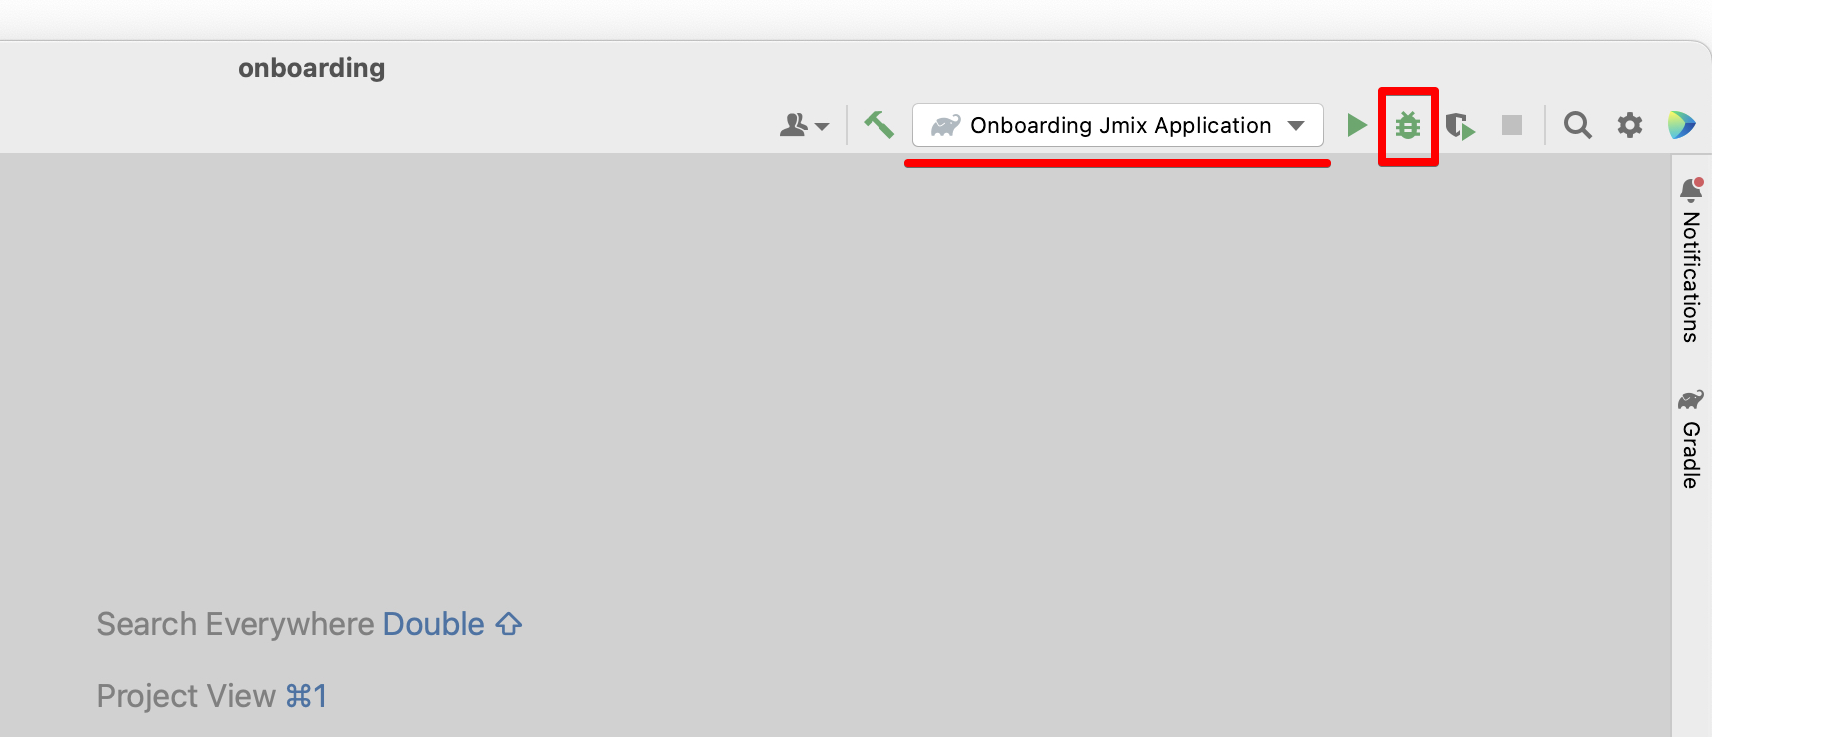
Find the dropdown field showing Onboarding Jmix Application value in the main toolbar and click the Debug button ( ) next to it.
|
If you are using IntelliJ IDEA Ultimate, you may see one more item in the Run/Debug Configurations dropdown list, called To run a Jmix application, always use a configuration marked with the Jmix icon ( |


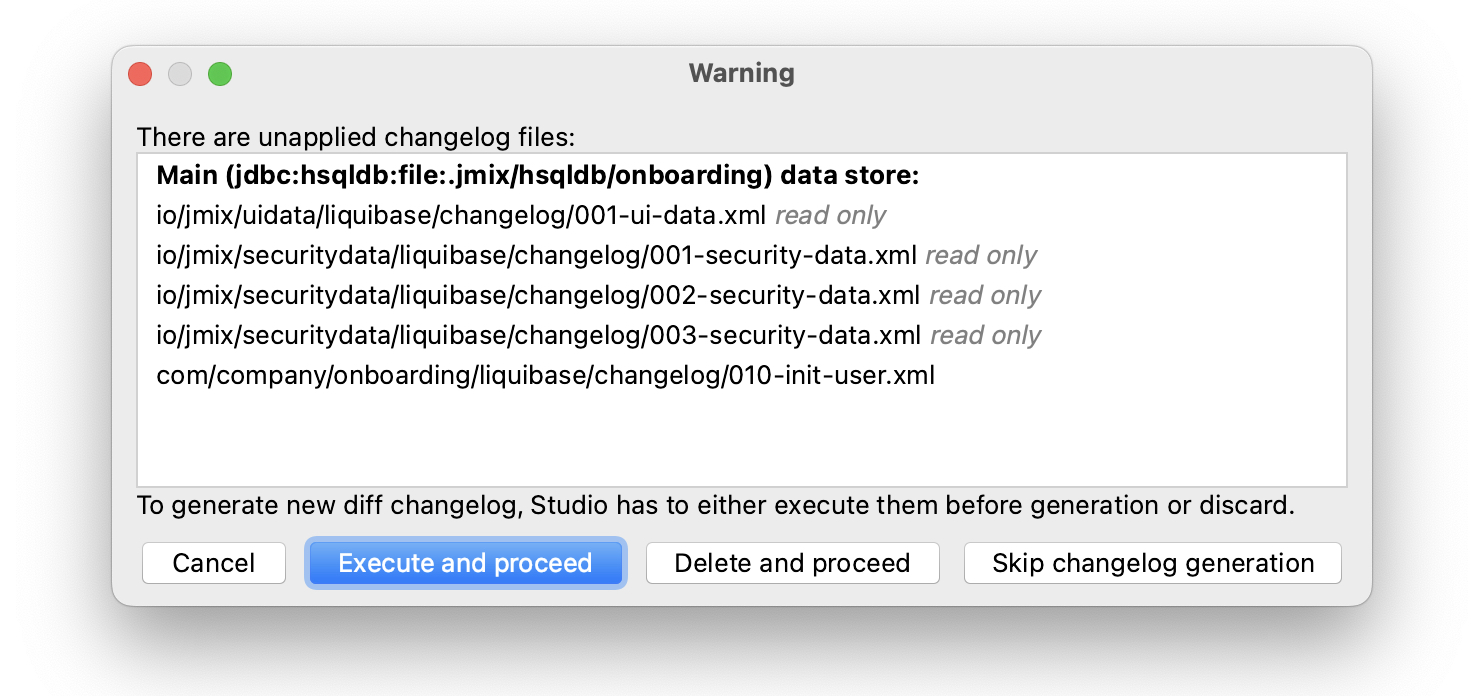
Studio will show the warning about the data store and unapplied changelog files:
What does it mean?
On each start of the application, Studio tries to bring the database schema in sync with the project data model. So when you change your entities and their attributes, Studio will automatically generate Liquibase changelogs for making appropriate changes in the database.
At the moment, our database is empty (actually, in our default case of the file-based HSQL database, it doesn’t exist at all), so to generate a diff changelog, Studio first needs to create the database and execute all existing changelogs of the project. In the dialog, you can see the existing changelogs from the project dependencies (marked read only) and from the project itself (010-init-user.xml).
Click Execute and proceed.
You will see the execution of Liquibase changelogs by Studio in the Run tool window at the bottom:
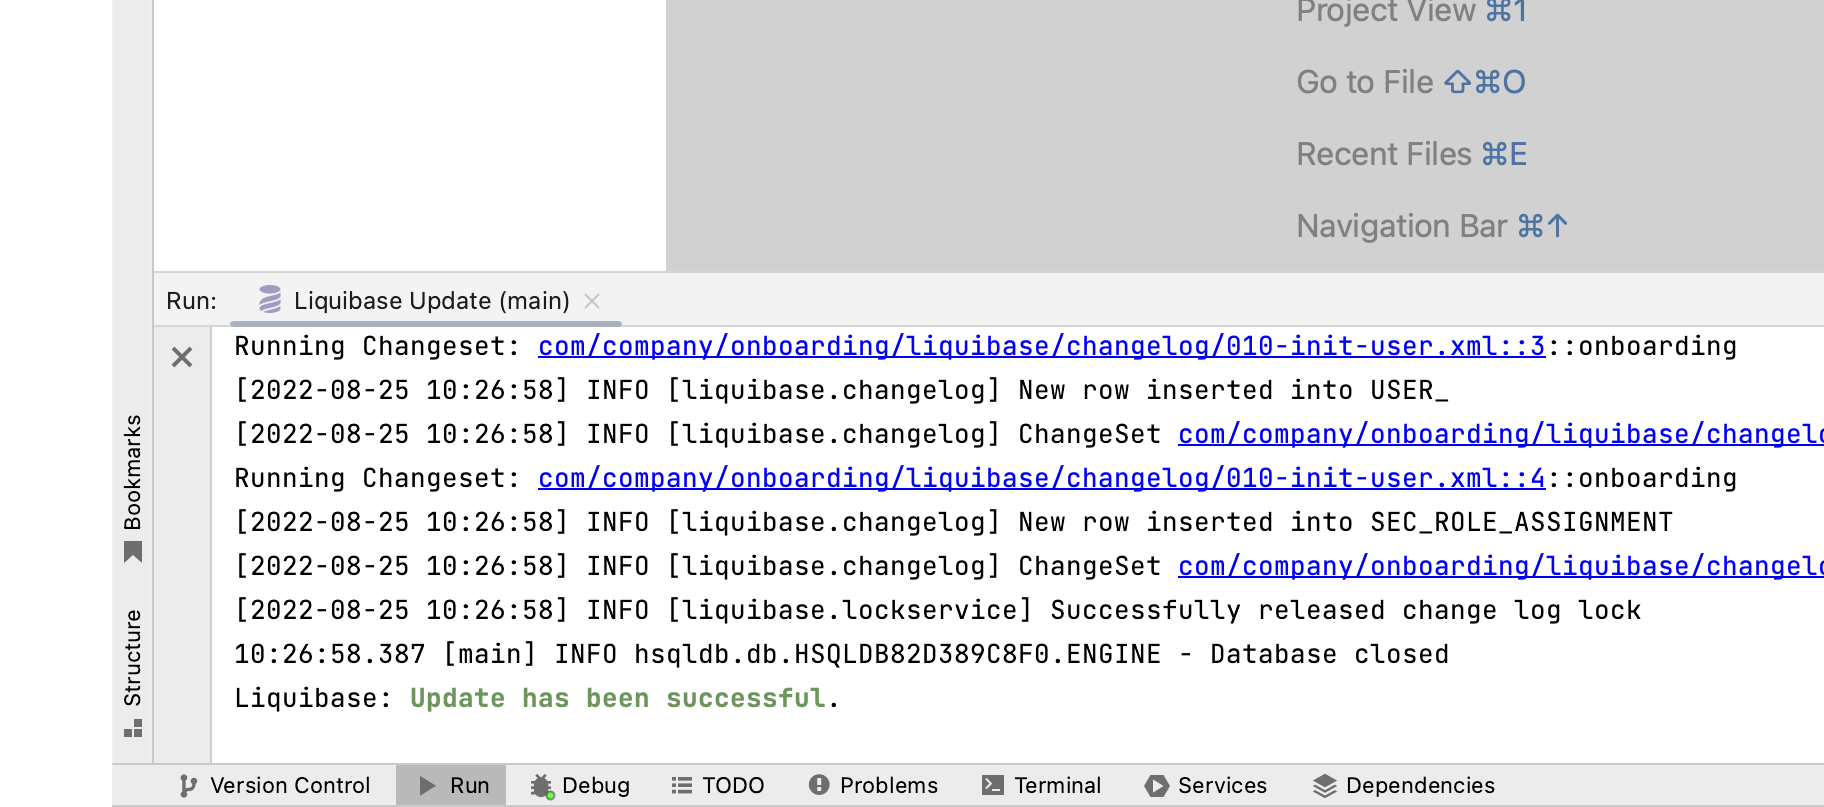
All existing changelogs have been executed, Studio has checked the database schema for differences with the data model and found nothing. This is expected: you haven’t made any changes in the data model yet.
Right after checking the database, Studio builds and runs the application. You will see the console output of the running application in the Debug tool window at the bottom:
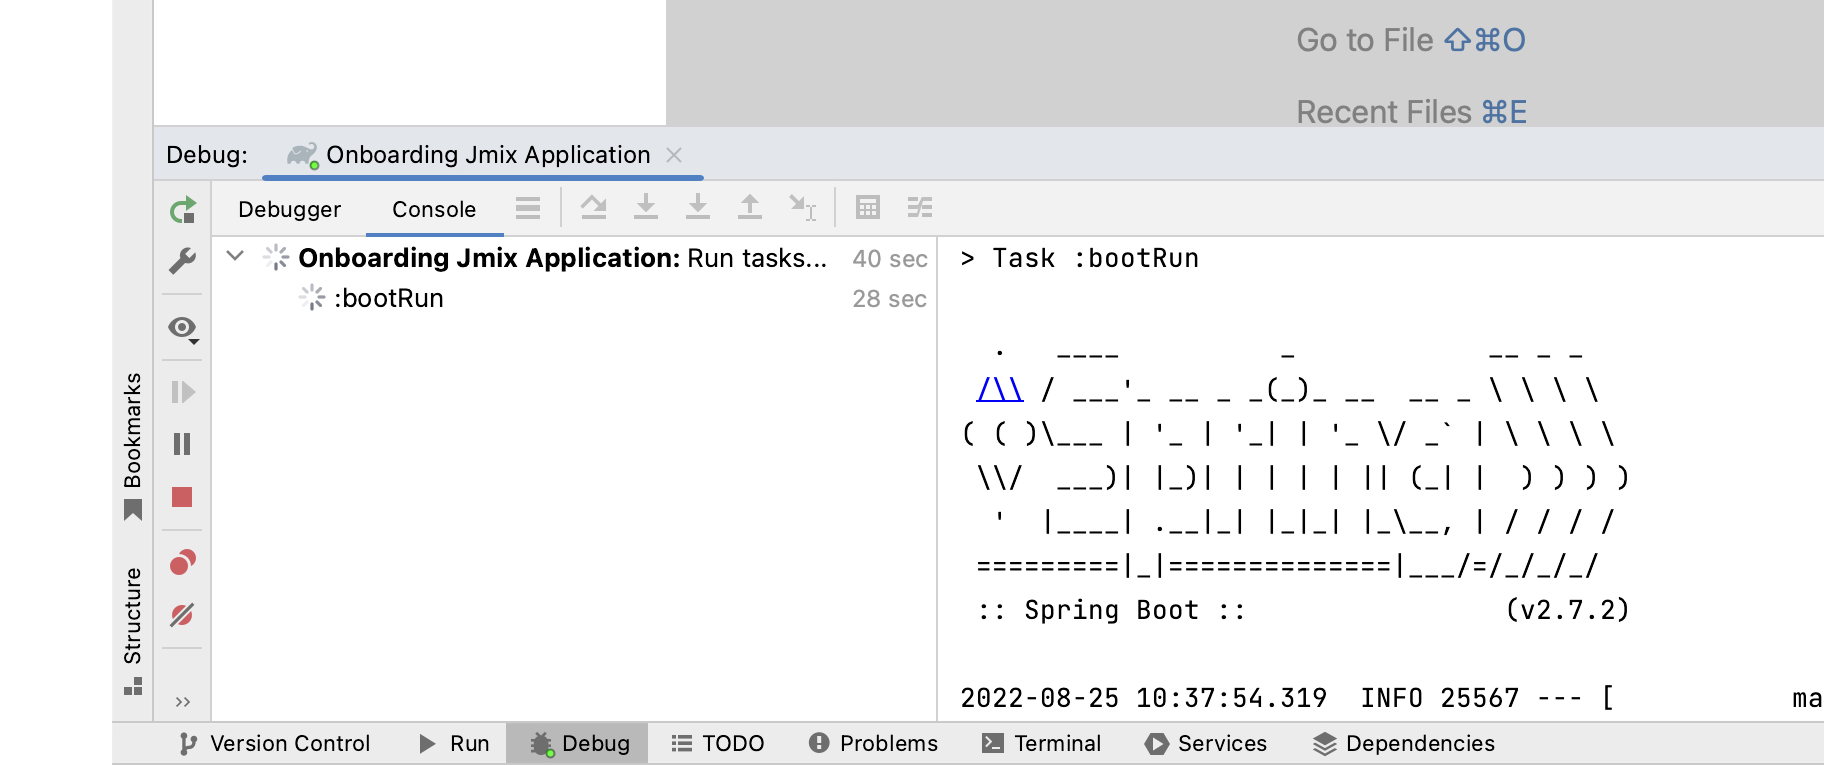
When the application is ready to work, you will see the following message in the console : Application started at http://localhost:8080
Entering Application
Open localhost:8080 in a web browser. You will see your application login view:
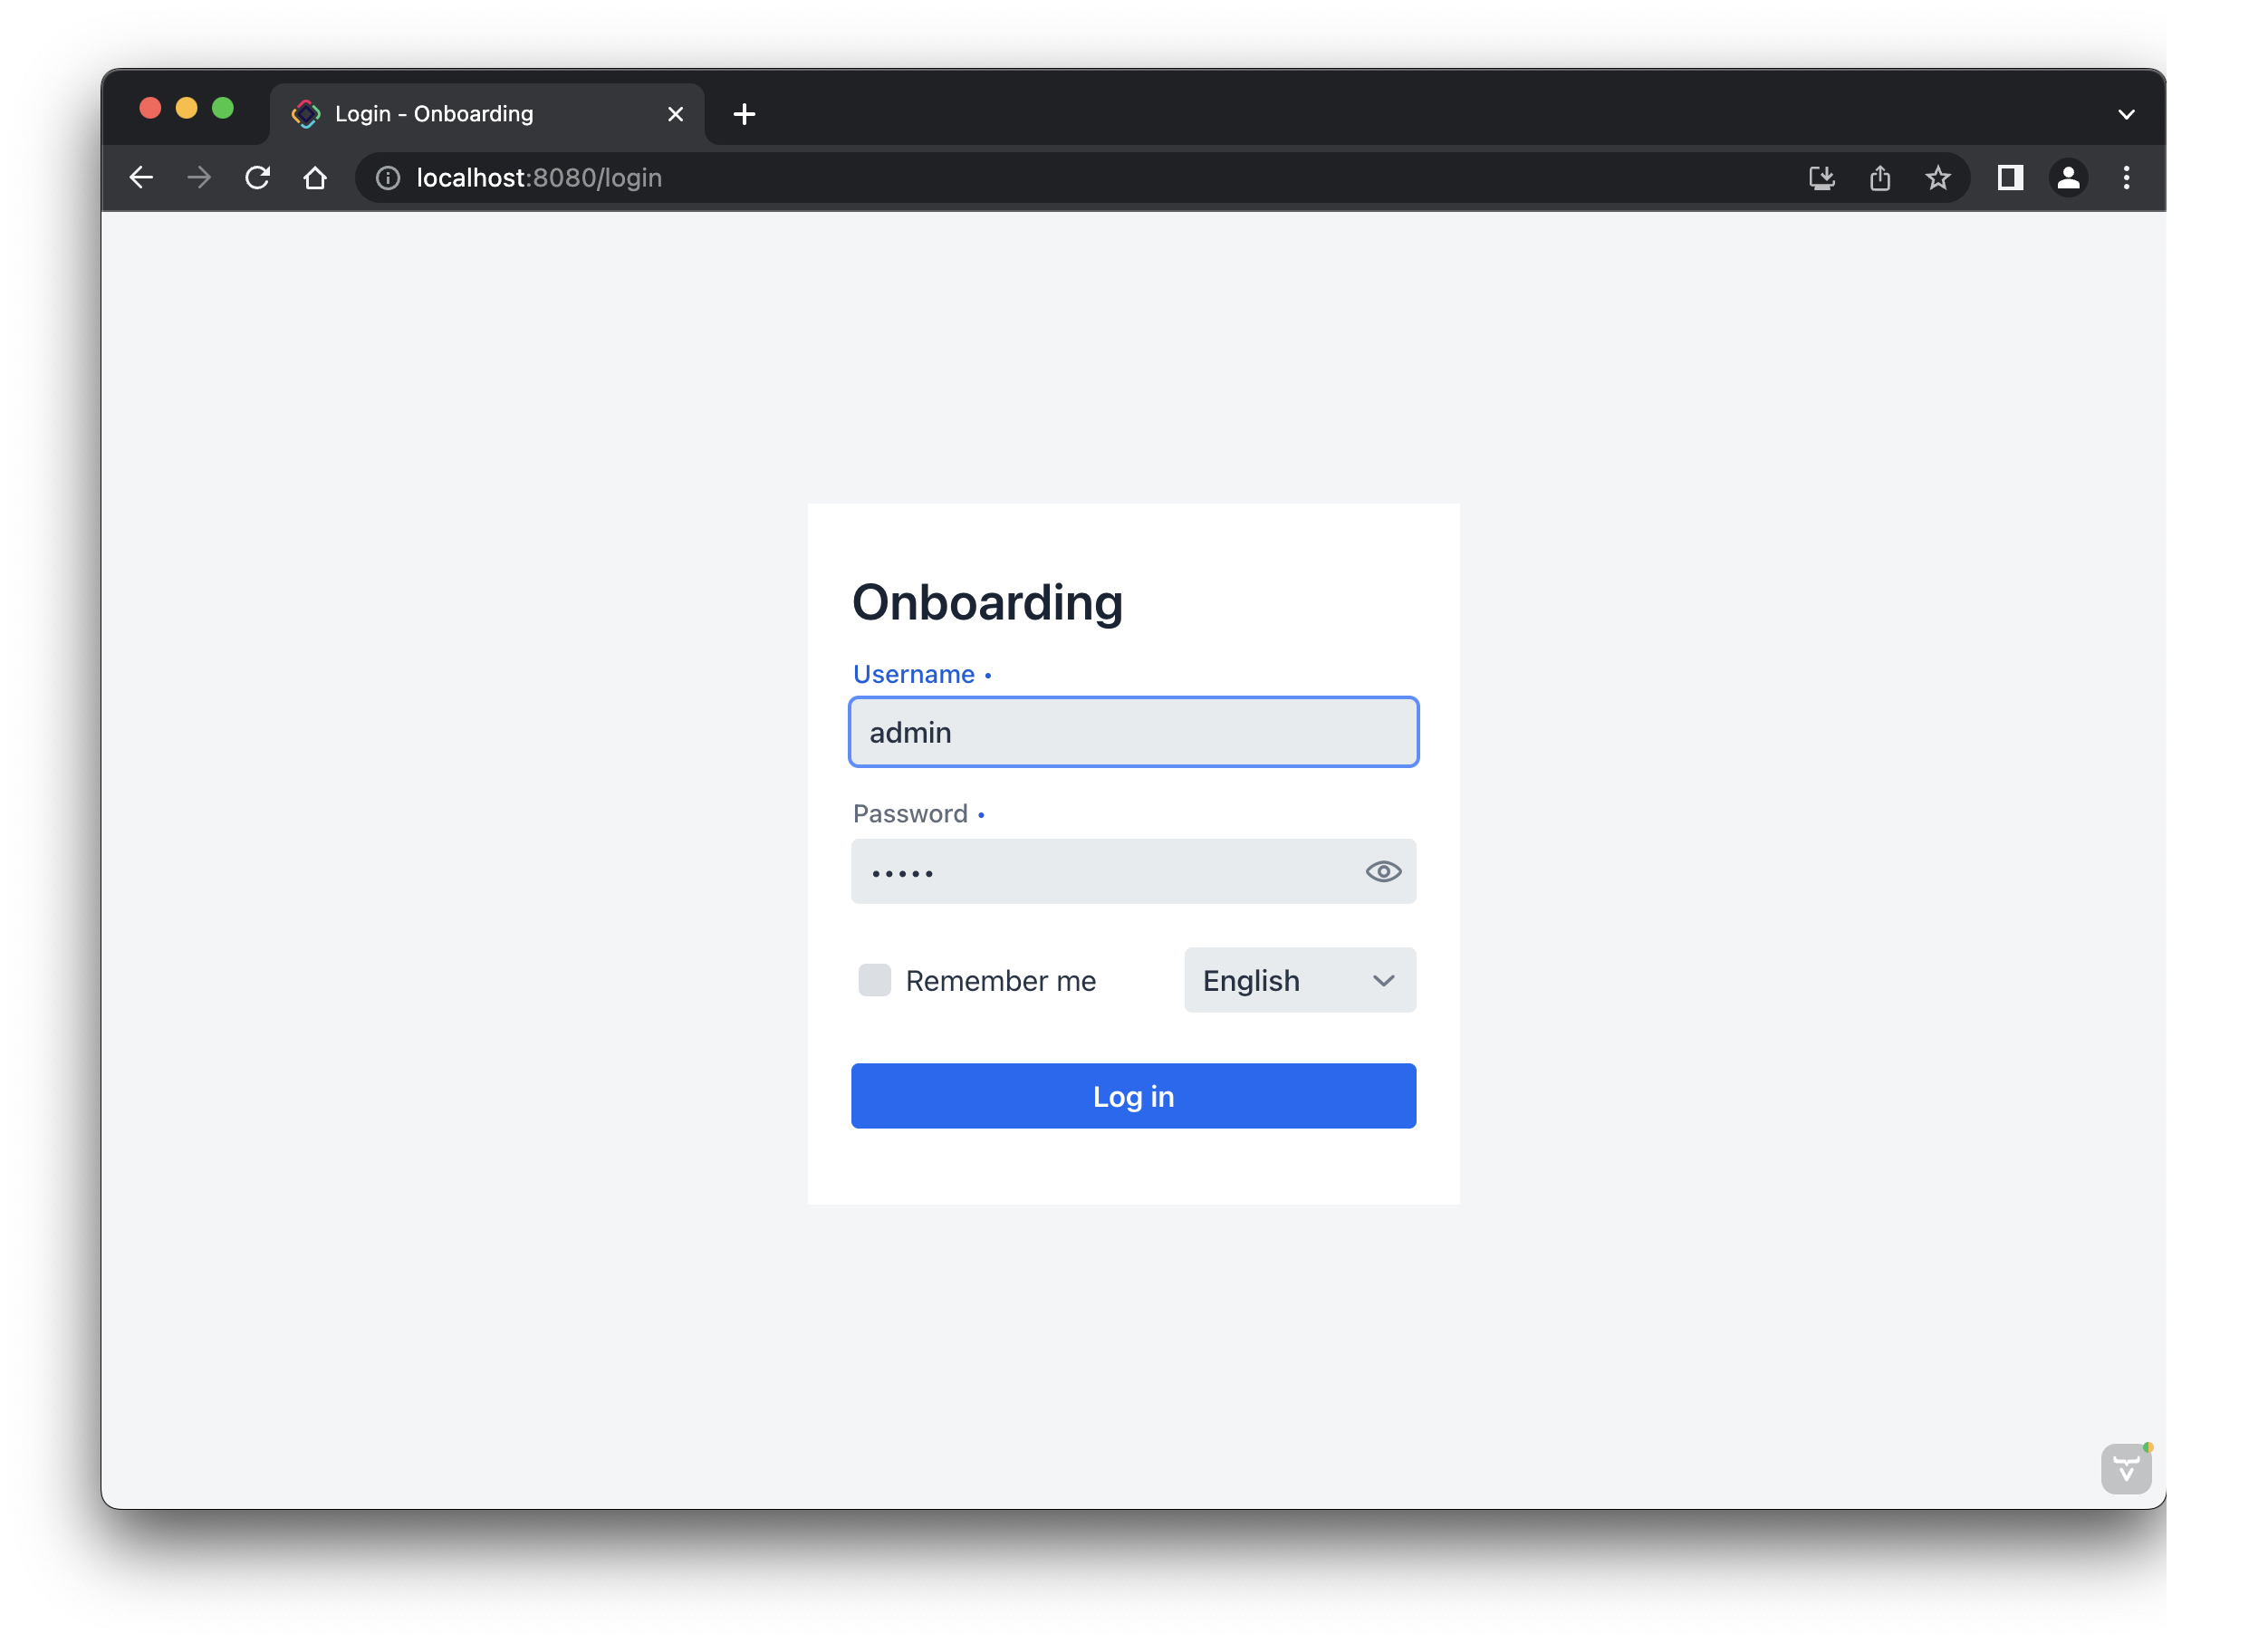
The admin / admin credentials are already set in the username and password fields (you can remove them later), so just click Log in.
In the main menu, click Application → Users:
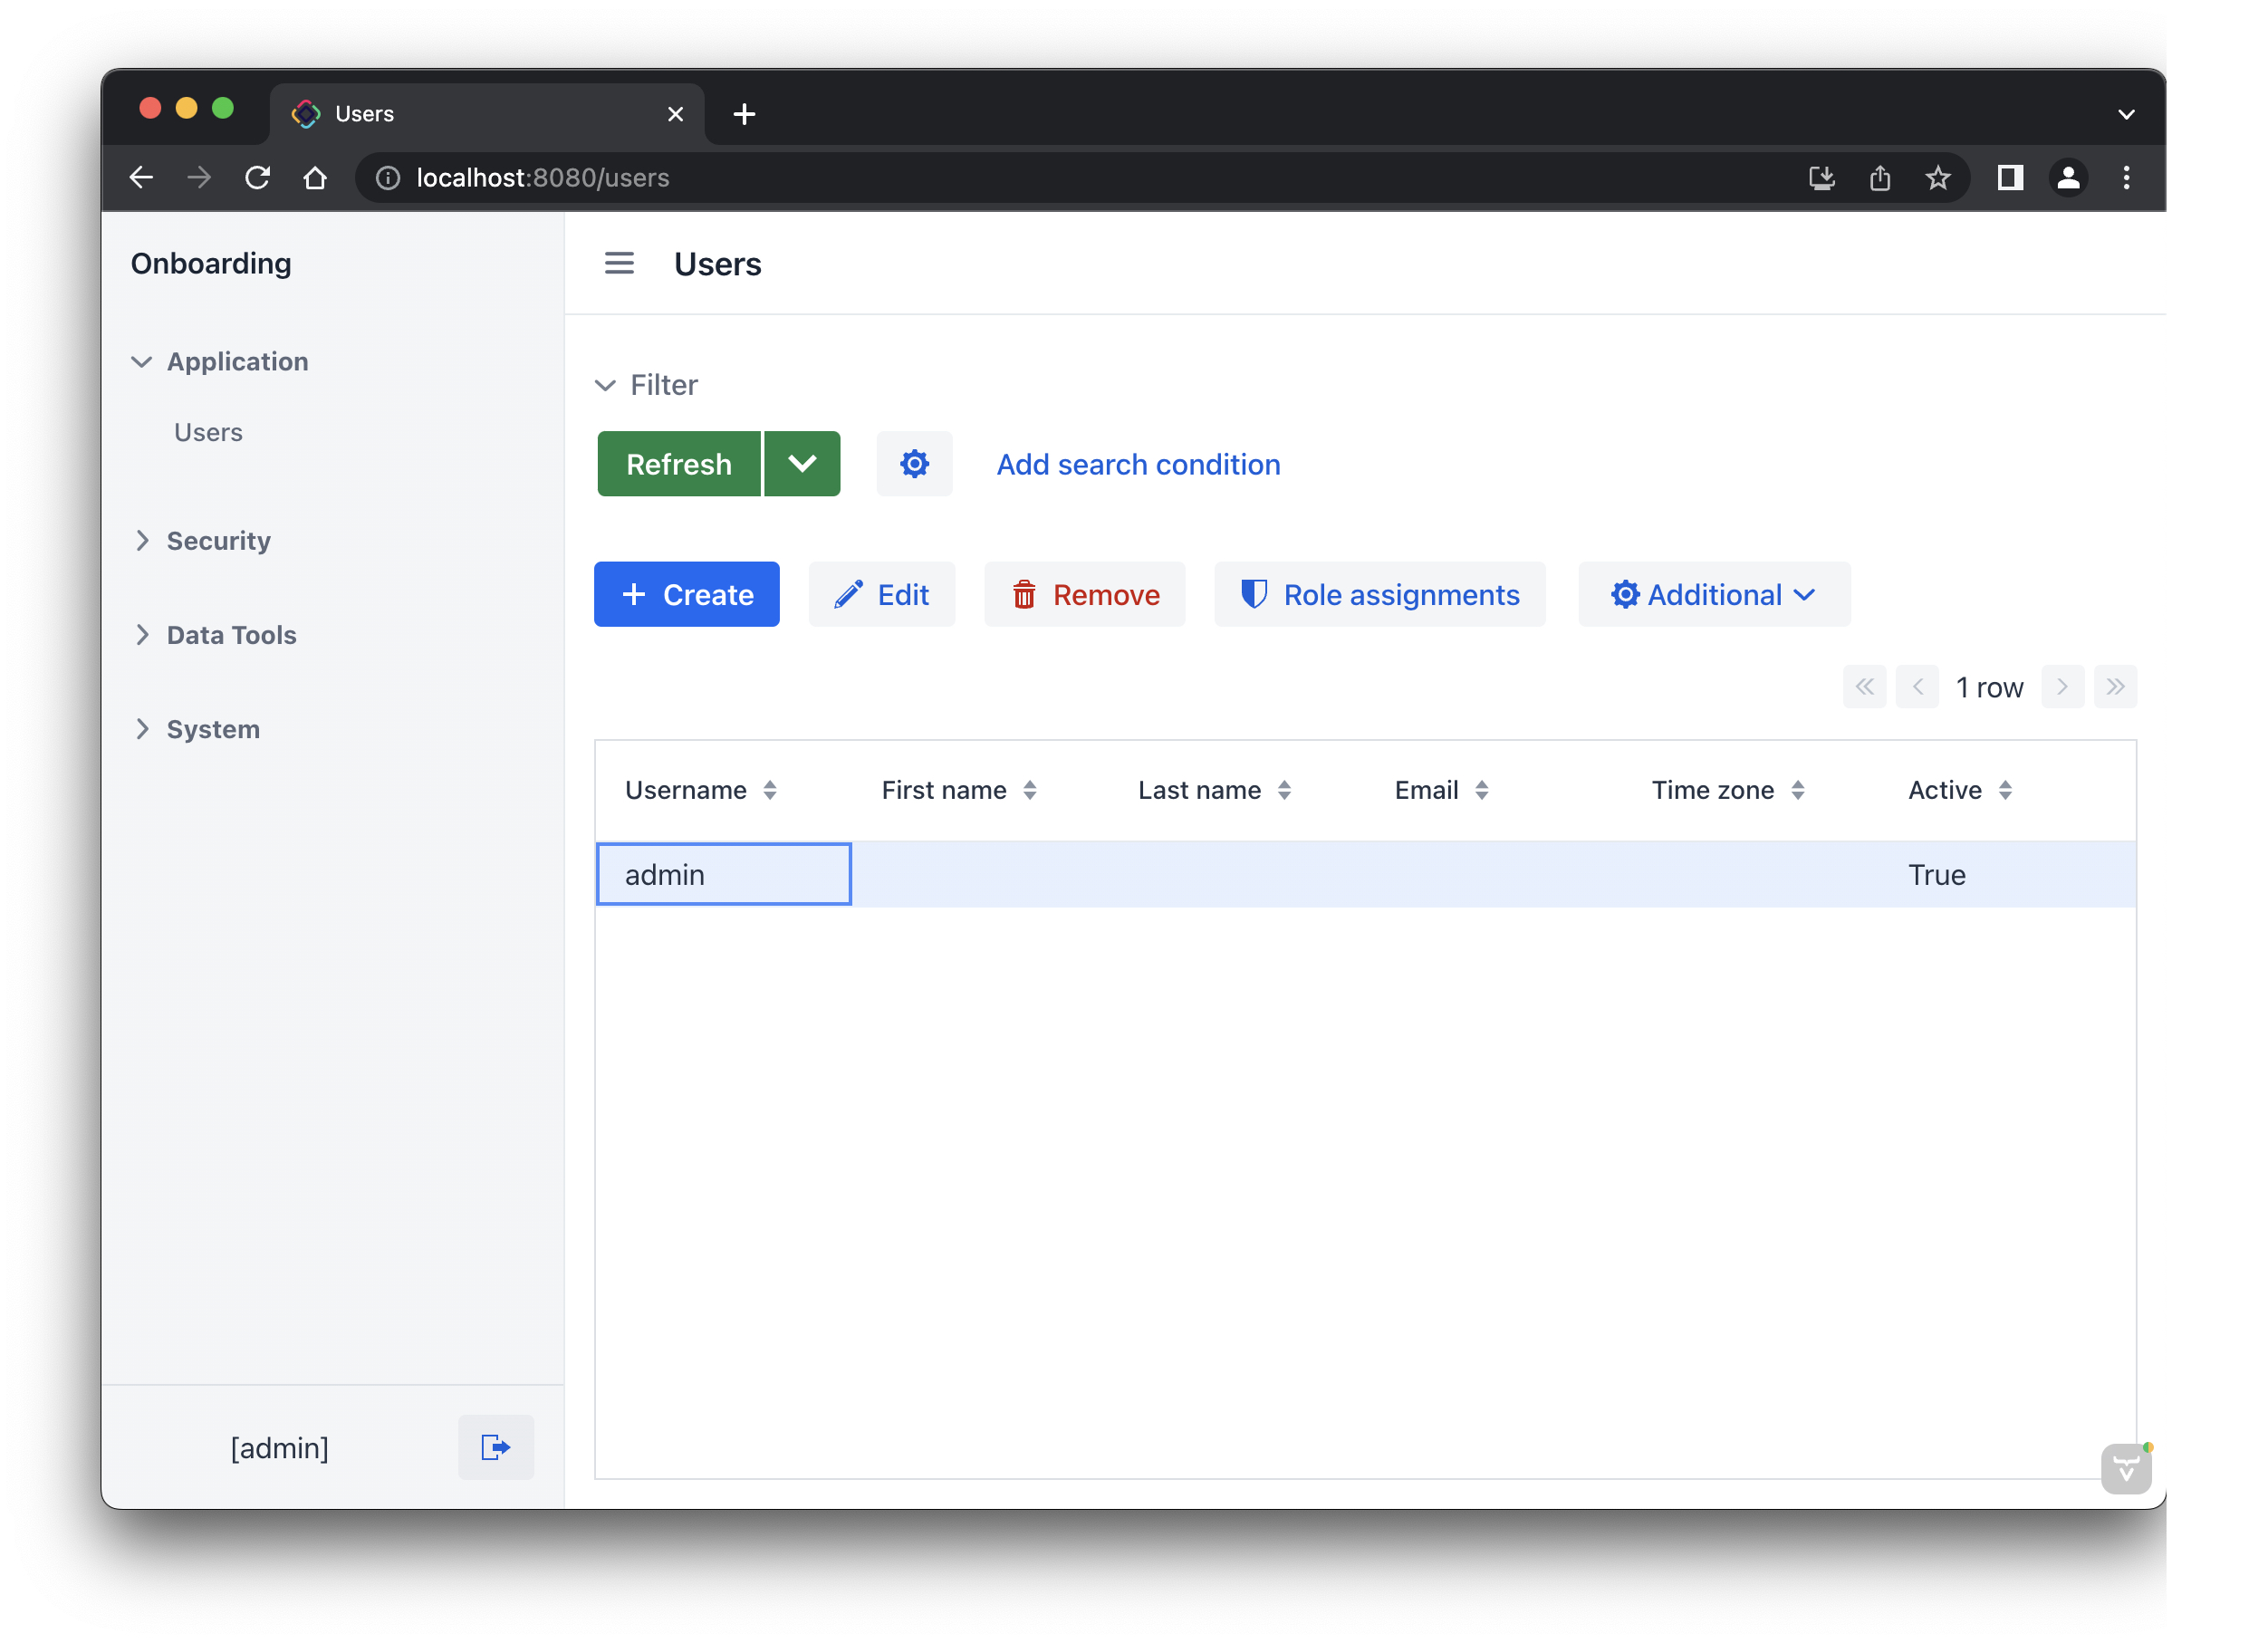
It’s the Users.list view showing the list of User entities. Now it has only the admin user created in the database by the 010-init-user.xml changelog.


Summary
In this section, you have set up the development environment and created a new project in the IDE.
You have learned that:
-
Jmix Studio is a plugin for IntelliJ IDEA.
-
The tutorial assumes that you have a commercial or trial subscription for Jmix Studio. A trial subscription is issued when logging in to Jmix account for the first time.
-
Studio has a wizard for creating new projects by templates.
-
Studio shows the project structure in the Jmix tool window.
-
The new project contains functionality for logging in to the application and managing users.
-
The new application can be started from the IDE right after creating the project.
-
The new project uses a file-based HSQL database which is automatically created and initialized at the first start.
