Getting Started
This section shows how to enable the assistant in an application: add the dependencies, connect a model, grant access, and ask the first question.
Prerequisites
Before you continue, install the add-on as described in Installation.
Connecting a Model
The add-on communicates with the LLM through a Spring AI ChatClient, which requires a configured model provider. Choose one of the Spring AI model starters and add it to your build.gradle. For example, for OpenAI:
implementation 'org.springframework.ai:spring-ai-starter-model-openai'Then specify the provider settings in application.properties. These are standard Spring AI properties, not properties defined by this add-on:
spring.ai.openai.api-key=${OPENAI_API_KEY}
spring.ai.openai.chat.options.model=gpt-4o-mini
Keep secrets such as the API key out of application.properties. Pass them through an environment variable or another externalized configuration source, as shown above.
|
If no model is configured, the application still starts and the chat UI still renders, but the assistant cannot answer. The composer is disabled, and the user sees a notification. This lets you add the UI before the model configured.
Granting Access
Access to the chat is controlled by the aitools-chat-user resource role. Assign it to the users who should be able to use the assistant. See Security Role for details.
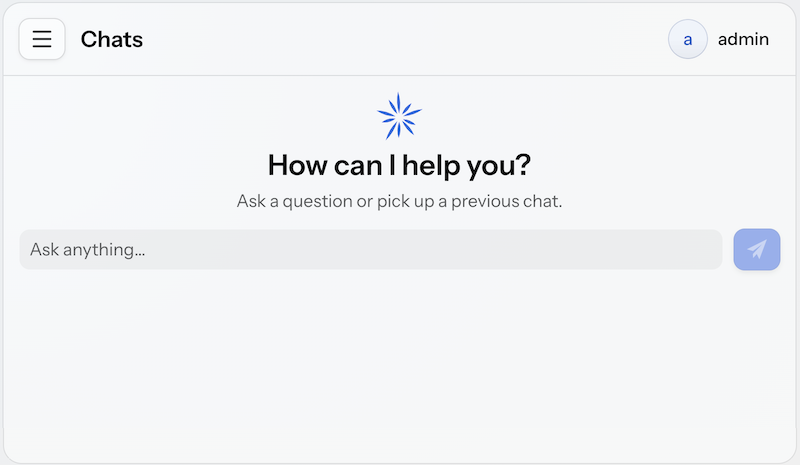
Asking the First Question
After you restart the application, a new Chats item appears under the AI section in the main menu.
Open the chat and submit a request in natural language, for example "How many active users are there?".
You can configure which data the assistant can access and how much data it includes in responses. See Tools and Application Properties for details.
