2. Template Definition
In this section, you will create the templates used to notify the booking creator: first the subject line, then the message body.
Creating Subject Template
Navigate to the Message Templates view in your application. Click the Create button to start creating a new template.
Configure the following attributes:
-
Name:
Booking Email Subject -
Code:
booking-email-subject. This code will be used later to reference the template programmatically. -
Type: Plain text
-
Content: Enter the template content in the editor.
Booking confirmation for ${booking.title}
Save the template.
Subject Template Parameters
On the Parameters tab, add the parameter used by the template.
Configure the booking parameter as follows:
-
Name:
Booking -
Alias:
booking -
Type:
Entity -
Entity:
Booking -
Default value: leave empty
Once the parameter is set, run Preview. The preview uses this value to render the template, helping you catch missing parameters before the template is used in the application.
| When sending the email, the application supplies the parameter value from code, as shown in Using Message Templates for Email. |
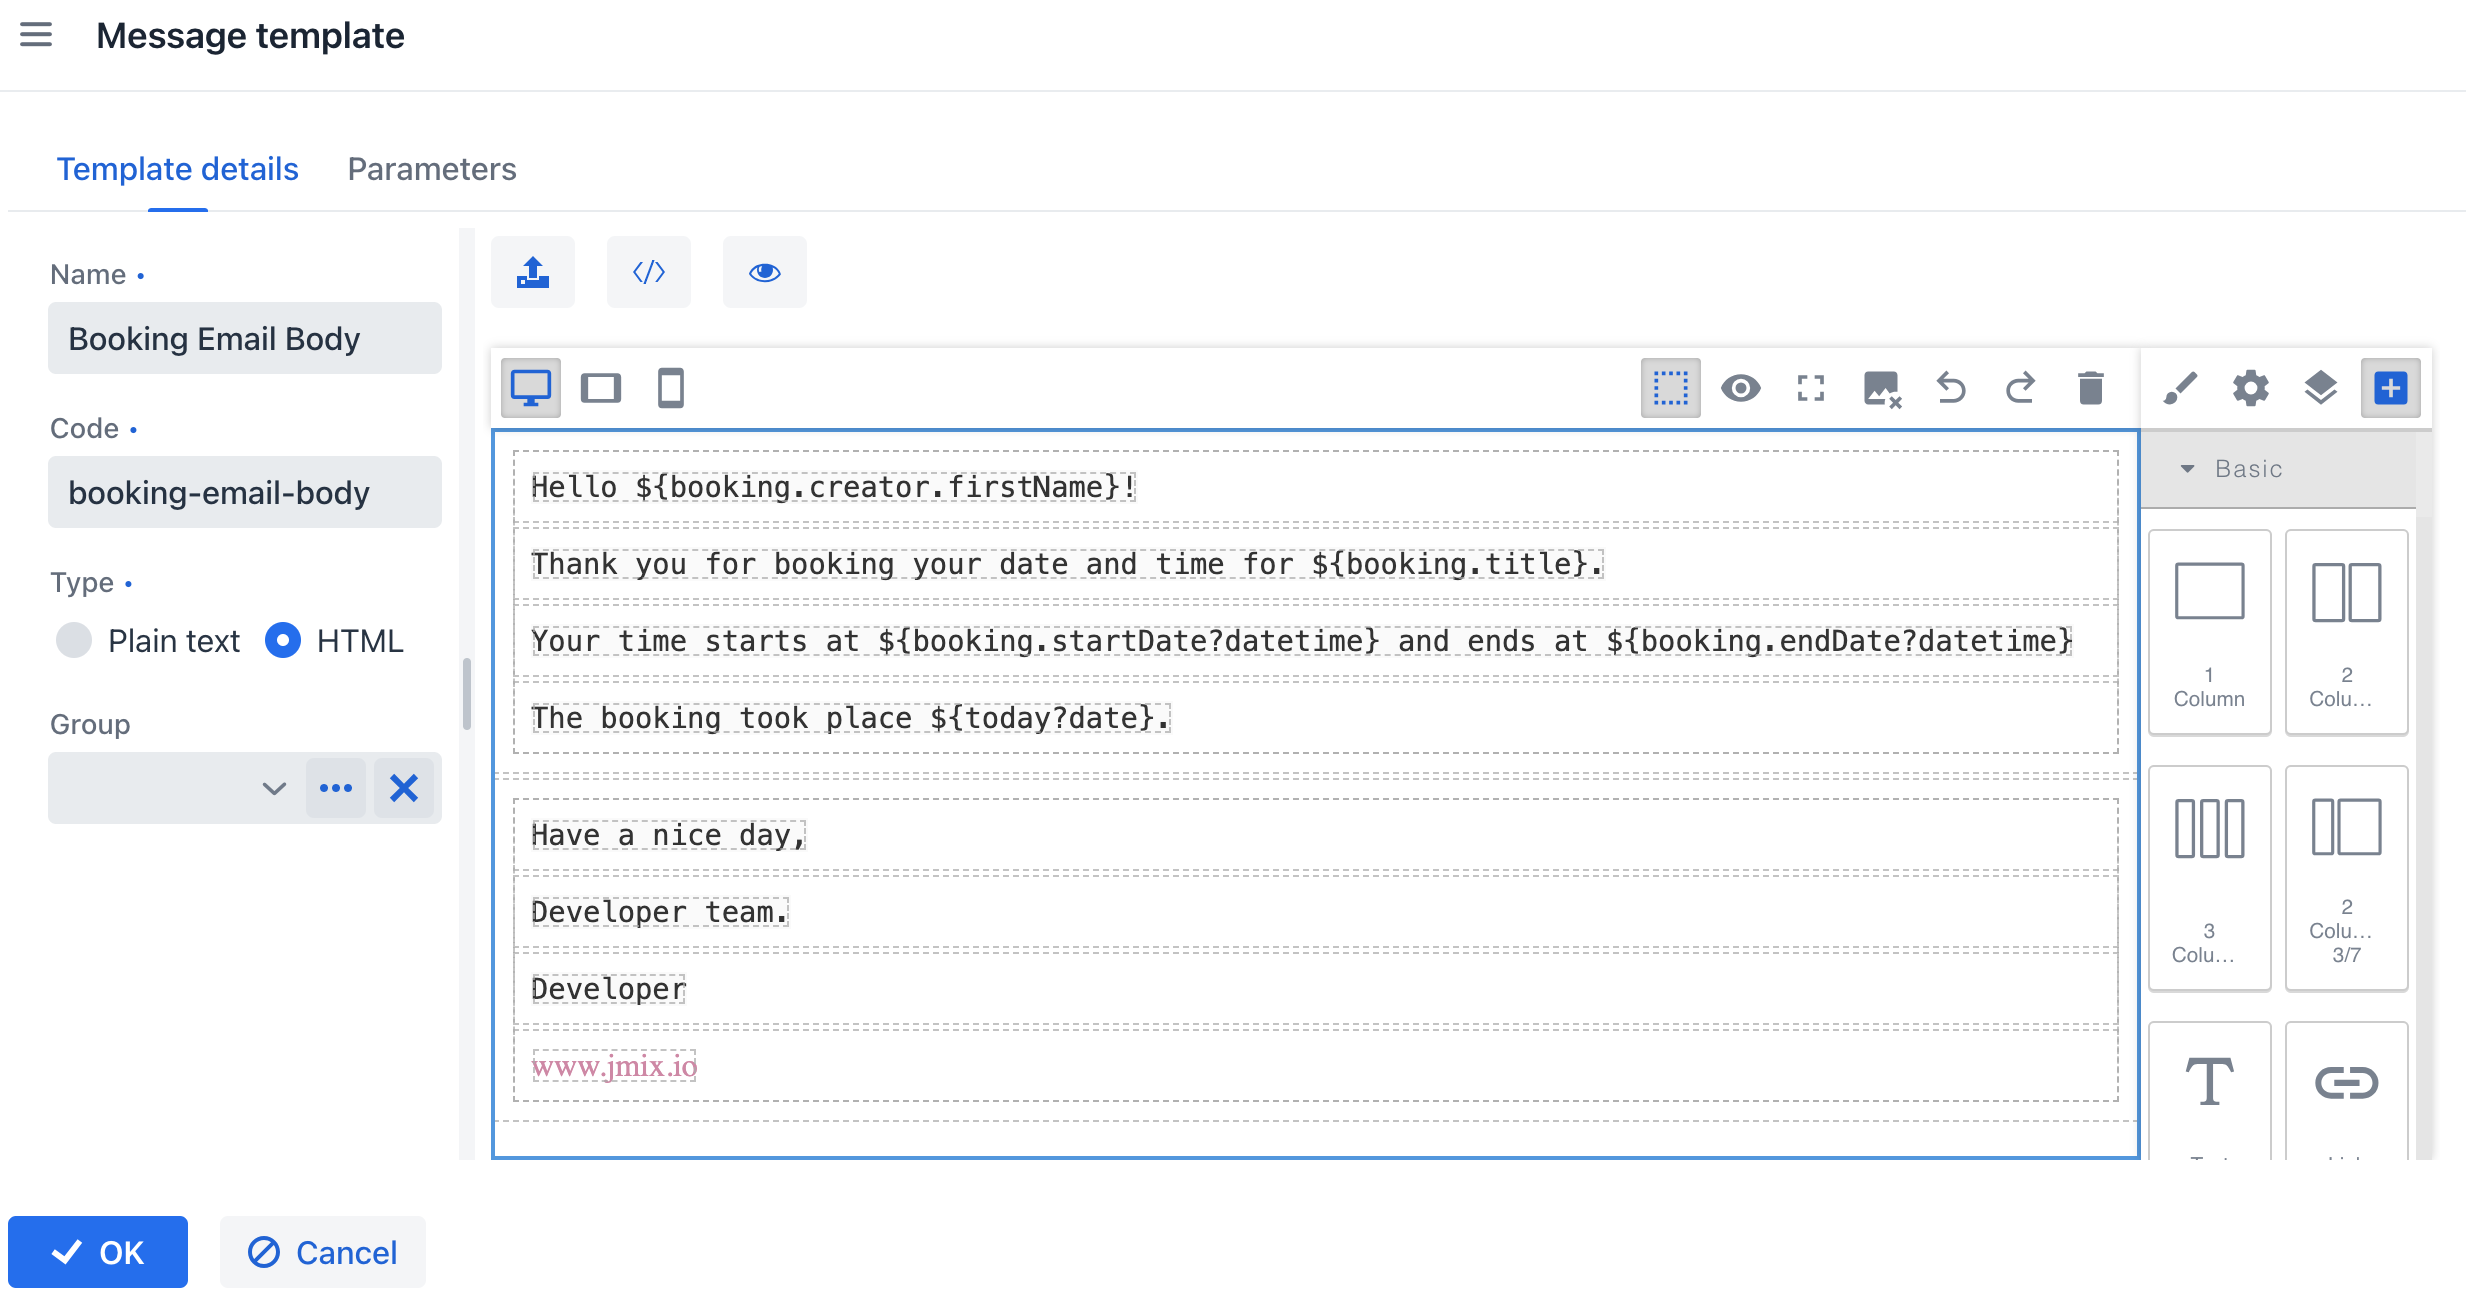
Creating Body Template
Create the template for the body of the message. Click Create and configure the following attributes:
-
Name:
Booking Email Body -
Code:
booking-email-body. This code will be used later to reference the template programmatically. -
Type: HTML
-
Content: Use the editor to create the template, or use the source code below.
See the source code
<body>
  <div style="box-sizing: border-box; max-width: 600px; margin: 32px auto; background: #ffffff; border-radius: 10px; overflow: hidden; border: 1px solid #e5e7eb;">
    <div style="box-sizing: border-box; background: #2563eb; color: #ffffff; padding: 24px;">
      <h2 style="box-sizing: border-box; margin: 0; border: 0px solid white; color: black;">
        <span style="box-sizing: border-box; border: 0px solid #fef9f9; color: #fdfdfd;">Booking confirmed</span>
      </h2>
    </div>

    <div style="box-sizing: border-box; padding: 24px;">
      <p style="box-sizing: border-box;">
        Hello ${booking.creator.firstName!"Guest"},
      </p>

      <p style="box-sizing: border-box;">
        Your booking for
        <strong style="box-sizing: border-box;">${booking.title!"booking"}</strong>
        was successful.
      </p>

      <div style="box-sizing: border-box; background: #f9fafb; border: 1px solid #e5e7eb; border-radius: 8px; padding: 16px; margin: 20px 0;">
        <p style="box-sizing: border-box; margin: 0 0 8px;">
          <strong style="box-sizing: border-box;">Start:</strong>
          ${booking.startDate?datetime("yyyy-MM-dd'T'HH:mm")?string.medium}
        </p>

        <p style="box-sizing: border-box; margin: 0 0 8px;">
          <strong style="box-sizing: border-box;">End:</strong>
          ${booking.endDate?datetime("yyyy-MM-dd'T'HH:mm")?string.medium}
        </p>

        <p style="box-sizing: border-box; margin: 0;">
          <strong style="box-sizing: border-box;">Booking date:</strong>
          ${today?date?string.medium}
        </p>
      </div>

      <p style="box-sizing: border-box;">
        Have a nice day,
      </p>

      <p style="box-sizing: border-box;">
        <strong style="box-sizing: border-box;">Developer team</strong><br style="box-sizing: border-box;">
        <a href="https://www.jmix.io" style="box-sizing: border-box; color: #2563eb;">www.jmix.io</a>
      </p>
    </div>
  </div>
</body>
Save the template.
Body Template Parameters
On the Parameters tab, add the parameters used by the template.
The first parameter is booking. Since you created the Booking entity in the previous section, configure it as follows:
-
Name:
Booking -
Alias:
booking -
Type:
Entity -
Entity:
Booking -
Default value: select a
Bookinginstance
The second parameter is today. Configure it as follows:
-
Name:
Today -
Alias:
today -
Type:
Date and time -
Enable the Default date is current checkbox.
Once the parameters are set, run Preview. The preview uses these values to render the template, helping you catch markup errors and missing parameters before the template is used in the application.
| When sending the email, the application supplies the parameter values from code, as shown in Using Message Templates for Email. |
