Multitenancy
The add-on allows you to build multitenant Jmix applications where data from multiple tenants is stored in a single database. A single instance of the application can cater to multiple tenants, defined as groups of users who are isolated from each other and have access only to specific (often read-only) data.
In a multitenant Jmix application, there are two main categories of data:
-
Common Data:
-
Data that is shared among all tenants in the application.
-
Tenants have read-only access to this common data, which is universally accessible but cannot be modified by individual tenants.
-
-
Tenant-Specific Data:
-
Data specific to each tenant and not visible or accessible to other tenants.
-
Tenants have full access to their own tenant-specific data, allowing them to interact with and modify this data as needed without affecting data belonging to other tenants.
-
By implementing multitenancy in Jmix applications, developers can efficiently manage and deliver services to multiple clients or user groups, ensuring data isolation, security, and personalized access controls based on the specific needs of each tenant. This approach optimizes data organization and access while maintaining data privacy and integrity across different user groups.
| The REST API add-on does not fully support multitenancy. It doesn’t separate entity instances between tenants. |
Installation
For automatic installation through Jmix Marketplace, follow instructions in the Add-ons section.
For manual installation, add the following dependencies to your build.gradle:
implementation 'io.jmix.multitenancy:jmix-multitenancy-starter'
implementation 'io.jmix.multitenancy:jmix-multitenancy-flowui-starter'|
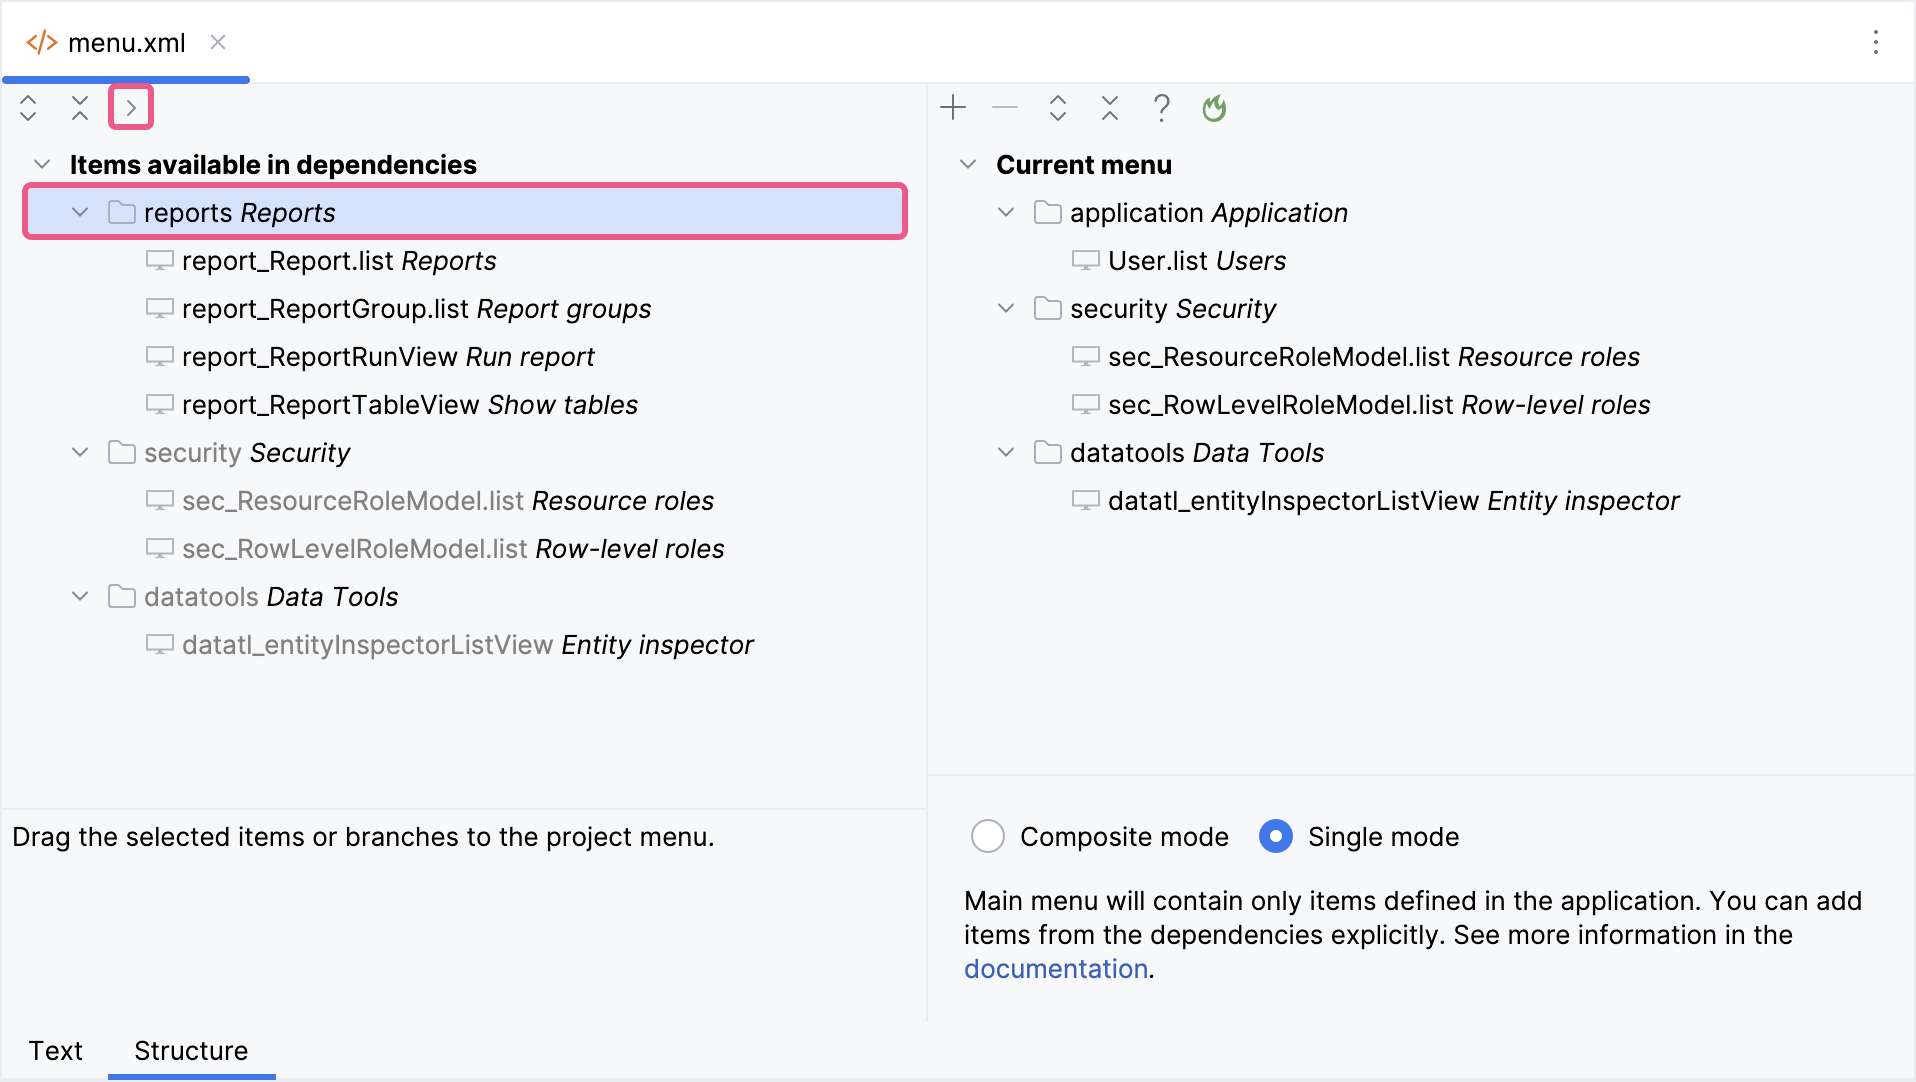
Important Note for Single Menu Mode Applications If your application uses Single menu mode, you should manually add menu items after installing an add-on.
This step is required because applications in Single menu mode do not automatically merge add-on menus with the existing structure. |
How it Works
In your project, tenant-specific entities should include a String attribute annotated with @TenantId. When a tenant user loads these entities, the framework applies a WHERE condition based on the tenant-id attribute to the JPQL query to fetch only the data relevant to the user’s tenant. Additionally, the tenant-id attribute gets automatically assigned to the current user’s tenant when saving new entities.
You can add this attribute using the Has Tenant ID trait in Studio Entity Designer.
| There is no automatic filtering for native SQL, so tenant users should not have access to any functionality that provides access to native SQL or Groovy code (JMX Console, creating reports, etc.). |
In your project, the User entity should include a tenant-id attribute. This attribute must be assigned a specific value for all tenant users. Users without a value in this attribute (those not linked to any specific tenant) can access data from all tenants. This setup is suitable for global administrators who are responsible for configuring tenants and overseeing the entire system.
Add-ons and Modules with Multitenancy Support
The following add-ons and modules will correctly store tenant information and ensure tenant isolation when using the Multitenancy add-on. The specific entities that include the sysTenantId attribute are listed next to each add-on.
-
Audit add-on:
EntityLogItem. -
BPM add-on:
ContentStorage,UserGroup,UserGroupRole,UserGroupUser. -
Email Sending add-on:
SendingMessage,SendingAttachment. -
Reports add-on:
Report,ReportGroup. -
Security subsystem (built into the framework) :
ResourceRoleEntity,RowLevelRoleEntity. -
Filter configuration (built into the framework):
FilterConfiguration.
To evaluate support for custom and community add‑ons:
-
Check the add‑on’s documentation for mentions of
sysTenantIdor@TenantId. -
Inspect its entities to see whether they have a tenant field and how it is used.
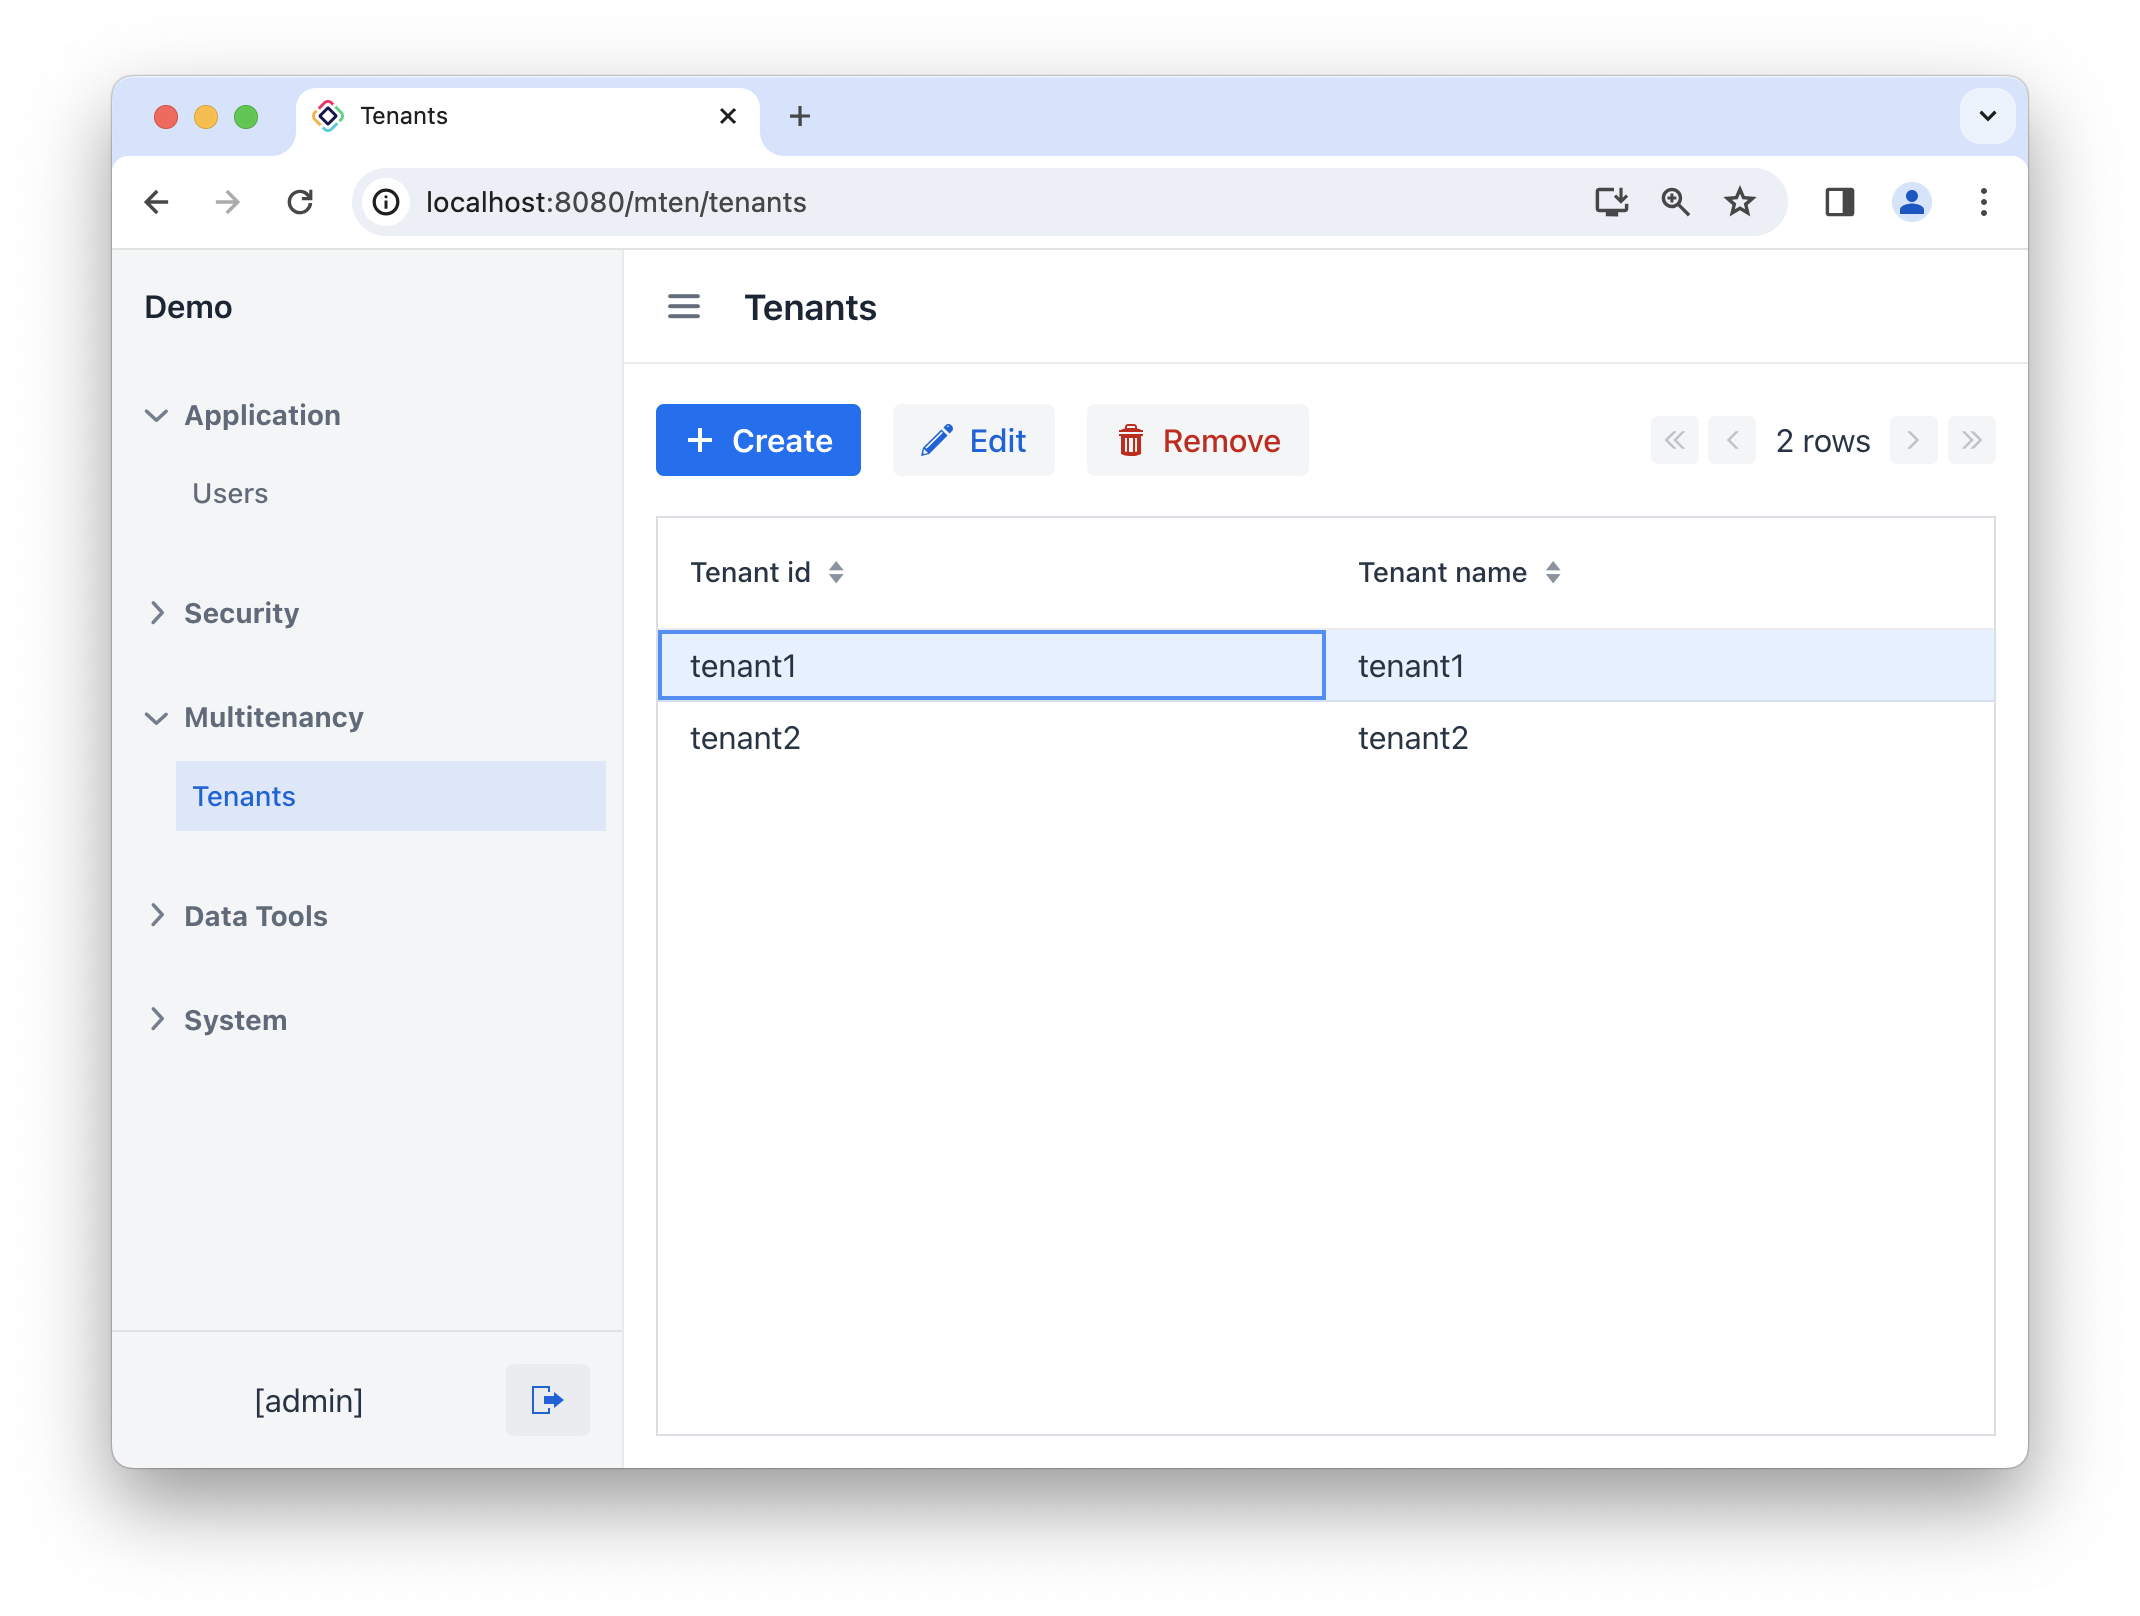
Managing Tenants
The add-on provides the Multitenancy → Tenants view that enables global administrators to create and modify tenants.
The tenant registration entity has two attributes:
-
Tenant id - an identifier utilized in tenant-specific entities. It cannot be changed after creation.
-
Tenant name - a descriptive name of the tenant.
Tenant Users
In multitenant applications, users within different tenants can have the same login names. To ensure that each username attribute is unique across the entire application, tenant users should register with a username that includes tenant-id prefix. For instance, if there are two different users named Alice in t1 and t2 tenants, their usernames should be t1|alice and t2|alice, respectively.
Tenant users can log in to the application by providing the complete username, including the tenant-id, such as t1|alice.
There are two ways to log in tenant users to the application:
-
The first way is to use a URL parameter that includes the tenant-id when accessing the login screen, for example
http://localhost:8080/login?tenantId=t1. In this case, users can simply enter their login name without the tenant-id prefix, like justalice.You also have the option to set a custom name for the URL parameter by using the
jmix.multitenancy.tenantIdUrlParamNameapplication property. -
Users can provide the full username including the tenant-id, for example
t1|alice.
| You can implement your own scheme of unique usernames instead of the method described above. |
|
User Substitution A user belonging to a specific tenant should only be substituted by users from the same tenant. |
Configuring Users
In this section, we will explain the process of setting up user management and authentication in your project to support multitenancy.
-
Add a string attribute to your
Userentity and annotate it with the@TenantIdannotation. You can also add this attribute using the Has Tenant ID trait in Studio:@TenantId @Column(name = "TENANT") private String tenant; public String getTenant() { return tenant; } public void setTenant(String tenant) { this.tenant = tenant; } -
Add the
tenantcolumn to the data grid inuser-list-view.xml:<column property="tenant"/> -
Add a field for selecting a tenant in
user-detail-view.xml:<comboBox id="tenantField" property="tenant" readOnly="true"/> -
Add the following to the
UserDetailViewclass:@ViewComponent private JmixComboBox<String> tenantField; @Autowired private TenantProvider tenantProvider; @Autowired private MultitenancyUiSupport multitenancyUiSupport; @Subscribe public void onInit(final InitEvent event) { // ... tenantField.setItems(multitenancyUiSupport.getTenantOptions()); } @Subscribe public void onInitEntity(final InitEntityEvent<User> event) { // ... tenantField.setReadOnly(false); } @Subscribe public void onBeforeShow(final BeforeShowEvent event) { // ... String currentTenantId = tenantProvider.getCurrentUserTenantId(); if (!currentTenantId.equals(TenantProvider.NO_TENANT) && Strings.isNullOrEmpty(tenantField.getValue())) { tenantField.setReadOnly(true); tenantField.setValue(currentTenantId); } } @Subscribe("tenantField") public void onTenantFieldComponentValueChange(final AbstractField.ComponentValueChangeEvent<JmixComboBox<String>, String> event) { usernameField.setValue( multitenancyUiSupport.getUsernameByTenant(usernameField.getValue(), event.getValue()) ); } -
To enable the usage of identical login names across various tenants as previously explained, include the following code snippet in your
LoginViewclass:@Autowired private MultitenancyUiSupport multitenancyUiSupport; private Location currentLocation; (1) @Override public void beforeEnter(BeforeEnterEvent event) { currentLocation = event.getLocation(); super.beforeEnter(event); } @Subscribe("login") public void onLogin(final LoginEvent event) { String username = multitenancyUiSupport.getUsernameByLocation(event.getUsername(), currentLocation); try { loginViewSupport.authenticate( AuthDetails.of(username, event.getPassword()) .withLocale(login.getSelectedLocale()) .withRememberMe(login.isRememberMe()) ); } catch (BadCredentialsException | DisabledException | LockedException | AccessDeniedException e) { log.info("Login failed", e); event.getSource().setError(true); } }1 Use the com.vaadin.flow.router.Locationobject to work with the current URL.
Configuring Security
When setting up roles for tenant users, do not include the tenant-id attributes in entity attribute policies to hide them from users. For instance, if the Customer entity is specific to a certain tenant and includes a tenant attribute annotated with @TenantId, the role granting access to this entity should explicitly specify the attributes and exclude the tenant attribute:
@ResourceRole(name = "UsersRole", code = UsersRole.CODE, scope = "UI")
public interface UsersRole {
    String CODE = "users-role";

    @EntityAttributePolicy(entityClass = Customer.class,
            attributes = {"id", "name", "region", "version"},
            action = EntityAttributePolicyAction.MODIFY)
    @EntityPolicy(entityClass = Customer.class, actions = EntityPolicyAction.ALL)
    void customer();
}
Role Assignment
Role assignments are restricted to users within the same tenant.
When assigning roles within the administration interface, the system enforces tenant isolation as follows:
-
From Application → Users View
When using the Role assignment button in the Application → Users view:
-
Only roles belonging to the same tenant as the selected user are displayed.
-
Roles from other tenants are automatically filtered out and remain hidden.
-
-
From Security → Resource Roles / Security → Row-level Roles Views
When using the Assign to users button in the Security → Resource roles or Security → Row-level roles views:
-
Users from all tenants are displayed in the selection dialog.
-
However, the system prevents confirming the selection if you choose users from different tenants.
-
A warning notification is displayed when attempting to assign roles across tenant boundaries.
-
