checkboxGroup
checkBoxGroup allows users to select multiple values from a list of items using checkboxes.
XML Element |
|
|---|---|
Java Class |
|
Attributes |
id - alignSelf - ariaLabel - ariaLabelledBy - classNames - colspan - css - dataContainer - enabled - errorMessage - height - helperText - itemsContainer - itemsEnum - label - maxHeight - maxWidth - minHeight - minWidth - property - readOnly - required - requiredMessage - themeNames - visible - width |
Handlers |
AttachEvent - ClientValidatedEvent - ComponentValueChangeEvent - DetachEvent - TypedValueChangeEvent - itemEnabledProvider - itemLabelGenerator - renderer - statusChangeHandler - validator |
Elements |
Basics
The simplest case of using checkBoxGroup is to select values from an enumeration.
<checkboxGroup itemsEnum="com.company.onboarding.entity.OnboardingStatus"
               label="Select the onboarding status"/>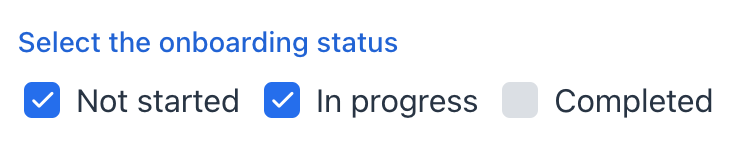
Data Binding
You can bind a component to an attribute of an entity held in a data container.
To bind checkBoxGroup to an entity attribute:
-
Specify the name of the data container as the dataContainer attribute value.
-
Specify the name of the entity attribute as the property attribute value.
<data>
    <instance class="com.company.onboarding.entity.User" id="userDc">
        <fetchPlan extends="_base">
            <property name="hobbies" fetchPlan="_base"/>
        </fetchPlan>
        <loader id="userDl"/>
    </instance>
    <collection class="com.company.onboarding.entity.Hobby" id="hobbiesDc">
        <fetchPlan extends="_base"/>
        <loader id="hobbiesDl">
            <query>
                <![CDATA[select e from Hobby e]]>
            </query>
        </loader>
    </collection>
</data>
<layout>
    <checkboxGroup dataContainer="userDc"
                   property="hobbies"
                   itemsContainer="hobbiesDc"
                   id="checkboxGroup"/>
</layout>
In this case, checkBoxGroup will display instance names of the Hobby entity, and its getTypedValue() method will return the Collection of selected entity instances.
Custom Items
To set the list of checkBoxGroup items, use the following methods:
Items List
The setItems() method allows you to specify component items programmatically.
@ViewComponent
private JmixCheckboxGroup<Integer> checkboxGroupInt;

@Subscribe
public void onInit(final InitEvent event) {
    checkboxGroupInt.setItems(1, 2, 3, 4, 5);
}
Items Map
ComponentUtils.setItemsMap() allows you to specify a string label for each item value explicitly.
@ViewComponent
private JmixCheckboxGroup<Integer> ratingCheckboxGroup;

@Subscribe
public void onInit(final InitEvent event) {
    Map<Integer, String> map = new LinkedHashMap<>();
    map.put(2, "Poor");
    map.put(3, "Average");
    map.put(4, "Good");
    map.put(5, "Excellent");
    ComponentUtils.setItemsMap(ratingCheckboxGroup, map);
}
Items Enum
You can use either a declarative or programmatic approach to set the values of an enum as checkBoxGroup items.
The following example demonstrates the declarative approach.
<checkboxGroup itemsEnum="com.company.onboarding.entity.OnboardingStatus"
               label="Select the onboarding status"/>
The example below uses the programmatic approach.
@ViewComponent
private JmixCheckboxGroup<OnboardingStatus> checkboxGroupEnum;

@Subscribe
public void onInit(final InitEvent event) {
    checkboxGroupEnum.setItems(OnboardingStatus.class);
}
Orientation
Use the themeNames attribute to explicitly control the layout of items:
<checkboxGroup itemsEnum="com.company.onboarding.entity.DayOfWeek"
               label="Vertical layout"
               themeNames="vertical"/>
<checkboxGroup itemsEnum="com.company.onboarding.entity.DayOfWeek"
               label="Horizontal layout"
               themeNames="horizontal"/>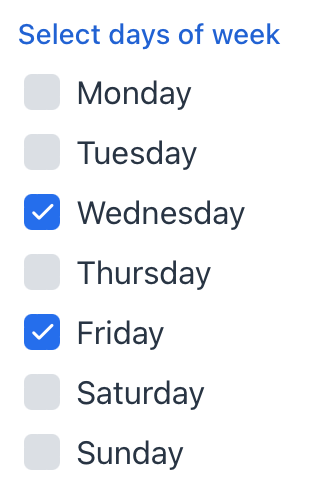
Theme Variants
Use themeNames attribute to set a component theme.
| Variant | Description | Supported By |
|---|---|---|
|
Displays items vertically. |
Lumo |
|
Displays items horizontally. |
Aura |
|
Renders the helper text above the field, below the label. |
Aura, Lumo |
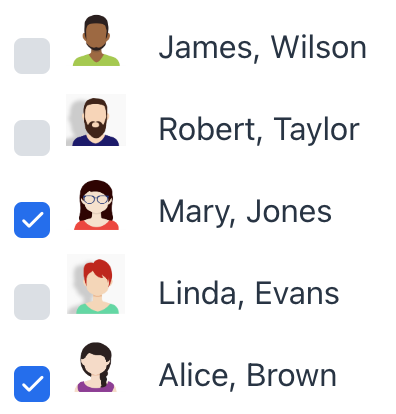
Custom Item Presentation
It is possible to customize the render of elements. You can use the setRenderer() method or the @Supply annotation for it.
@Autowired
private UiComponents uiComponents;
@Autowired
private FileStorage fileStorage;

@Supply(to = "userCheckboxGroup", subject = "renderer")
private ComponentRenderer<HorizontalLayout, User> userCheckboxGroupRenderer() {
    return new ComponentRenderer<>(user -> {
        FileRef fileRef = user.getPicture();
        HorizontalLayout row = uiComponents.create(HorizontalLayout.class);
        row.setAlignItems(FlexComponent.Alignment.END);
        if (fileRef != null) {
            Image image = uiComponents.create(Image.class);
            image.setWidth("30px");
            image.setHeight("30px");
            image.setClassName("user-picture");
            InputStreamDownloadHandler handler =
                    DownloadHandler.fromInputStream(event ->
                            new DownloadResponse(
                                    fileStorage.openStream(fileRef),
                                    fileRef.getFileName(),
                                    fileRef.getContentType(),
                                    -1
                            ));
            image.setSrc(handler);
            row.add(image);
        }
        row.add(new Span(user.getFirstName() + ", " + user.getLastName()));
        return row;
    });
}
Alternatively, you can render items using a nested fragmentRenderer element. Refer to the Fragment Renderer section for more information.
See Also
See the Vaadin Docs for more information.
