Creating Notifications
You can create notifications through the administration UI or programmatically in code.
Administration UI
After the add-on is added to your application, the main menu contains the Notifications item. The Notifications view provides a list of created notifications and buttons for managing them.
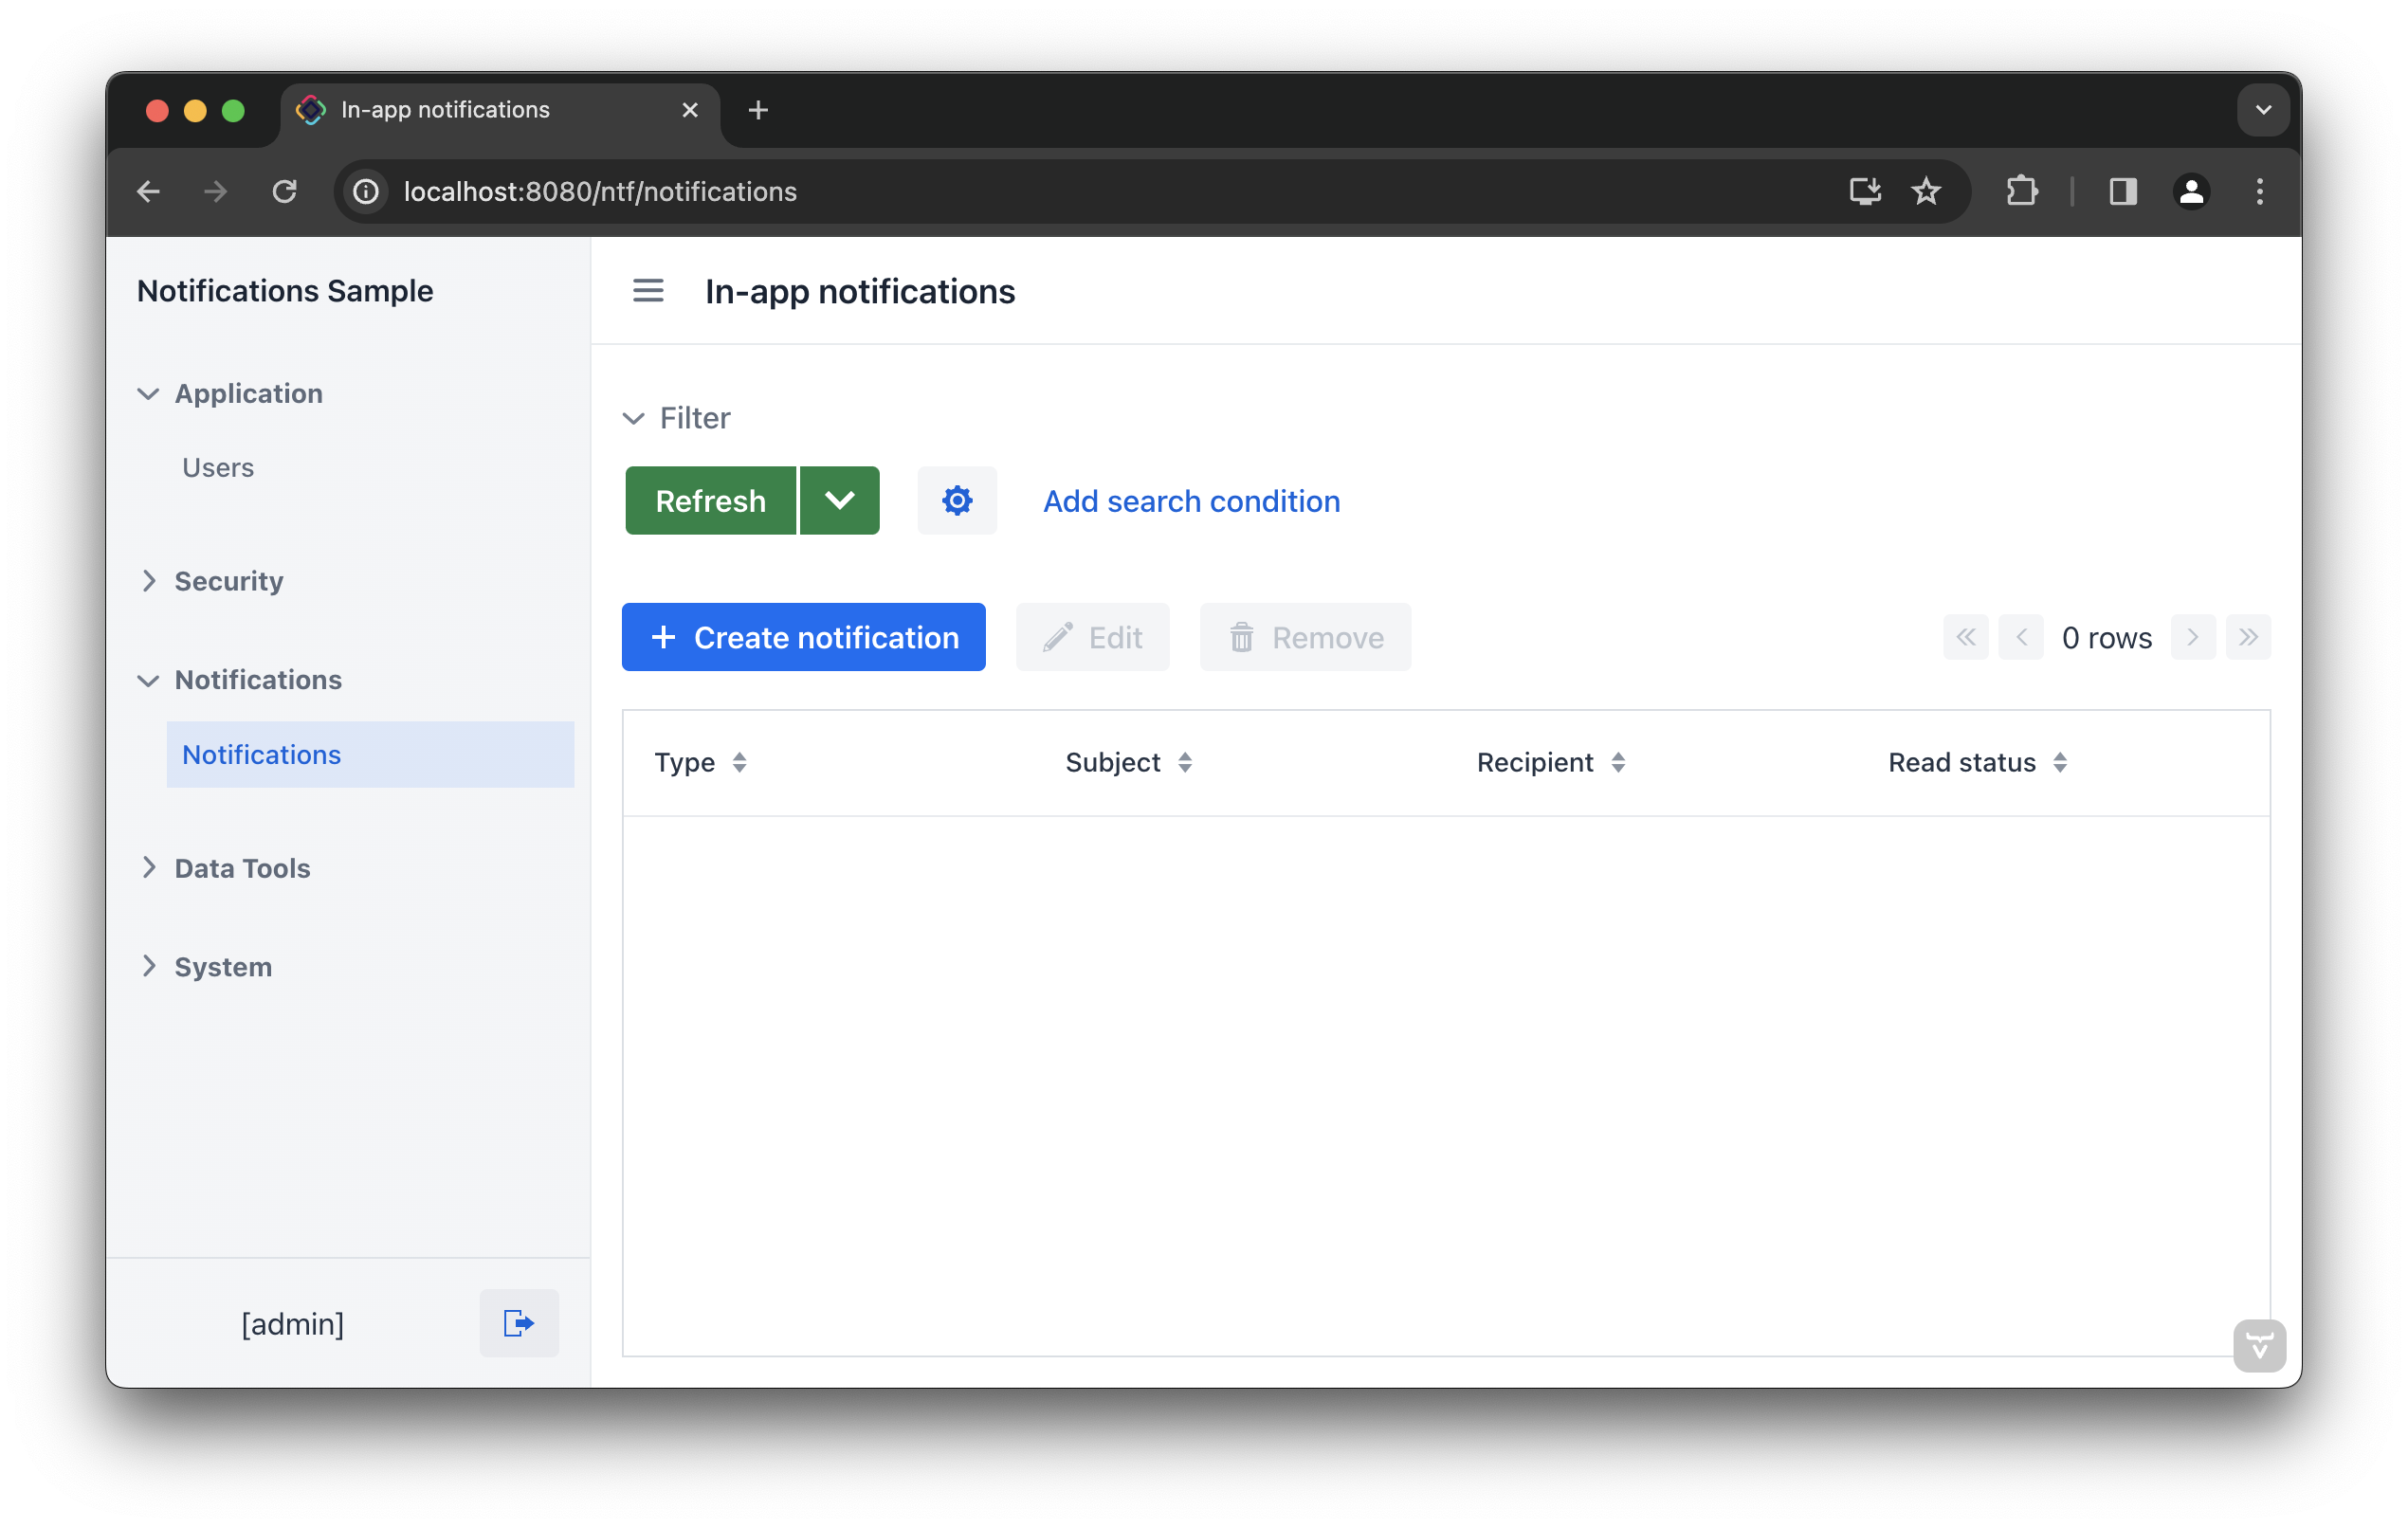
The notification editor appears after clicking the Create notification button.
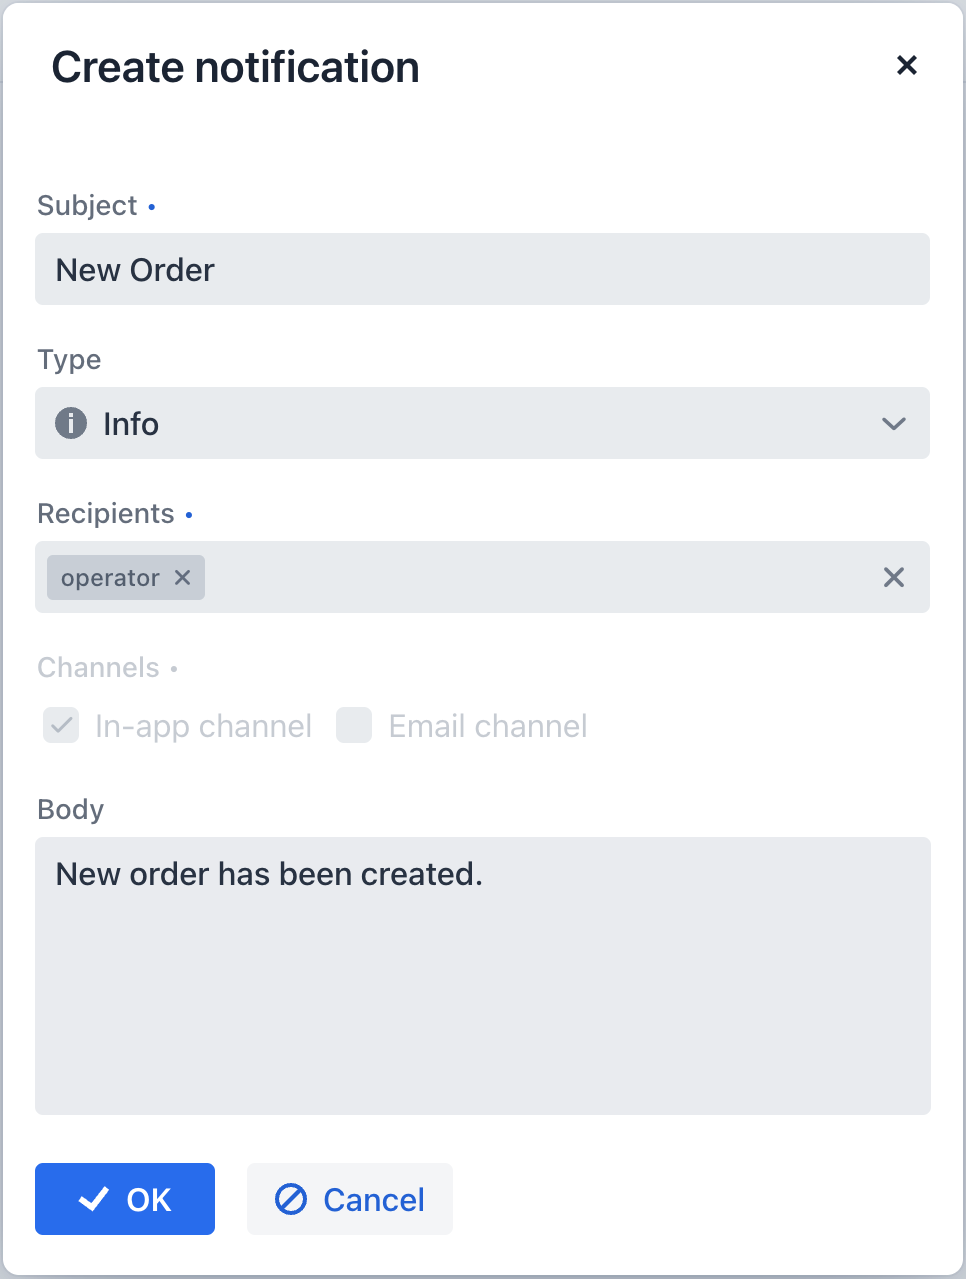
The dialog provides the following fields to fill in:
-
Subject – a subject of the notification.
-
Type – a type of notification. There are no default notification types. See the configuration section to create types.
-
Recipients – a list of recipients of the notification. Start typing a username in the field, and select the appropriate users from the list.
-
Channels – channels used for the notification.
-
In-app channel – the user will receive the notification in the application UI.
-
Email channel – the user will receive an email with the notification (available with the Email add-on).
-
-
Body – body of the notification.
Programmatic Creation
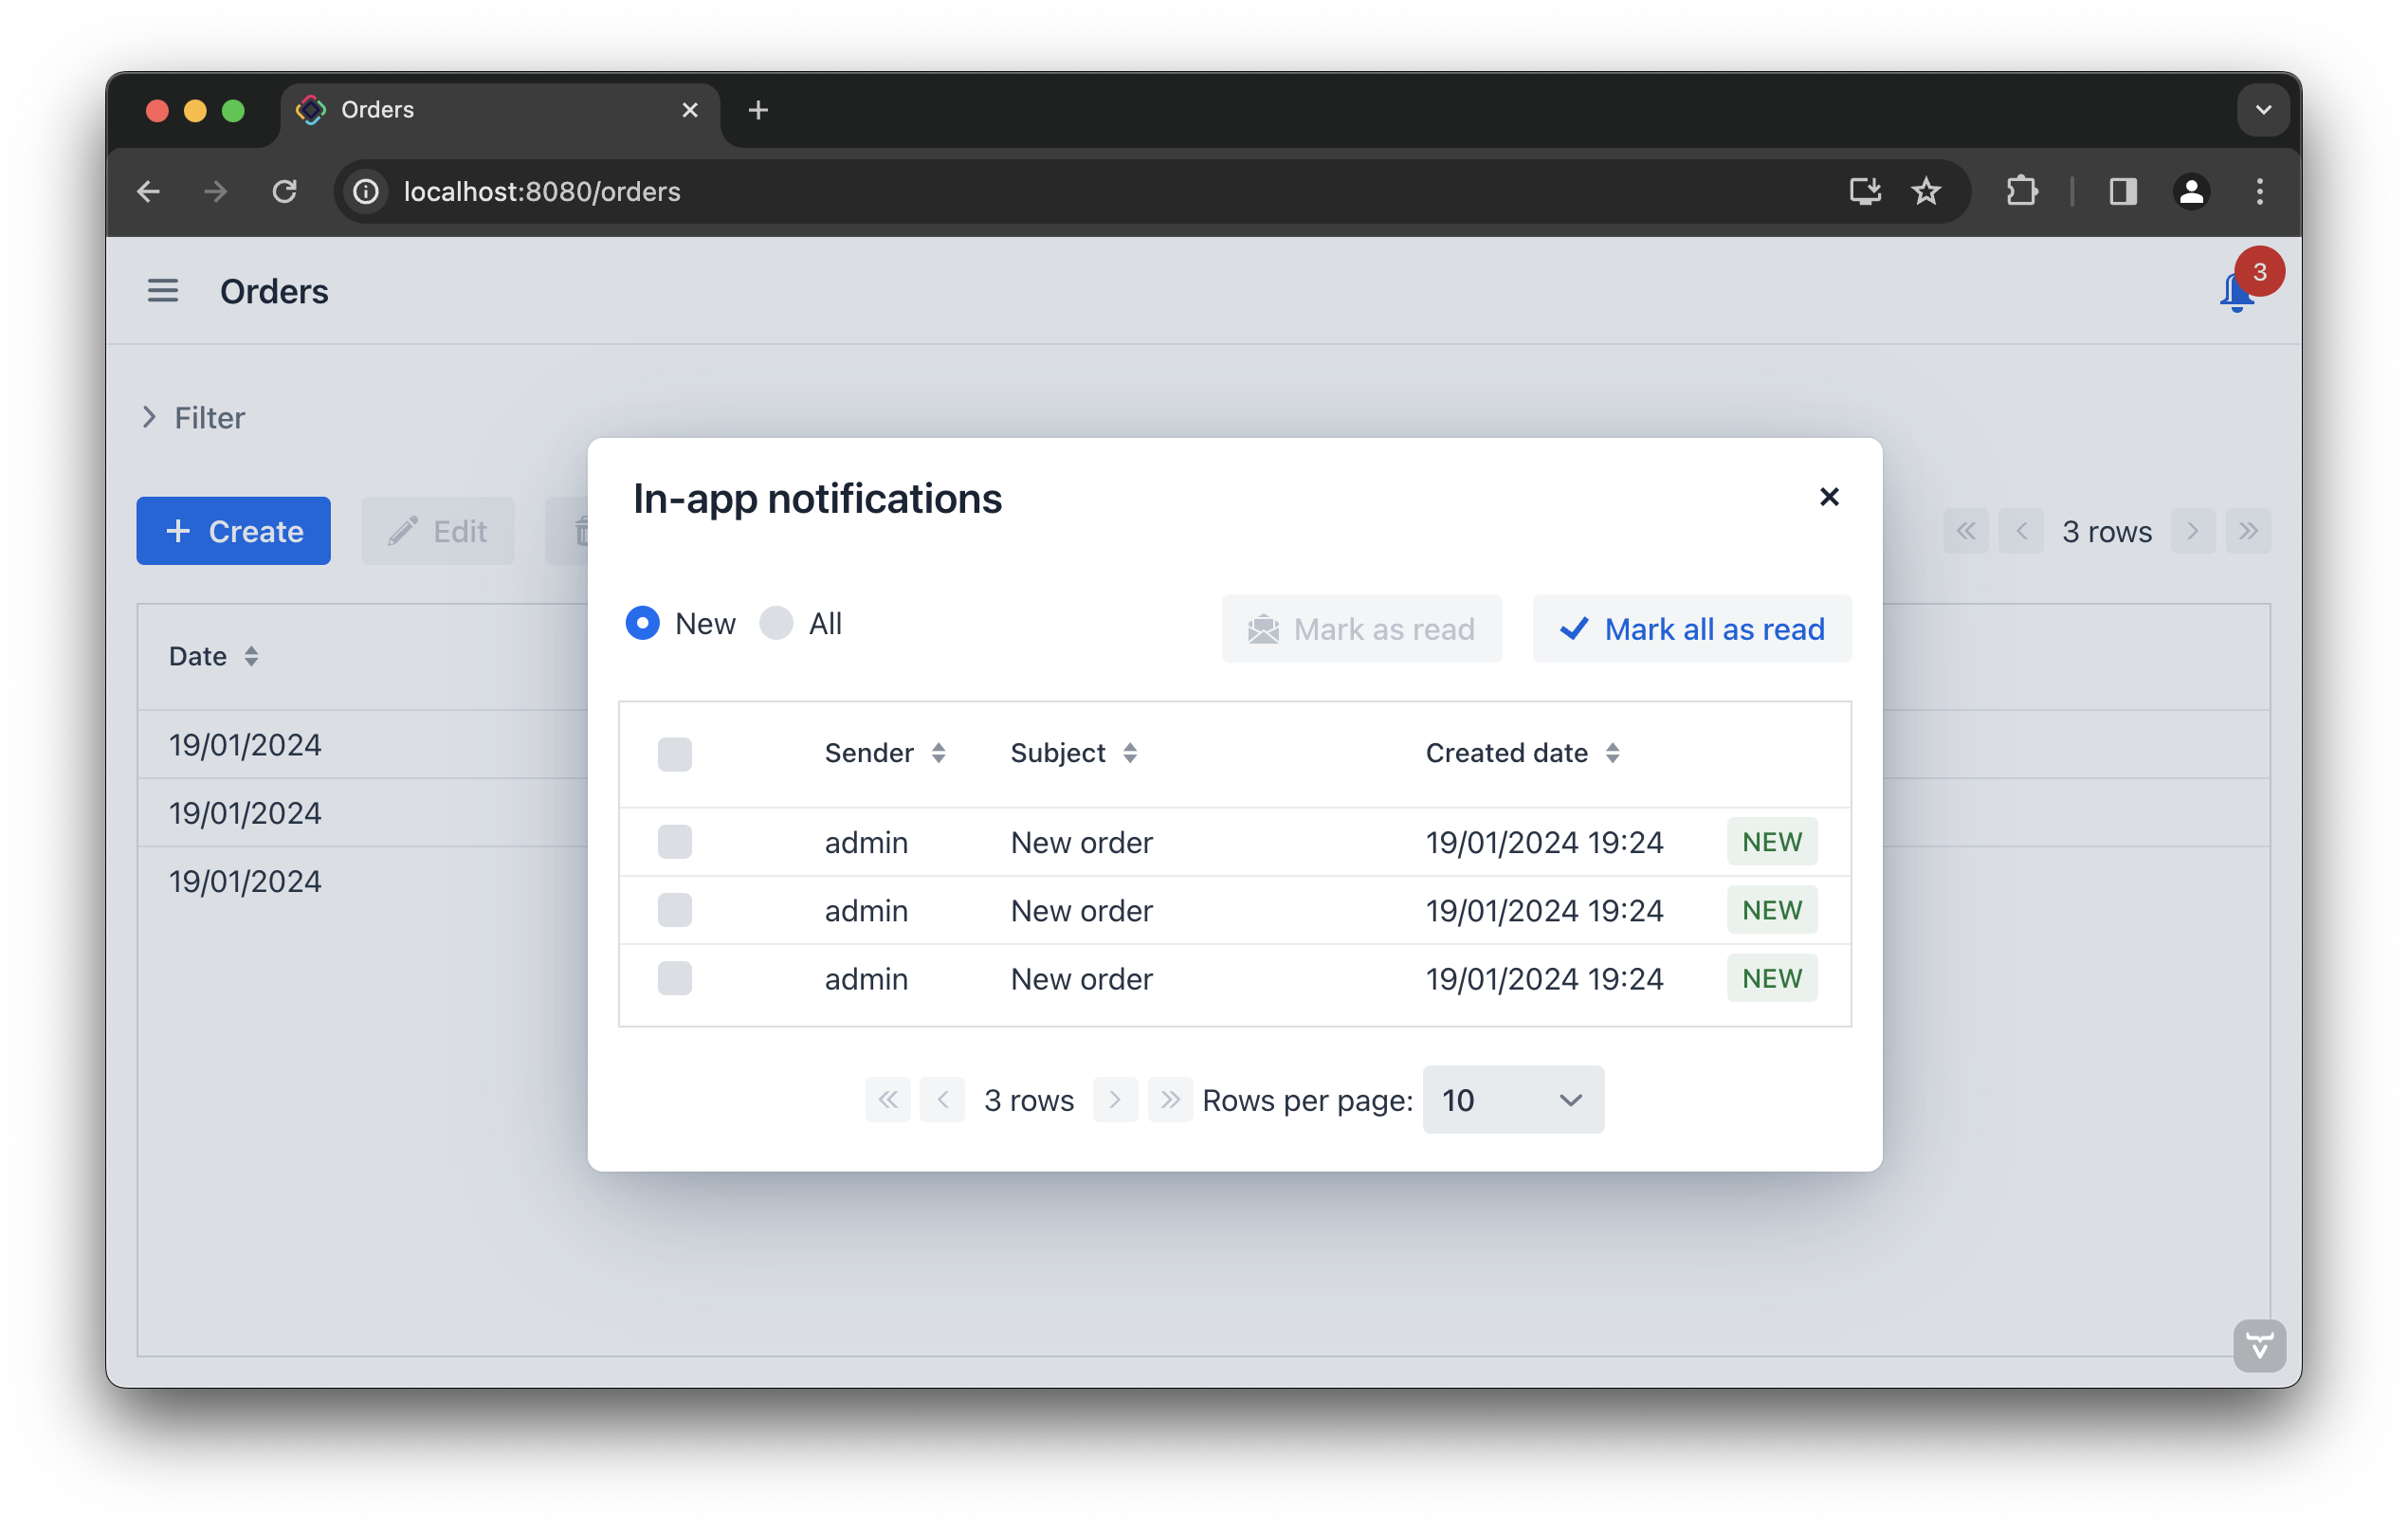
The NotificationManager service provides methods to send notifications to users.
In the example below, a notification is sent to the user every time a new order is created.
This scenario belongs to the category of Entity Lifecycle Events. The logic must be executed when a new order entity is created. The Jmix framework publishes an EntityChangedEvent whenever an entity is created, updated, or deleted in the database.
To handle this event, you need to define an event listener as a Spring bean. The method that listens to EntityChangedEvent should be annotated with @TransactionalEventListener to ensure that it only executes after the entity has been committed to the database.
import com.company.notificationsex1.entity.Order;
import io.jmix.core.DataManager;
import io.jmix.core.event.EntityChangedEvent;
import io.jmix.notifications.NotificationManager;
import io.jmix.notifications.channel.impl.InAppNotificationChannel;
import io.jmix.notifications.entity.ContentType;
import org.slf4j.Logger;
import org.slf4j.LoggerFactory;
import org.springframework.beans.factory.annotation.Autowired;
import org.springframework.stereotype.Component;
import org.springframework.transaction.annotation.Propagation;
import org.springframework.transaction.annotation.Transactional;
import org.springframework.transaction.event.TransactionalEventListener;

@Component
public class OrderEventListener {

    private static final Logger log = LoggerFactory.getLogger(OrderEventListener.class);
    @Autowired
    private DataManager dataManager;
    @Autowired
    protected NotificationManager notificationManager;

    @TransactionalEventListener (1)
    @Transactional(propagation = Propagation.REQUIRES_NEW) (2)
    public void onOrderChangedAfterCommit(final EntityChangedEvent<Order> event) {
        try {
            if (event.getType() == EntityChangedEvent.Type.CREATED) {
                Order order = dataManager.load(event.getEntityId()).one();

                notificationManager.createNotification() (3)
                        .withSubject("New order")(4)
                        .withRecipientUsernames("admin") (5)
                        .toChannelsByNames(InAppNotificationChannel.NAME) (6)
                        .withContentType(ContentType.PLAIN) (7)
                        .withBody("A new order with number " + order.getNumber() + " is created.") (8)
                        .send(); (9)
            }
        } catch (Exception e) {
            log.error("Error processing order", e);
        }
    }
}| 1 | Listens for EntityChangedEvent after the transaction is committed, ensuring that the order record is already stored in the database. |
| 2 | Opens a new transaction for loading and saving data. This is necessary because the current transaction has already been closed after the commit. Without this, dataManager.load() or dataManager.save() would fail due to the lack of an active transaction. |
| 3 | Initiates NotificationRequestBuilder that creates a new NotificationRequest object. |
| 4 | Defines the subject of the notification. |
| 5 | Sets the recipient by the provided username. |
| 6 | Sets notification channels by the provided names. The in-app and email channels are available. |
| 7 | Sets the notification body content type. |
| 8 | Sets notification body. |
| 9 | Creates and sends the notification request. |
| Click Code Snippets in the actions panel to generate code for sending notifications. |
