Quick Cloud Deployment
Quick cloud deployment allows you to deploy your application to AWS in a few clicks. It can be used for demo purposes or as a simple production deployment.
Your application will run using Docker Compose on a dedicated EC2 instance in the same configuration as in your development environment. So by default the application will use the local PostgreSQL database and the file storage on the local file system.
Prerequisites
Currently, only PostgreSQL is supported as a main data store. Studio configures it automatically in the generated docker-compose file. If your project uses additional data stores, you can configure them in docker-compose manually.
Before starting the quick deployment, you need to:
-
Create an AWS account and ensure that you have access to the AWS Console.
-
Install Docker and make sure the Docker CLI is available. The following terminal command should display information about the Docker client:
docker info -
Install the Docker plugin into your IDE and enable it.
Initial Deployment
-
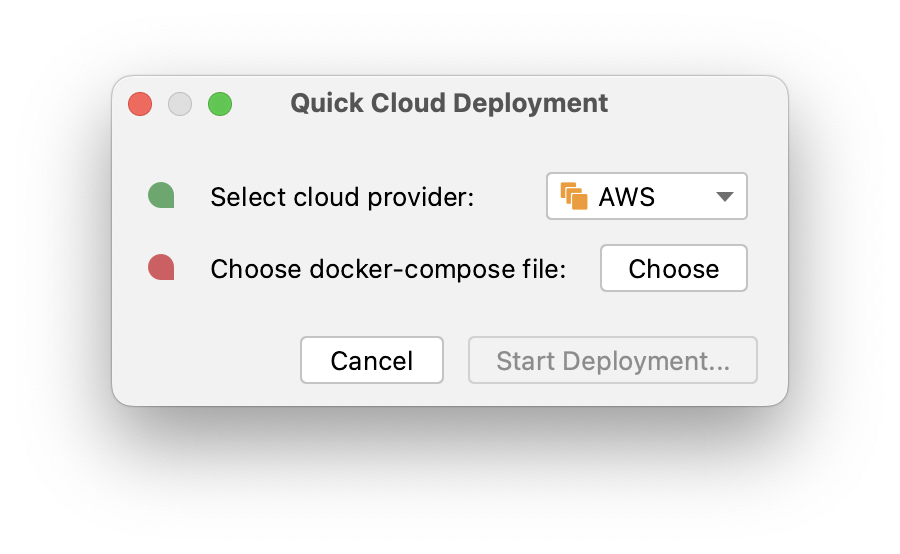
In the Jmix tool window, select Deployment node and Quick Cloud Deployment in its context menu. If all requirements are met, you will see the following dialog:
-
Click the Choose button to select or generate the
docker-composefile. The Choose Docker-Compose dialog will appear. If the project doesn’t have a suitable file, the field in the dialog will be empty: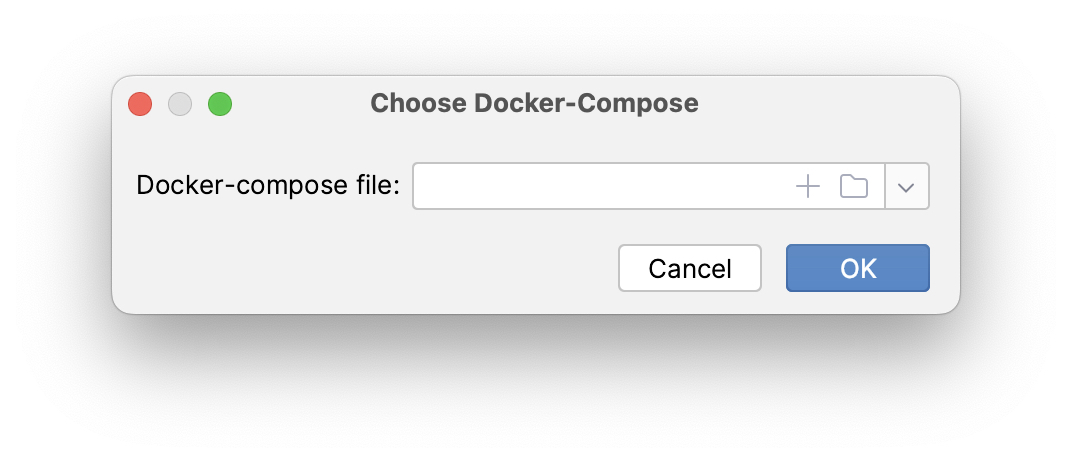
-
Click the "plus" button in the field. The Docker Compose Services dialog will appear. It should contain two services:
Jmix AppandPostgres. TheJmix Appservice should havePostgresin the Depends on field: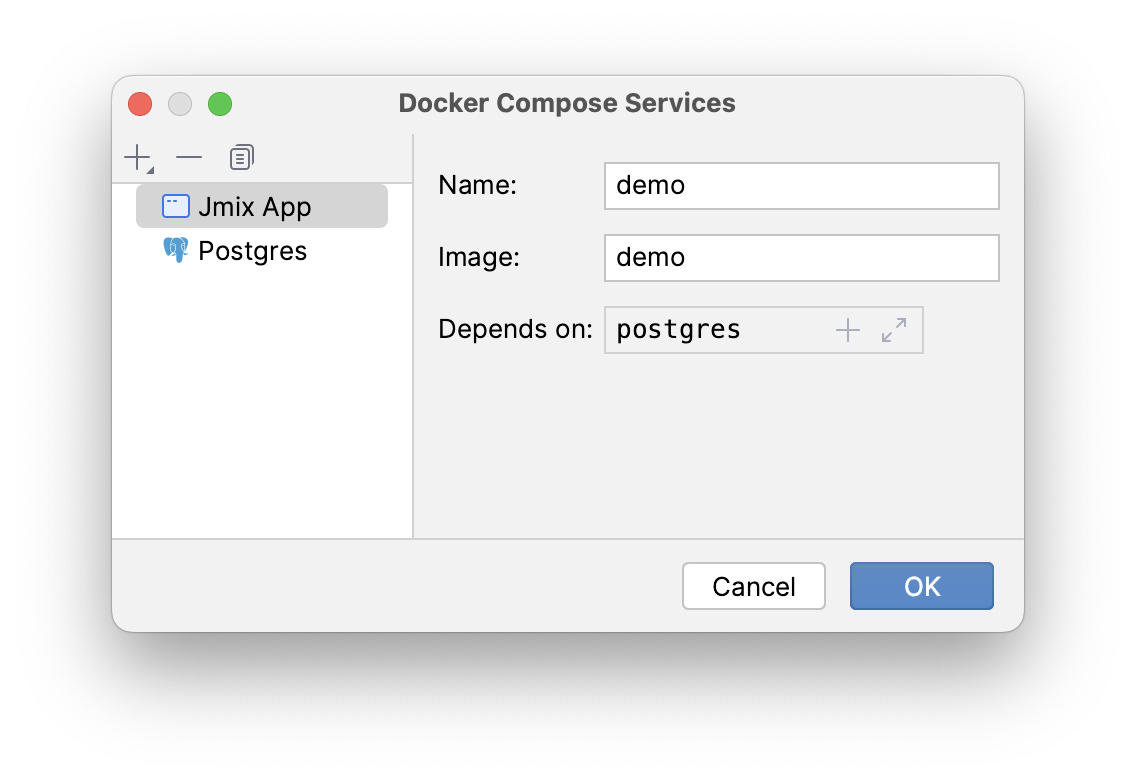
-
Click OK in the Docker Compose Services to save the generated
docker-compose.yamlfile. The file path will be set to the field in the Choose Docker-Compose dialog. Click OK to select the file for the quick deployment. -
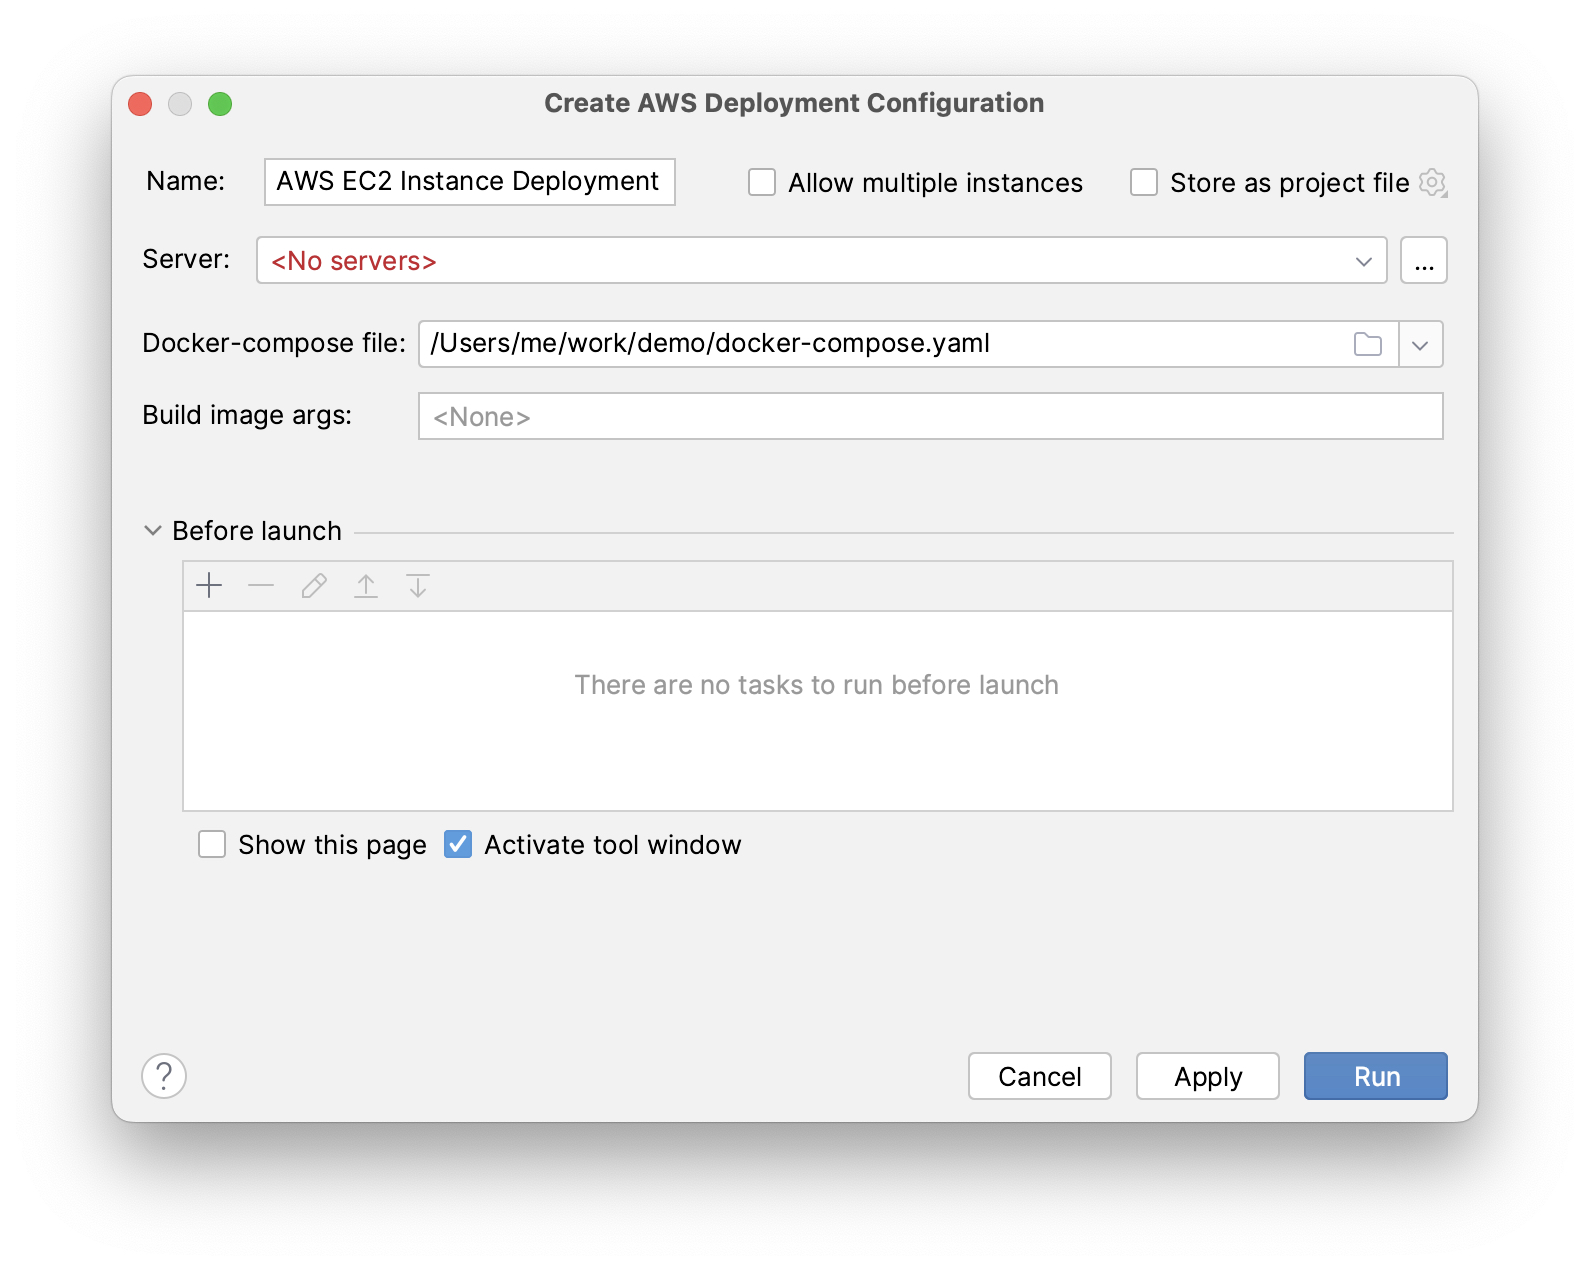
Click the Start Deployment button in the Quick Cloud Deployment dialog. The Create AWS Deployment Configuration dialog will appear:
-
In the Server dropdown, select Create new option. The AWS EC2 Instance dialog will appear:
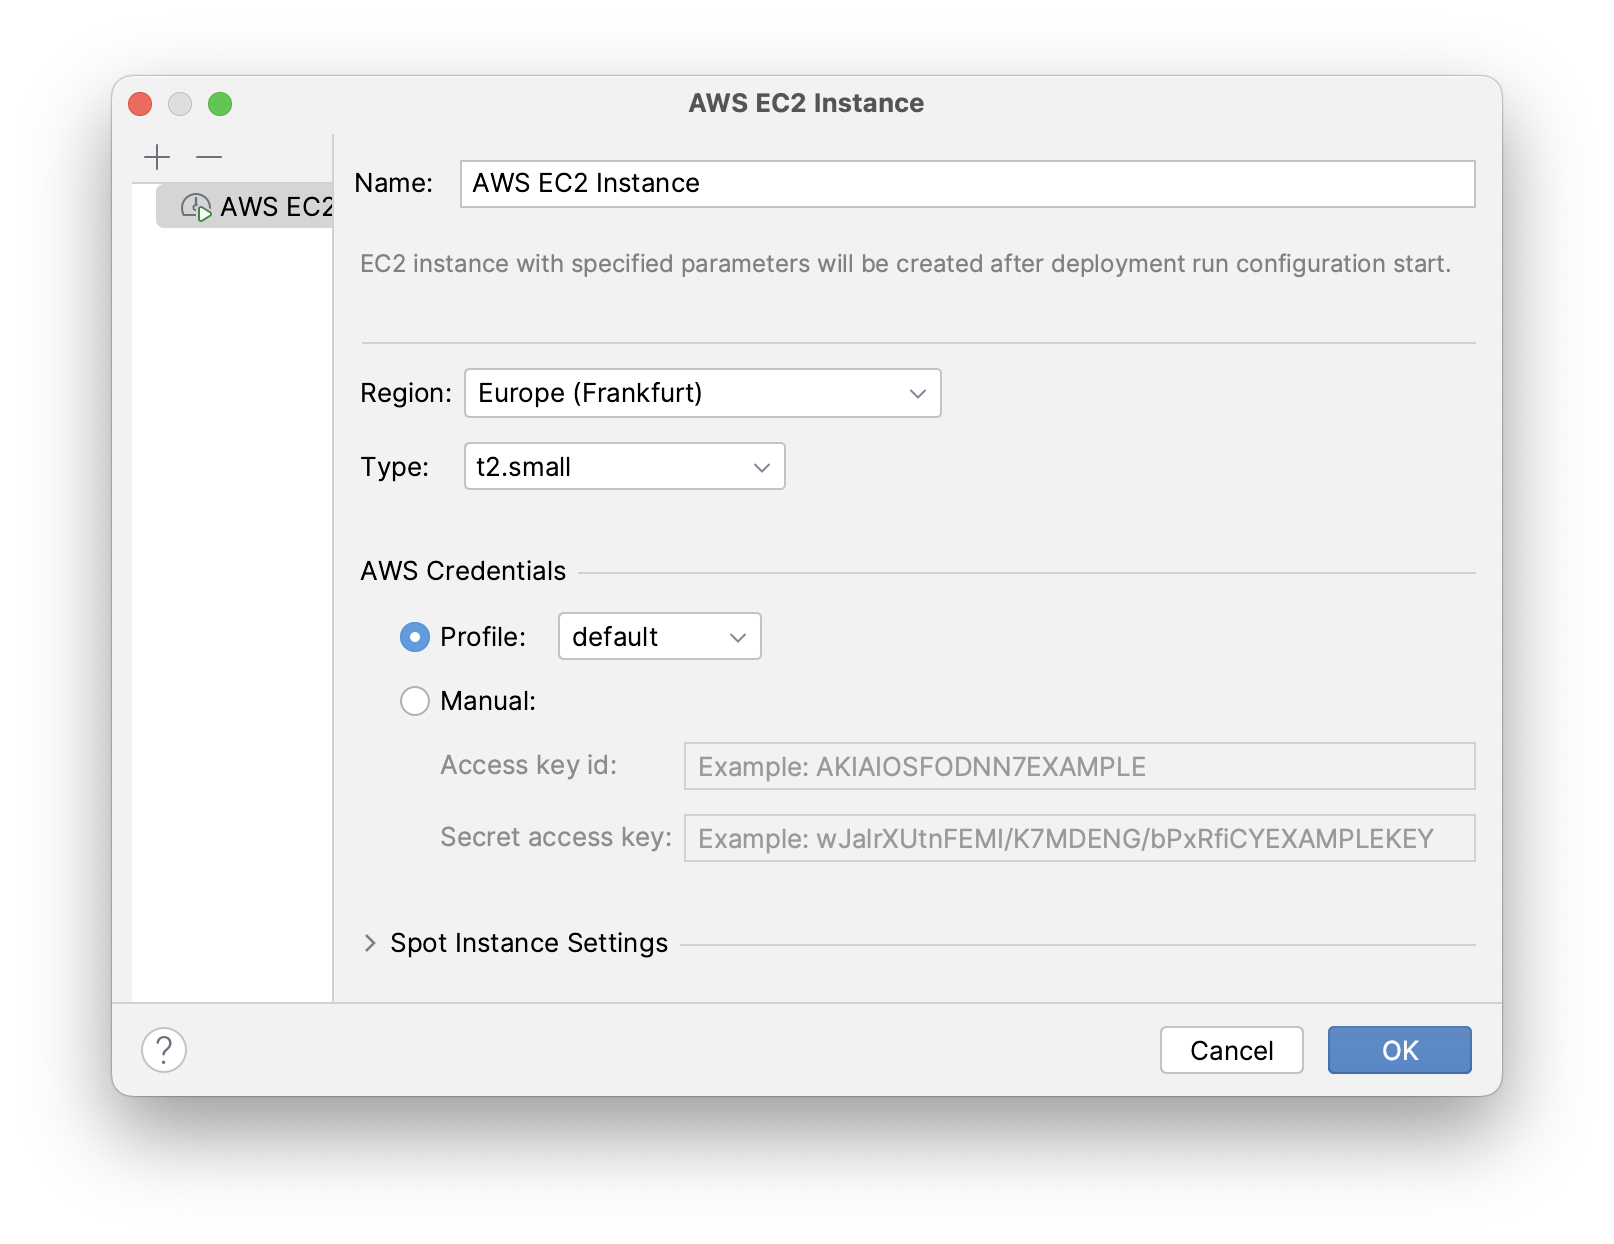
-
Select a desired region and instance type. Provide your AWS credentials: you can either enter them directly in the dialog or set up an AWS CLI profile on your computer.
-
Click OK to save the instance settings. Then click Run in the Create AWS Deployment Configuration dialog.
-
The Services tool window opens and the deployment starts. It creates the EC2 instance, connects to it by SSH and installs Docker. Then it builds the application image and starts
docker-composeon the EC2 instance.You can watch the status in the output of the AWS EC2 Instance → AWS EC2 via Docker-compose node.

⓵ - Overall deployment status. Note that
'AWS EC2 via Docker-compose' has been deployed successfullymessage does not indicate that the application is already available at the designated URL. Look into the application log ⓶ to watch the application start.⓶ - The application container log.
⓷ - The PostgreSQL container log.
-
To open the application web interface in the browser, right-click on the Deployment → Servers → AWS → AWS EC2 Instance node in the Jmix tool window and use the Open Application in Browser context menu action.
Redeployment
To rebuild and redeploy the application to the same cloud server, launch the AWS EC2 Instance Deployment run configuration created during initial deployment.
All data stored in the database and in the file storage will be preserved on redeployment thanks to the volume mappings defined in docker-compose.yaml. The data is actually stored outside containers in the EC2 instance file system.
To refresh the view of the container logs in the Services tool window, open context menu of the AWS EC2 Docker <instance-id> docker node and execute first Disconnect, then Connect commands.
Maintenance
You can connect to the running EC2 instance via SSH. To get the terminal command, select the Deployment → Servers → AWS → AWS EC2 Instance node in the Jmix tool window and click Connect to Server in its context menu. Copy the provided command text and run it in your terminal.
To stop or terminate the EC2 instance, use corresponding actions in the context menu of the Deployment → Servers → AWS → AWS EC2 Instance node.
| Terminating the instance completely removes it, so all data of the application will be lost. |
