Getting Started with Email
This section introduces a minimal example of using the Email Sending add-on. The goal is to create a newsfeed for application users. Such feed can be used to send announcements, updates, notifications, usage statistics, and other related information via email.
To follow along, create a new Jmix project and install the add-on.
Creating Entity and Views
First, create an entity to store news items along with simple CRUD views for managing them. Follow the steps below:
-
Create
NewsItementity with the following attributes:-
dateof typeLocalDate. -
subjectof typeString. -
contentof typeStringwith unlimited length.
-
-
Create entity list and detail views for this entity.
-
Open the list view, add a new button, and bind it to the email sending action:
news-item-list-view.xml<hbox id="buttonsPanel" classNames="buttons-panel"> <button id="createButton" action="newsItemsDataGrid.createAction"/> <button id="editButton" action="newsItemsDataGrid.editAction"/> <button id="removeButton" action="newsItemsDataGrid.removeAction"/> <button id="sendEmailButton" action="newsItemsDataGrid.sendEmailAction"/> (1) <simplePagination id="pagination" dataLoader="newsItemsDl"/> </hbox> <dataGrid id="newsItemsDataGrid" width="100%" minHeight="20em" dataContainer="newsItemsDc" columnReorderingAllowed="true"> <actions> <action id="createAction" type="list_create"/> <action id="editAction" type="list_edit"/> <action id="removeAction" type="list_remove"/> <action id="sendEmailAction" type="list_itemTracking" icon="vaadin:envelope" text="Send Email"/> (2) </actions> <columns resizable="true"> <column property="date"/> <column property="subject"/> <column property="content"/> </columns> </dataGrid>1 Add a new button. 2 Add a new action.
Sending Email Logic
With the UI ready, add logic to make it functional. This logic will use the add-on’s API.
-
Set up a handler for the
sendEmailActionaction. In the handler, show a dialog asking if the news can be queued for sending:@Autowired private Dialogs dialogs; (1) @Subscribe("newsItemsDataGrid.sendEmailAction") public void onNewsItemsDataGridSendEmailAction(final ActionPerformedEvent event) { NewsItem newsItem = newsItemsDataGrid.getSingleSelectedItem(); dialogs.createOptionDialog() .withHeader("Sending email") .withText("Emails will be queued for sending. Continue?") .withActions( new DialogAction(DialogAction.Type.YES) { @Override public void actionPerform(Component component) { try { sendNewsByEmail(newsItem); } catch (IOException e) { log.error("Error sending email"); notifications.create("Error sending email").show(); } } }, new DialogAction(DialogAction.Type.NO) ) .open(); }1 Inject the io.jmix.flowui.Dialogsobject into the controller class. -
Implement the
sendNewsByEmail()method.@Autowired private Emailer emailer; (1) @Autowired private Resources resources; (2) private void sendNewsByEmail(NewsItem newsItem) throws IOException { InputStream resourceAsStream = resources.getResourceAsStream("/META-INF/resources/icons/icon.png"); (3) byte[] bytes = IOUtils.toByteArray(resourceAsStream); EmailAttachment emailAttachment = new EmailAttachment(bytes, "logo.png", "logoId"); (4) final EmailInfo emailInfo = EmailInfoBuilder.create() (5) .setAddresses("john.doe@company.com,jane.doe@company.com") .setSubject(newsItem.getSubject()) .setFrom(null) (6) .setBodyContentType("text/plain; charset=UTF-8") .setBody(newsItem.getContent()) .setAttachments(emailAttachment) .setImportant(false) .build(); emailer.sendEmailAsync(emailInfo); (7) }1 Inject the io.jmix.email.Emailerinterface.2 Inject the io.jmix.core.Resourcesinterface.3 To demonstrate how to add an attachment, we’ll use an application icon file. 4 Create an io.jmix.email.EmailAttachmentobject.5 Create an io.jmix.email.EmailInfoobject usingio.jmix.email.EmailInfoBuilder.6 The from address will be taken from the jmix.email.from-address property. 7 Send the email asynchronously (in the background).
Configuring SMTP Server parameters
Use Spring Boot mail properties to define basic email sending parameters, such as protocol, host, port, and others in the application.properties file.
| You may need to obtain SMTP server configuration parameters from your system administrator or service provider. See the Setting up OAuth for Google and Microsoft for steps to configure email sending with these providers. |
Working with User Interface
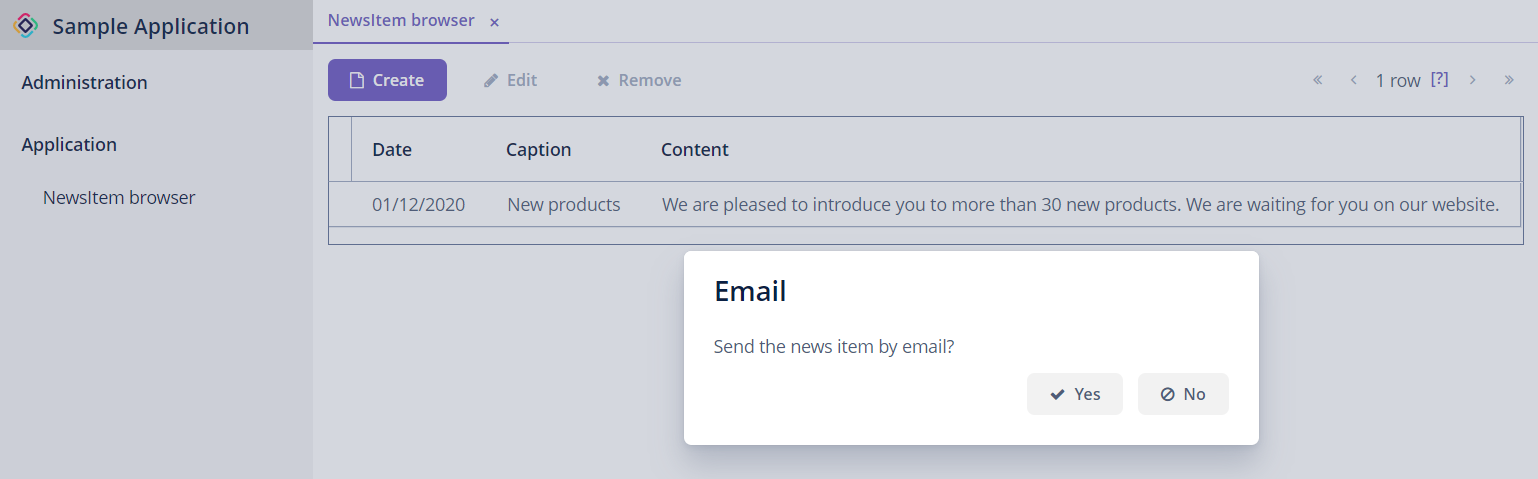
Run the application, open the News items view. Click Create to compose a news item. After saving and returning to the previous view, select your item and click Send Email. The confirmation dialog will appear – click Yes to proceed.
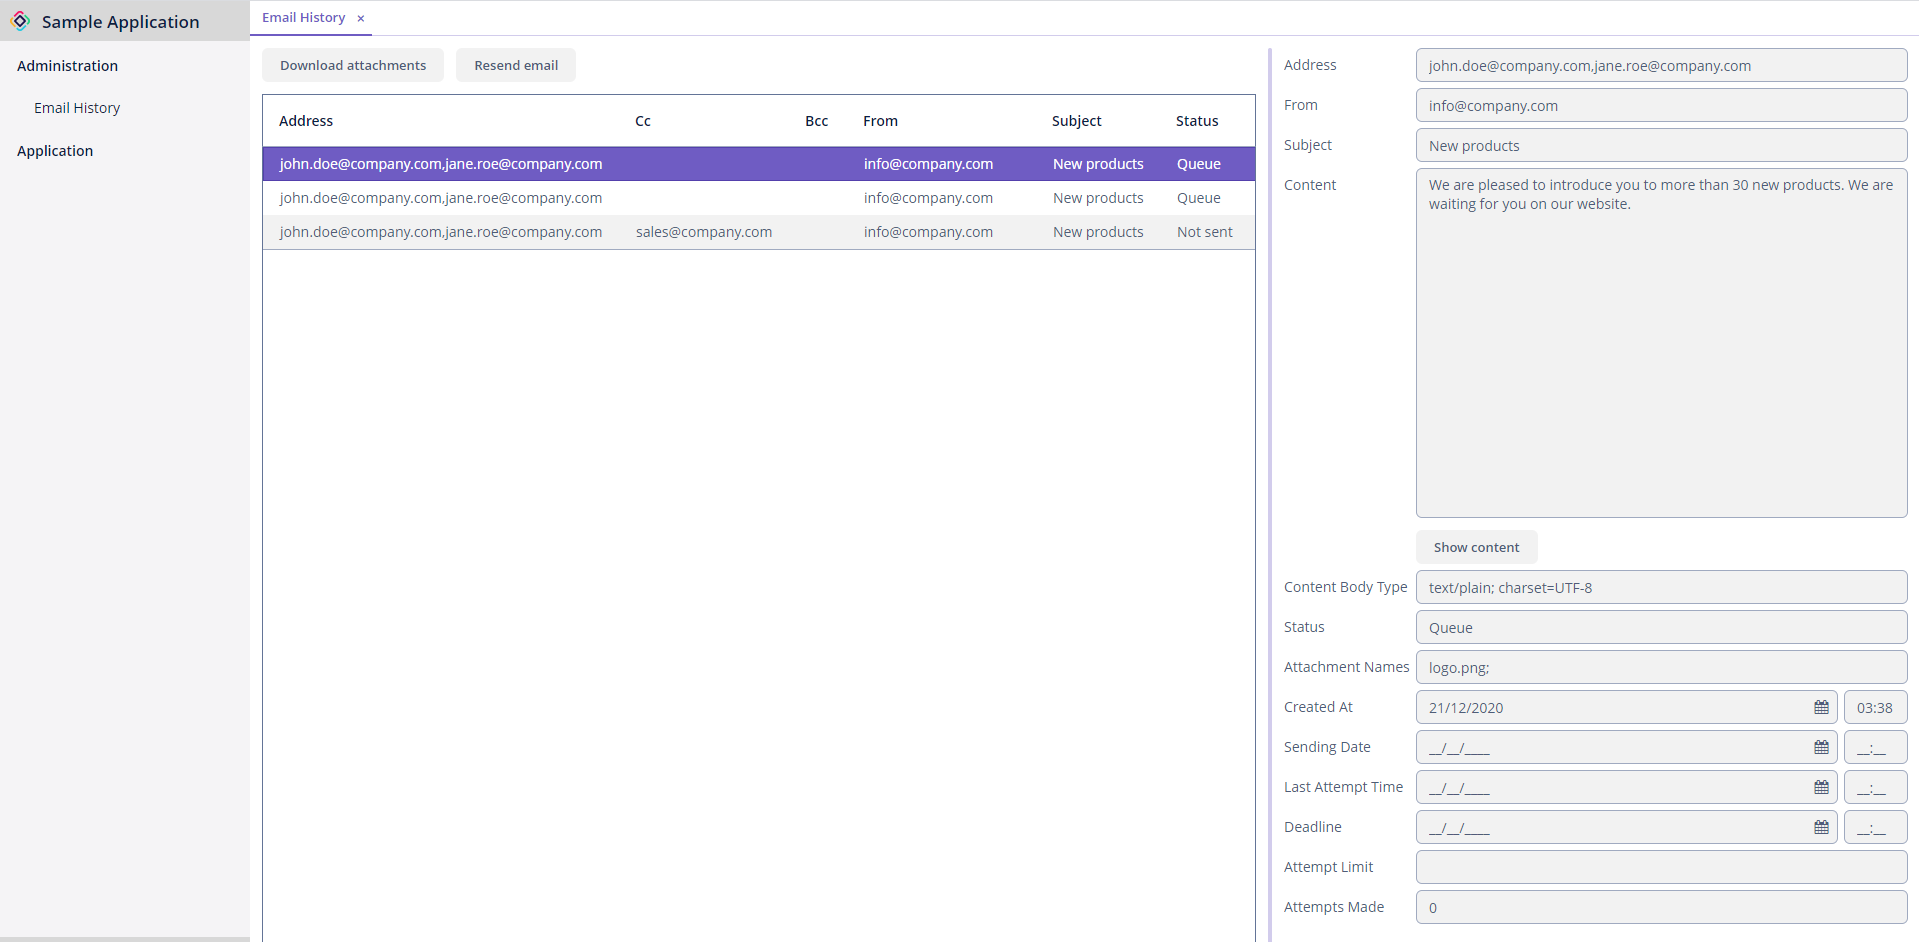
Go to the Email → Email History view. A record with the Queue status indicates that the email is waiting to be sent. The email details will be displayed on the right as you click it.
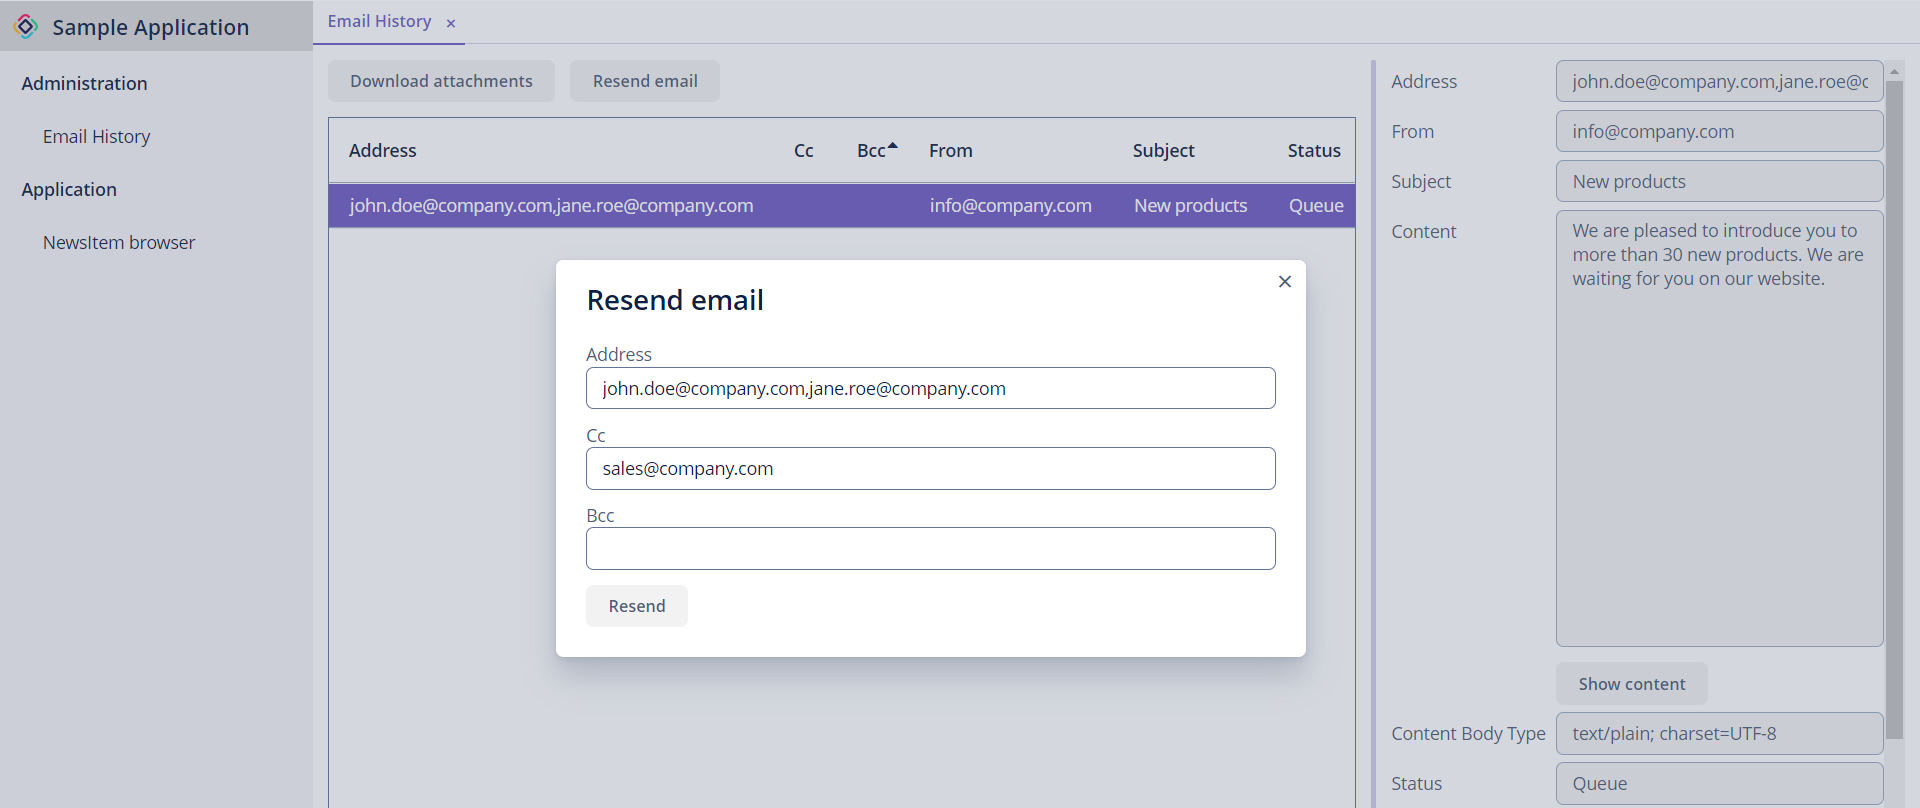
To send an email from the UI, select it from the list and click Resend email. You can change or add recipients before sending. Once the email is sent, the status will change to Sent.
| To send queued emails regularly or on a specific schedule, set up the Quartz Scheduler. |