Add-ons Marketplace
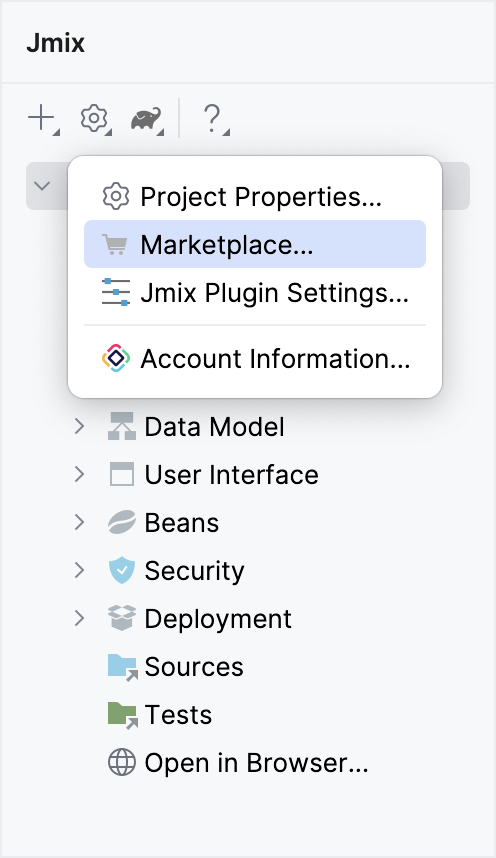
Studio provides useful UI to manage add-ons in your application. The Add-ons dialog is accessible from Jmix Tool Window → Marketplace.
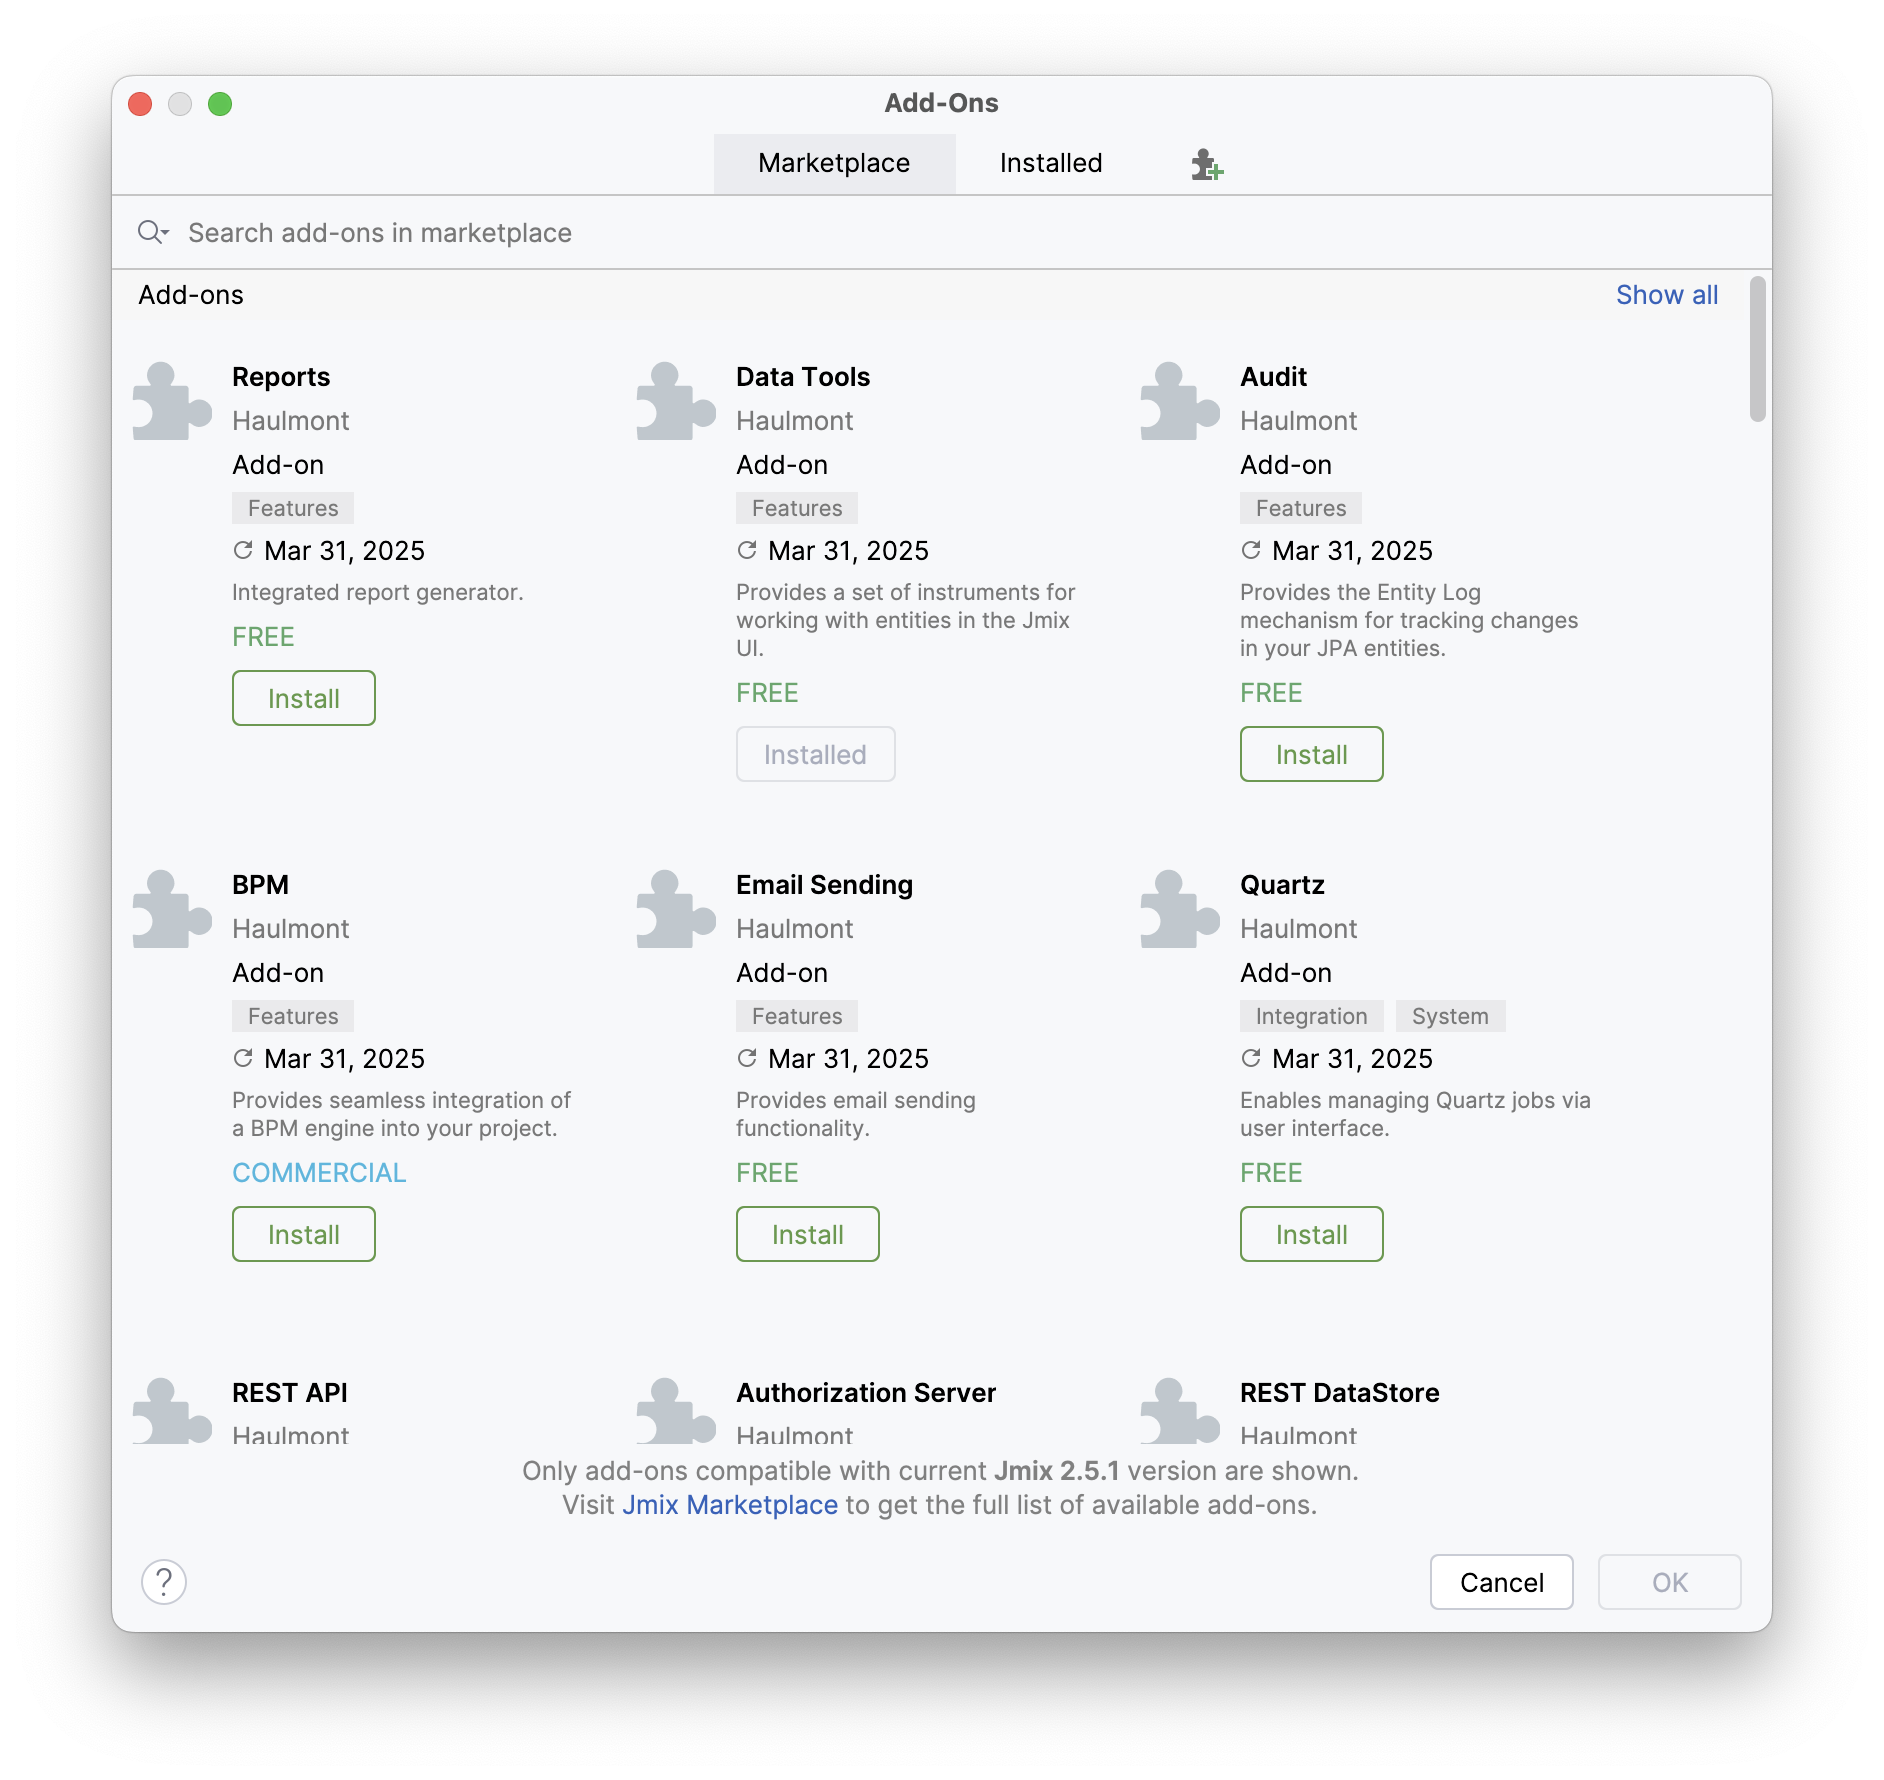
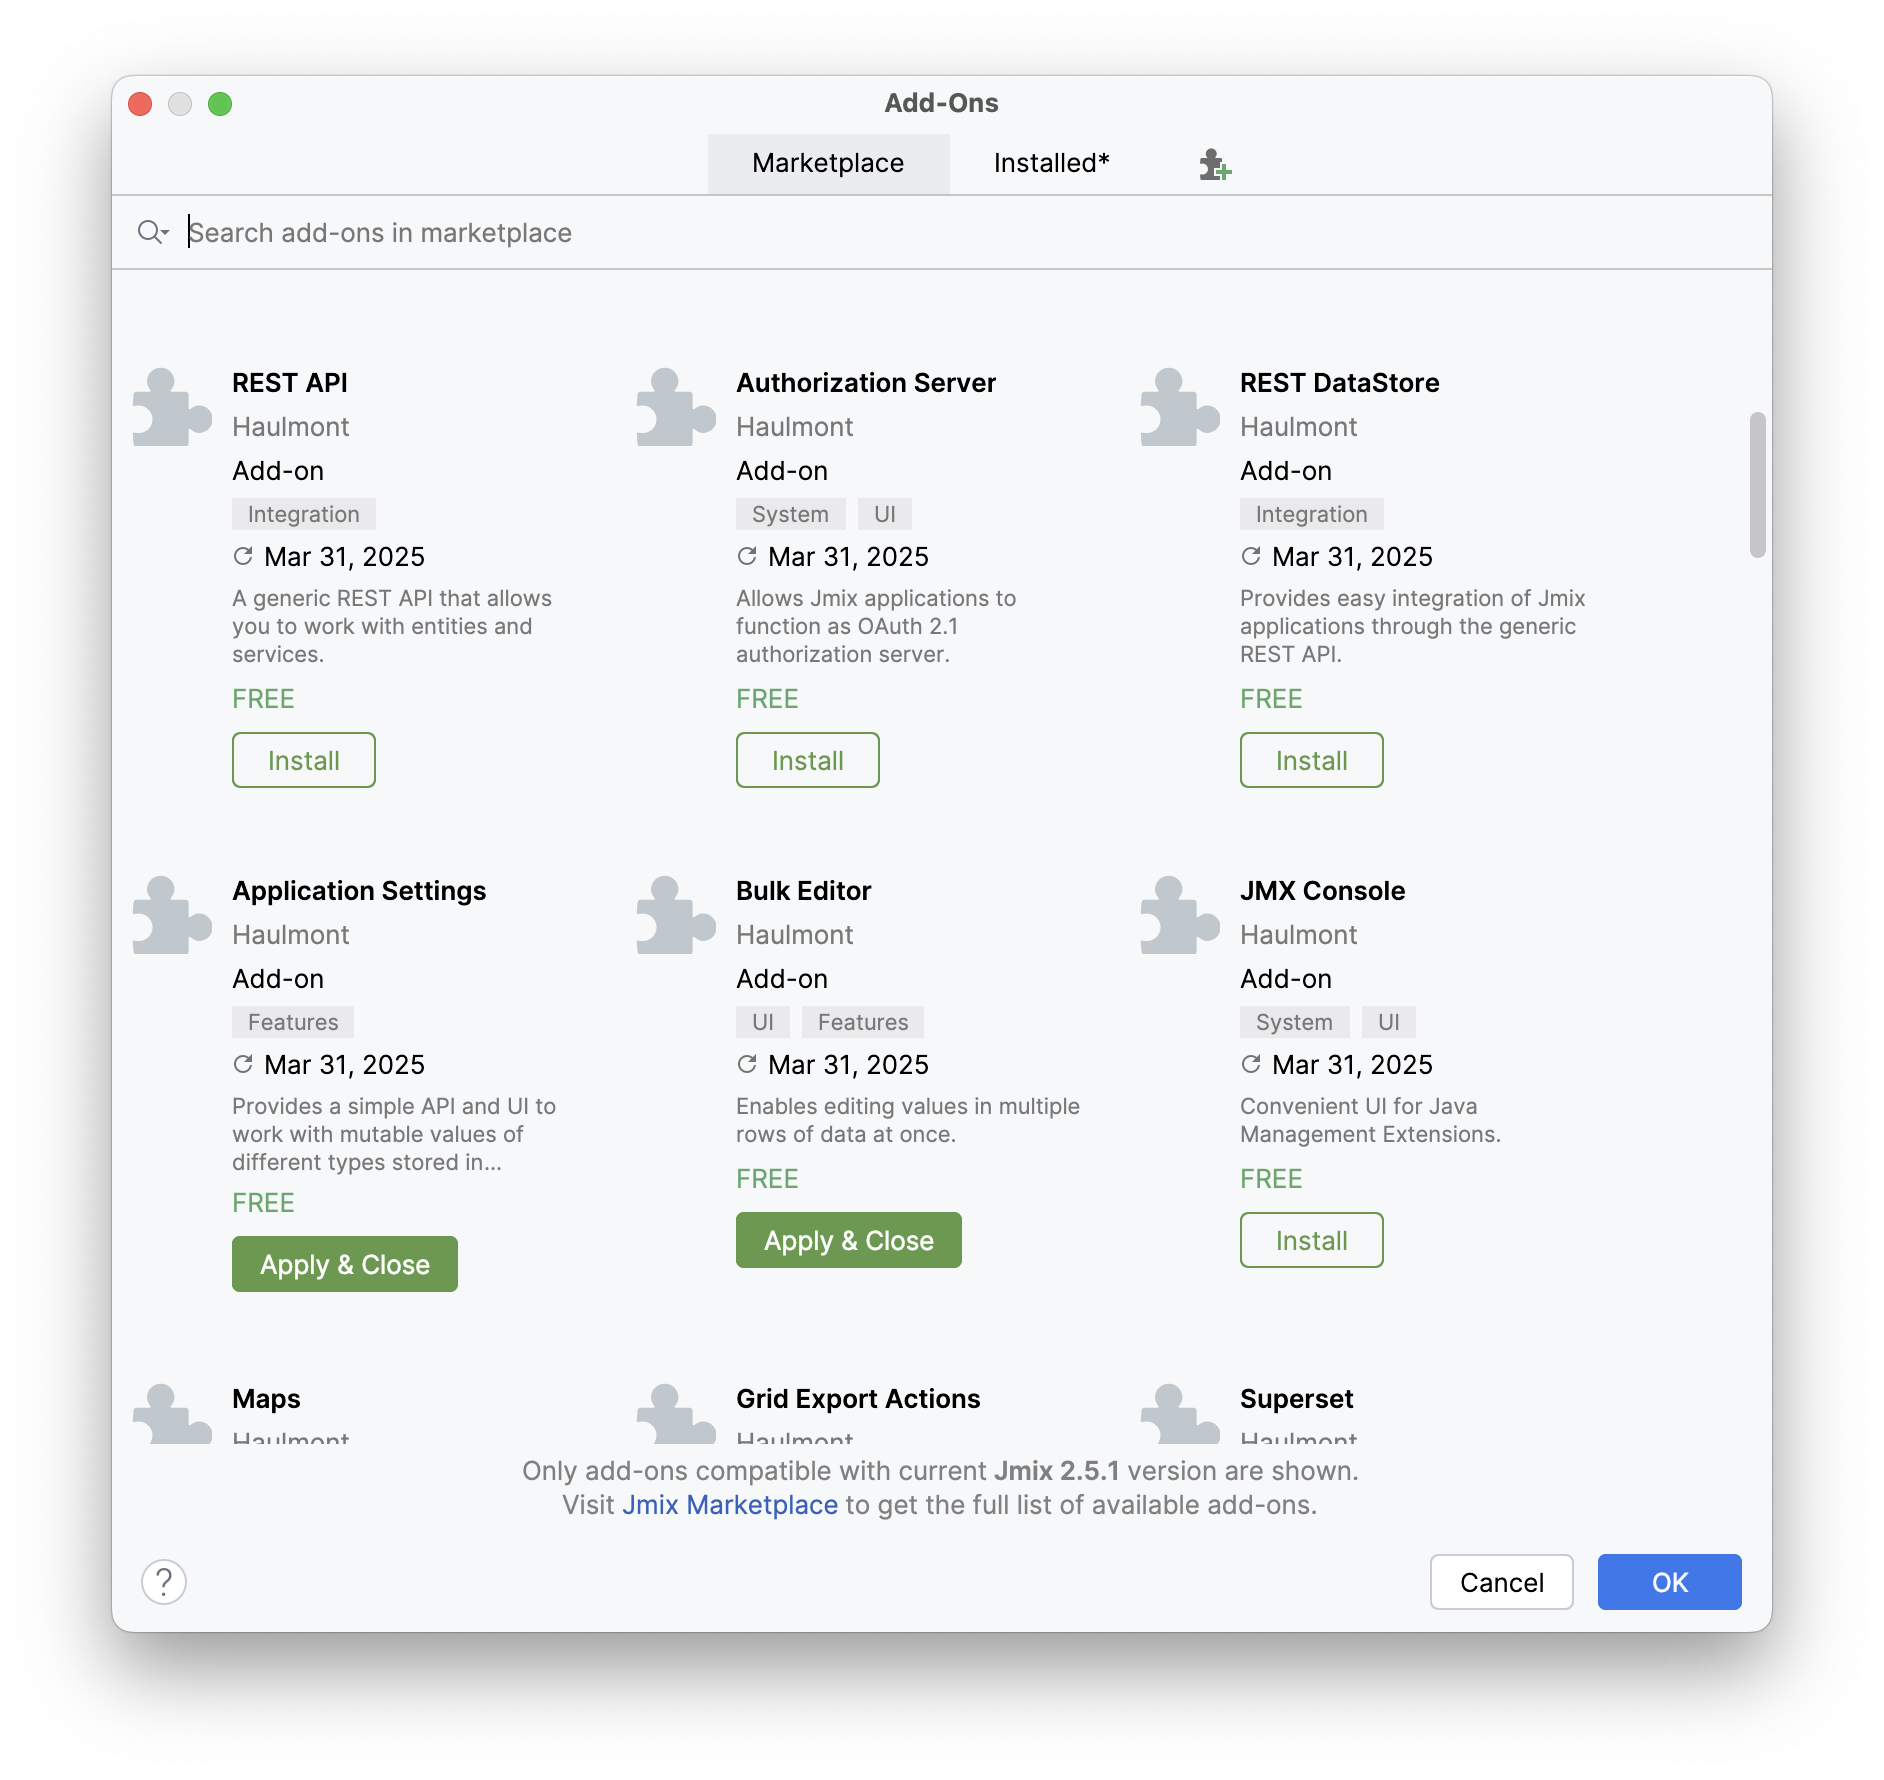
The Marketplace tab displays published add-ons that are compatible with your project.
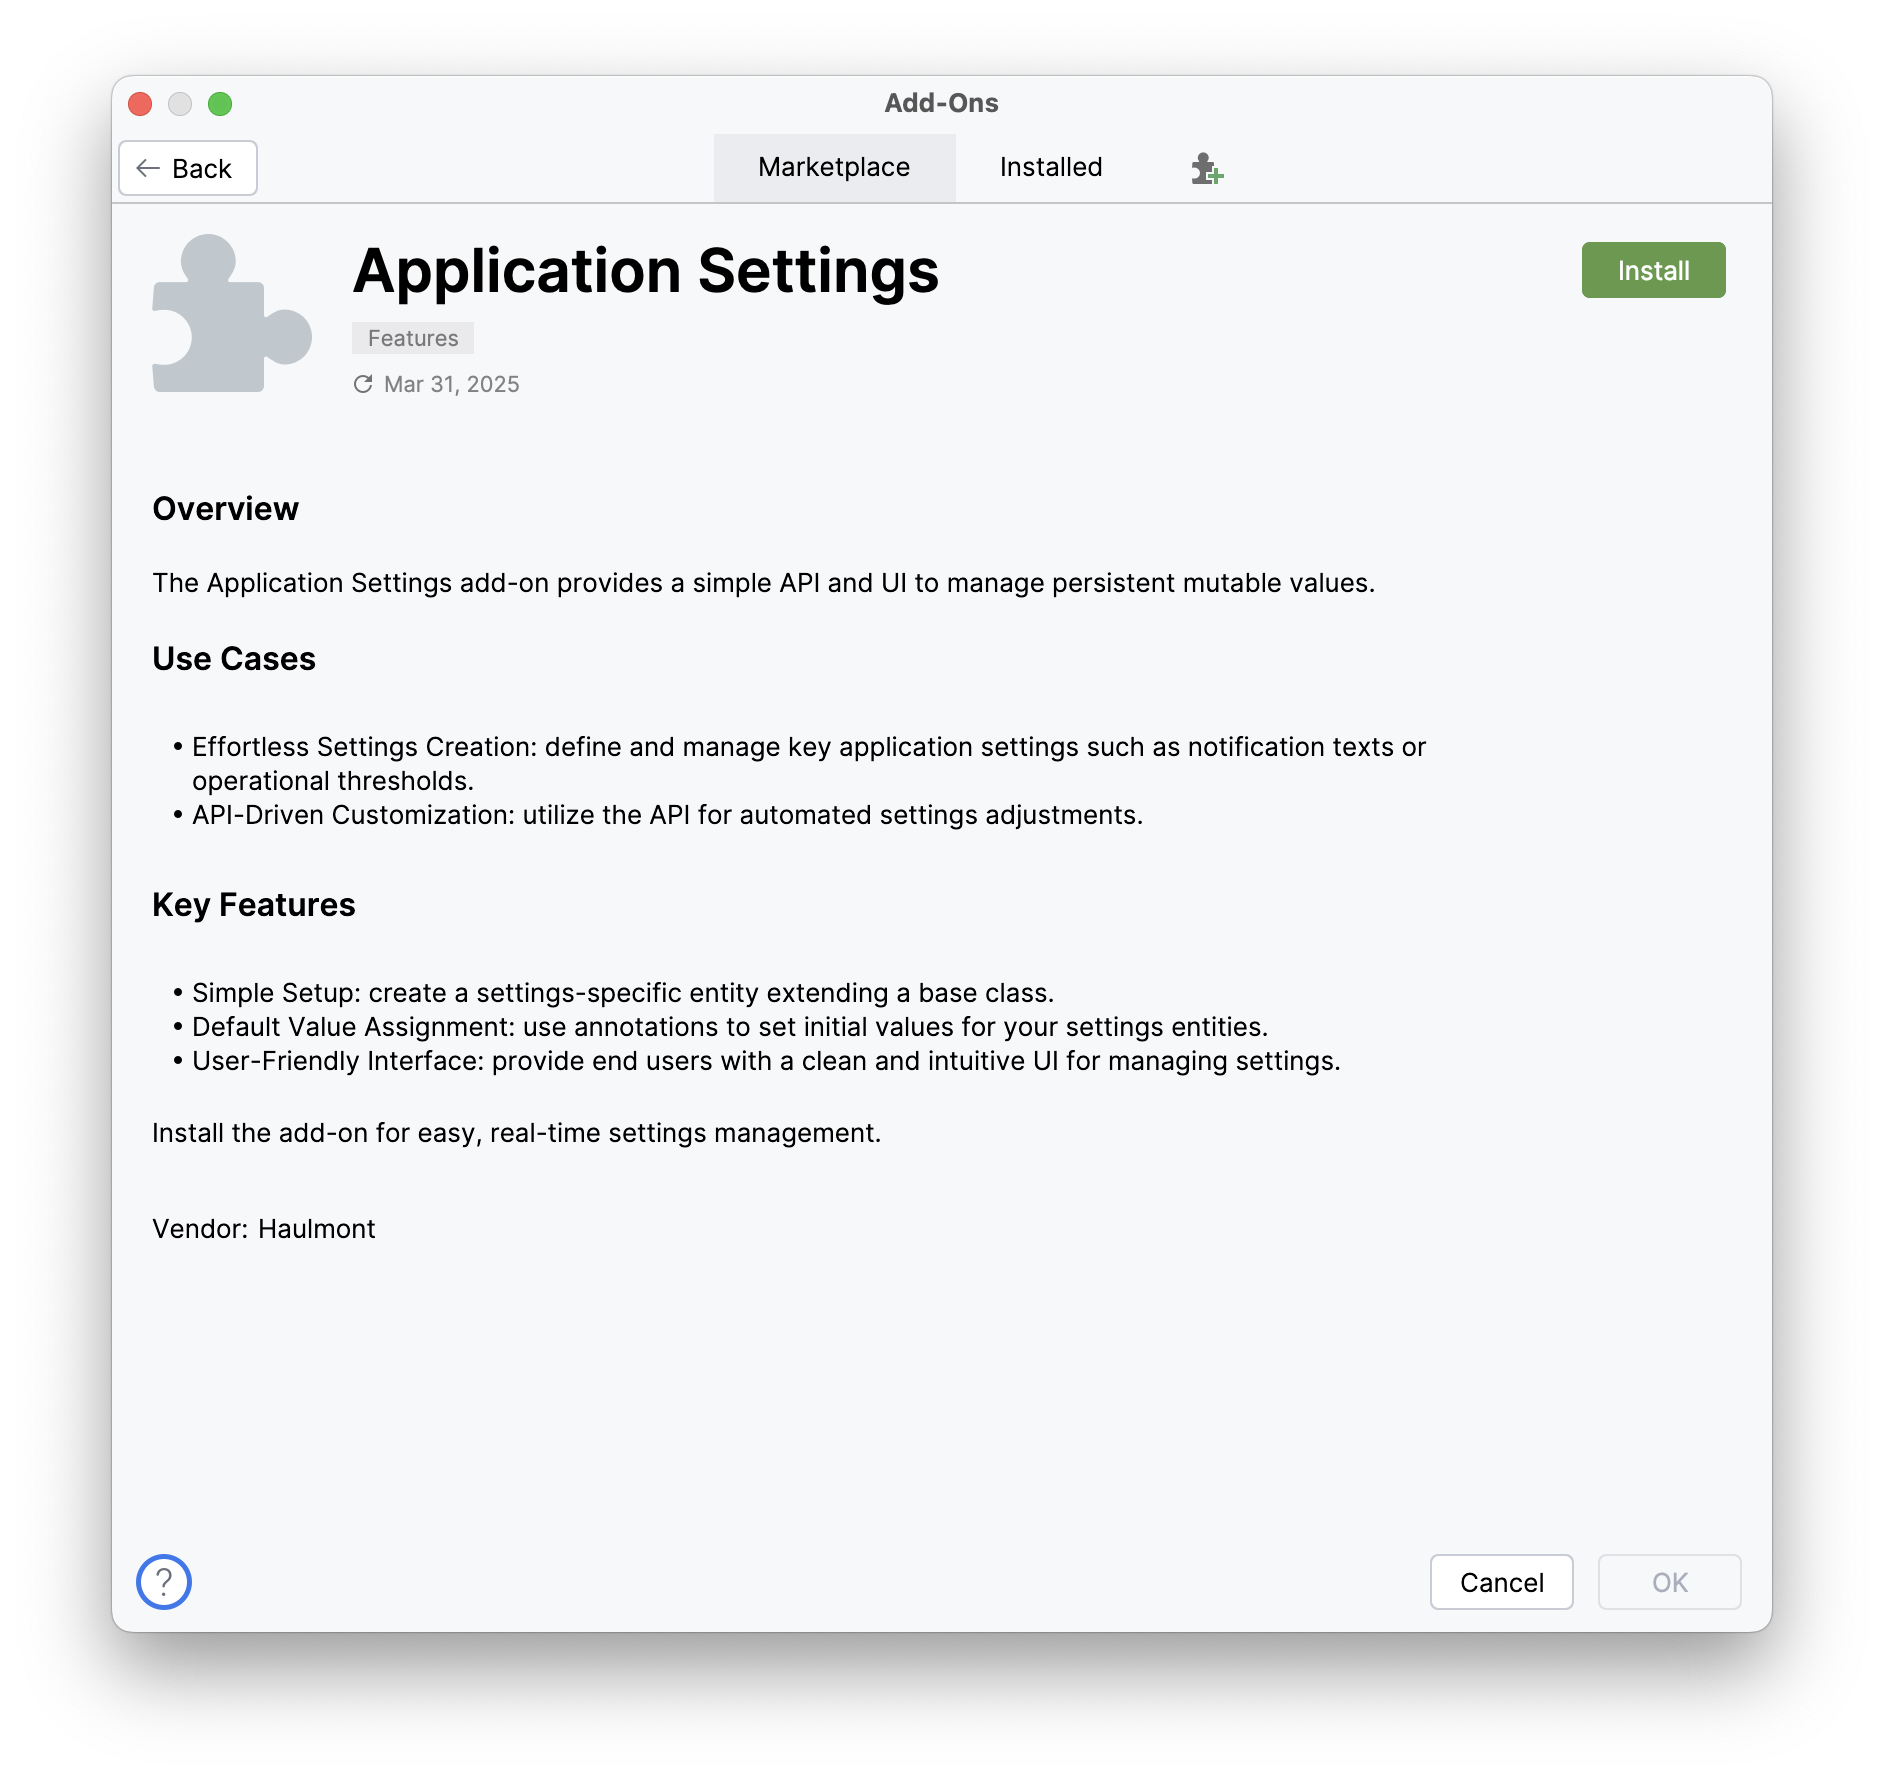
By clicking on the add-on’s title, you can overview the add-on’s information.
You can install one or more add-ons by clicking the Install button and then Apply & Close.
|
Detailed installation instructions are placed for each add-on in the Add-ons section. |
The Installed tab displays add-ons that are already added to the current project.
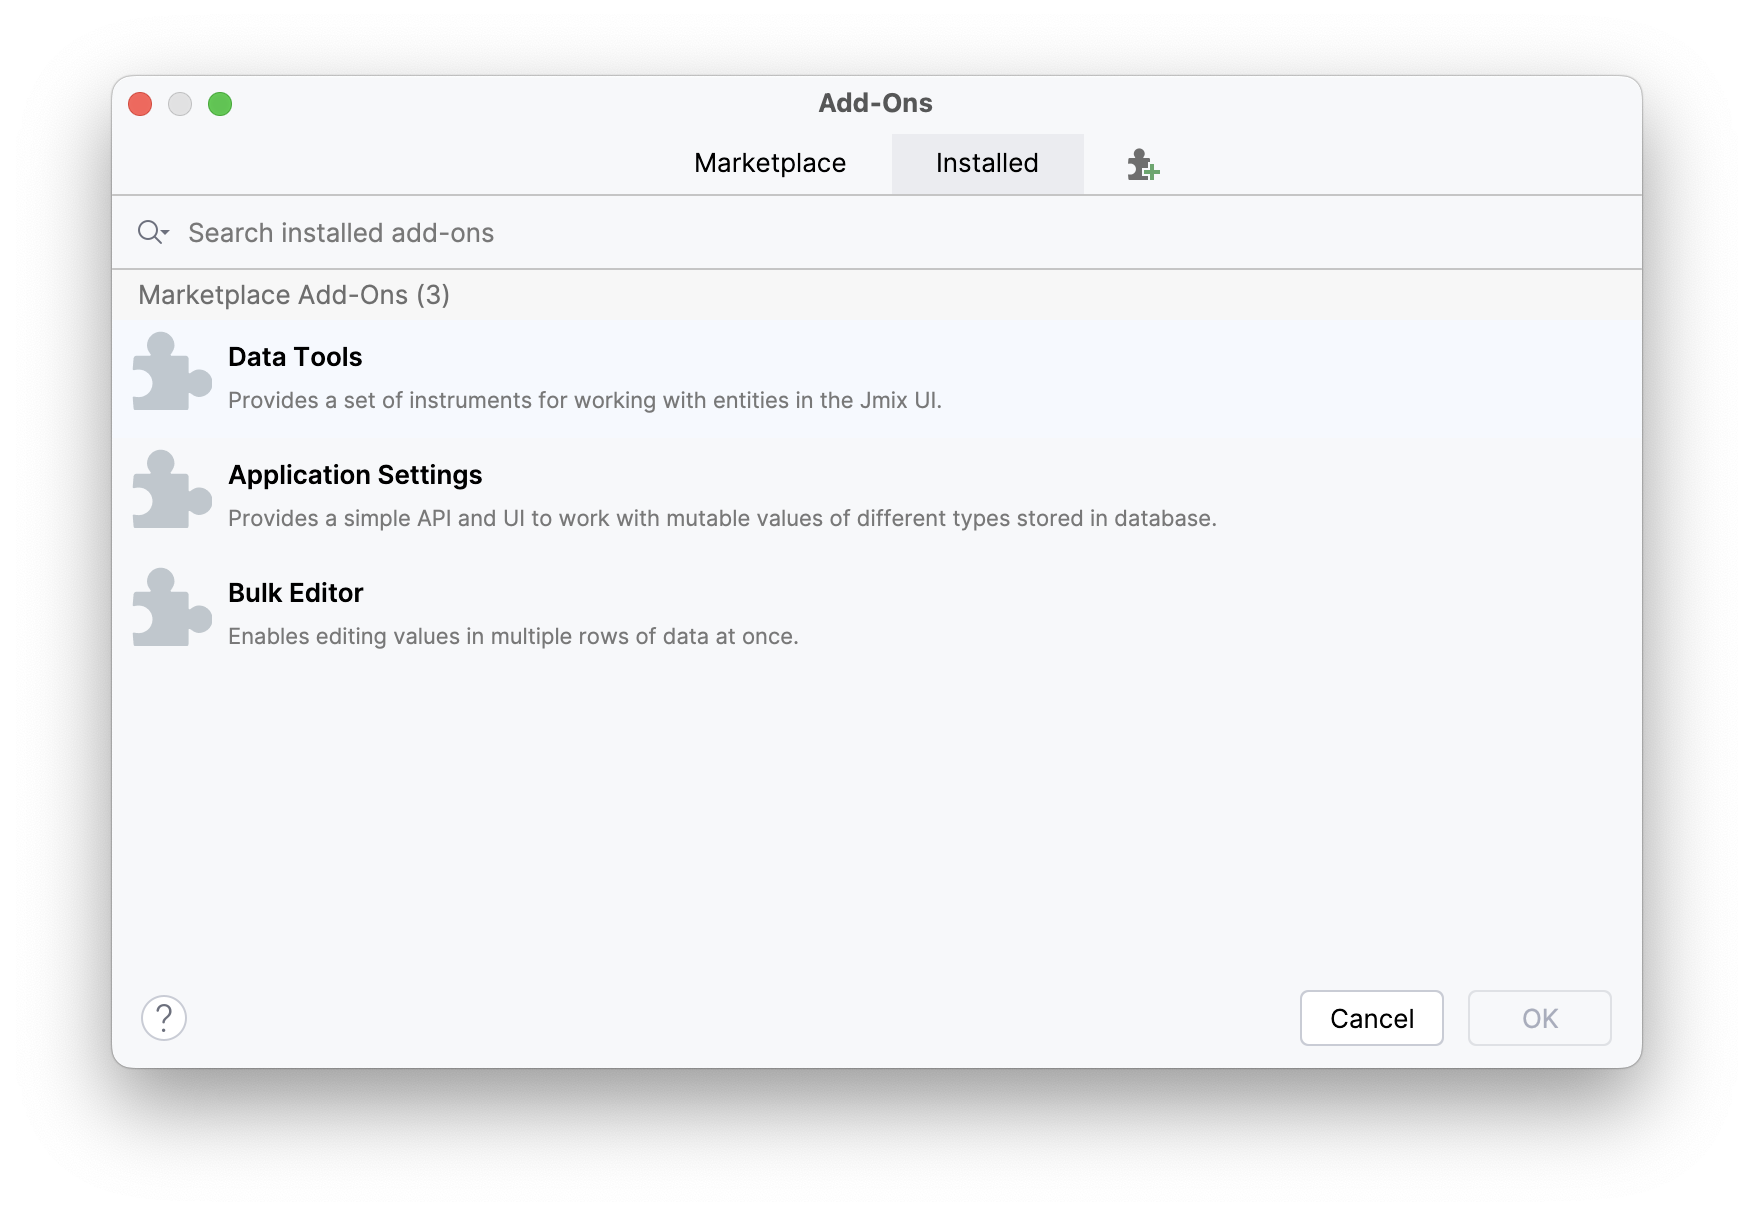
Installed add-ons are grouped into two categories. Marketplace Add-Ons are installed from Marketplace. Custom Add-Ons are developed by third parties and hosted in third-party repositories, including local Maven.
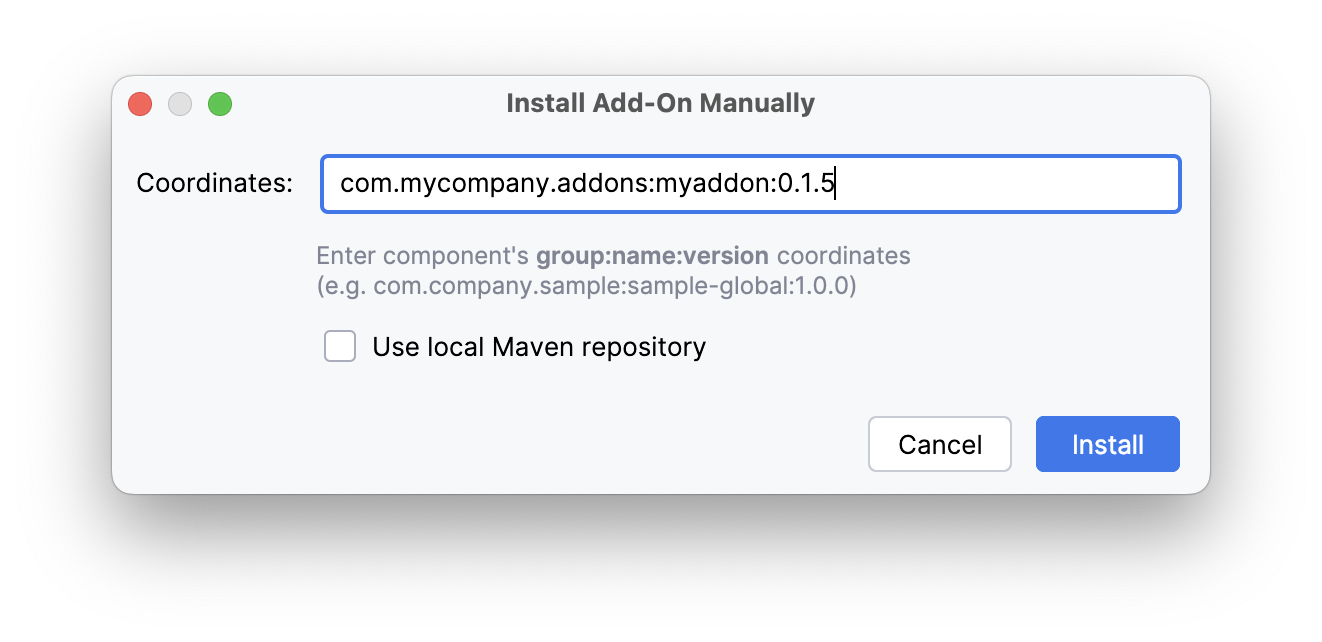
Also, you can use the button next to Install to add an add-on by coordinates.
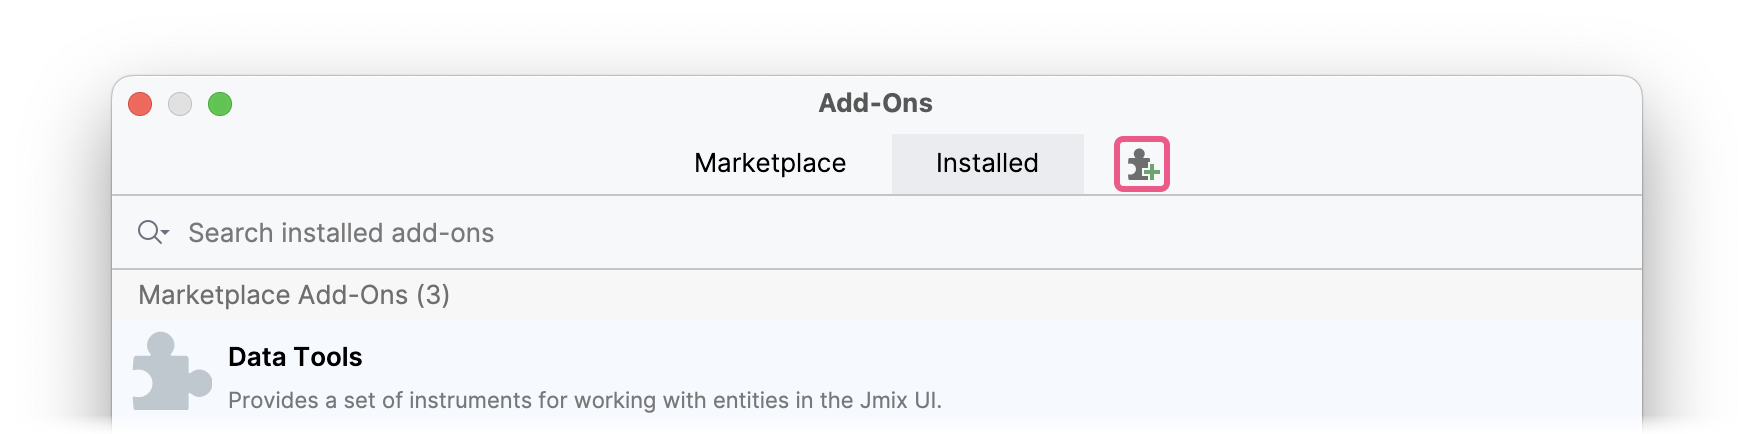
Add-on coordinates is a Gradle dependency string, for example, com.mycompany.addons:myaddon:0.1.5. This string can be published on Jmix site or by the author of the add-on.