Configuration
In this section, you will:
-
Install and configure Apache Superset to make it available in Jmix applications.
-
Configure the Jmix application to connect to Apache Superset.
Apache Superset Installation
According to the Apache Superset documentation, there are different ways to install it.
The simplest way to get acquainted with Apache Superset is using Docker Compose. This way provides demonstration data with already created dashboards and enables custom configuration of the Superset.
| Apache Superset does not recommend using Docker Compose for production, since it is primarily designed to run a set of containers on a single host and can’t support requirements for high availability. |
Firstly, clone the Superset repository with a release tag, for example 4.0.1:
git clone --depth 1 --branch 4.0.1 https://github.com/apache/superset.gitSecondly, specify the same version for the Apache Superset docker image in the docker-compose-non-dev.yml file located in the root directory of cloned repository. Open the docker-compose-non-dev.yml file and set the following value to the x-superset-image property:
x-superset-image: &superset-image apache/superset:4.0.1And finally, to simplify the integration of Superset with the Jmix application, configure a database service that will be accessible to both Superset and the application.
Add the PostgreSQL service to the docker-compose-non-dev.yml:
  superset-worker-beat:
  # ...

  jmix_database:
    image: postgres:16.3
    container_name: jmix_database
    ports:
      - 5432:5432
    environment:
      POSTGRES_DB: onboarding
      POSTGRES_USER: jmix
      POSTGRES_PASSWORD: jmix

volumes:
# ...|
If you already have local PostgreSQL using the standard port 5432, expose another port to avoid conflicts. For example, 5433: |
Now Apache Superset is ready to launch. Run the following command in the root directory of the cloned repository:
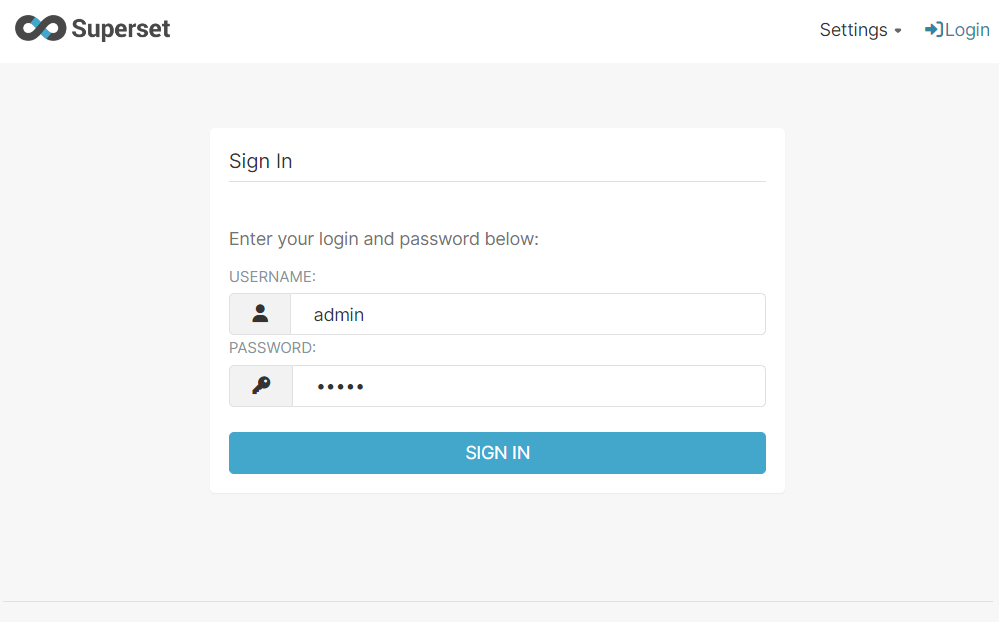
docker compose -f docker-compose-non-dev.yml upThe Superset web UI will be available at http://localhost:8088. The user credentials are admin / admin.
Apache Superset Configuration
Superset has a lot of configuration parameters. You can find the whole list in the superset/config.py file. To make Superset accessible from Jmix applications you need to configure Content Security Policy (CSP) and enable default role with feature flags.
Apache Superset supports custom configuration definition in:
-
docker/pythonpath_dev/superset_config.pyfile -
docker/pythonpath_dev/superset_config_docker.pyfile that is ignored by git.
In this guide, you will use the second option. Create the superset_config_docker.py file in the /apache-superset/superset/docker/pythonpath_dev/ directory.
Guest Token
The Jmix Superset add-on uses a guest token to access embedded dashboards. Using this token, Apache Superset creates an anonymous user object that has a role from the GUEST_ROLE_NAME property set to Public by default. To enable anonymous users to see the dashboards you should use the Gamma role.
Add the following property to the superset_config_docker.py file:
GUEST_ROLE_NAME = 'Gamma'Embedded Dashboards
By default, Superset does not enable embedding dashboards into iframe. You can enable it using the FEATURE_FLAGS property.
Add the following property to the superset_config_docker.py file:
FEATURE_FLAGS = {
    "EMBEDDED_SUPERSET": True,
}
Content Security Policy (CSP)
In order to embed dashboards into iframe you also need to configure Content Security Policy. Apache Superset uses Talisman (an extension for Flask web framework) that enables integrating additional security layers such as CSP, HTTPS, etc.
Content Security Policy has the frame-ancestors directive that specifies valid parents that may embed a page. The Superset has already defined the TALISMAN_CONFIG property with default values in superset/config.py.
Copy the TALISMAN_CONFIG property to superset_config_docker.py and add the frame-ancestors value:
TALISMAN_CONFIG = {
    "content_security_policy": {
        # ...
        "frame-ancestors": ["http://localhost:8080"]
    },
    # ...
}
The resulting configuration in superset_config_docker.py file is the following:
GUEST_ROLE_NAME = 'Gamma'
FEATURE_FLAGS = {
    "EMBEDDED_SUPERSET": True,
}
TALISMAN_CONFIG = {
    "content_security_policy": {
        "base-uri": ["'self'"],
        "default-src": ["'self'"],
        "img-src": [
            "'self'",
            "blob:",
            "data:",
            "https://apachesuperset.gateway.scarf.sh",
            "https://static.scarf.sh/",
        ],
        "worker-src": ["'self'", "blob:"],
        "connect-src": [
            "'self'",
            "https://api.mapbox.com",
            "https://events.mapbox.com",
        ],
        "object-src": "'none'",
        "style-src": [
            "'self'",
            "'unsafe-inline'",
        ],
        "script-src": ["'self'", "'strict-dynamic'"],
        "frame-ancestors": ["http://localhost:8080"]
    },
    "content_security_policy_nonce_in": ["script-src"],
    "force_https": False,
    "session_cookie_secure": False,
}| This configuration is used only for demonstration purposes and is not production ready. For a production environment you should provide a more precise configuration with enabled CORS, HTTPS, etc. |
Now the Superset is configured and can be restarted. Stop the running containers and start again:
docker compose -f docker-compose-non-dev.yml upJmix Configuration
Jmix Superset add-on requires you to define the following properties:
jmix.superset.url = http://localhost:8088
jmix.superset.username = admin
jmix.superset.password = admin
Since you have started the application database as a PostgreSQL service in Docker Compose, change the Main Data Store from HSQLDB to PostgreSQL.
If the jmix_database in the container configuration defines a port other than 5432, specify it in the database URL. For example, set localhost:5433 in the field for the database host.
|
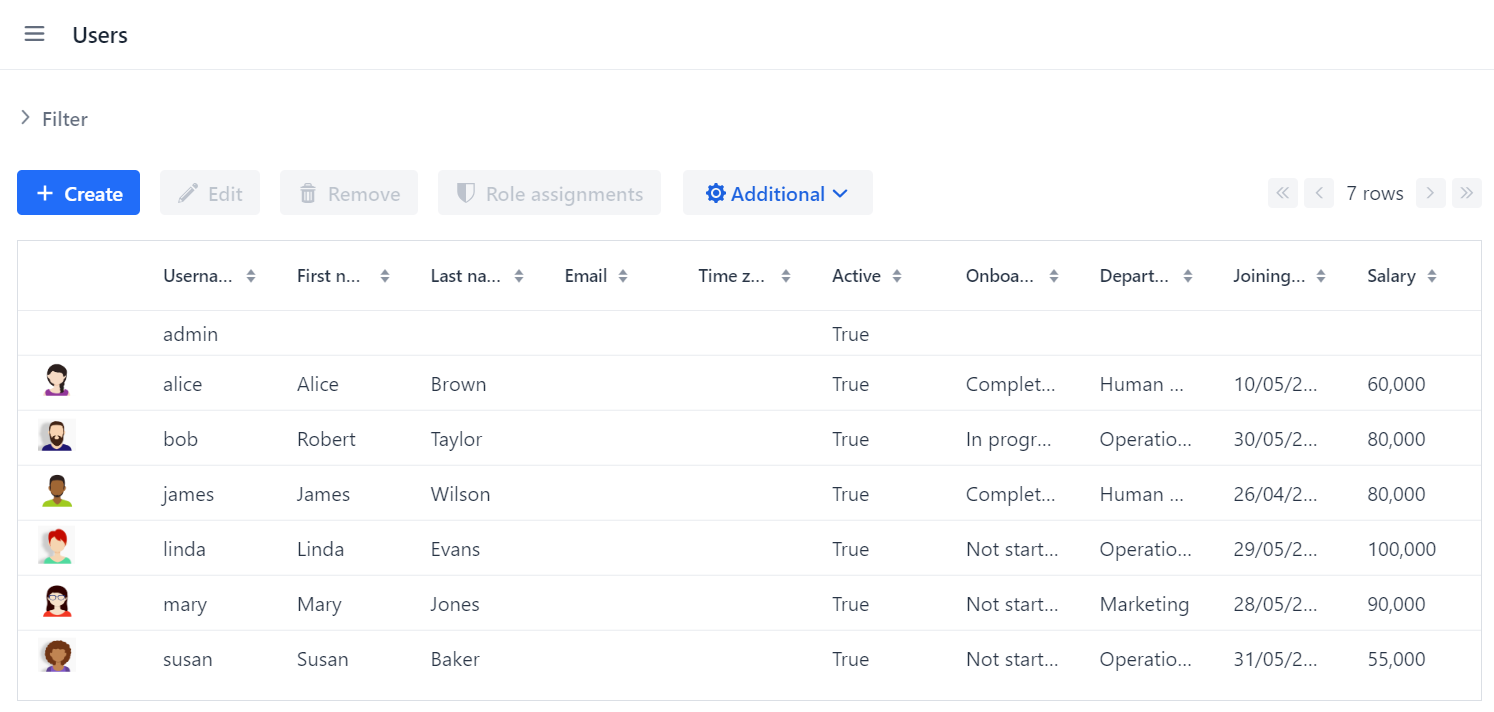
Now the application is ready to communicate with Superset. Since the database is empty, the application will run the schema migration scripts and fill the database with demonstration data. Start the application and open the Users view: