2. Properties Mapping
In this chapter, you will:
-
Create additional attributes for the
KanbanTaskentity. -
Add UI fields for editing these new attributes.
-
Map Kanban task card fields to the corresponding
KanbanTaskentity attributes.
Enhancing KanbanTask Entity
Kanban task cards can display specific fields of a Kanban task entity. Here’s a list of all supported attributes:
-
id- any standard identifier type. Required attribute. -
status- String or enumeration type. Required attribute. -
text- String type. Required attribute. -
color- String type. The string value must be formatted in CSS color. -
dueDate- any standard date type. -
priority- String or enumeration type. -
progress- integer number type. -
swimlane- String or enumeration type. -
tags- String type. The string value must be a comma-separated sequence of tags without space symbols. -
userAvatar-FileRefor a byte array type. -
username- String type.
To begin, you’ll need to add all attributes except swimlane to the KanbanTask entity.
Open the KanbanTask.java class and define the additional attributes.
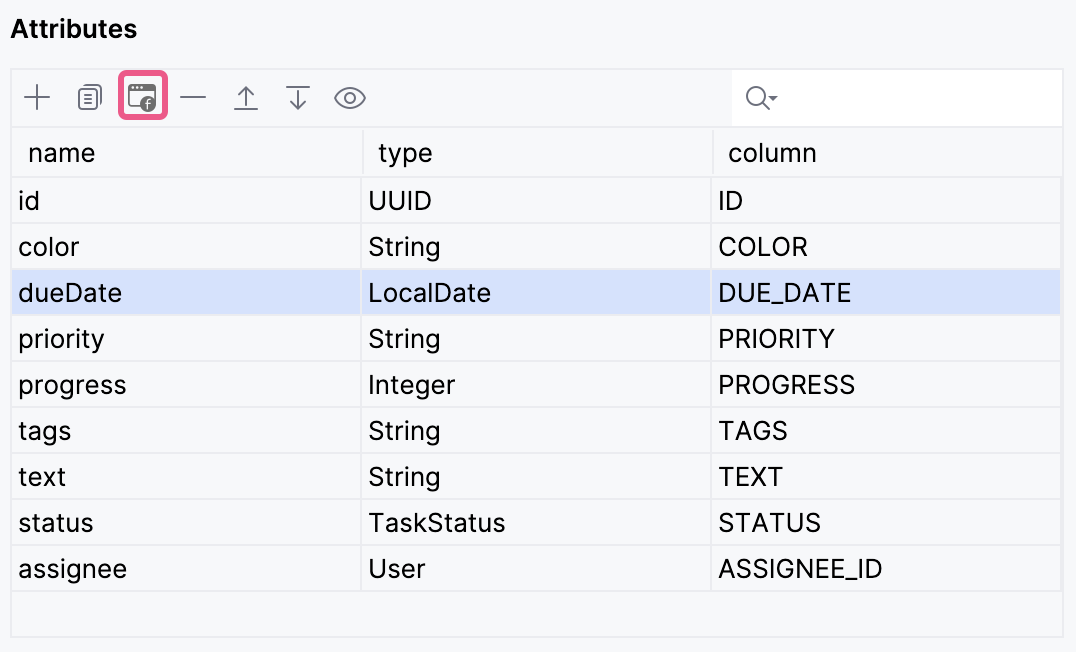
Now you need to add attributes to the detail view. Use the Add to Views ( ) button in the Attributes toolbar:
The appeared dialog window will show all views that display the KanbanTask entity. Select only KanbanTask.detail view:
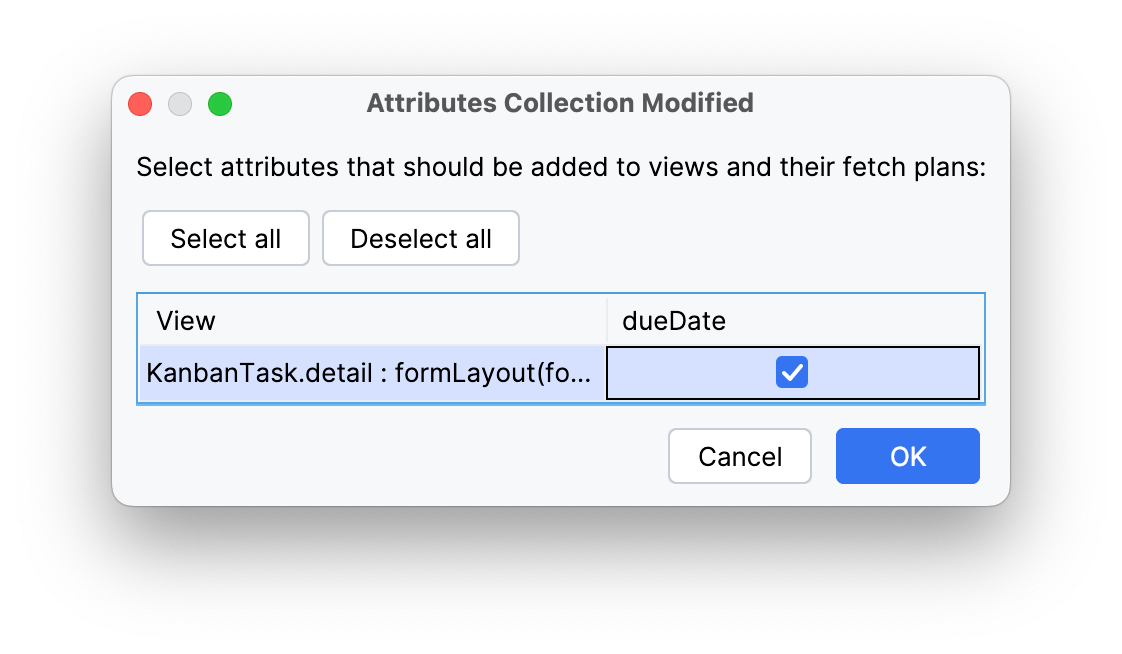
Click OK.
Sequentially add the remaining attributes.
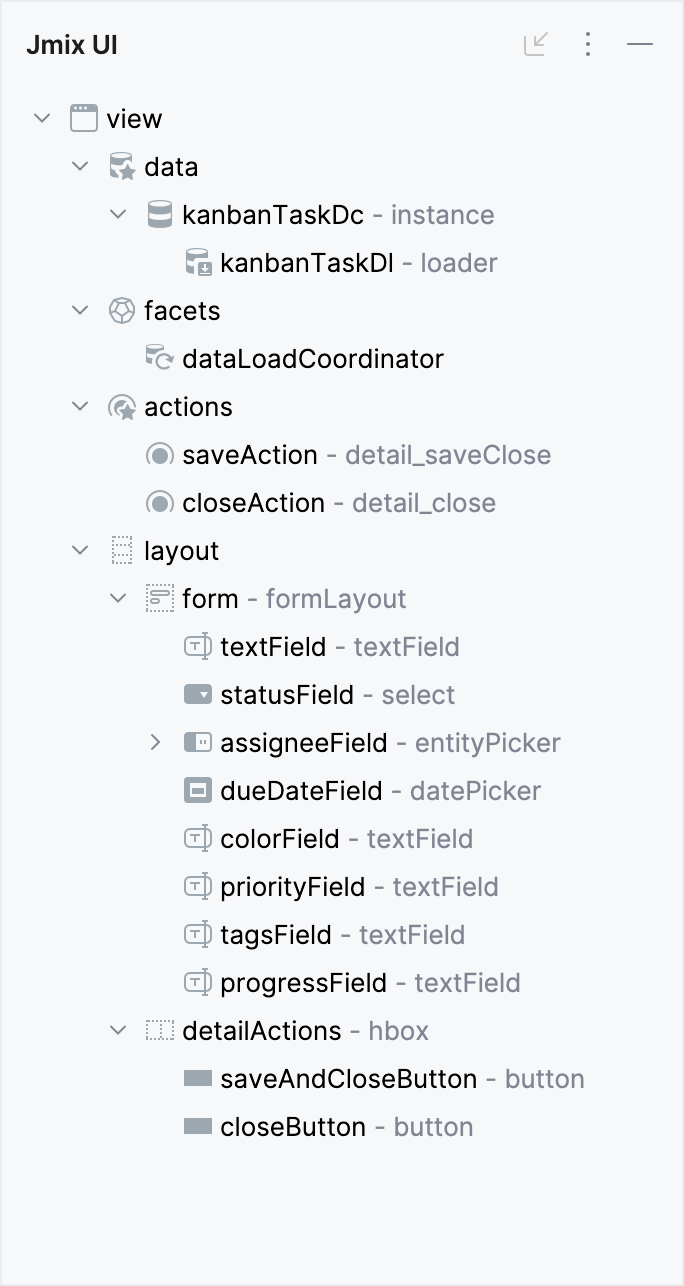
Studio will add the corresponding UI fields to formLayout of the KanbanTask.detail view:
Restart the application to generate Liquibase changelogs.
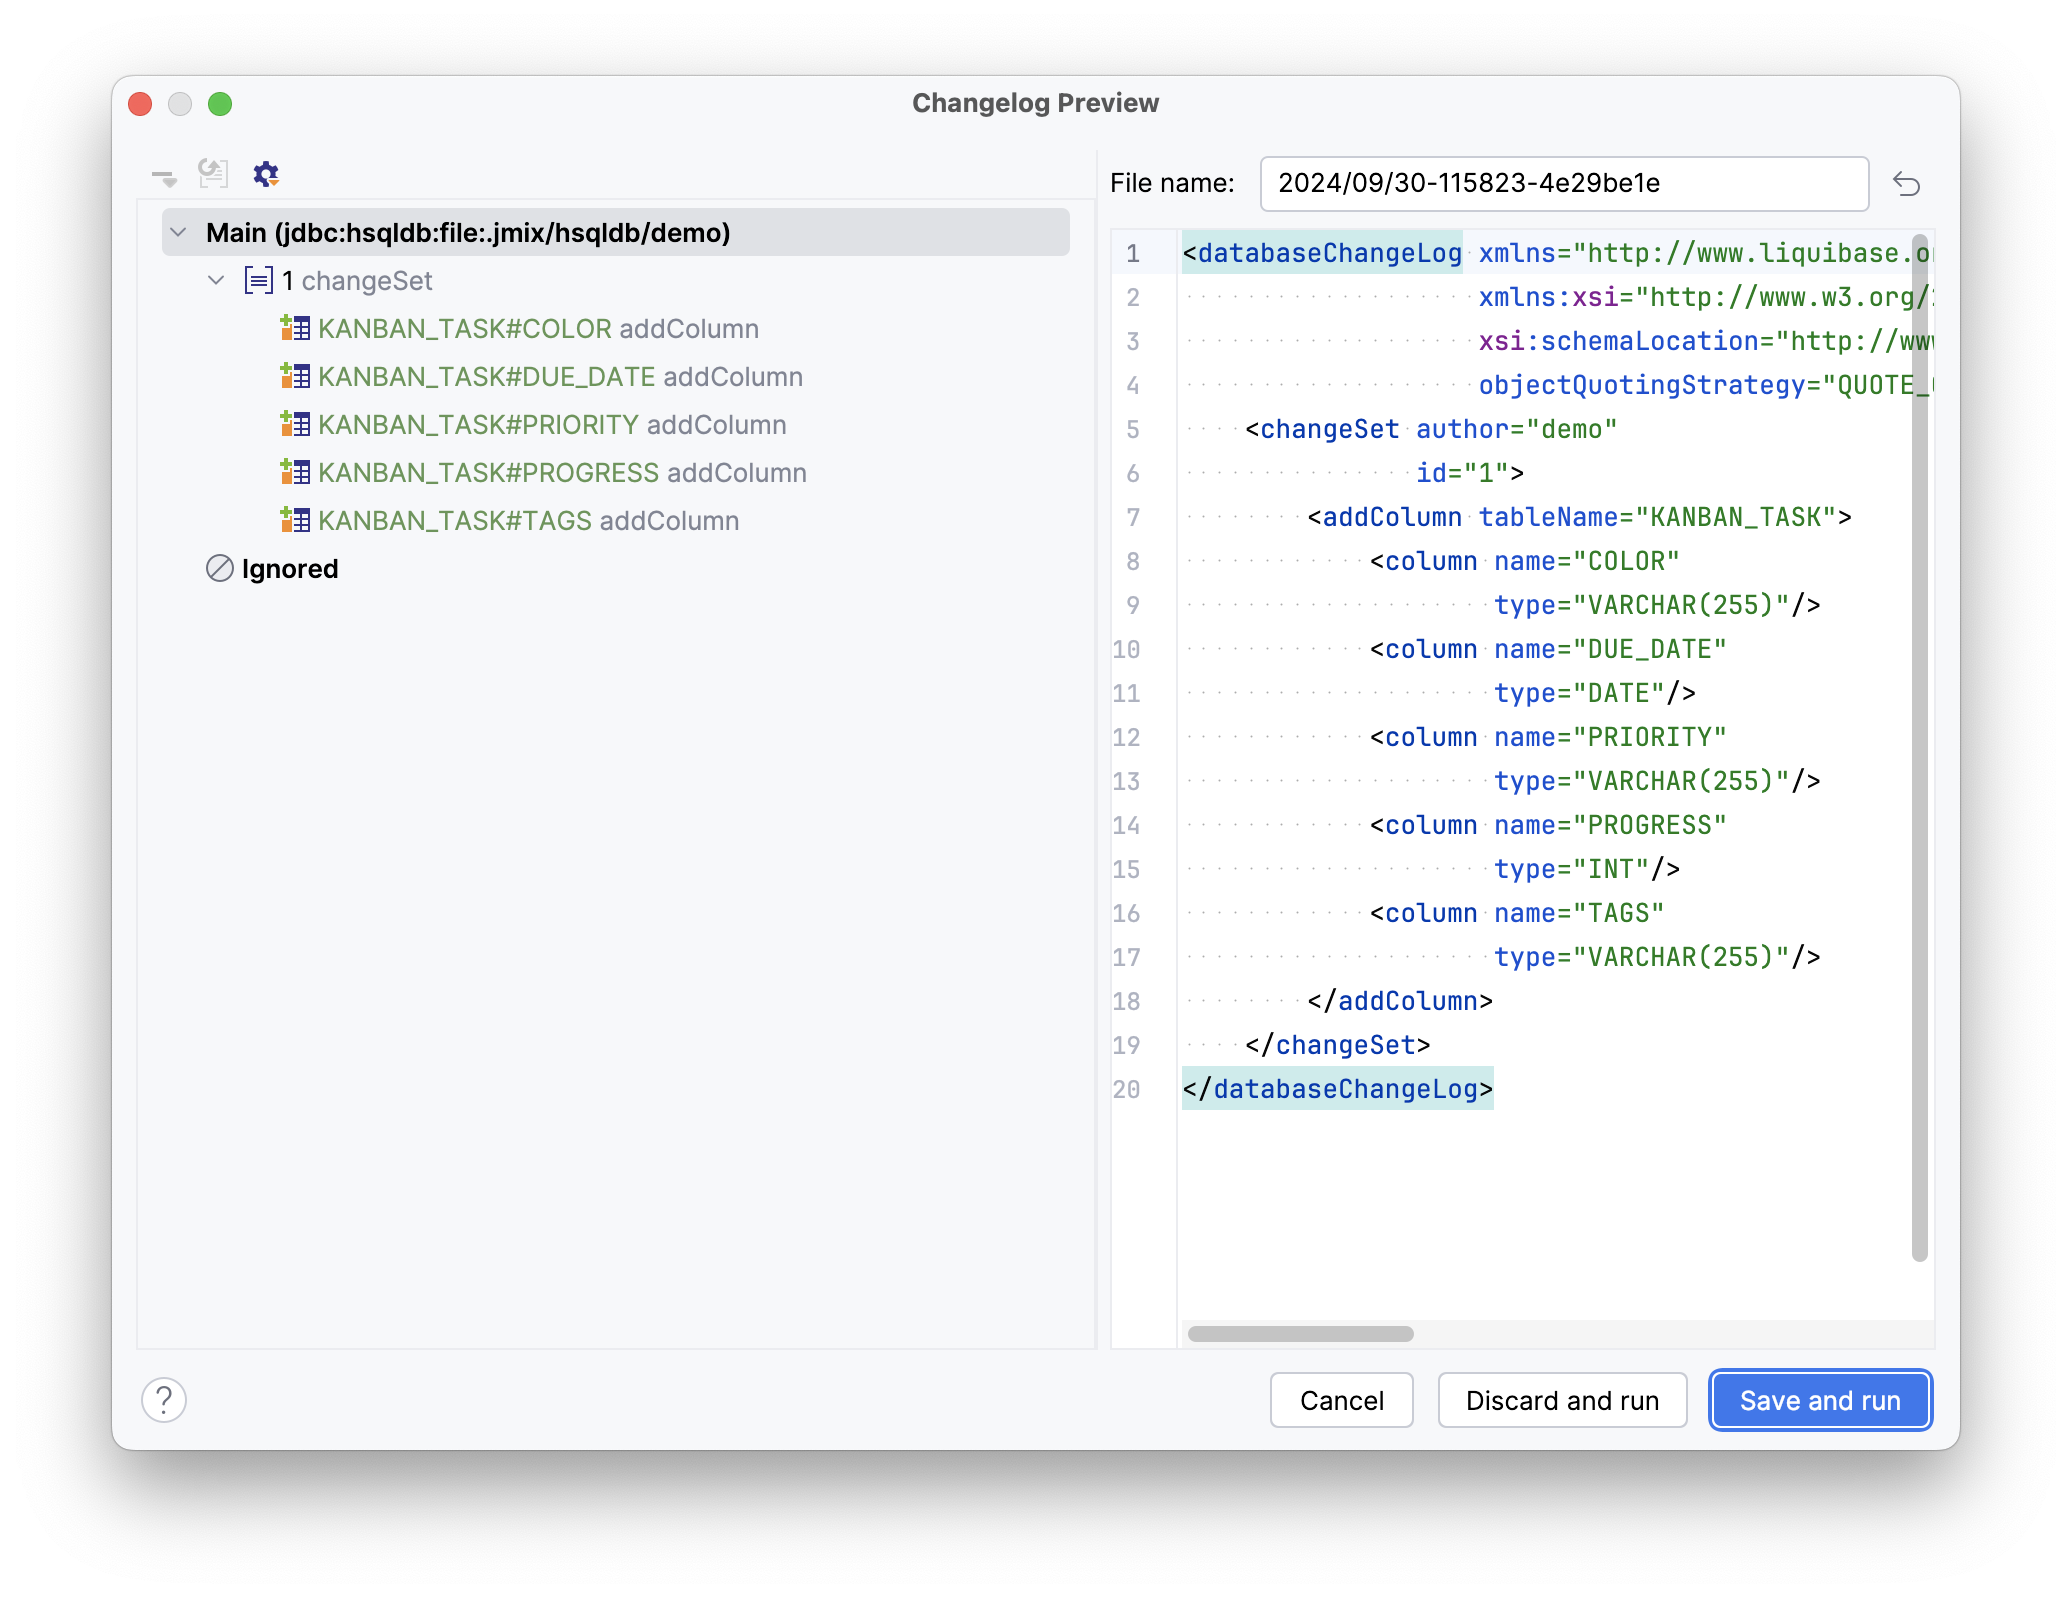
Click Save and run.
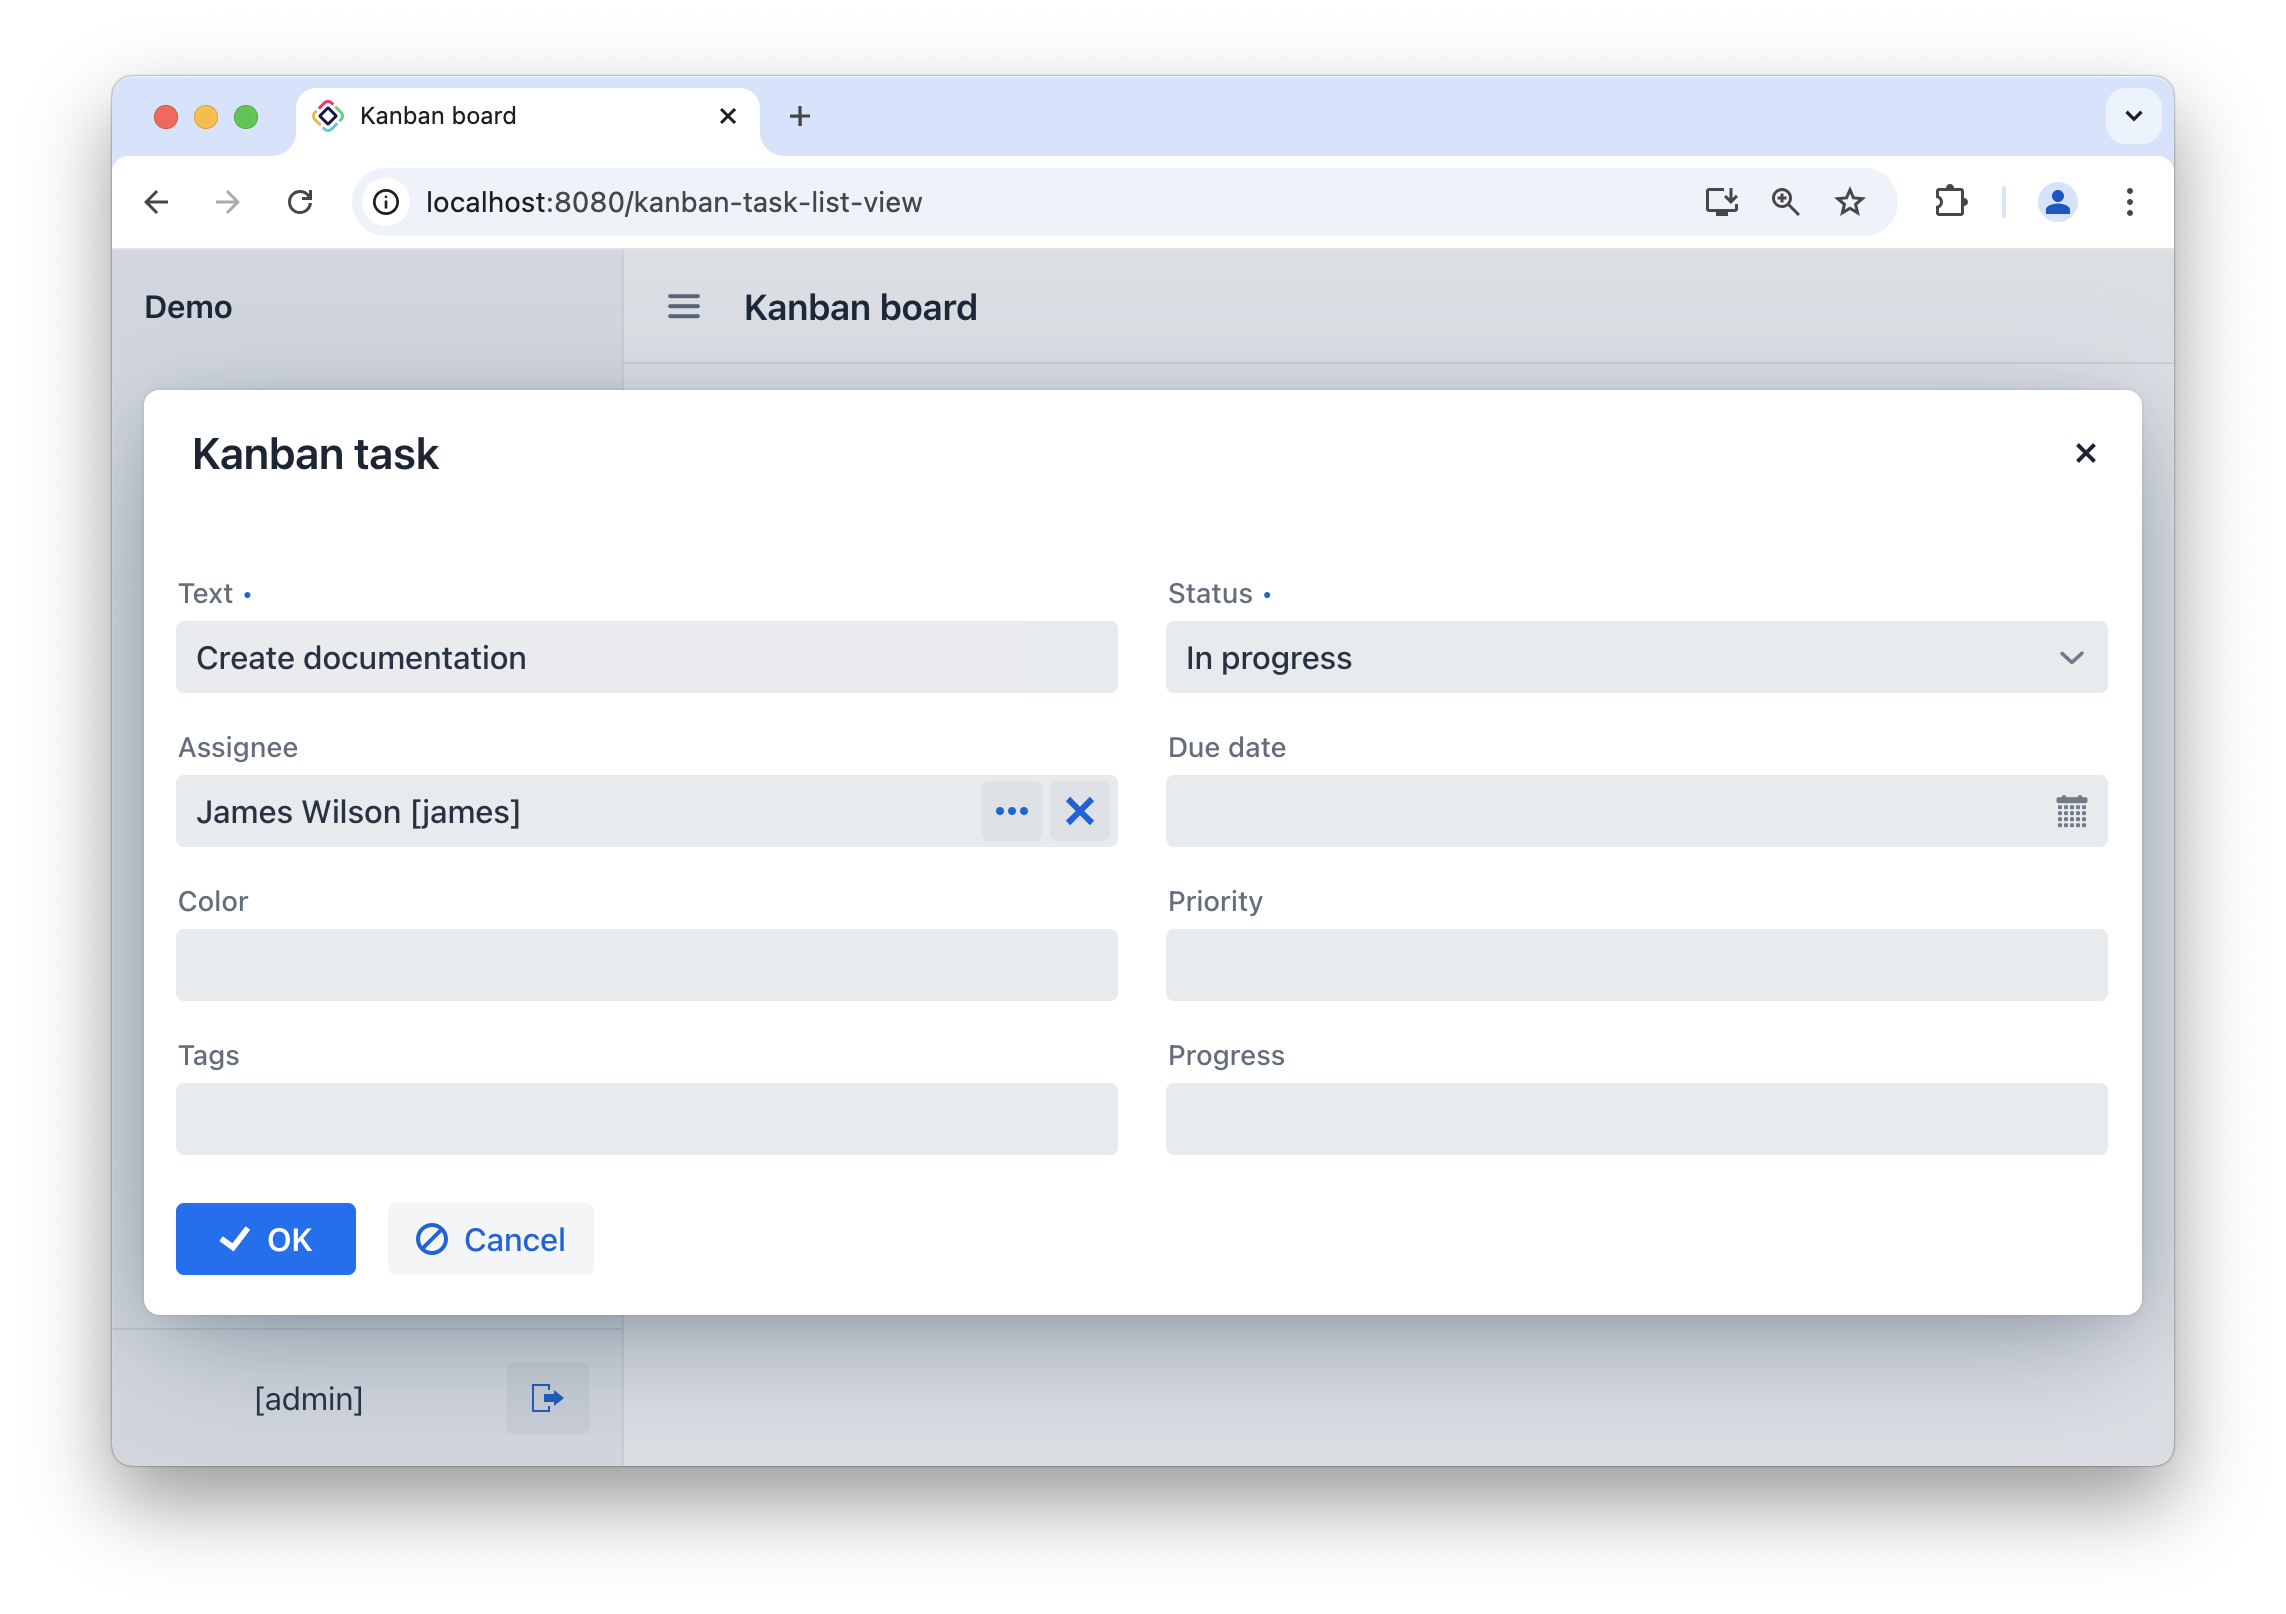
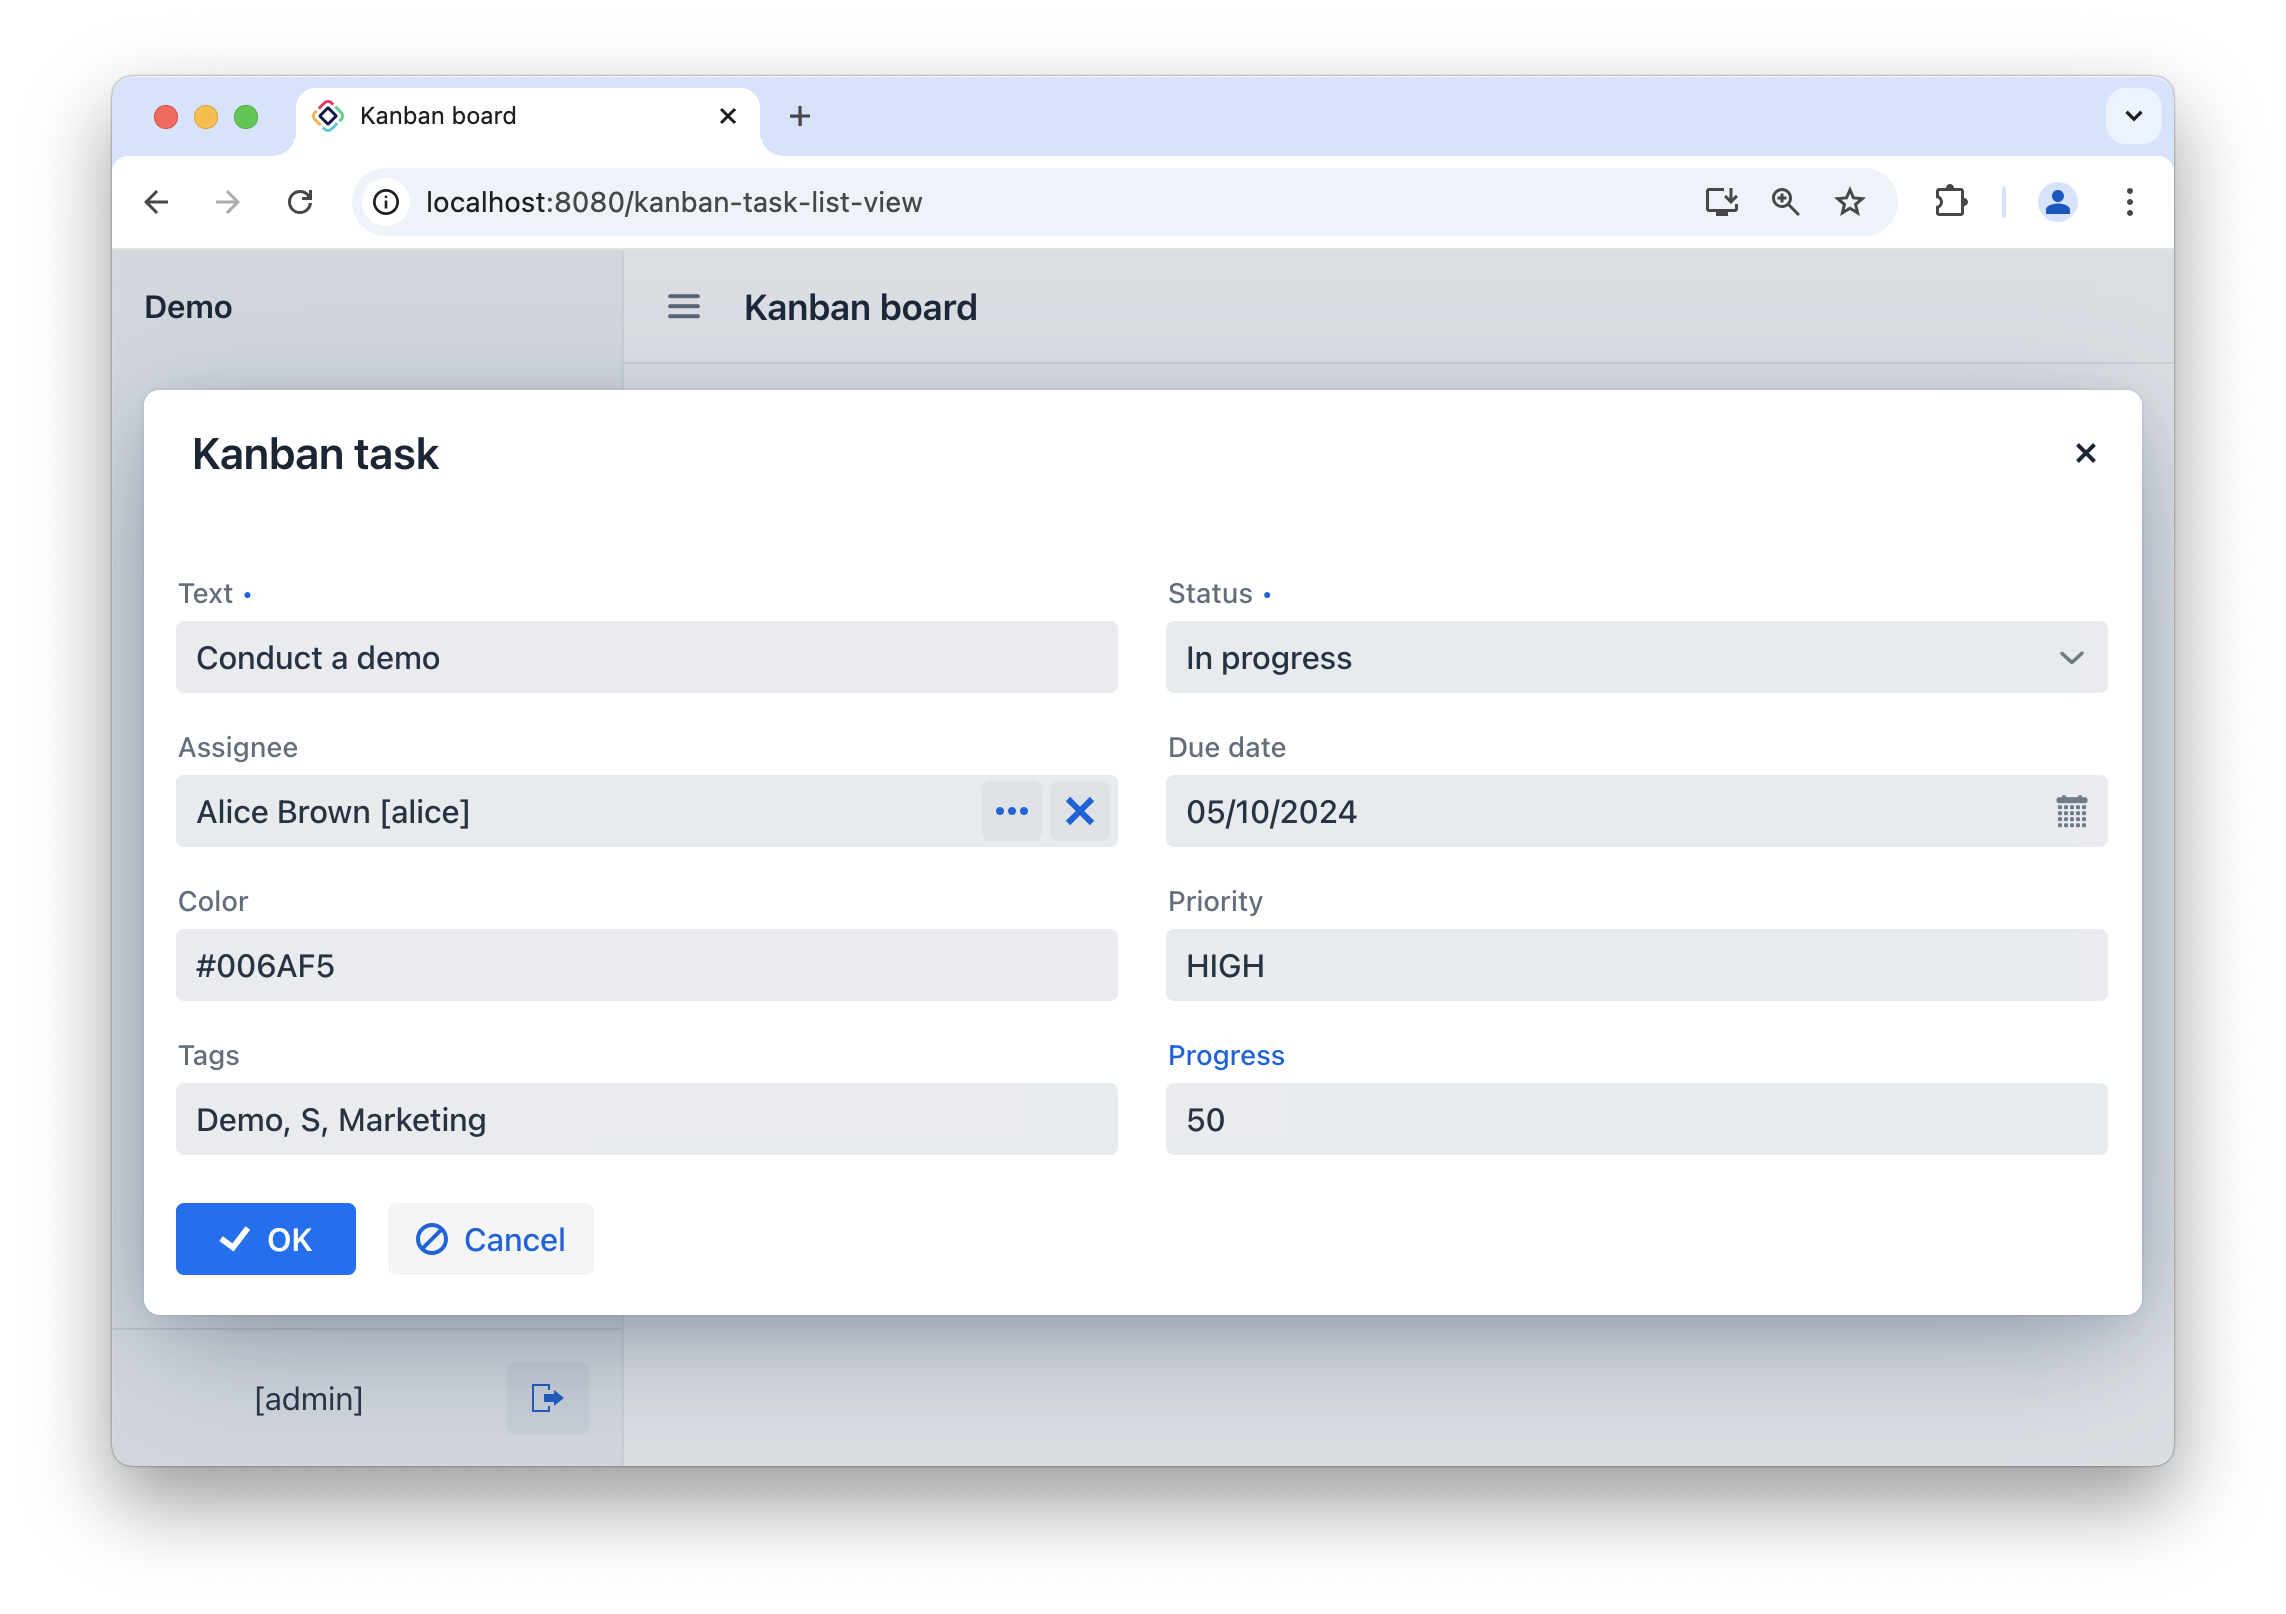
Open the KanbanTask.detail view in your browser. New attributes are available for editing.
Mapping Entity Properties
To map an entity attribute to a Kanban card field, you need to add a propertiesMapping element to the kanban component.
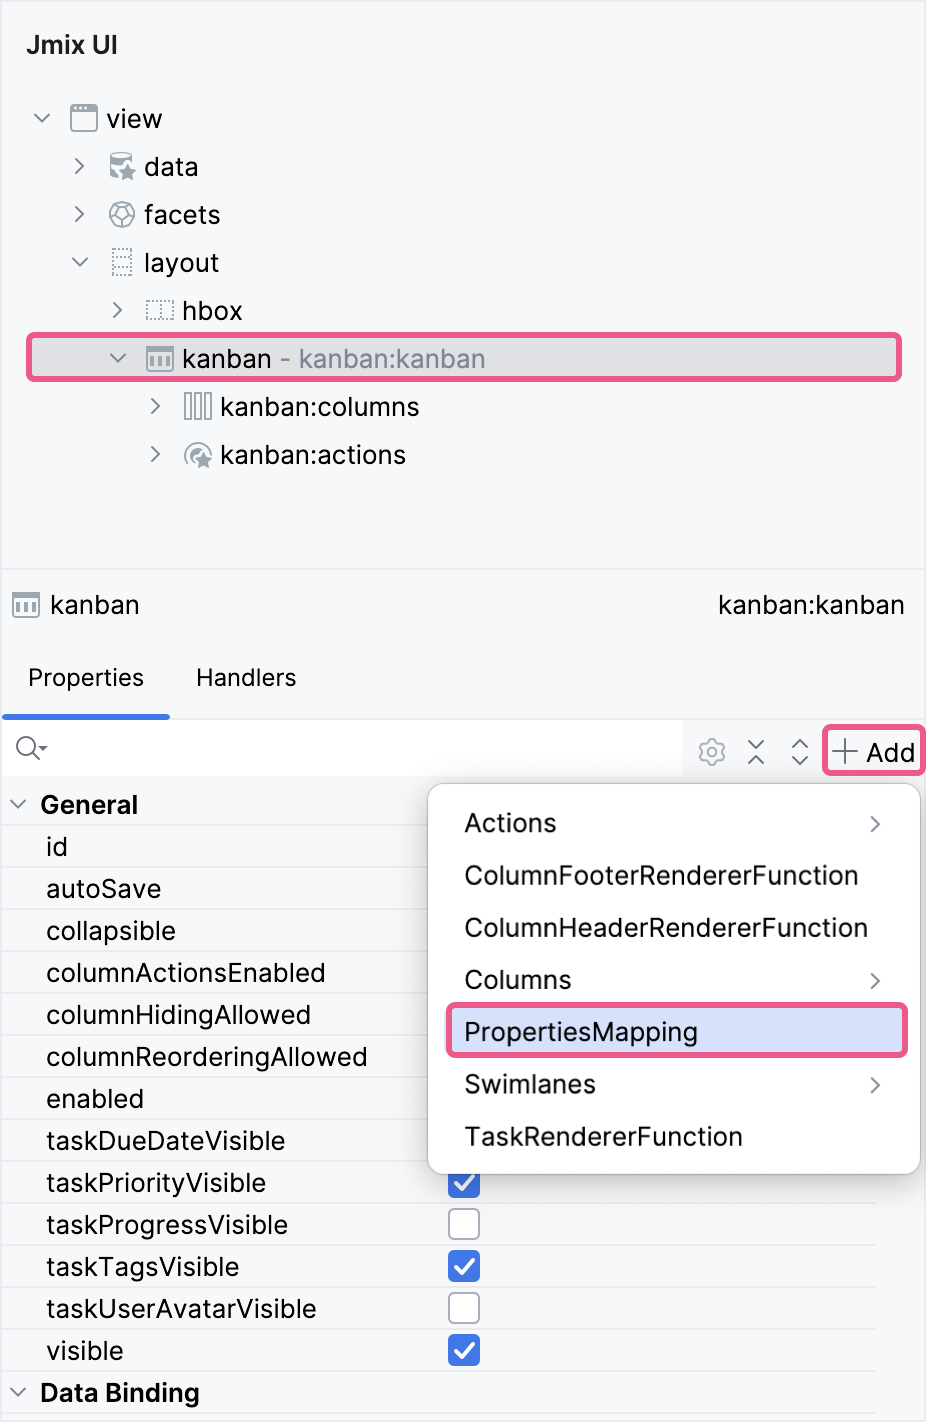
Locate kanban-task-list-view.xml in the Jmix tool window and double-click it. Select kanban within the Jmix UI hierarchy panel or in the XML descriptor. Next, click the Add button in the component inspector panel. From the drop-down list, choose PropertiesMapping:
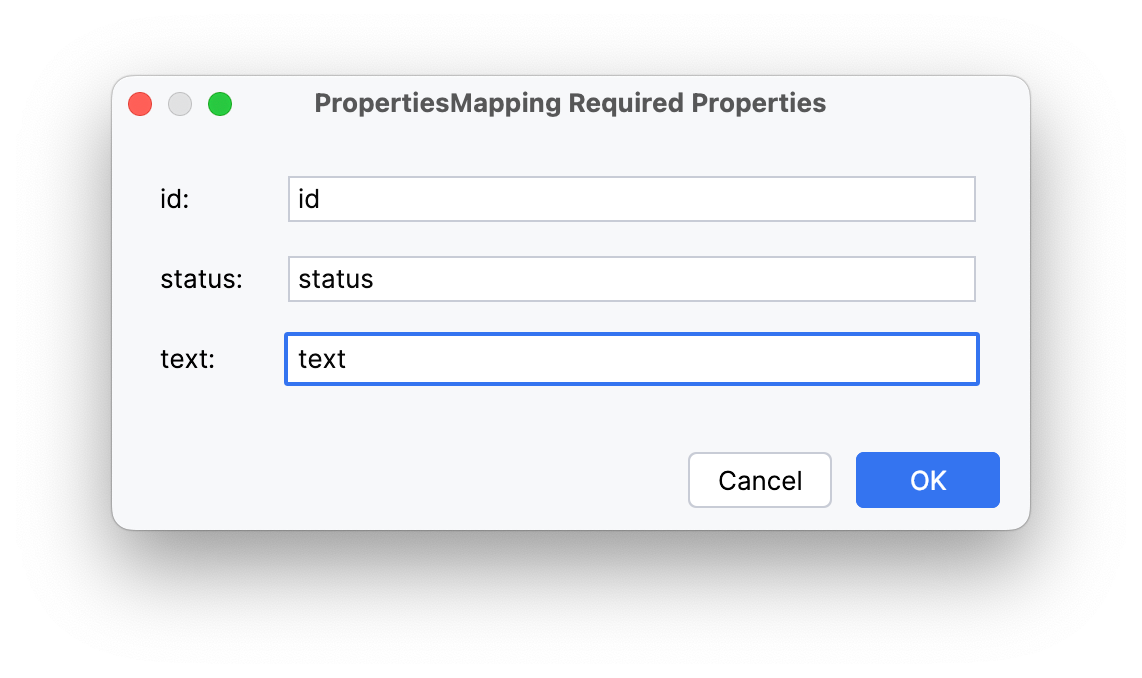
In the dialog window that opens, enter the following attribute mapping:
Fill in the remaining attributes using the component inspector or the XML markup of the propertyMapping element:
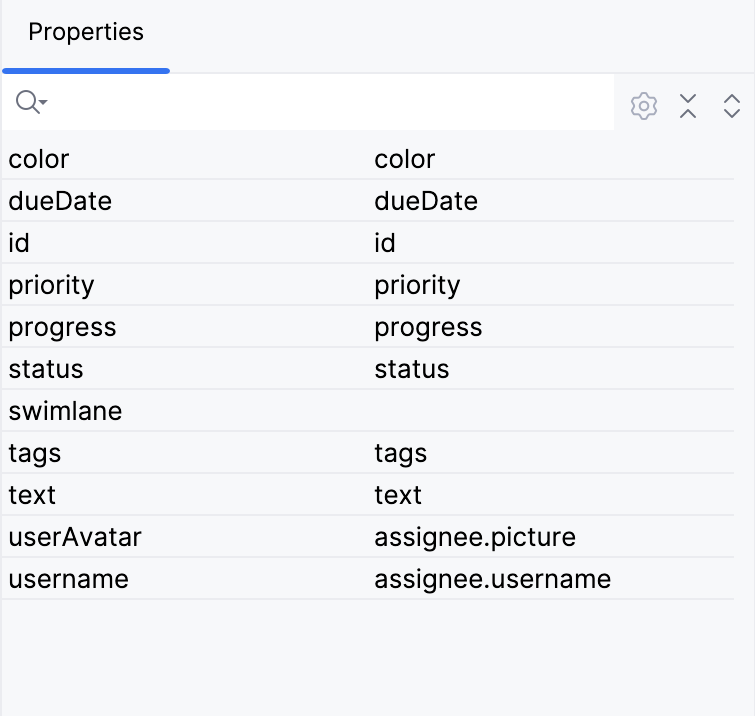
To display the user’s avatar in the Kanban card, add the picture attribute to the User entity. Detailed instructions can be found in the Working with Images section of the Tutorial.
|
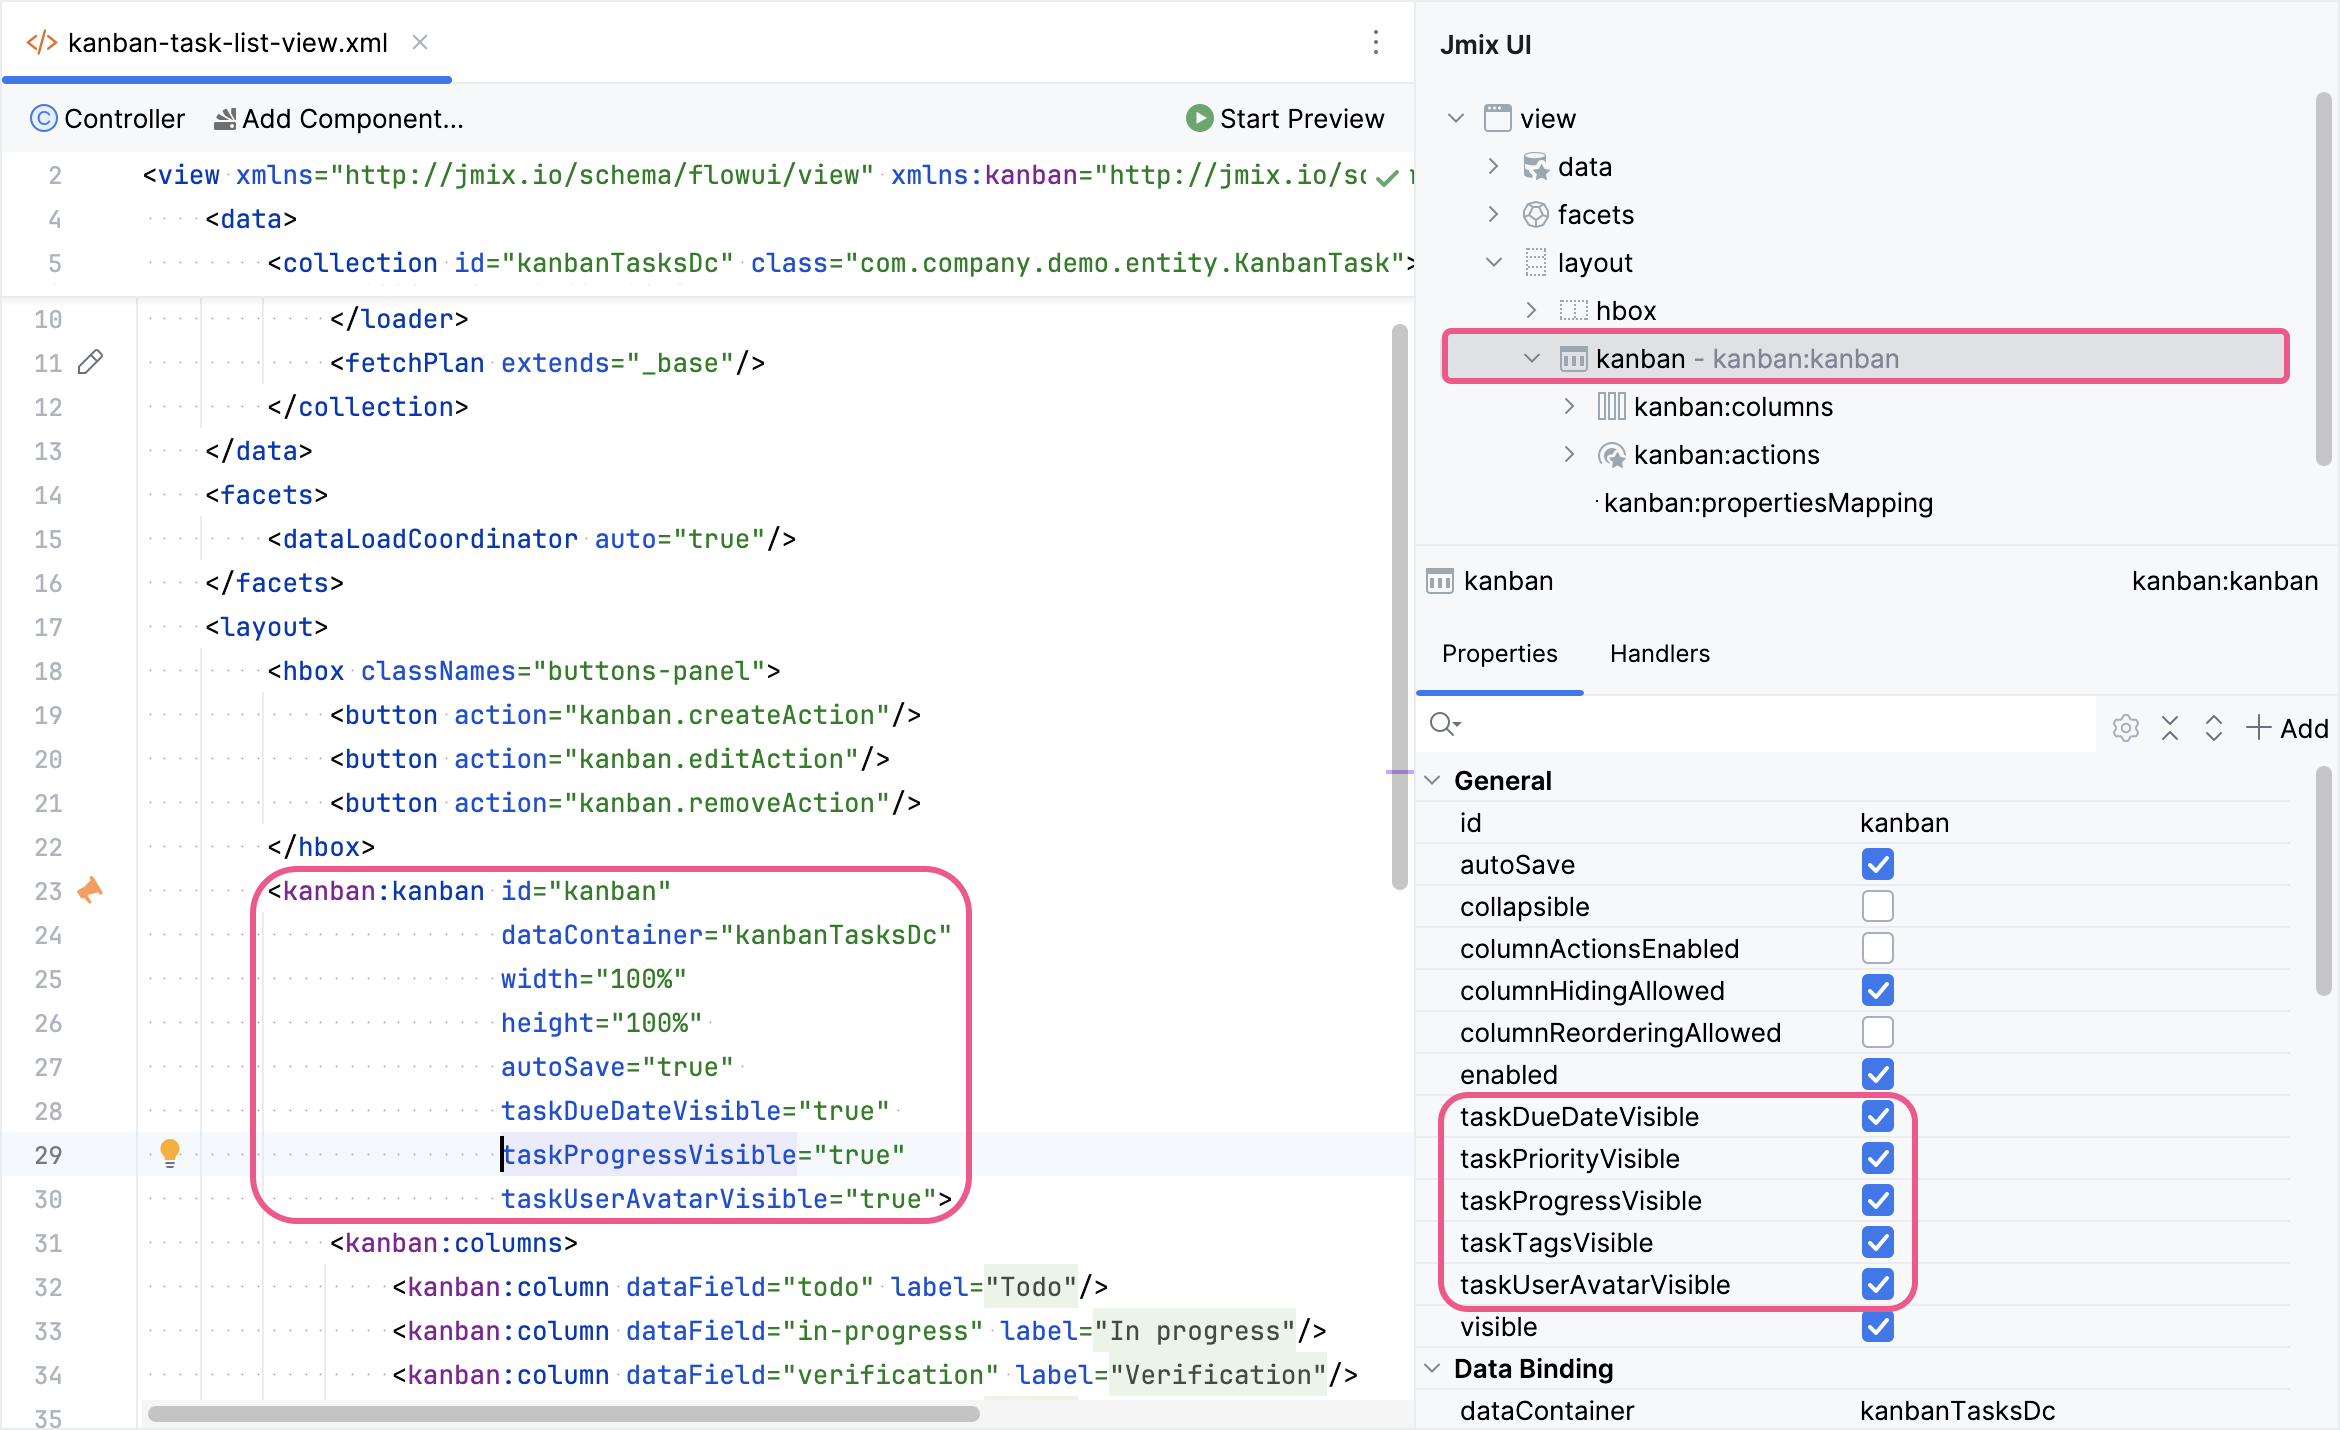
To display these attributes on the card, you need to enable visibility for the corresponding attributes of the kanban component.
Select kanban within the Jmix UI hierarchy panel or in the XML markup. Next, check the taskDueDateVisible, taskPriorityVisible, taskProgressVisible, taskTagsVisible, taskUserAvatarVisible boxes.
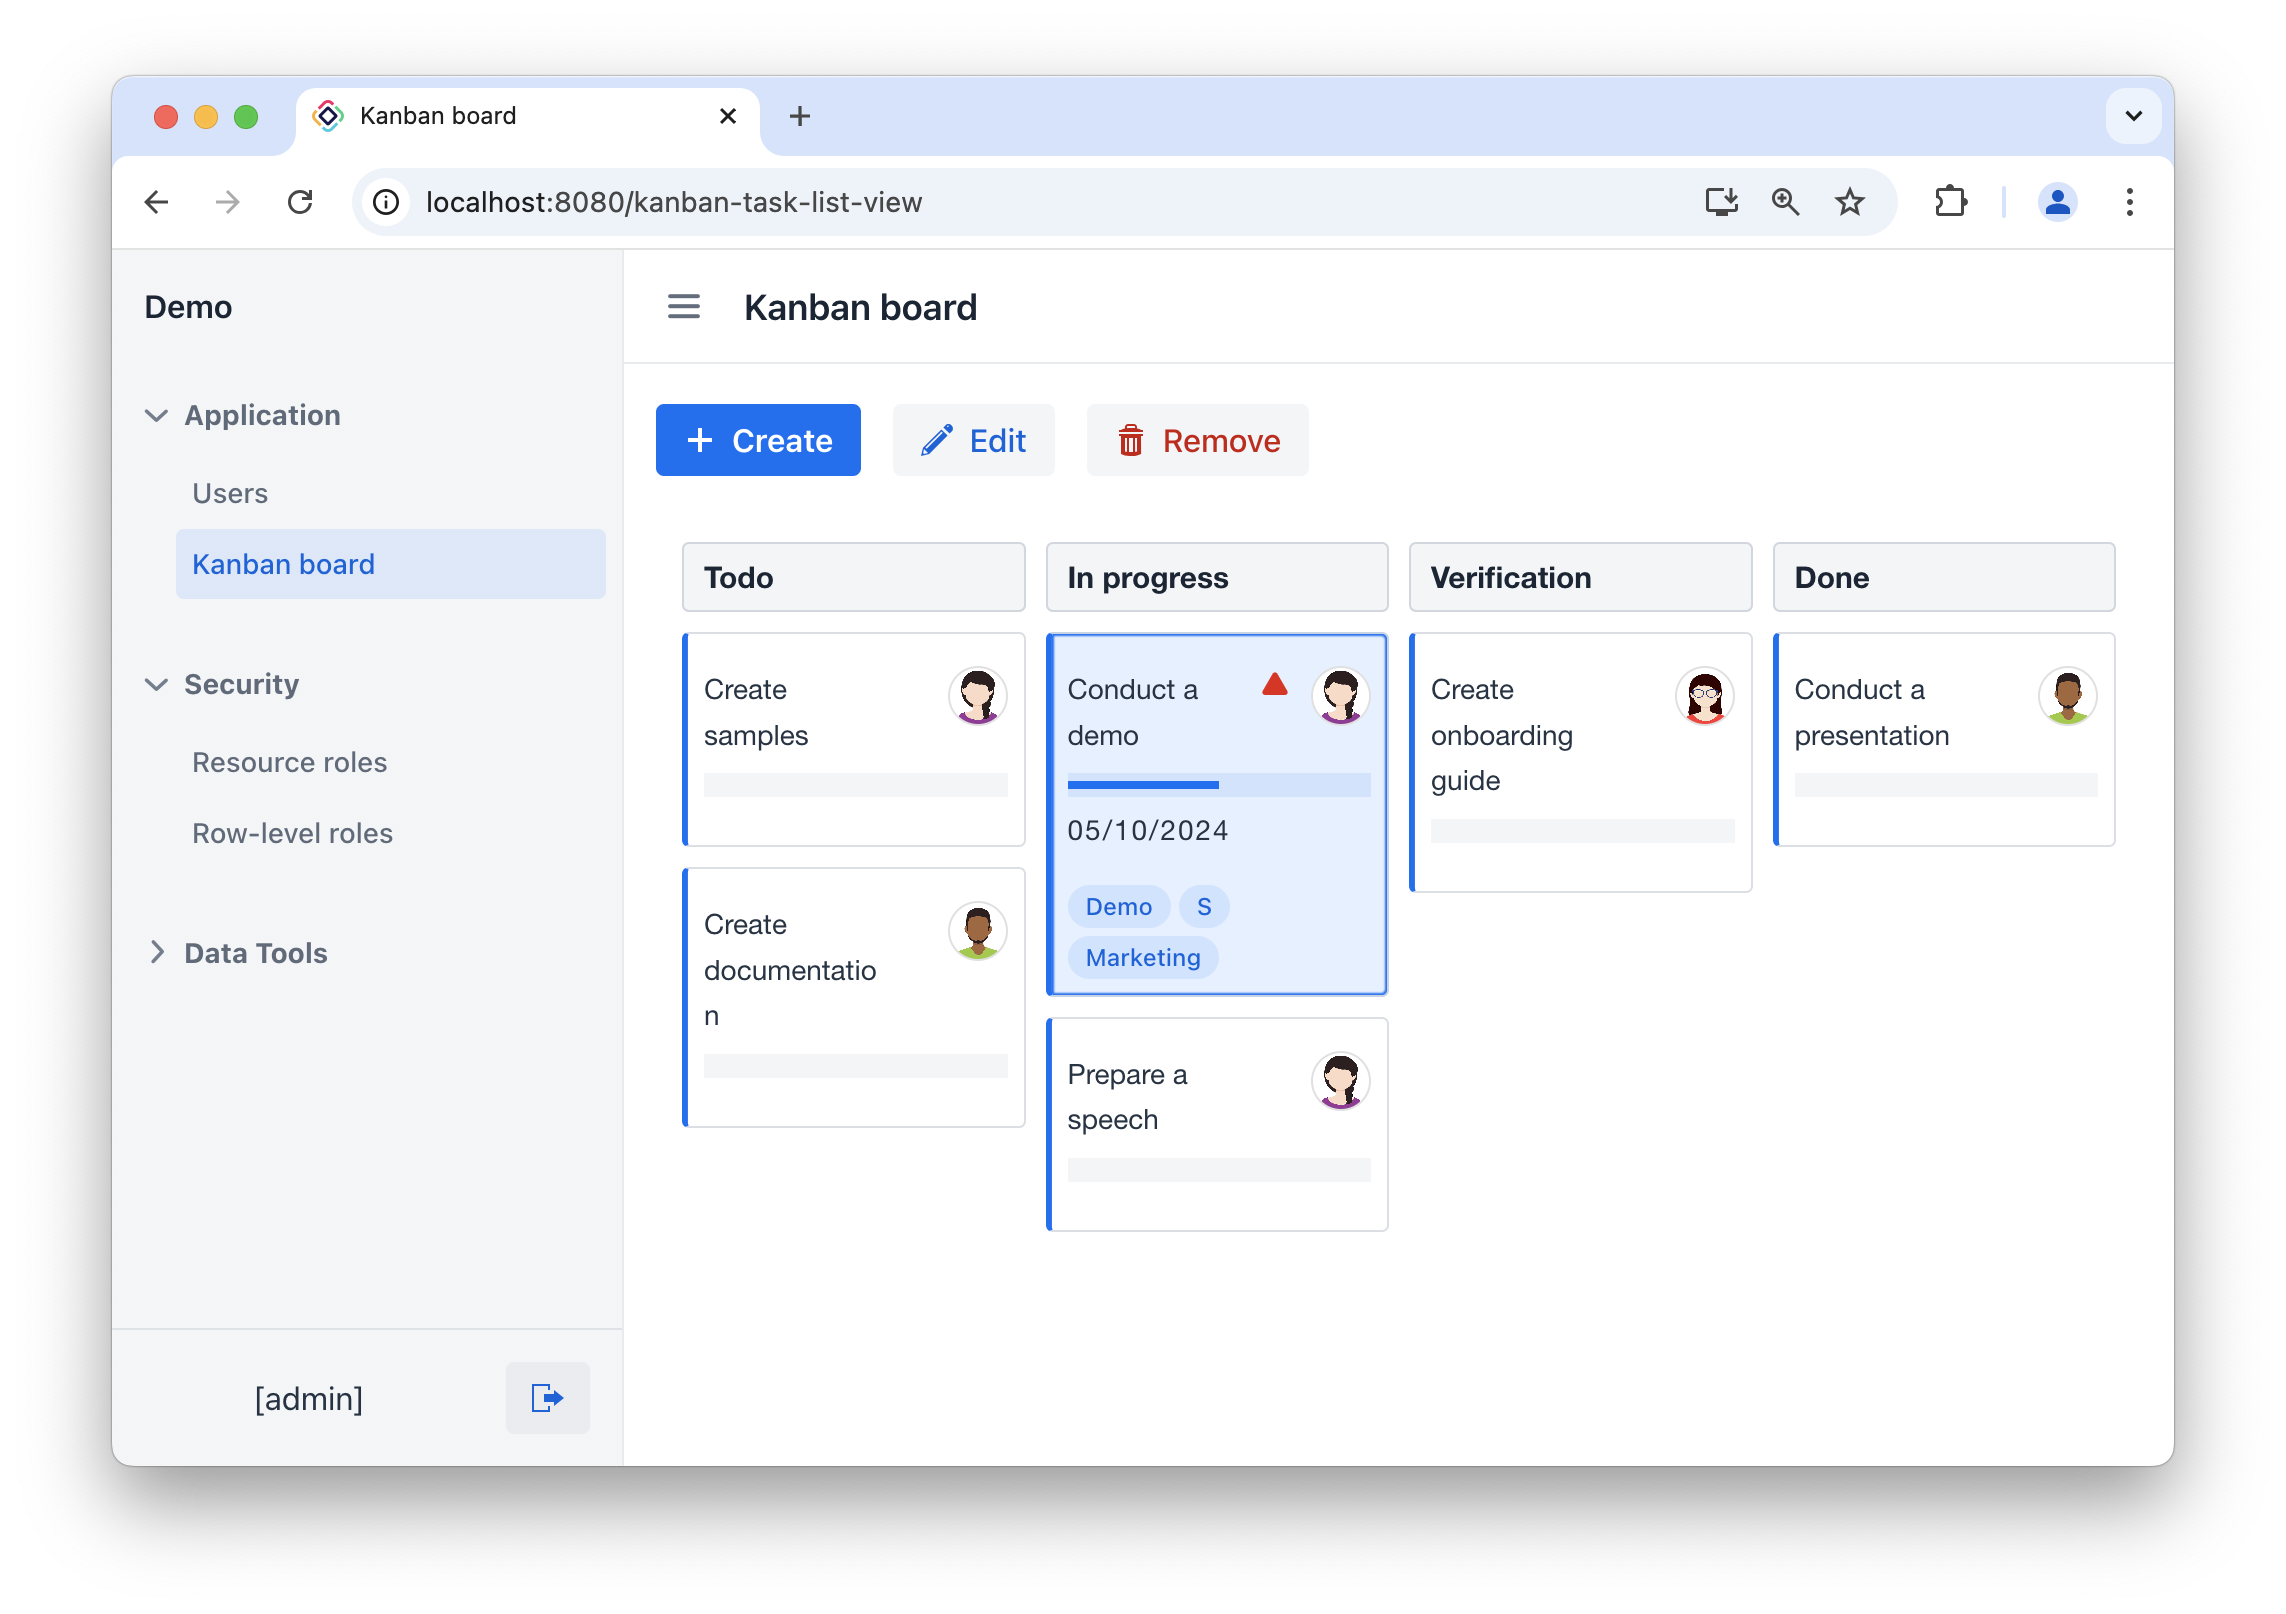
Press Ctrl/Cmd+S and switch to the running application. The appearance of the cards will be changed.

Now the changes you make to the card will be displayed on the Kanban board.
Summary
This section has explained how to map your Jmix entity’s attributes to the fields displayed on Kanban cards. You have learned how to customize the information presented on each card by connecting the kanban component with your data model.
This section has covered:
-
Defining mappings: You have discovered how to use the
propertiesMappingelement within thekanbancomponent to link entity attributes to Kanban card fields. -
Supported fields: You have understood the available fields (for example,
text,dueDate,priority,tags) that you can map to your entity attributes. -
Customizing card appearance: You have learned how to control the visibility of specific fields on the Kanban cards.
