Map Component
The GeoMap UI component displays a geographical data provided by Layers.
The map is built by superposing layers. Initially, map does not have layers.
You can define the general map parameters along with the layers in the view’s XML descriptor.
Map
To add the component on the view, use Jmix Studio.
Click Add Component in the actions panel, then find the GeoMap item and double-click it.
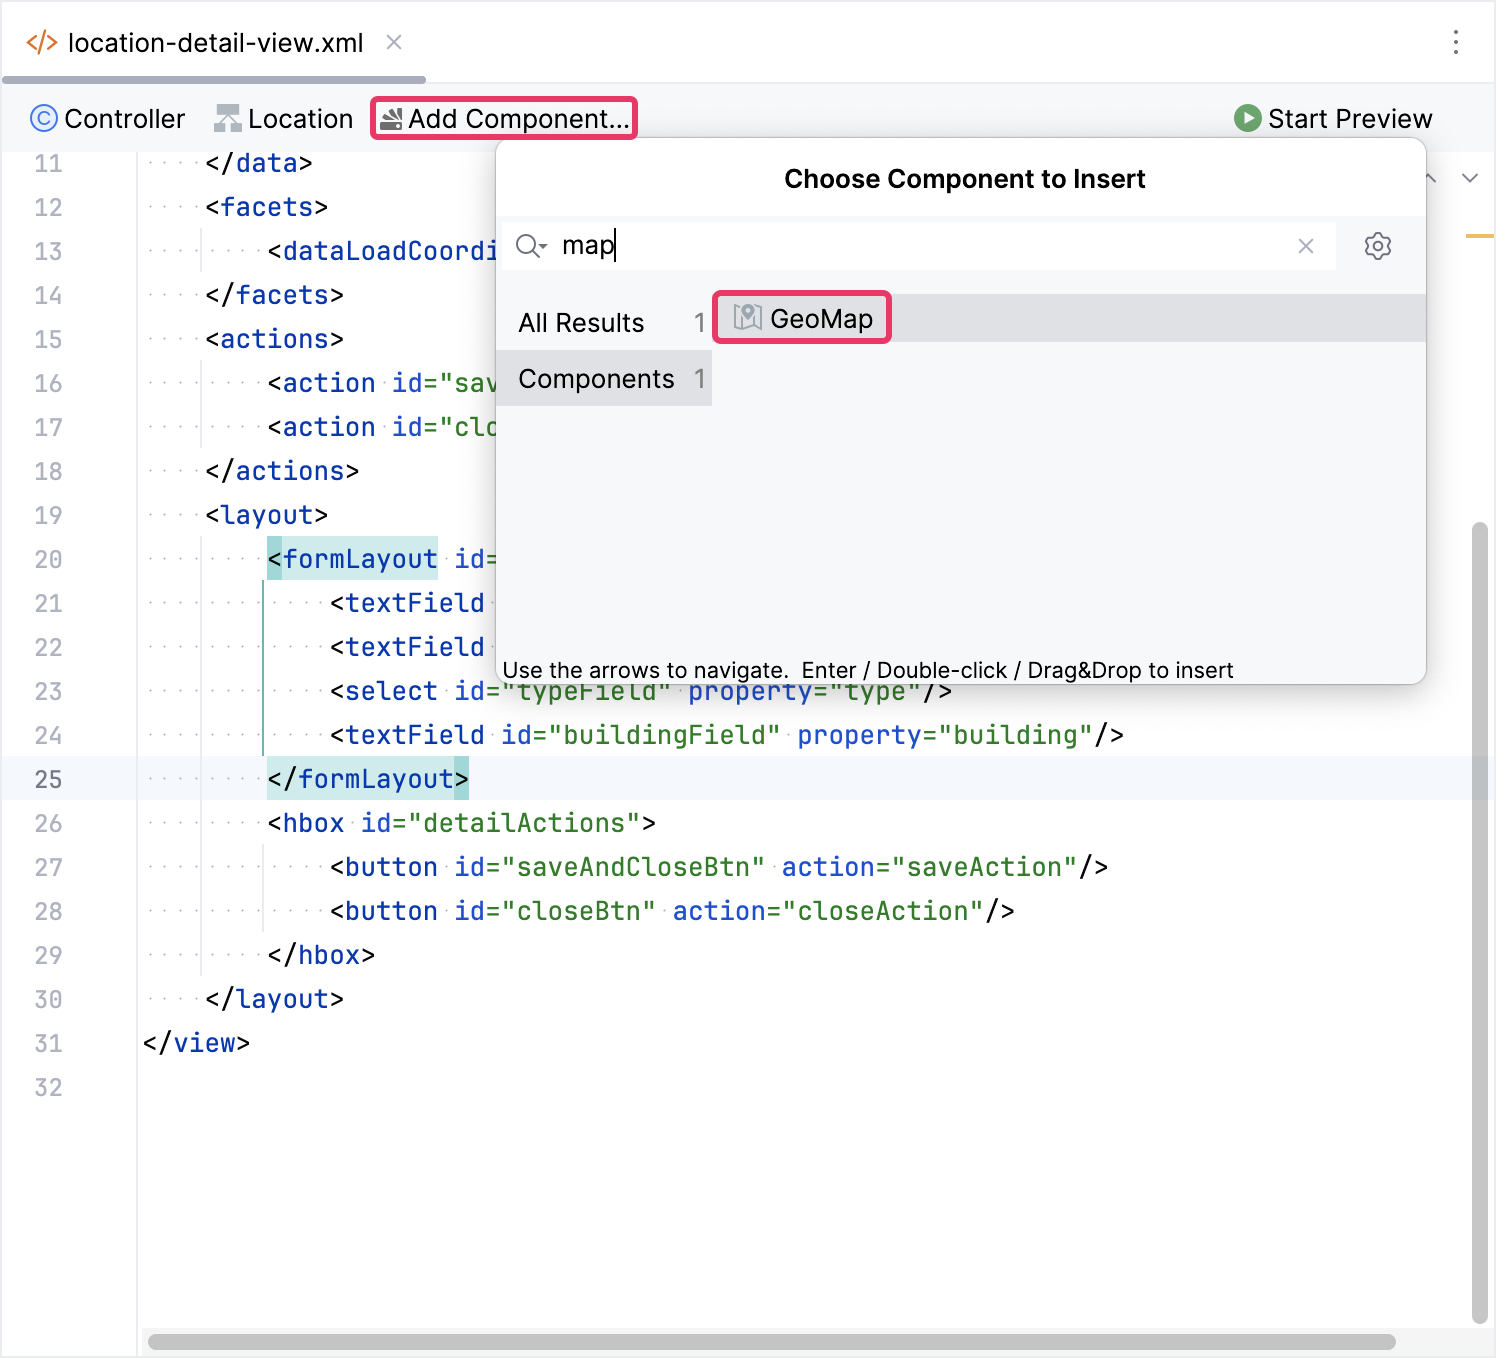
The new geoMap element will be added in both the Jmix UI structure panel and in the XML. You can configure attributes like id, height, width, etc., in the same way as it is done for other UI components.
<maps:geoMap id="map"
             height="100%"
             width="100%"/>
If you don’t use the view designer, declare the maps namespace in your view’s XML descriptor manually:
<view xmlns="http://jmix.io/schema/flowui/view"
      xmlns:maps="http://jmix.io/schema/maps/ui"
      title="msg://mapBasicView.title">
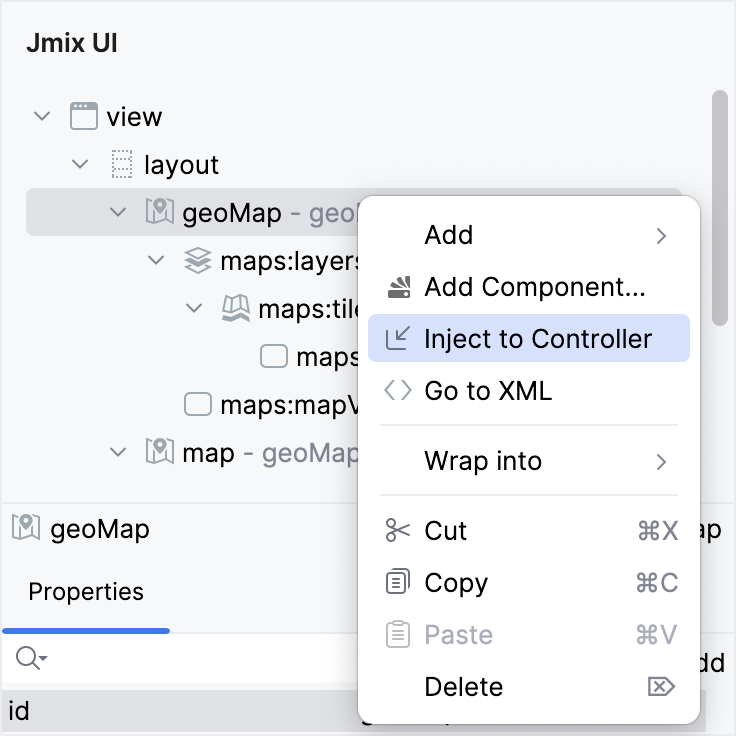
You can inject the UI component or a map layer into the controller by utilizing the Inject to Controller action in the Jmix UI structure panel:
Alternatively, you can employ the Inject button available in the actions panel:
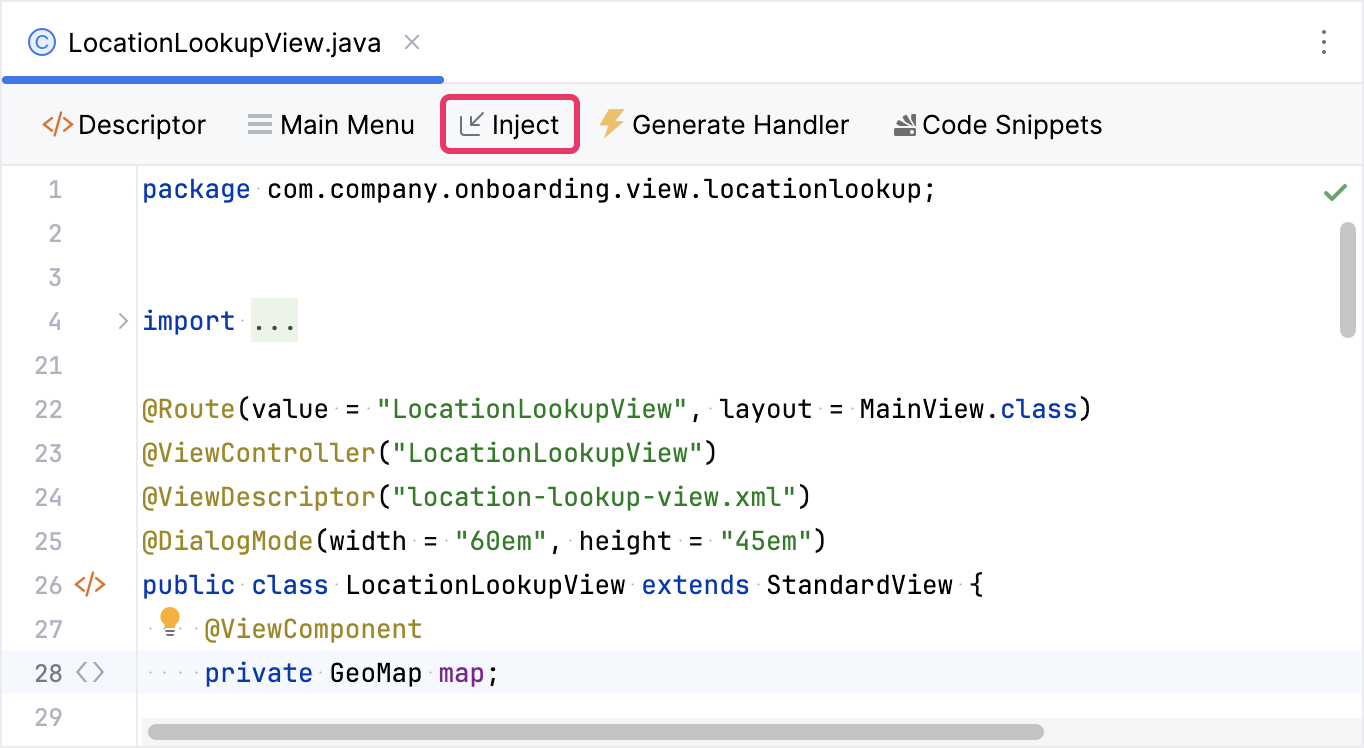
For the component to be injectable into the controller, it must have the id attribute specified.
|
Now you can interact with the GeoMap component programmatically by accessing its methods directly:
@ViewComponent
private GeoMap geoMap;

@Subscribe
public void onInit(final InitEvent event) {
    geoMap.addLayer(new TileLayer()
            .withSource(new OsmSource()
                    .withUrl("https://tile.openstreetmap.org/{z}/{x}/{y}.png")
                    .withOpaque(true)
                    .withMaxZoom(10)));
}
Layer
The GeoMap component can include multiple layers that display different types of geographic information, such as raster layers, and vector layers.
Initially, map does not have layers.
For example, let’s add a TileLayer to the map.
Select the geoMap element in the Jmix UI structure panel or in the view XML descriptor, then click the Add button in the inspector panel. From the drop-down list, choose Layers → TileLayer.
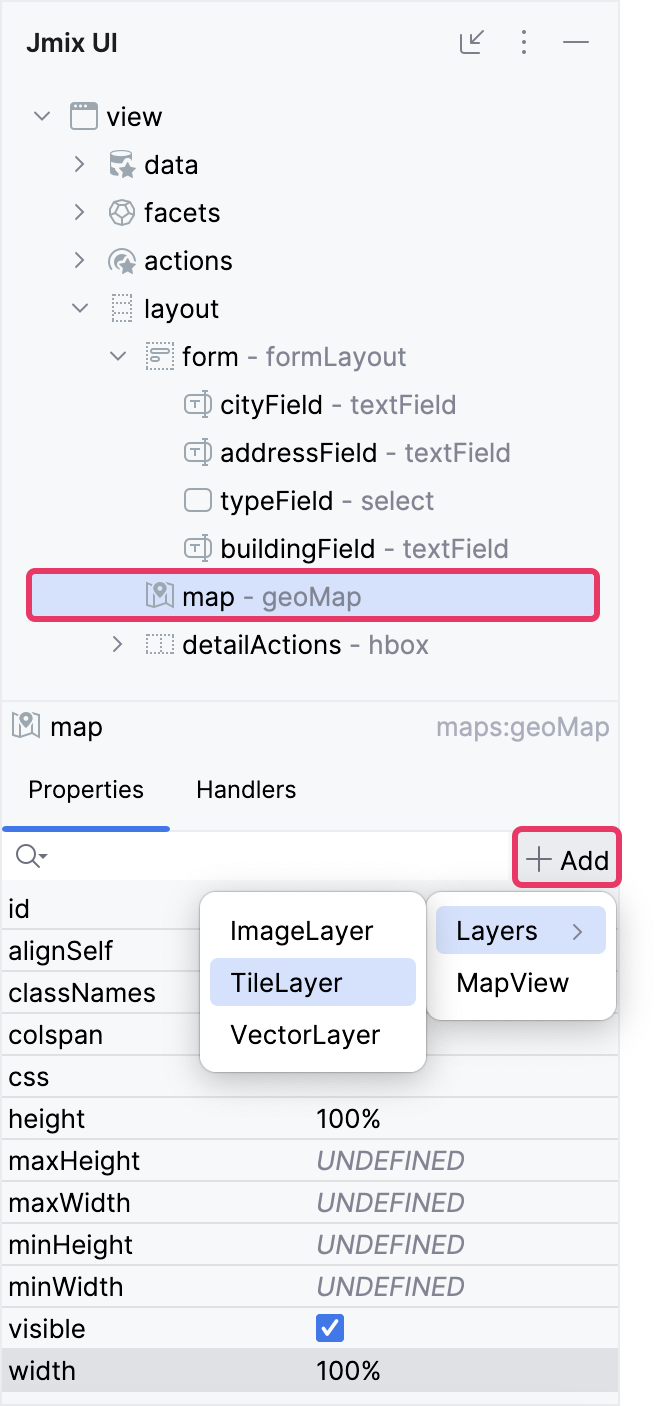
You can inject a layer into the controller and interact with it programmatically by accessing its methods directly:
@ViewComponent("map.tile")
private TileLayer mapTile;

@Subscribe
public void onInit(final InitEvent event) {
    mapTile.setSource(new XyzSource()
            .withUrl("https://server.arcgisonline.com/ArcGIS/rest/services/World_Topo_Map/MapServer/tile/{z}/{y}/{x}"));
}
Source
A source represents the data that is used to render map layers on the map component. Sources provide the spatial information that defines the content and appearance of the map layers.
For example, let’s add a OsmSource for the tile layer.
Select maps:tile in the Jmix UI structure panel or in the view XML descriptor, and then click the Add button in the inspector panel. From the drop-down list, choose OsmSource.
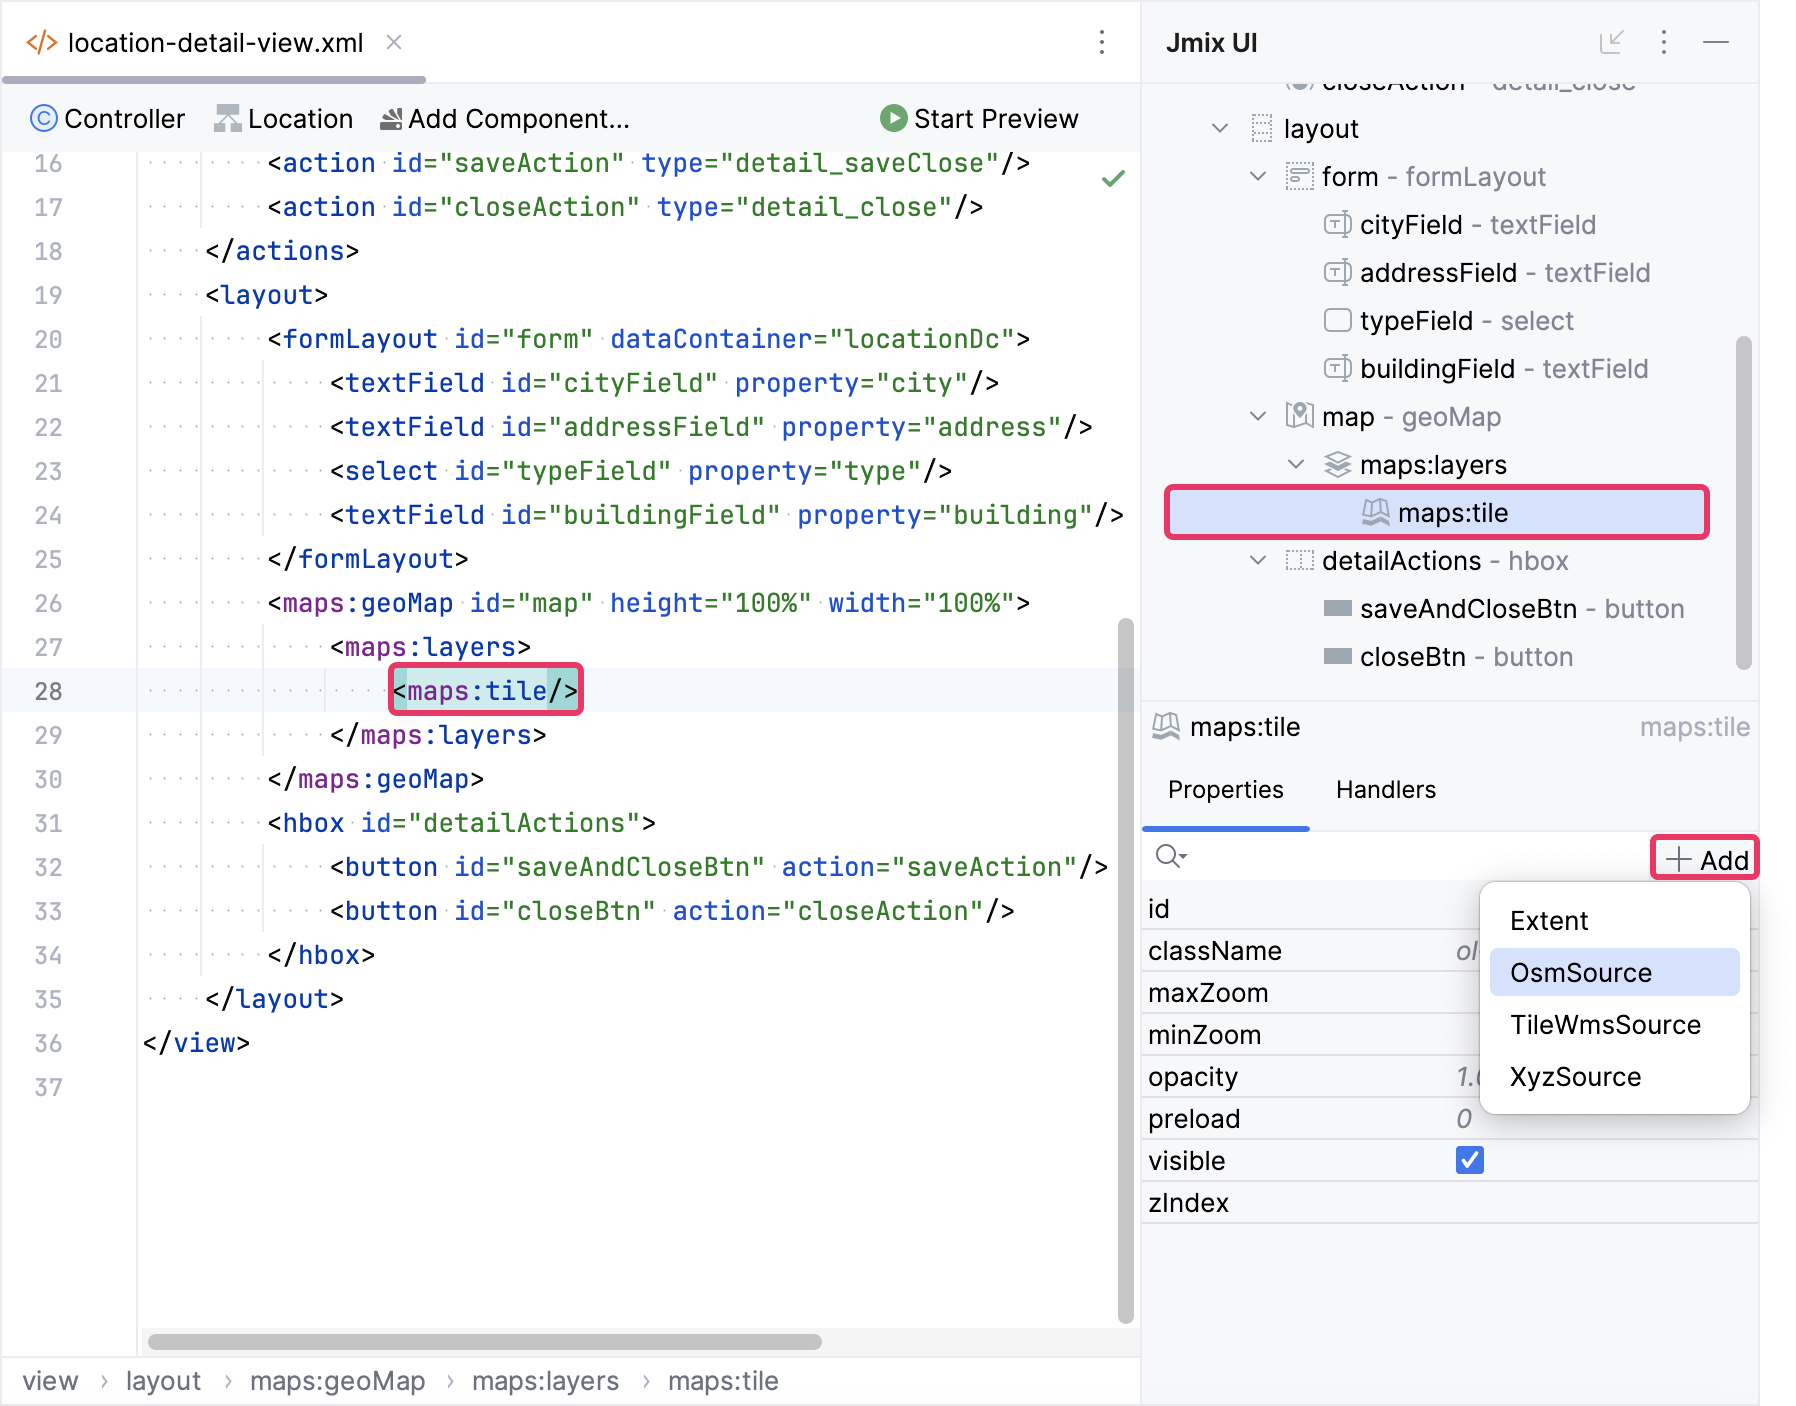
<maps:layers>
    <maps:tile>
        <maps:osmSource attributions="© Your Attribution Info"
                        maxZoom="34"/>
    </maps:tile>
</maps:layers>
You can inject a source into the controller and interact with it programmatically by accessing its methods directly:
@ViewComponent("map.tile.osmSource")
private OsmSource osmSource;

@Subscribe
public void onInit(final InitEvent event) {
    osmSource.withUrl("https://tile.openstreetmap.org/{z}/{x}/{y}.png")
            .withMaxZoom(12)
            .withWrapX(false);
}
View
View defines how the map is displayed in terms of its center, zoom level, rotation, and projection. It essentially sets the initial state of the map when it is loaded in the user interface.
By default, the geoMap component displays a world map with an initial geographical center at (0,0).
Choose geoMap within the Jmix UI structure panel or in the view XML descriptor, and then click the Add button in the inspector panel. From the drop-down list, opt for MapView.
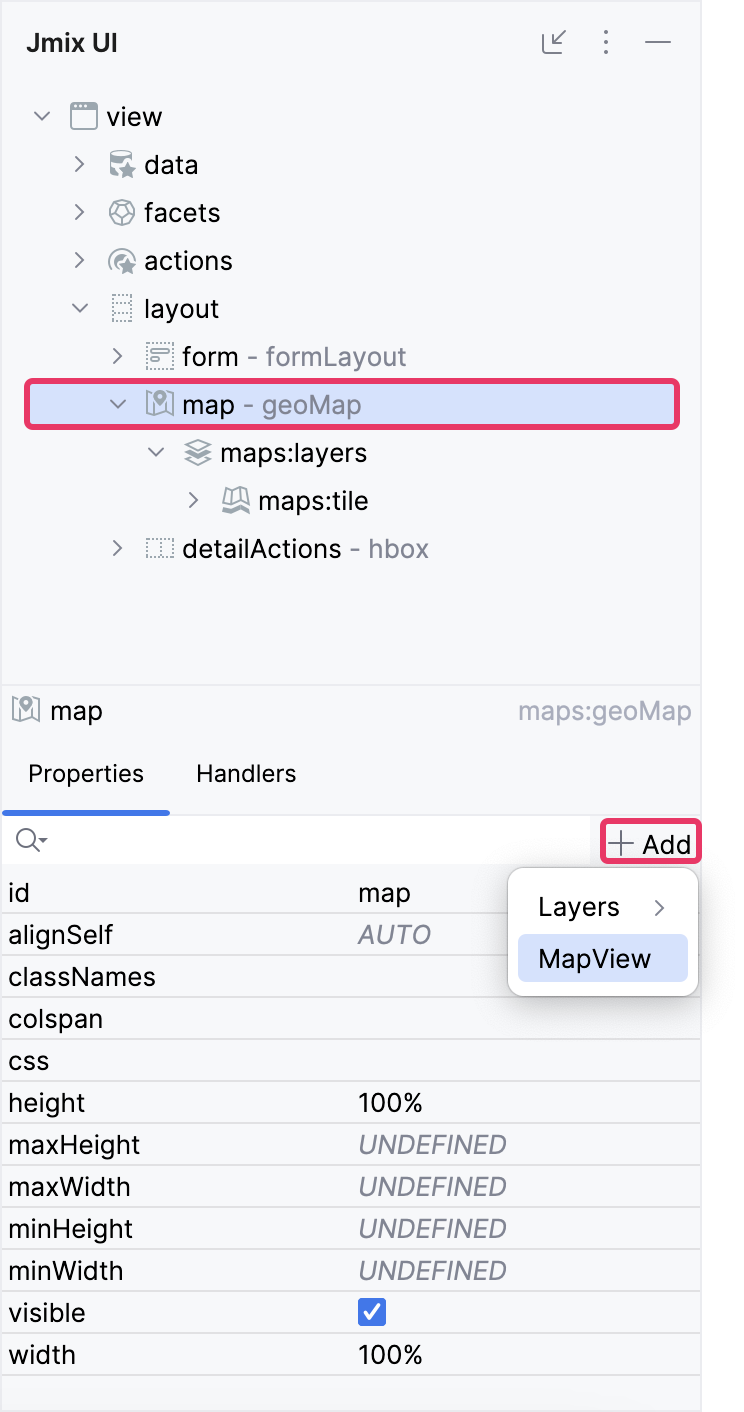
<maps:mapView centerX="10.872461786203276"
              centerY="48.36928140366503"
              zoom="4.0"/>
You can specify additional parameters:
-
centerXdefines latitude of the initial geographical center of the map. It is passed to theorg.locationtech.jts.geom.Coordinateobject. -
centerYdefines longitude of the initial geographical center of the map. It is passed to theorg.locationtech.jts.geom.Coordinateobject. -
maxZoom- sets the maximum zoom level for the view. -
minZoom- sets a minimum zoom level for the view. -
projectionrefers to the coordinate reference system in which the map is displayed. Common projections includeEPSG:3857andEPSG:4326. The default projection is EPSG:3857. You can set a custom projection in the special innerprojectionelement. For more details see Projection. -
rotation- sets the rotation for the view in radians (positive rotation clockwise, 0 means North). For more details see setRotation. -
zoomdefines the specific zoom level. The zoom level begins at 0, representing the maximum zoomed-out view, and progressively rises as you zoom in for a closer perspective.
Extent
The extent specifies the geographic boundaries of the map view or a specific layer in terms of coordinates, defining the visible area on the map.
Extent is typically defined by minimum (top-left corner) and maximum (bottom-right corner) coordinate values in the form of [minX, minY, maxX, maxY], representing the bounding box of the area.
Choose a layer or the mapView element in the Jmix UI structure panel or in the view XML descriptor, and then click the Add button in the inspector panel. From the drop-down list, select Extent, and configure the minX, minY, maxX and maxY attributes as indicated below.
<maps:mapView centerY="51.0"
              centerX="40.0"
              zoom="4.0">
    <maps:extent minX="-15.0"
                 minY="30.0"
                 maxX="40.0"
                 maxY="60.0"/>
</maps:mapView>