Configuration
After installing the add-on in your application, create notification types, configure notification channels and assign roles to users.
The add-on provides two notification channels out-of-the-box: the in-app channel shows notifications in the application UI, the email channel sends emails. You can define your own channels by creating beans implementing the NotificationChannel interface.
Notification Types
The add-on does not provide notification types by default. You should create a set of NotificationType instances and register them via NotificationTypesRepository when initializing the application. The following code can be added to any bean of the application, for example to the main application class annotated with @SpringBootApplication:
@Autowired
private NotificationTypesRepository notificationTypesRepository;

@EventListener
public void onApplicationContextRefreshed(final ContextRefreshedEvent event) {
    notificationTypesRepository.registerTypes(
            new NotificationType("info", "INFO_CIRCLE"), (1)
            new NotificationType("warn", "WARNING")
    );
}| 1 | Creates a notification type with the unique info name and INFO_CIRCLE icon. |
Localized messages for the notification types can be added with the following template:
io.jmix.notifications/NotificationType.<name>=<value>
In case of the example above:
io.jmix.notifications/NotificationType.info=Info
io.jmix.notifications/NotificationType.warn=Warning
In-App Channel
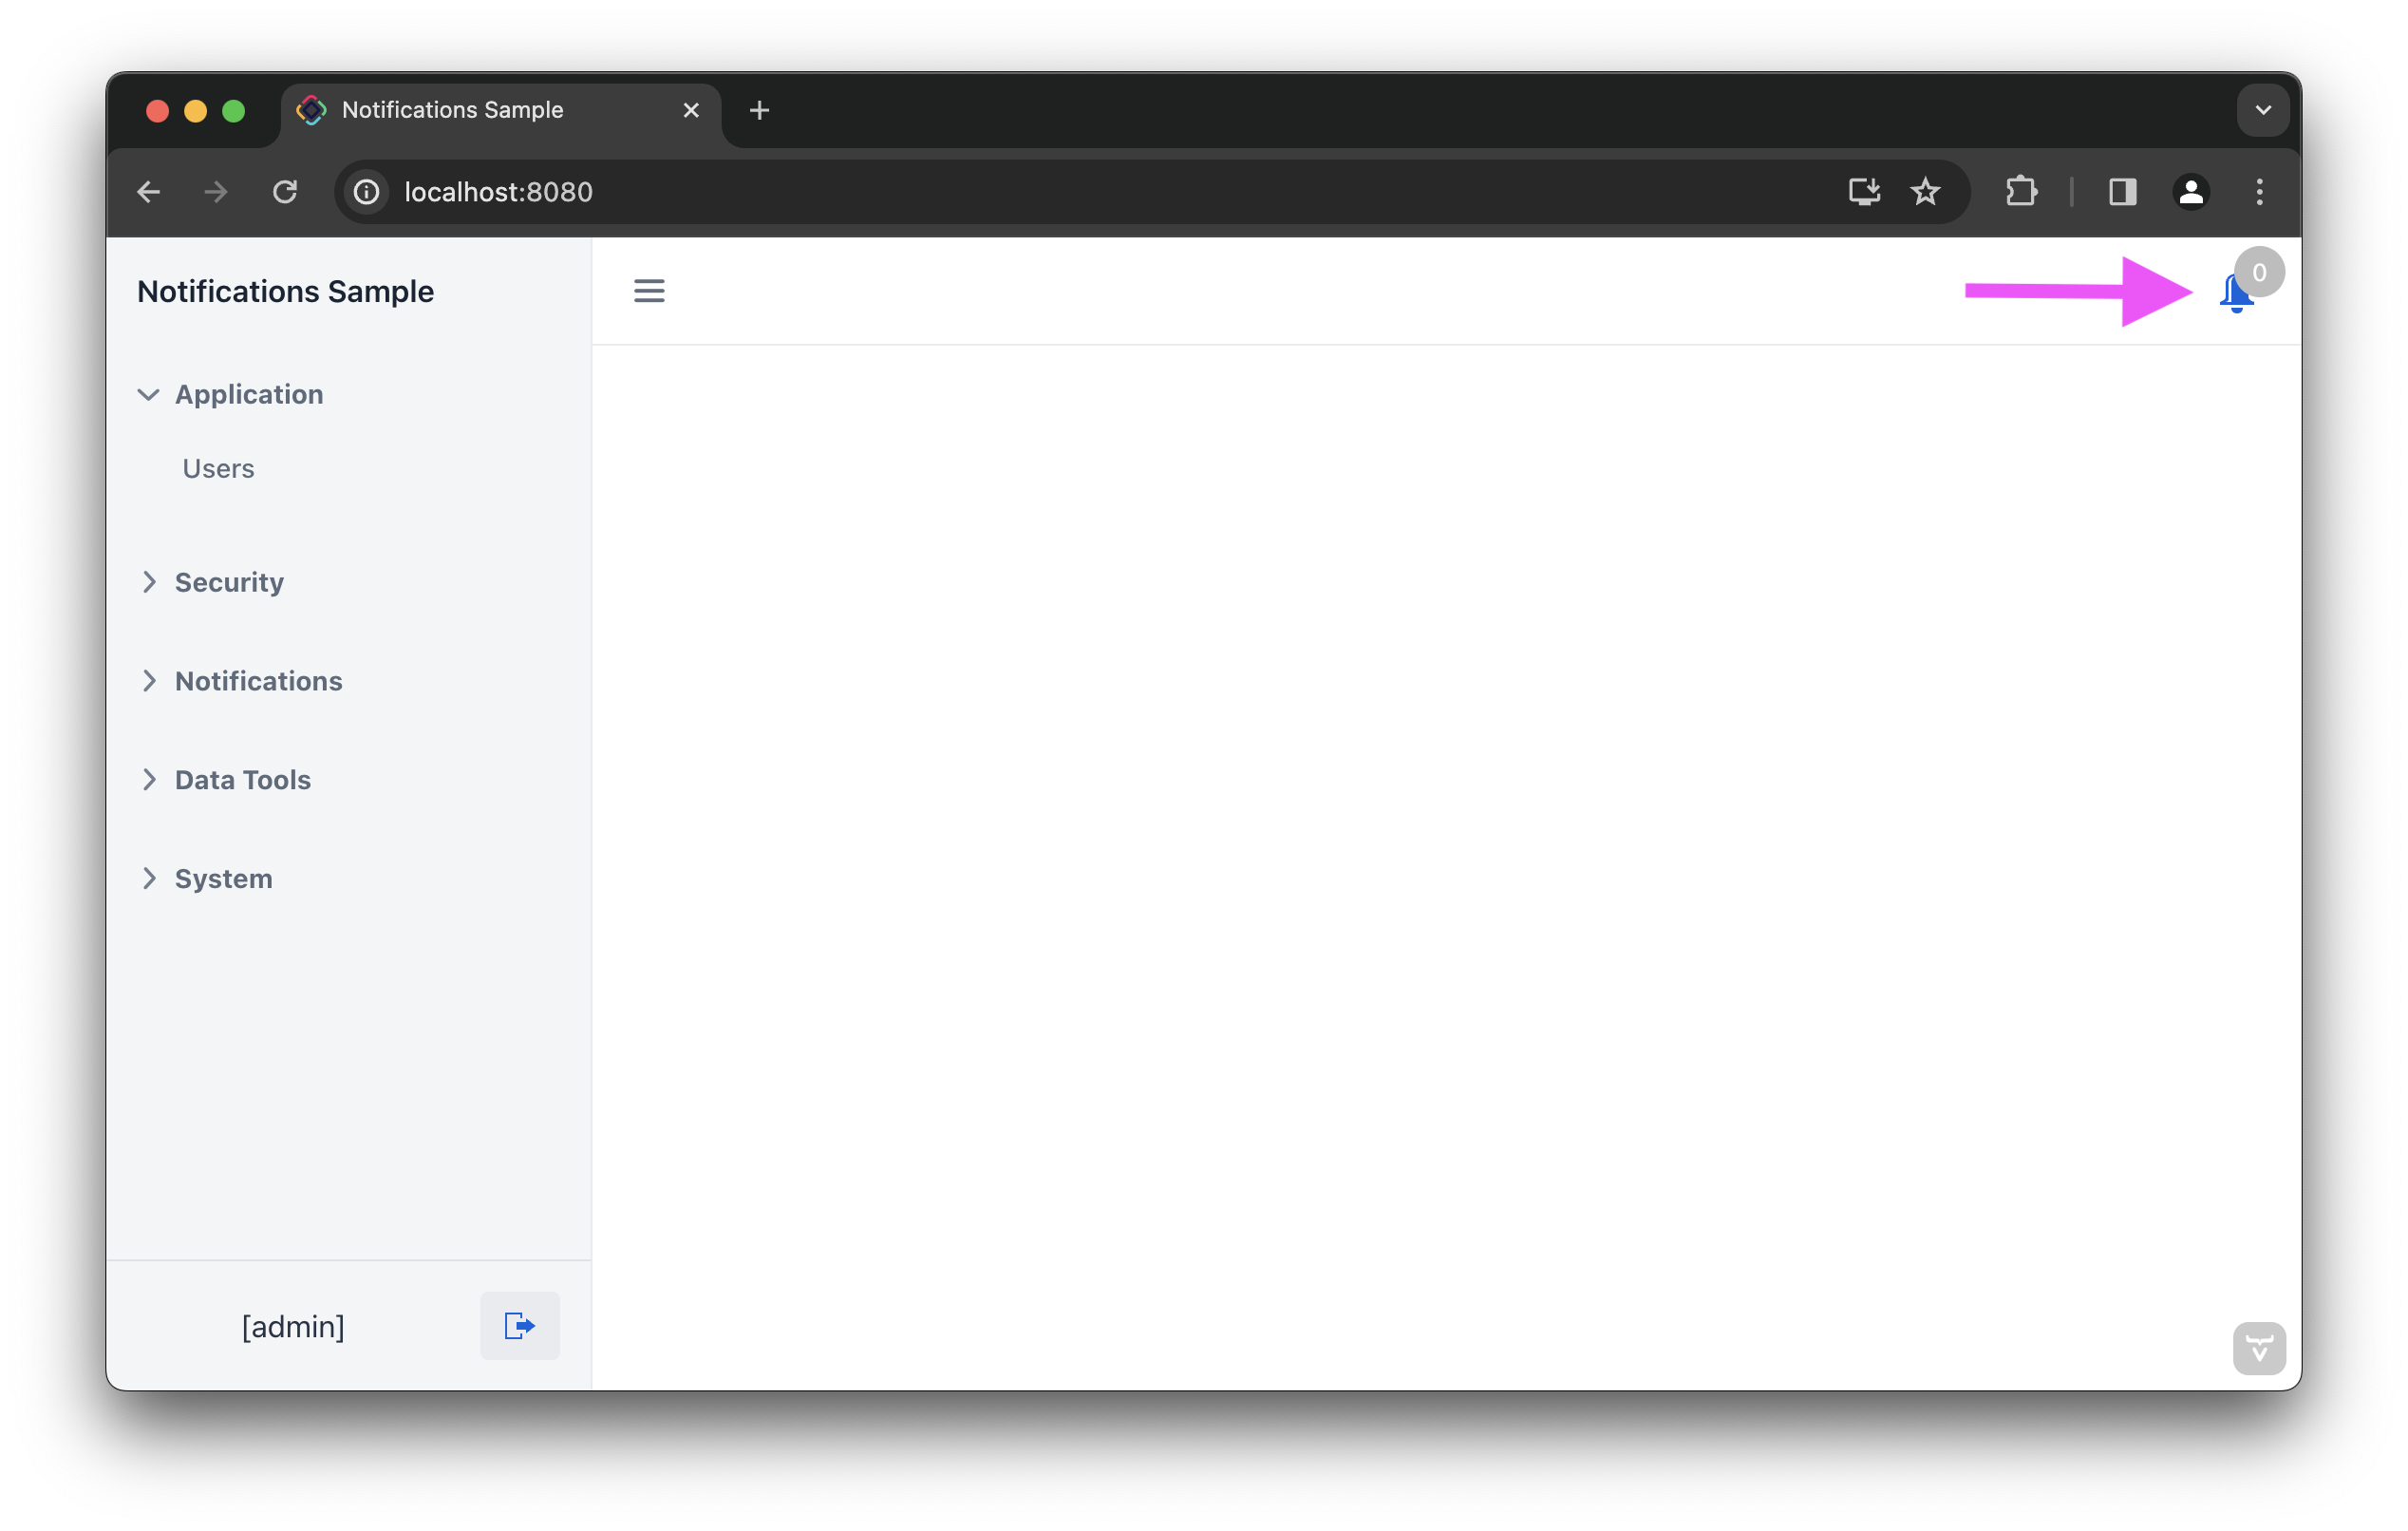
To show notifications sent to the in-app channel, add a notification indicator component. For example, you may place it in the top right corner:

For that, add notificationIndicator within the main view’s navigationBar component:
<mainView xmlns="http://jmix.io/schema/flowui/main-view" xmlns:ntf="http://jmix.io/schema/notifications/ui"
          title="msg://MainView.title"> (1)
    <!-- ... -->
    <appLayout>
        <navigationBar>
            <!-- ... -->
            <ntf:notificationsIndicator id="ntfIndicator" classNames="me-m"/> (2)
</navigationBar>| 1 | Declares the notifications namespace in the root element. |
| 2 | Adds a visual component with the unread notifications count. |
Email Channel
To send notifications by email, add the Email add-on to the application. After that, you will be able to select the email channel in the notification editor window.
The recipient email address is taken from a property of the user object. By default, the add-on assumes that email is stored in the email property. If you want to use another property, define its name in the application.properties file, for example:
jmix.notifications.user-email-property-name=emailAddressBesides, you can create a Spring bean implementing the UserEmailResolver interface to define a more complex logic of obtaining the user’s email address, for example:
@Component
public class GetEmailService implements UserEmailResolver {

    @Nullable
    @Override
    public String resolveEmail(UserDetails user) {
        return user.getUsername()+"company.com";
    }
}
Security Roles
To work with notifications, users with limited access to the system should have one of the following roles:
-
Notifications: administrator – a user with full access to notifications.
-
Notifications: In-app notifications reader – a user that receives notifications sent through in-app channel and is able to read them in a special dialog.
-
Notifications: sender – a user can create and send notifications.
-
Notifications: combines sender and reader – combines sender and reader roles.
