Testing Process
It doesn’t matter where you developed the process, in Studio or in Web App. In both cases, in the end, it must be deployed and then can be started. Let’s go through it step by step, observing all the forms we have created.
Start Form
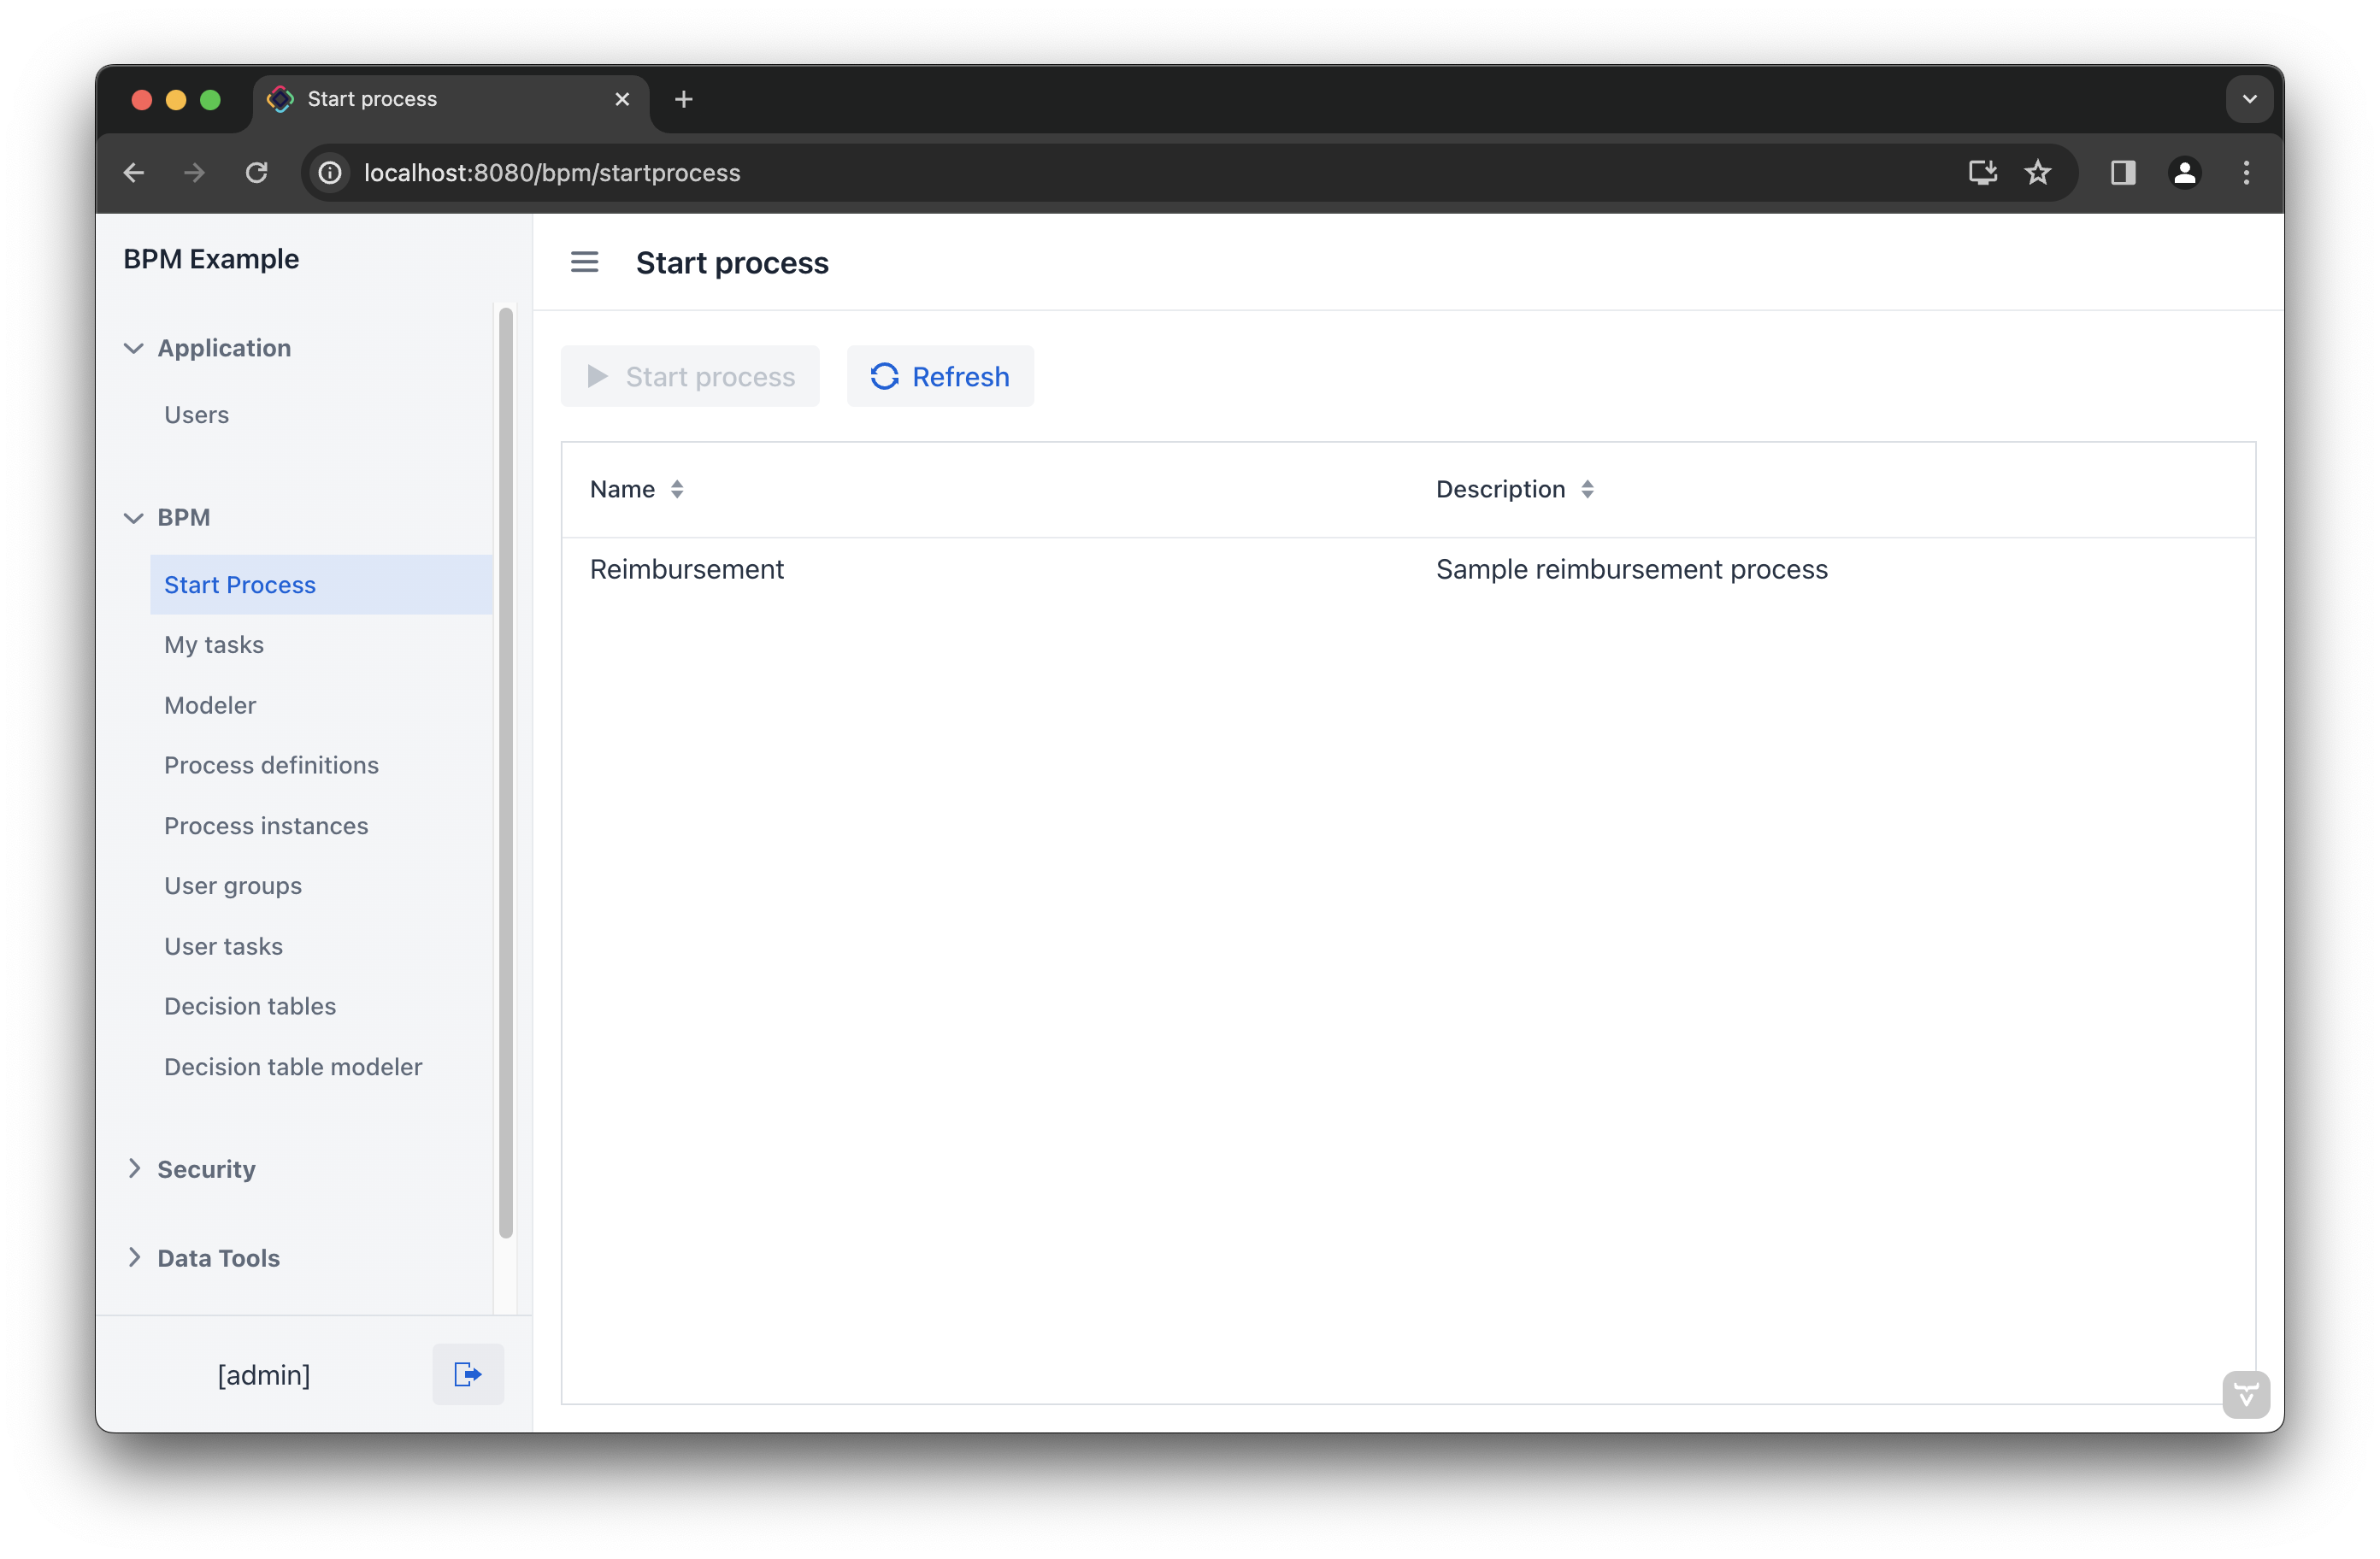
With the current settings, the process can be started by any user on the BPM→ Start Process view.
-
Select the Reimbursement process and click the Start process button.
-
Fill in the fields in the form and click the Start process button.
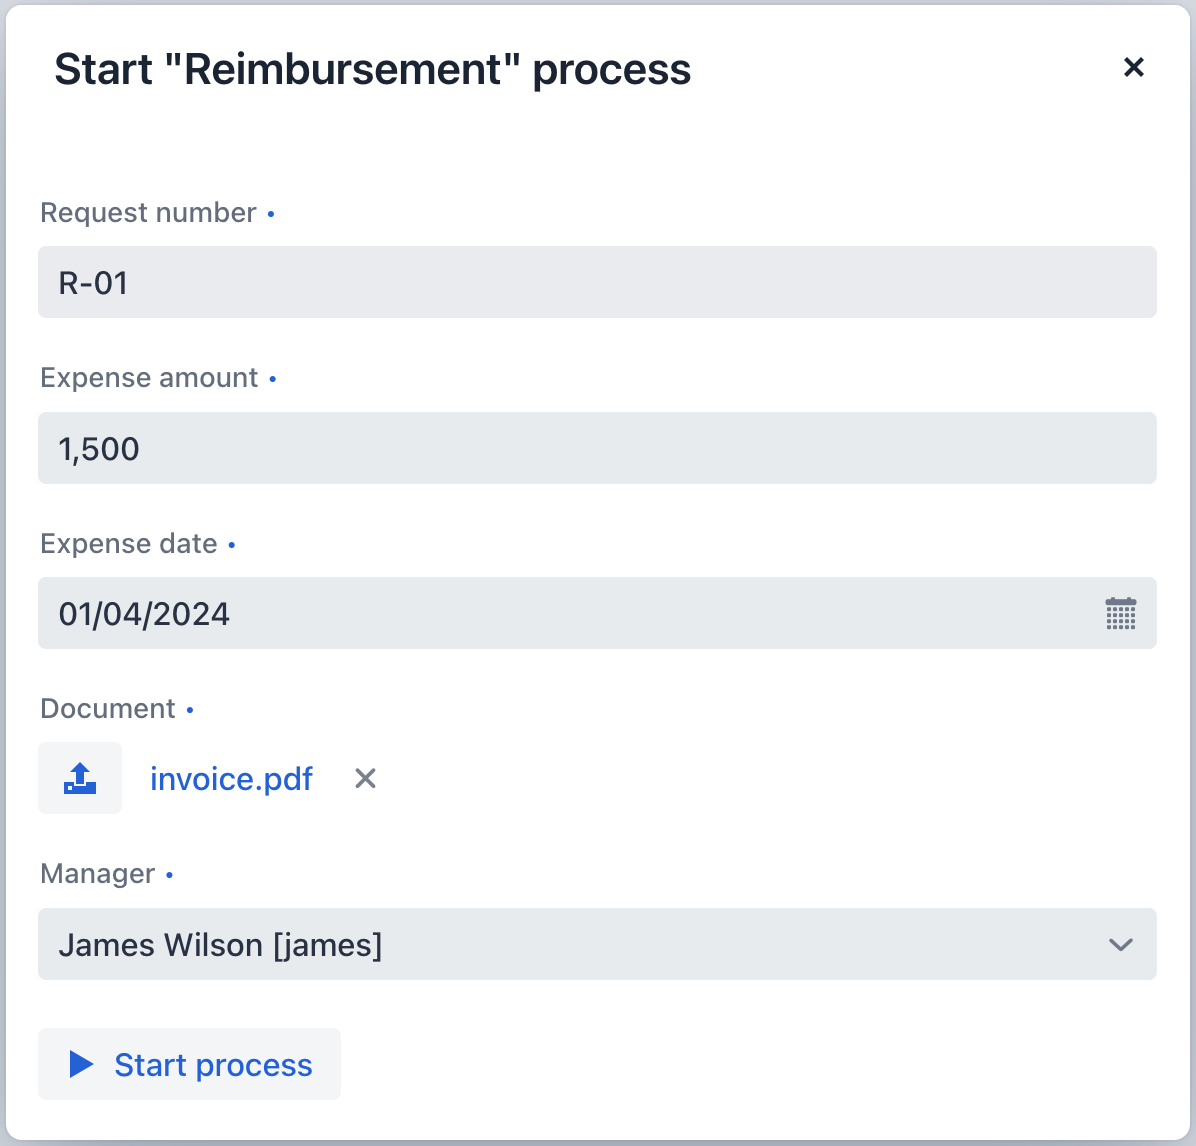
The assigned manager will then receive an incoming approval task.
Approval Form
Let’s see how this process looks from the manager’s standpoint. On the previous step, manager james was assigned to approve the request.
-
Log in on behalf of the manager assigned to approve the request.
-
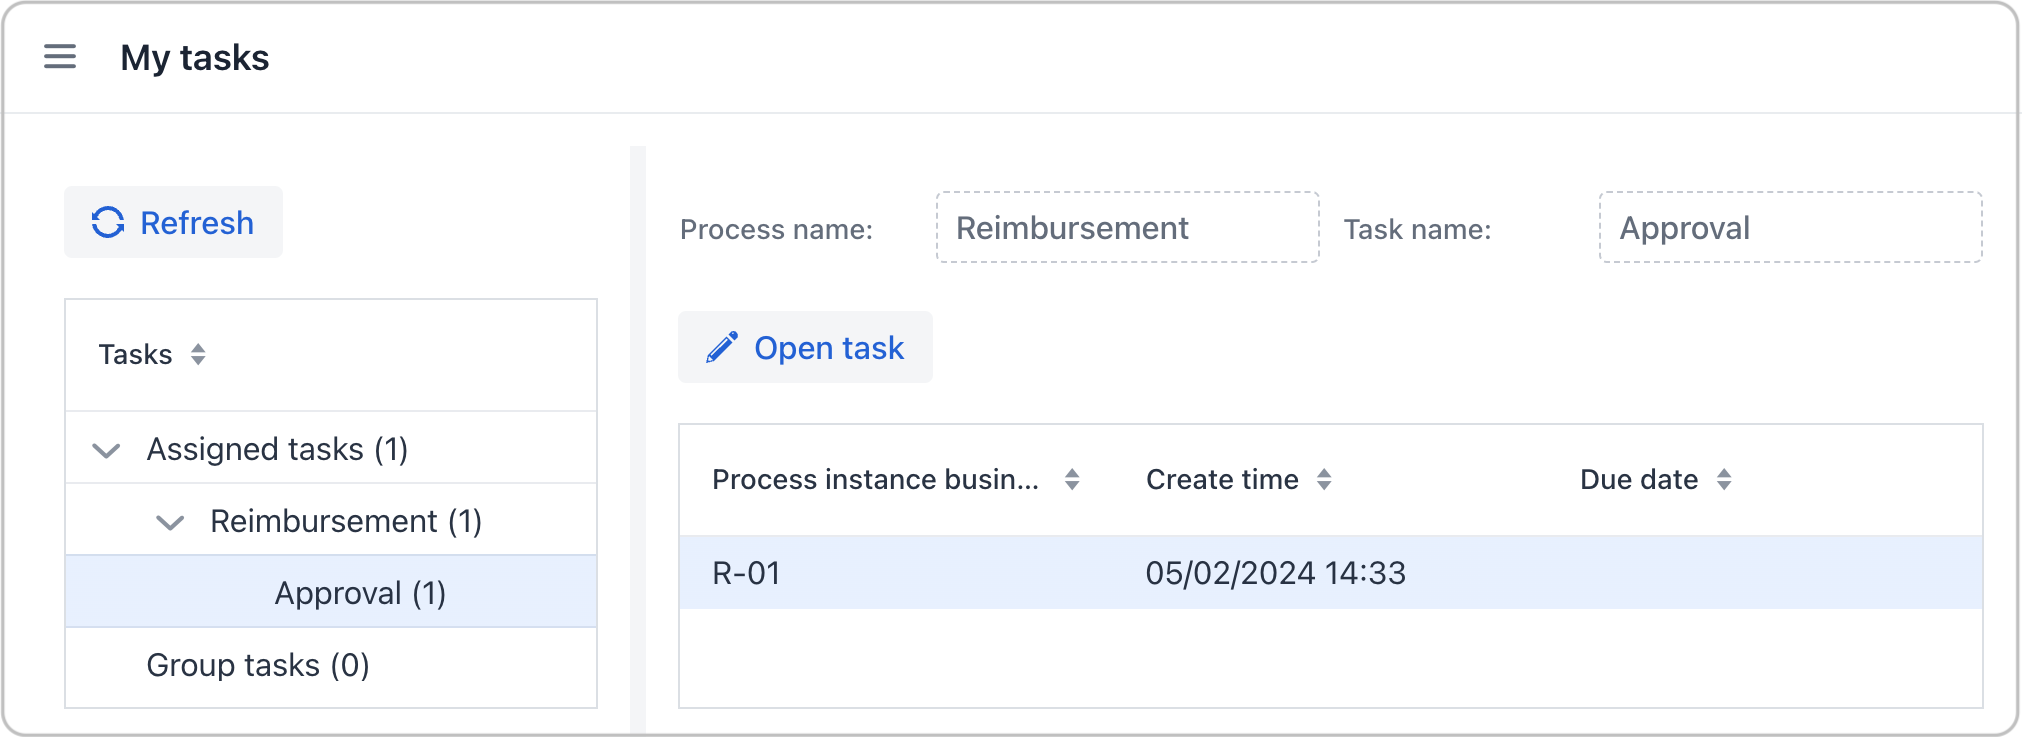
Navigate to the BPM→ My Tasks view.
-
Select the task from the list and click the Open Task button.
-
Review the request, and then click the Approve button.
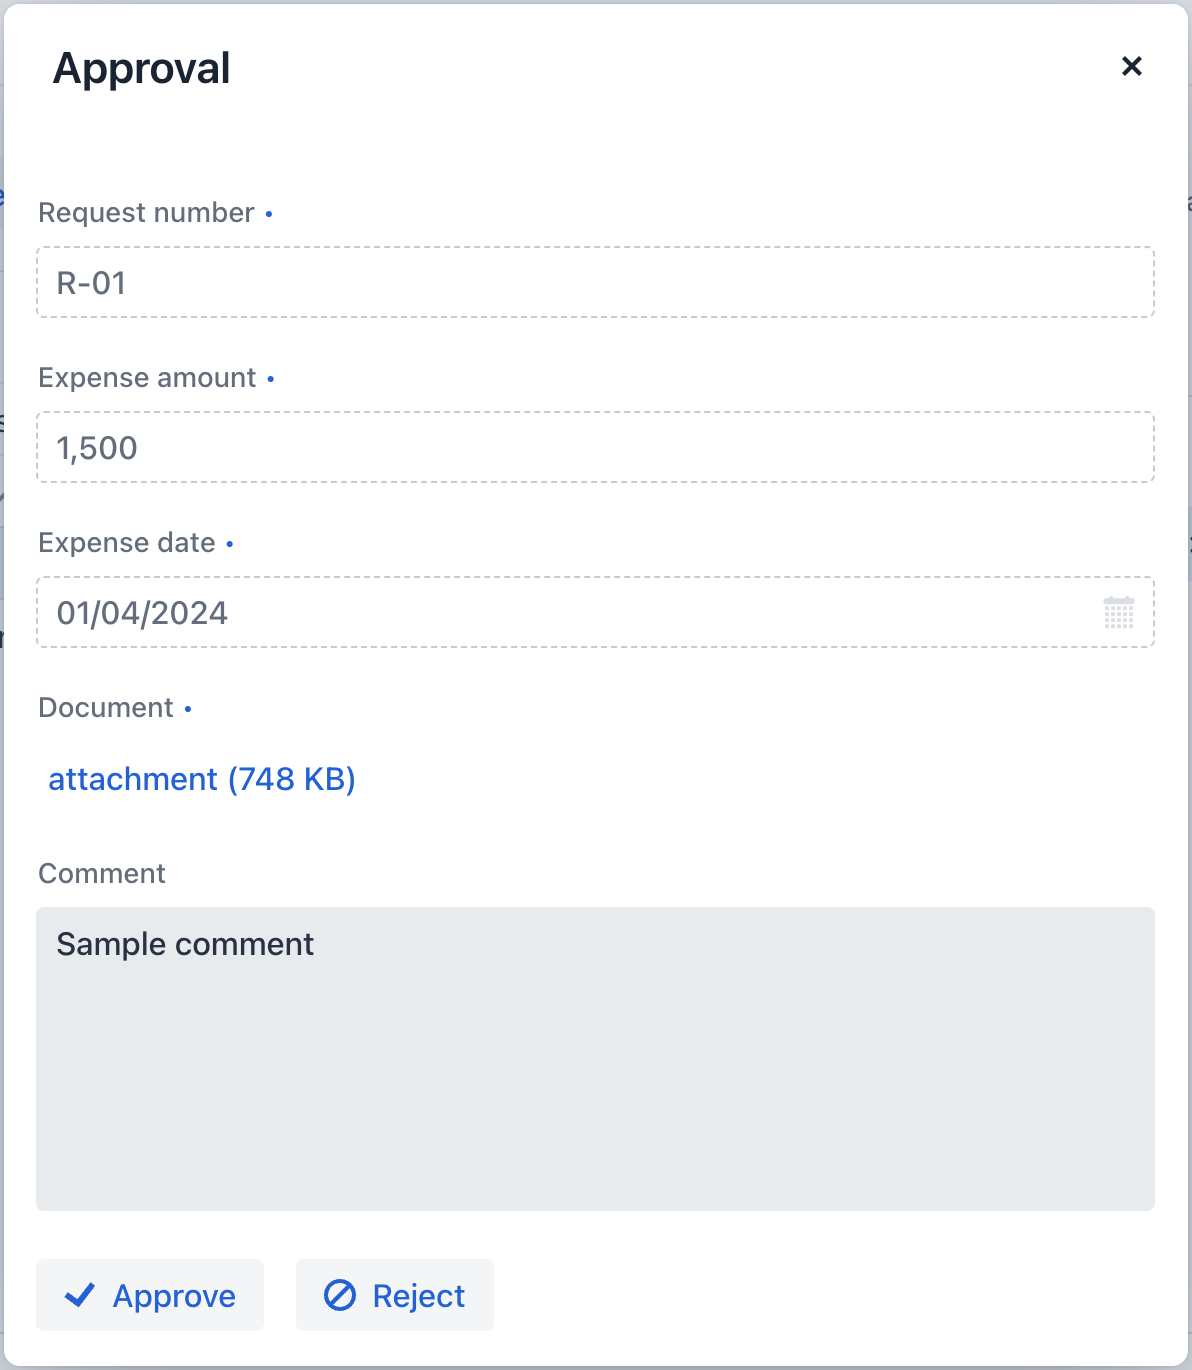
Upon approval, the request will be sent to an accountant, who will then take care of payment.
Payment Form
Accountants will see reimbursements to be paid in their Group tasks.
-
Log in on behalf of any user who is a member of the Accountants user group.
-
Open the BPM→ My Tasks view. Expand the Group tasks node.
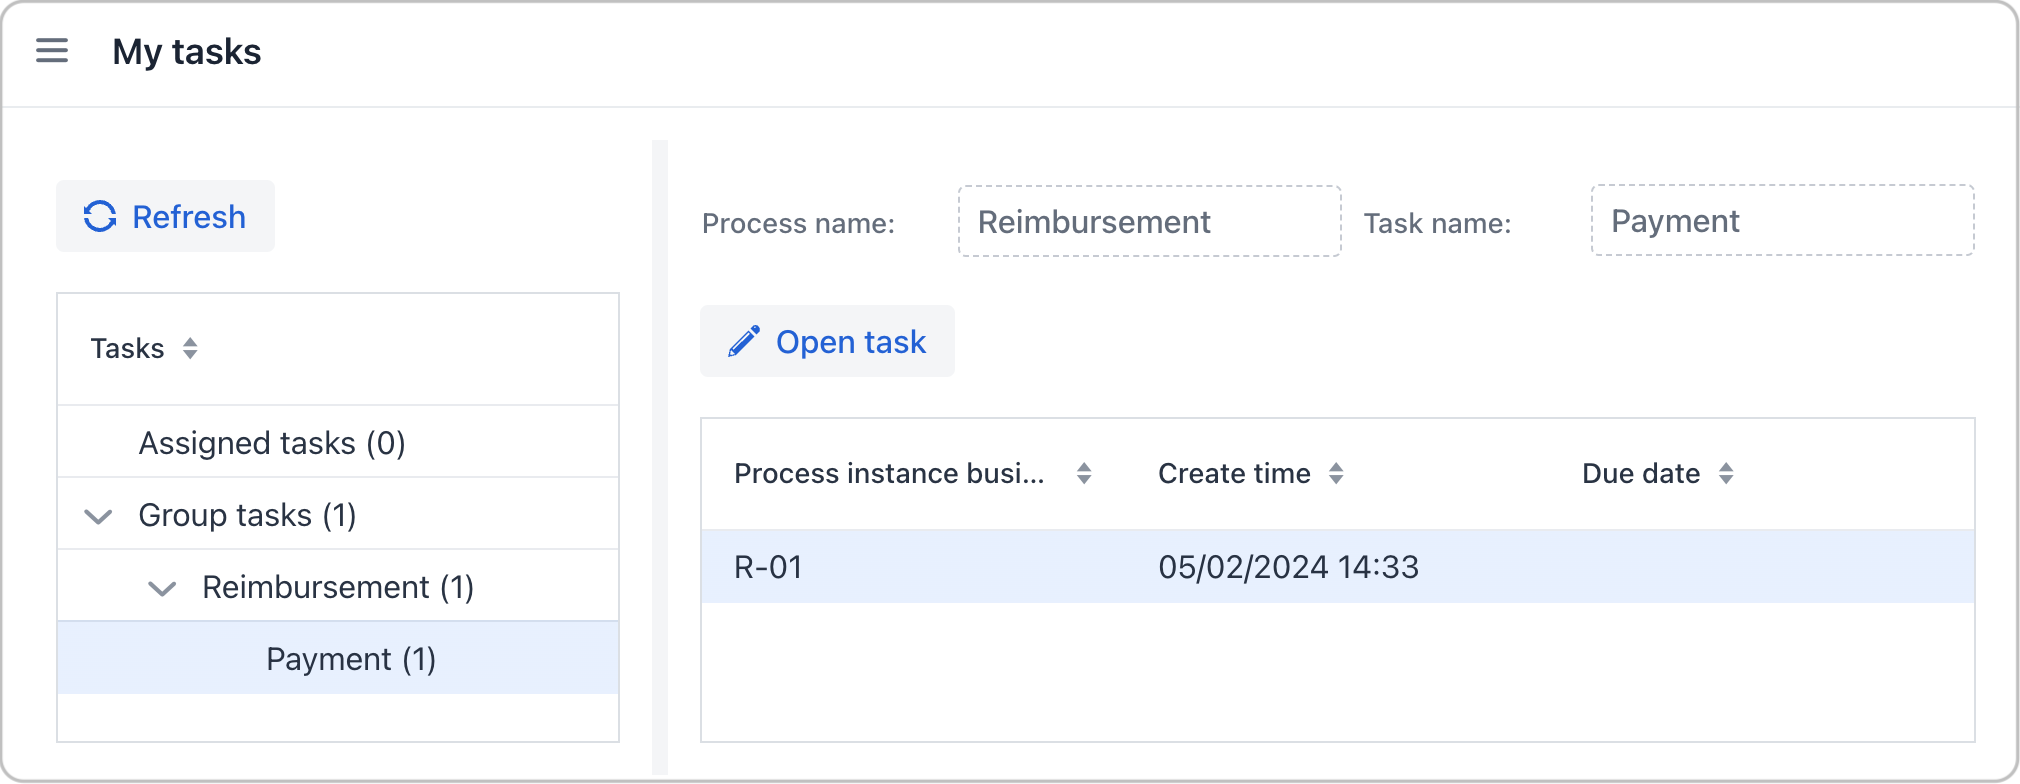
-
Open the task form.
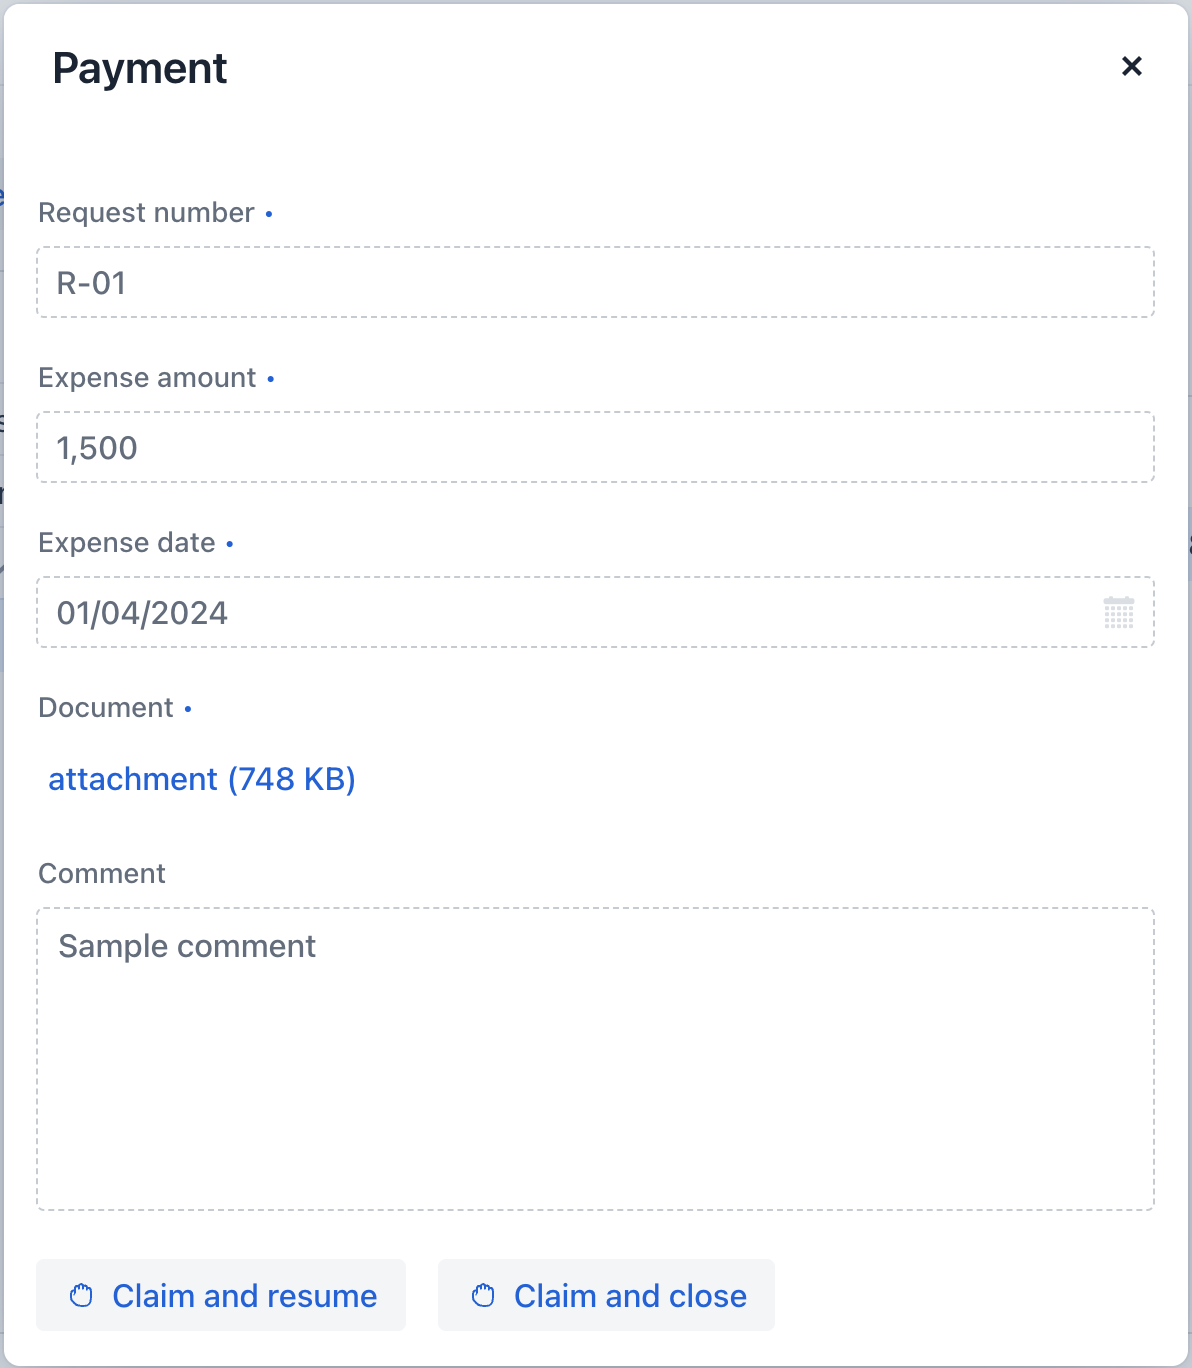
Fields in this form remain read-only until the task is claimed.
-
Claim the task using one of the two options:
-
Click the Claim and resume button to proceed with this task right away. This will remove the task from the Group list and the Complete button will appear.
-
Click Claim and close to claim the task while postponing its completion. This will close the form and move the task from Group tasks to the current user’s Assigned tasks list. After that, the task is no longer visible to other accountants.
-
-
Click the Complete task button to finish the process. This button is added by default to any task that does not have outcomes specified.
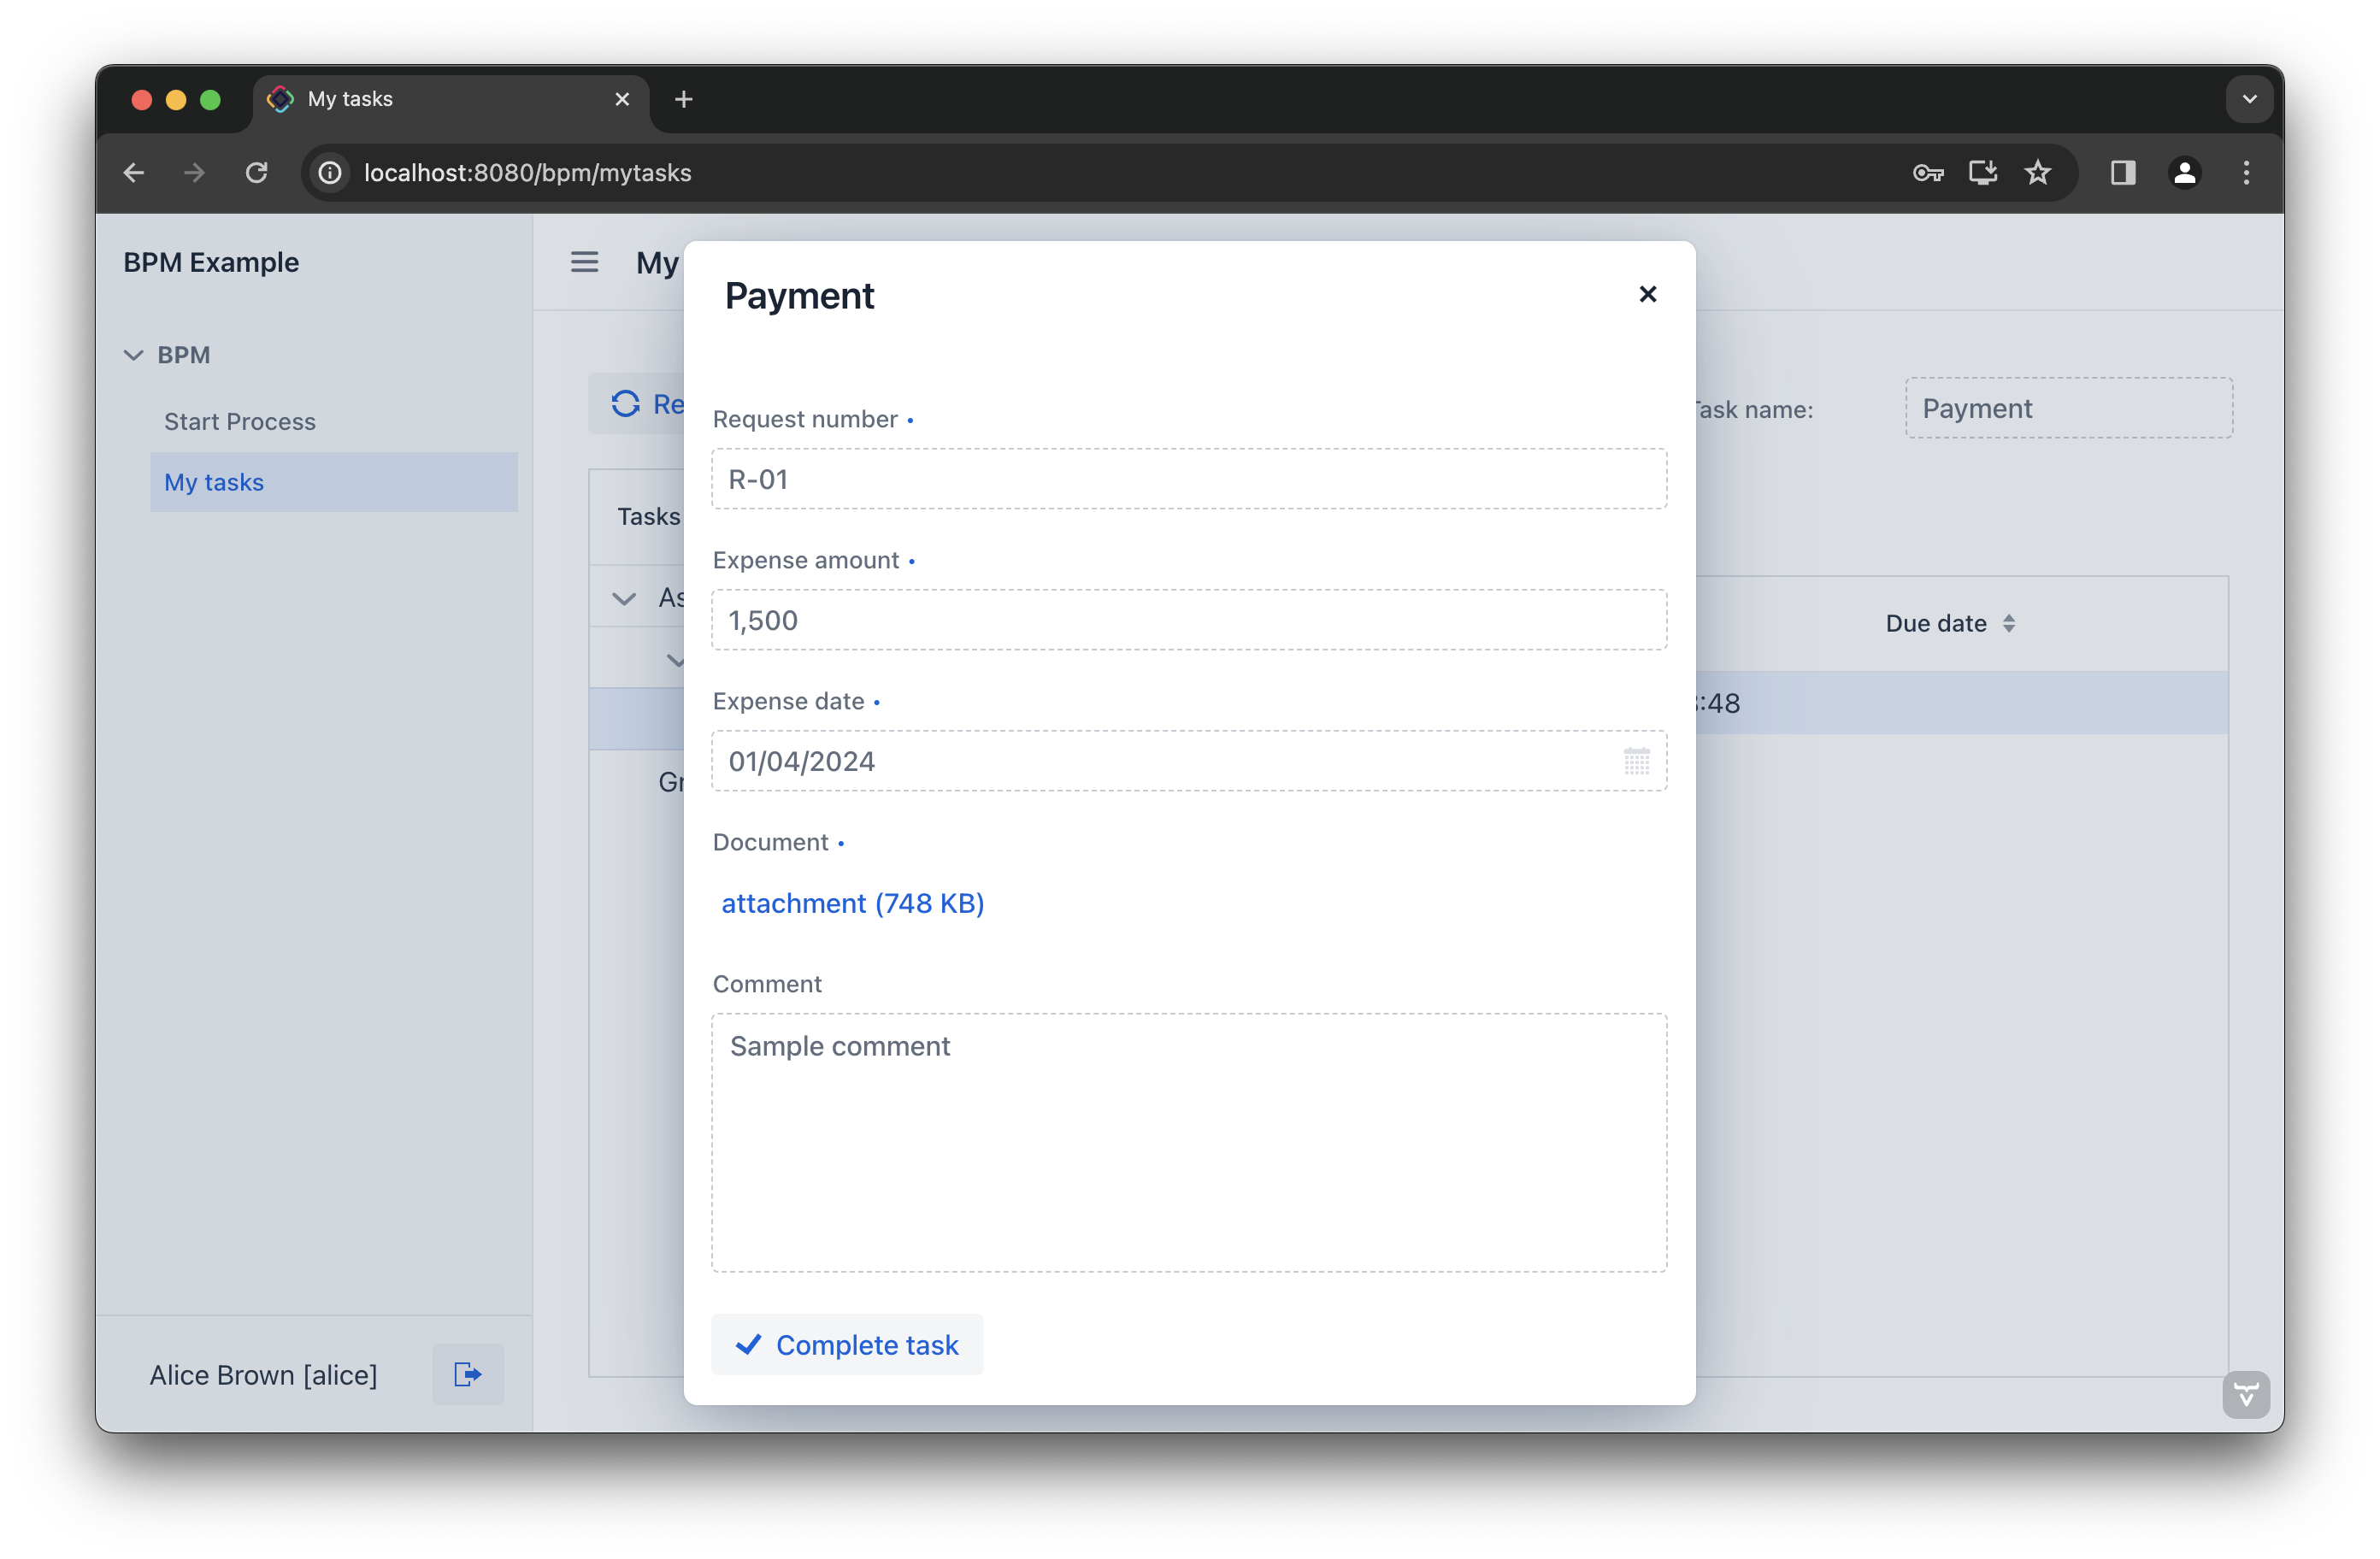
The process is now complete.
