Access Control
To access protected resources (REST API endpoints) the client must provide a valid access token.
The operations for obtaining a token for the Generic REST API are implemented by the Authorization Server add-on. Its starter (io.jmix.authserver:jmix-authserver-starter) is automatically included when you add the REST API add-on using Jmix Studio. The Authorization Server add-on is based on Spring Authorization Server framework.
The OAuth 2.1 protocol specifies several ways to obtain a token, called grant types. Below we explain how to use the Client Credentials and Authorization Code grants.
Client Credentials Grant
The Client Credentials grant enables getting access tokens from the authorization server by providing registered client credentials in the request. This grant type should be used in the machine-to-machine communication.
The idea is the following:
-
The client with id and secret is registered in Jmix application.
-
Jmix resource and row-level roles are assigned to the client.
-
Client application uses client id and secret to obtain access token.
-
Using this token the client application can access protected REST API endpoints with permissions included to the roles assigned to the client.
An example of registering a client in the application.properties file and getting an access token with the Client Credentials grant can be found in the Getting Started section.
Alternatively to specifying client properties in the application.properties file, clients may be registered by providing a RegisteredClientRepository bean. See Spring Authorization Server documentation for details.
If you create a RegisteredClientRepository then application.properties won’t be analyzed.
|
Authorization Code Grant
You can read about the Authorization Code grant in the OAuth 2.1 specification.
This flow allows you to obtain an access token with permissions of a real Jmix application user. You deal with the Authorization Code grant when you authorize using Google or Facebook on any website. A special login form is displayed by Jmix application, Jmix app validates credentials and if they are valid the access token is issued by a series of HTTP requests between the client application and Jmix application.
In order to enable the grant type in Jmix application you need to define a client that supports this grant type.
spring.security.oauth2.authorizationserver.client.myapp.registration.client-id=myapp
spring.security.oauth2.authorizationserver.client.myapp.registration.client-secret={noop}myappsecret
spring.security.oauth2.authorizationserver.client.myapp.registration.client-authentication_methods=client_secret_basic
# enable required grant types
spring.security.oauth2.authorizationserver.client.myapp.registration.authorization-grant-types=authorization_code,refresh_token
# in this example we use the https://oauthdebugger.com website for testing
spring.security.oauth2.authorizationserver.client.myapp.registration.redirect-uris=https://oauthdebugger.com/debug
# use opaque tokens instead of JWT
spring.security.oauth2.authorizationserver.client.myapp.token.access-token-format=reference
# access token time-to-live
spring.security.oauth2.authorizationserver.client.myapp.token.access-token-time-to-live=1h
# refresh token token time-to-live
spring.security.oauth2.authorizationserver.client.myapp.token.refresh-token-time-to-live=24h
# use PKCE when performing the Authorization Code Grant flow
spring.security.oauth2.authorizationserver.client.myapp.require-proof-key=true
Keep in mind that by default Spring Authorization server configures the following endpoint URLs:
-
authorization endpoint:
/oauth2/authorize, e.g.http://localhost:8080/oauth2/authorize -
token endpoint:
/oauth2/token, e.g.http://localhost:8080/oauth2/token
In this example we will use the https://oauthdebugger.com site for token issuing testing. It will emulate an external application that requires access to Jmix resources and that needs to obtain an access token. In your own application you will need to implement steps described in the OAuth 2.1 protocol specification: send a request to the authorization endpoint, handle the redirect, extract the authorization code from it, make a request for the token endpoint to exchange the authorization code for the access token, etc.
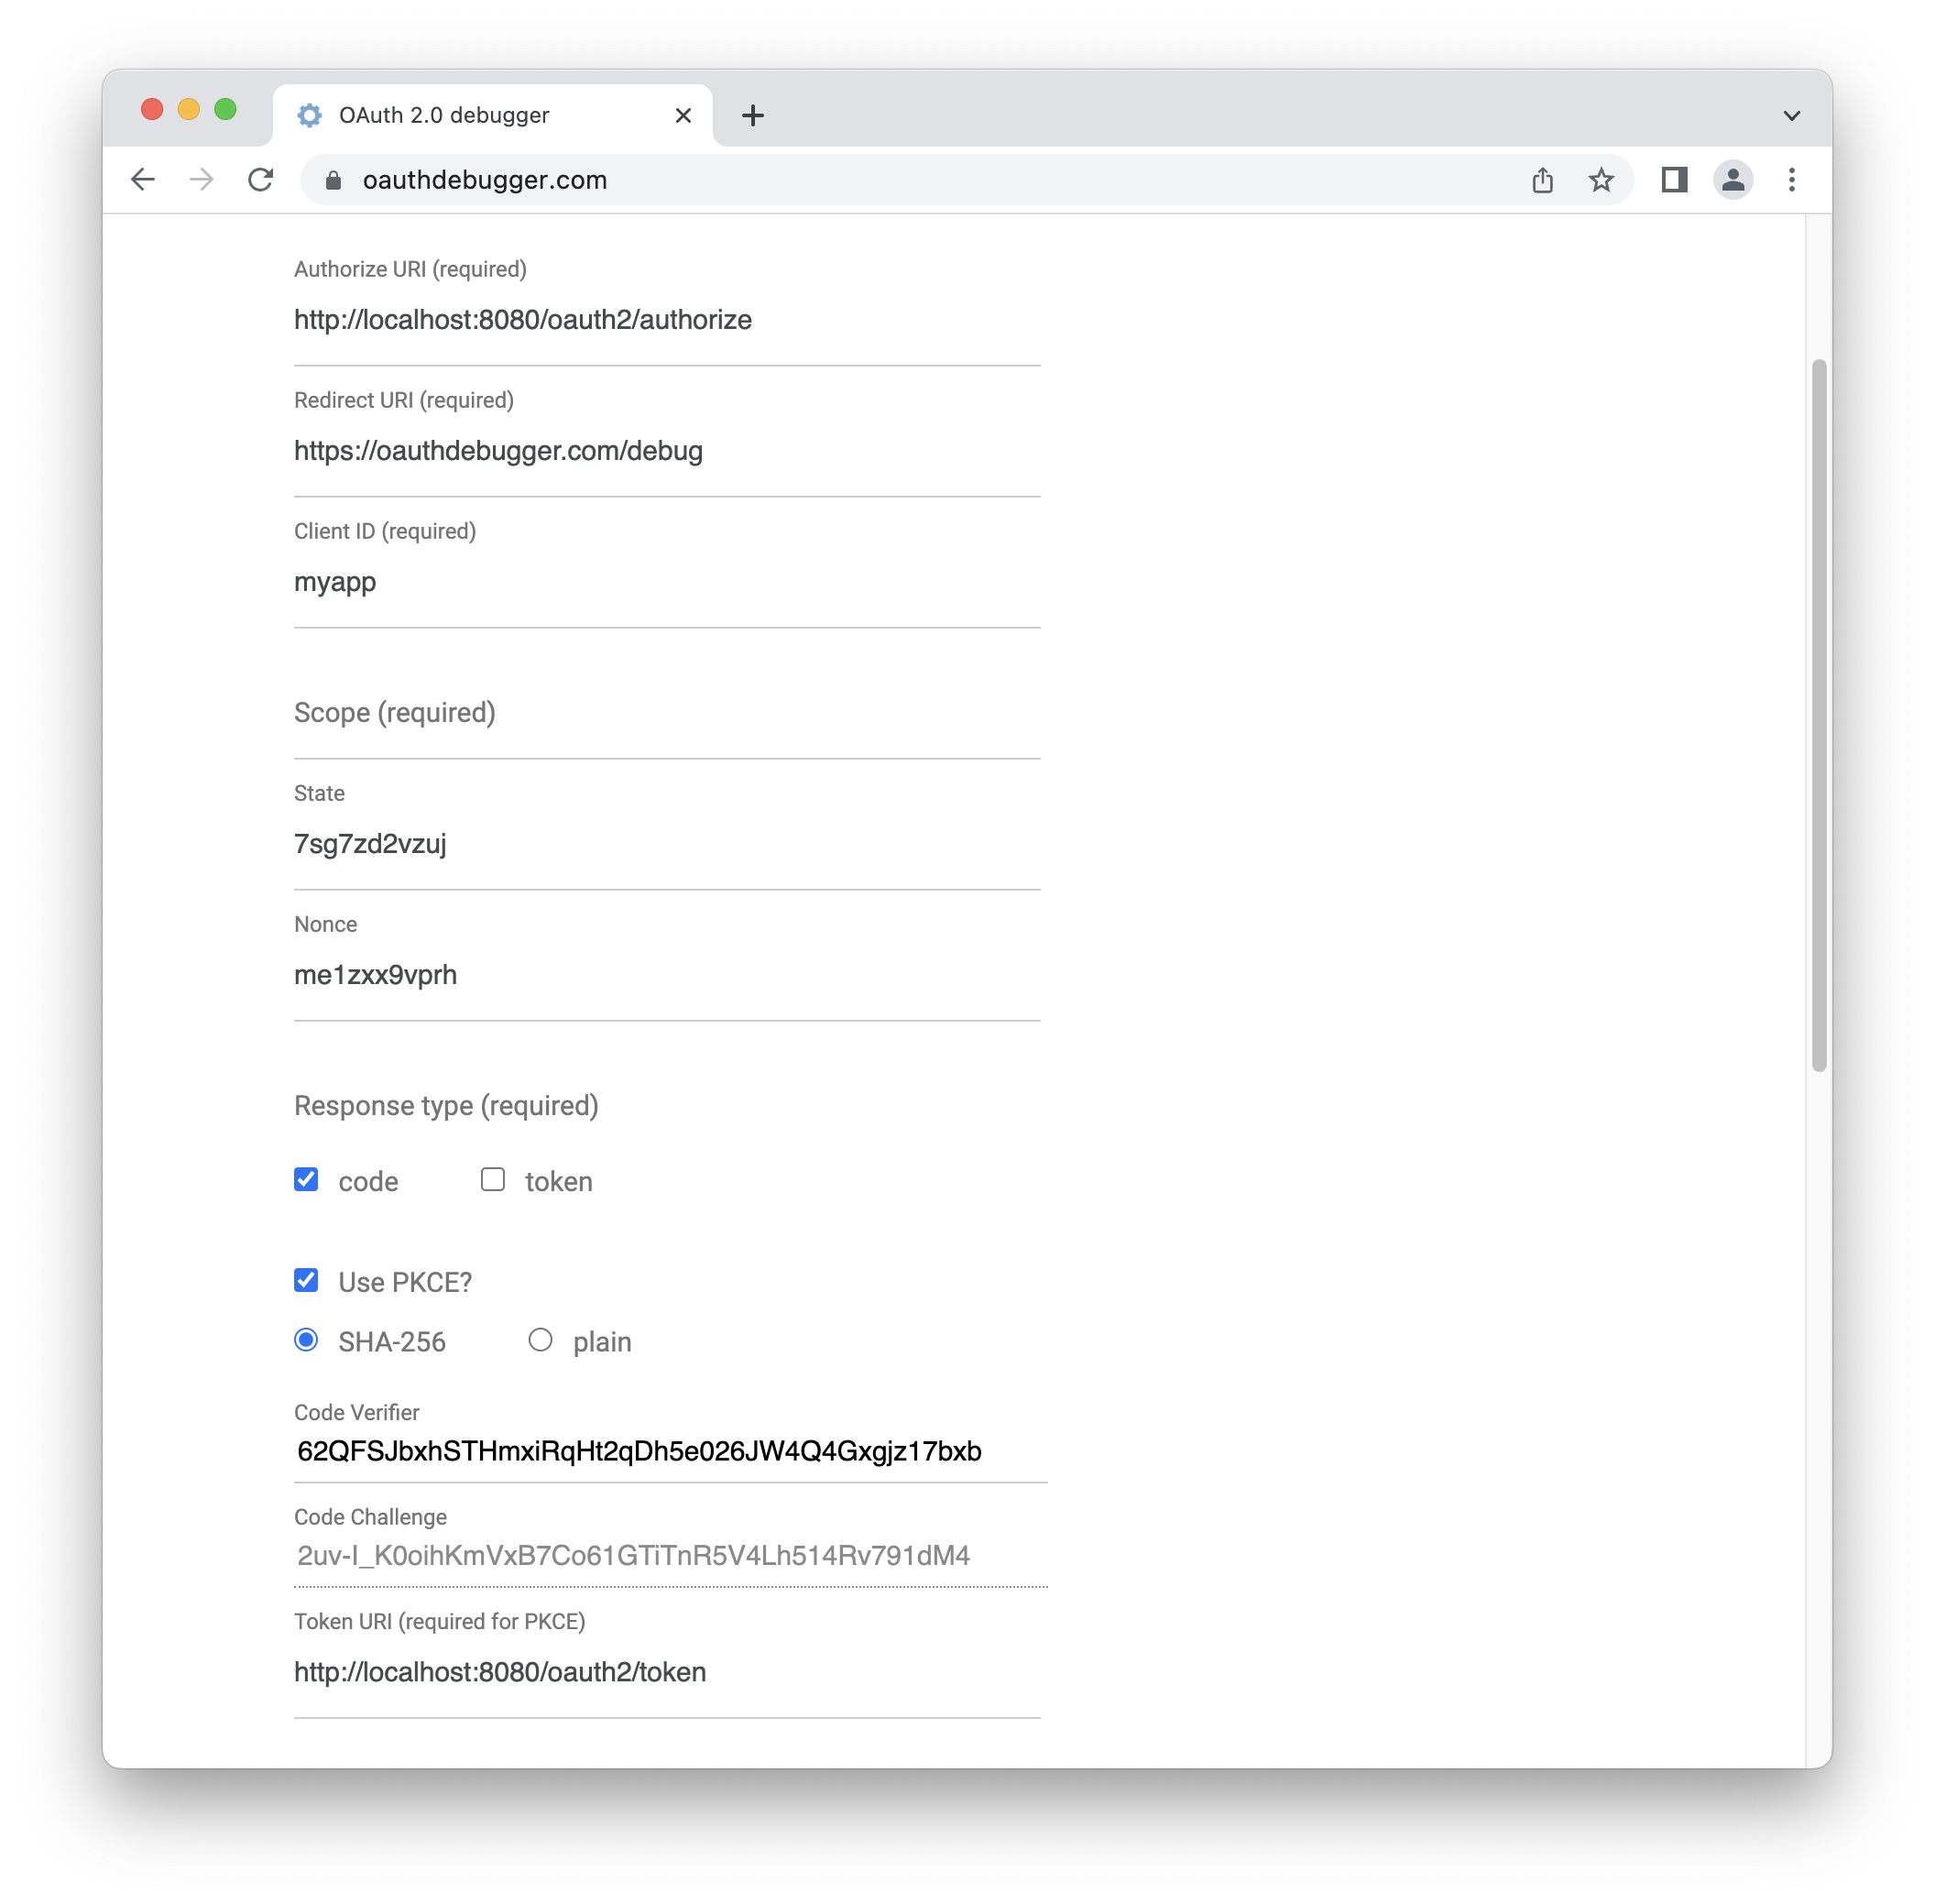
Open https://oauthdebugger.com. Fill in the fields:
-
Authorize URI: http://localhost:8080/oauth2/authorize
-
Client ID: myapp
-
Scope: leave this field empty
-
Use PKCE?: enable the checkbox

Remember the value of the Code Verifier field. We will need it later.
Click the SEND REQUEST button on the bottom of the page.
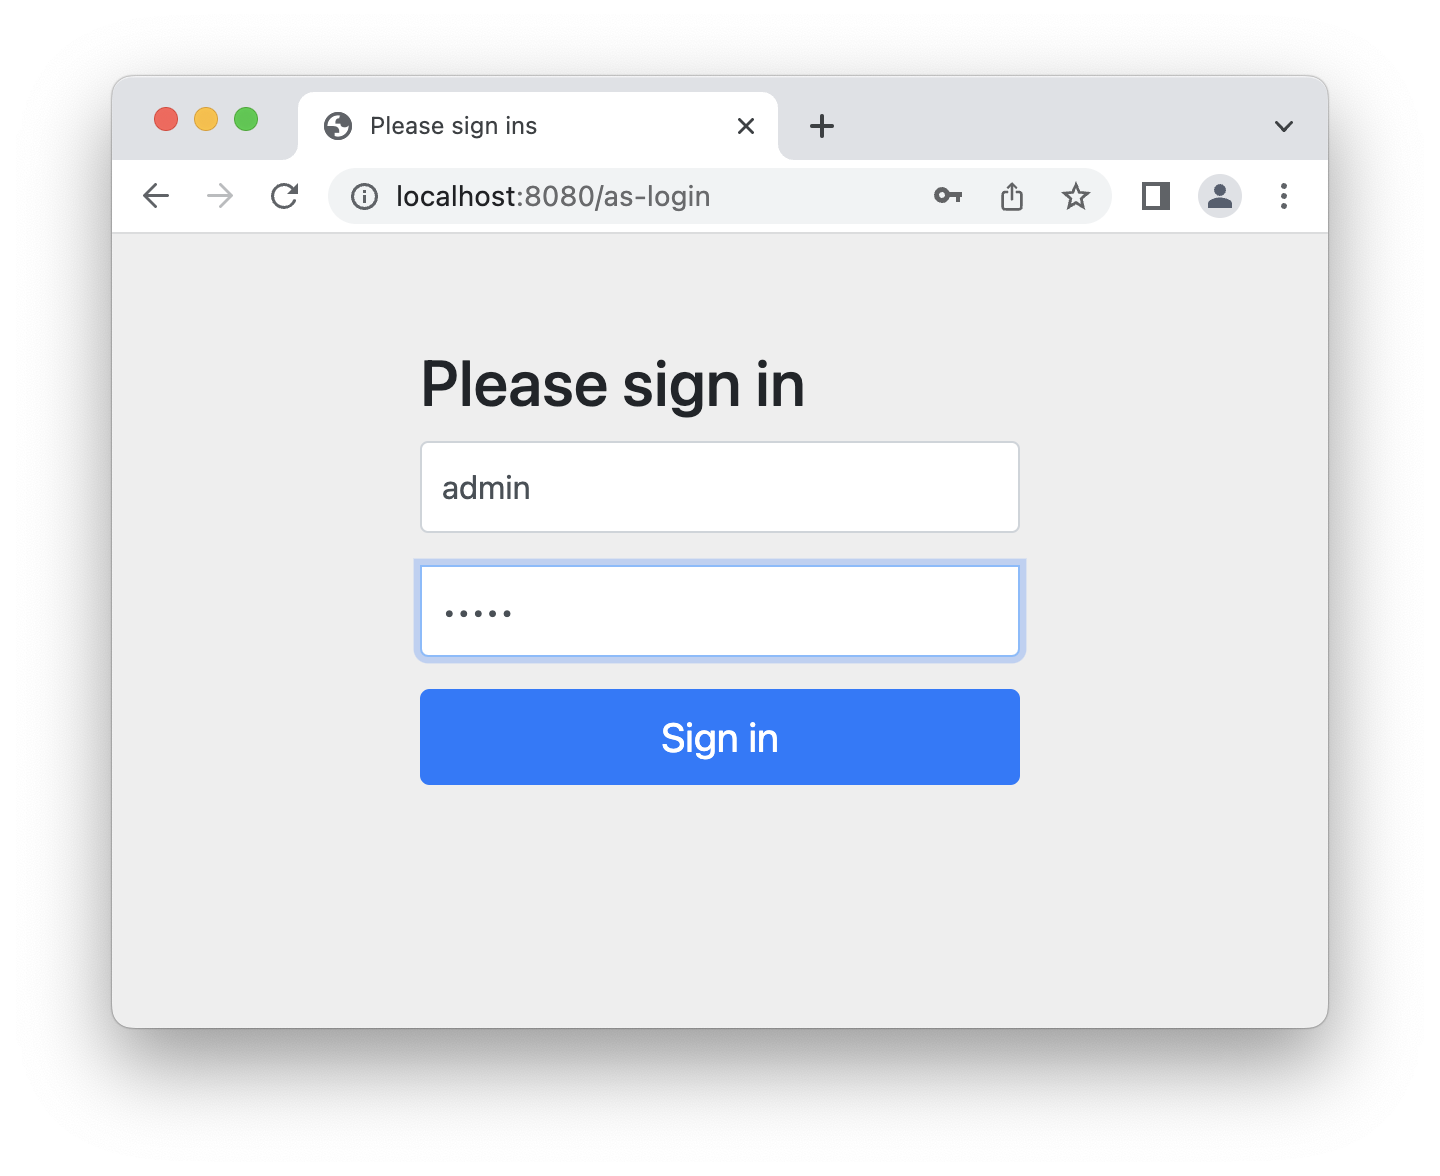
You should see a special login form provided by Jmix application where you should enter credentials of existing Jmix user.

The access token you will get later as a result of all steps will be associated with this user and all requests to Jmix REST API will consider this user permissions (resource roles and row-level roles).
If credentials are valid, you should be redirected to the Redirect URI https://oauthdebugger.com/debug that was defined in application.properties. Authorization code must be added as a code URL parameter, e.g. https://oauthdebugger.com/debug?code=BdgQArzTaj_xna_a0-PoUIQwszMR0xPkToxcktd5wPe4SbO18qBYStqJePOPNaoe9cuIJe0nac0cw0yVC9Iv3SeofEYbMZhMKldoJQQwcBUnBTfp2AyQayDlaE8KPaCf&state=sujodv3j7eh
To exchange this authorization code for access token you need to execute another HTTP request to the token endpoint of Jmix application. We will use the curl command line tools for this. Use the code_verifier value from the initial page of the https://oauthdebugger.com.
curl -X POST http://localhost:8080/oauth2/token \
   --basic --user myapp:myappsecret \
   -H "Content-Type: application/x-www-form-urlencoded" \
   -d "grant_type=authorization_code" \
   -d "redirect_uri=https://oauthdebugger.com/debug" \
   -d "code=c9ehHTJyT84mX-v2v2Q8sbAxkAFYg-gjfZDJImu5ExZVGLUyWn_J2-afs_m7kiv7MwjD-XXVRQtwz_6H-JTb4NvuWiUw6-5vrF75LtyNYAovuvSJQ680nQwv3PbhB4Y-" \
   -d "code_verifier=zdhRZIStXgwonFfvNYo2oI6nYuYt022LdcZF8eh3LGE" \
   -d "code_challenge_method=S256"
As a result, you should get something like this:
{
  "access_token":"Q6zvq8qGMUrN1VgouerOp4TJrry2f8oqL6mix8lDW-VKD_JHZXx0xv-ZZ_Zg_qgaHNw_wmeX6Qs0SlvEiFCyHqJ-PjqsnNkfF1XNKCAV43GQO0QeqmuV2sMiLgzY-m5r",
  "refresh_token":"DSINNaxmYykPrs3bDaKqaRgnrQDeZYInEF0yjtj2Vzkf5Nbf7OA0N09uQFN97MUmqaHBIXVxJFPQHtIbn-BM6Di035P68NqiIVfCawR5m6qQ6HbD6pQsCqAo-FBYAMqv",
  "token_type":"Bearer",
  "expires_in":299
}
Custom Login Form
This section contains an example of replacing the standard login form provided by the Authorization Server add-on with a custom one.
First, create a login form template. The Authorization Server add-on includes the Thymeleaf template engine as a dependency, so you can use it for your own login form.
Create a new file named my-as-login.html and place it in the src/main/resources/templates directory. This is a default location where Thymeleaf will search for templates.
<!DOCTYPE html>
<html xmlns:th="http://www.thymeleaf.org">
<head>
    <meta name="viewport" content="width=device-width, initial-scale=1">
    <link rel="stylesheet" th:href="@{/my-as-login/styles/bootstrap.min.css}">
    <link rel="stylesheet" th:href="@{/my-as-login/styles/as-login.css}">
    <title>Please sign in</title>
</head>
<body>
<form class="as-login-form" th:action="@{/as-login}" method="post">
    <img th:src="@{/my-as-login/icons/as-login-icon.png}" class="mb-3 mx-auto d-block">
    <h2>Please sign in</h2>
    <div class="alert alert-danger" th:if="${param.error}">Bad credentials</div>
    <div class="mb-3">
        <label for="username" class="form-label">Username</label>
        <input type="text" class="form-control" id="username" name="username" required autofocus>
    </div>
    <div class="mb-3">
        <label for="password" class="form-label">Password</label>
        <input type="password" class="form-control" id="password" name="password" required>
    </div>
    <button type="submit" class="btn btn-primary w-100">Sign in</button>
</form>
</body>
</html>
You may notice that the form uses styles and an image located at the /my-as-login/styles/** and /my-as-login/icons/** paths, respectively.
Download the compiled Bootstrap CSS files and copy the bootstrap.min.css file into the src/main/resources/META-INF/resources/my-as-login/styles directory.
META-INF/resources is one of the default places where Spring searches for static resources.
|
Create the as-login.css file in the src/main/resources/META-INF/resources/my-as-login/styles directory:
.as-login-form {
    max-width: 300px;
    position: absolute;
    top: 50%;
    left: 50%;
    transform: translate(-50%, -50%);
}

.as-login-form img {
    width: 72px;
    height: 72px;
}
Take any icon (e.g., Jmix logo), rename it to as-login-icon.png and place it in the src/main/resources/META-INF/resources/my-as-login/icons directory.
Next, you need to instruct Spring Security to allow access to files with styles and images. Create a Spring configuration that permits access to URLs where login form resources are located.
@Configuration
public class MySecurityConfiguration {

    @Bean
    @Order(JmixSecurityFilterChainOrder.FLOWUI - 10) (1)
    public SecurityFilterChain securityFilterChain(HttpSecurity http) throws Exception {
        http.securityMatcher("/my-as-login/icons/**", "/my-as-login/styles/**")
                .authorizeHttpRequests((authorize) -> authorize.anyRequest().permitAll());
        return http.build();
    }
}| 1 | This bean must have a higher precedence than the security filter chain from the FlowuiSecurityConfiguration. |
Finally, instruct the application that the new login form must be used instead of the one provided by the Authorization Server add-on using the following application property:
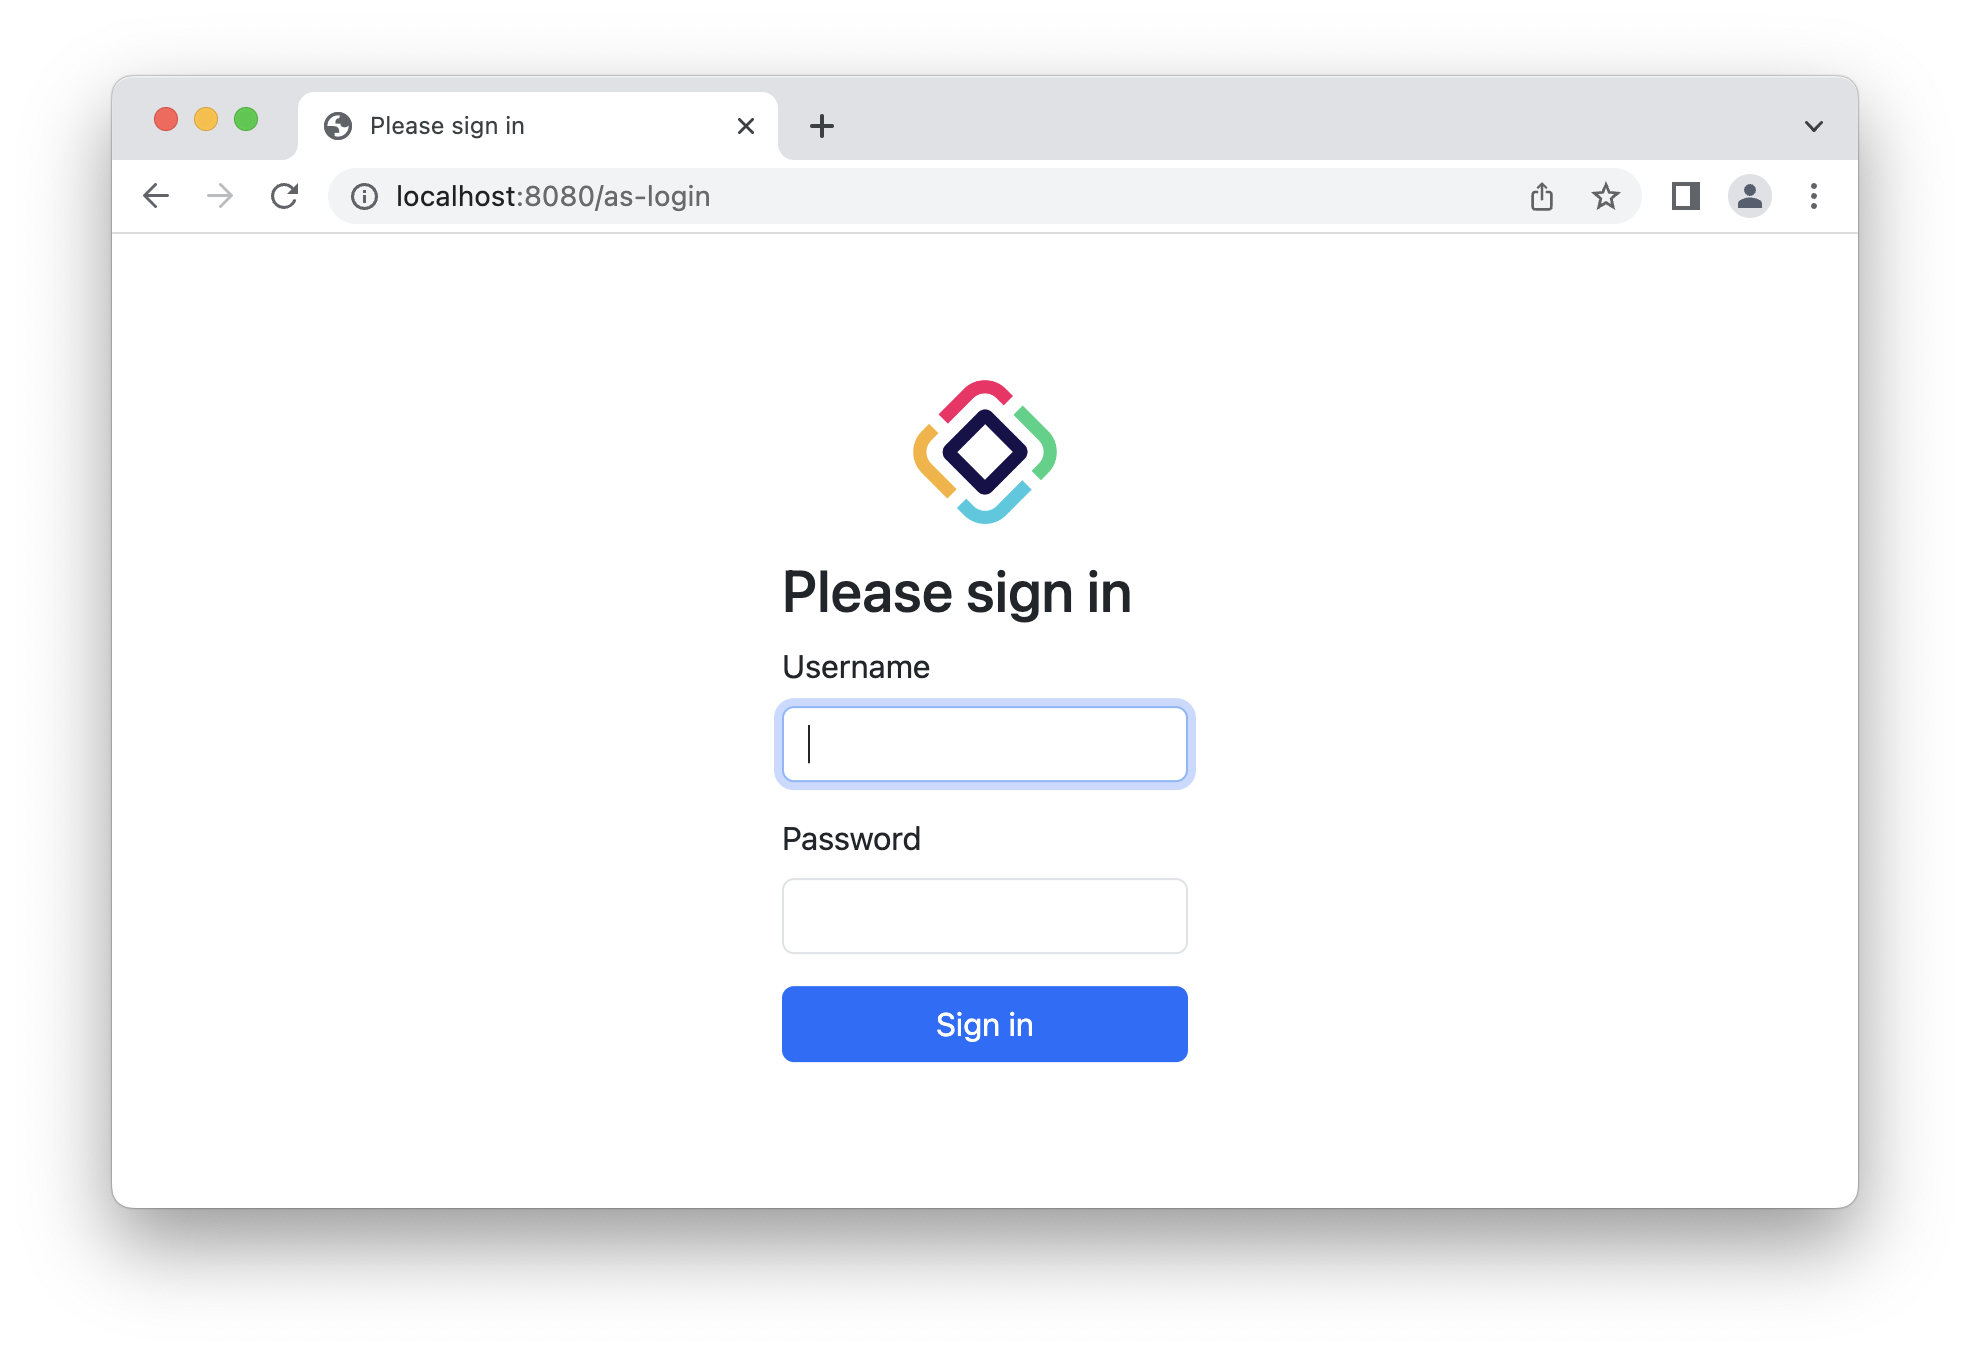
jmix.authserver.login-page-view-name = my-as-login.htmlAfter completing all the above steps, your authorization server login page should look similar to this one:

Refresh Token Grant
You can read about Refresh Token grant in OAuth 2.1 specification. The refresh-token grant type should be registered for the client:
# enable required grant types
spring.security.oauth2.authorizationserver.client.myapp.registration.authorization-grant-types=authorization_code,refresh_token
To exchange the refresh token for a new access token you need to execute HTTP request to the token endpoint of Jmix application. We will use the curl command line tools for this.
curl -X POST http://localhost:8080/oauth2/token \
   --basic --user myapp:myappsecret \
   -H "Content-Type: application/x-www-form-urlencoded" \
   -d "grant_type=refresh_token" \
   -d "refresh_token=zN2i5JooLfi0iqNJzaE-iiEiC2oHStv_X-kOaLuqX6ZNyRCs0EaNLik1xZrz-TPHfNEahLS2c402S_1kAO09K2x6oi3LFgpFoyr9snwE3ZXJ3Lp5AVH7s4YUBOXi0VRc"
Anonymous Access
By default, all endpoints are only available after a successful authentication against the application.
But it is also possible to expose certain parts of the REST API without authentication. This is possible by using the anonymous access functionality of Jmix. In this case, the API request is performed as the user anonymous, which is configured by default in a Jmix application.
For every secured endpoint that is called without the Authentication header, the user will be authenticated with the anonymous user session.
To whitelist specific endpoints for anonymous access, set a comma-separated list of URL patterns in the jmix.rest.anonymous-url-patterns application property. For example:
jmix.rest.anonymous-url-patterns = \
  /rest/services/productService/getProductInformation,\
  /rest/entities/Product,\
  /rest/entities/Product/*
The last pattern in the example above is needed if you want to update or delete the Product entity, because in this case the URL has the id part.
Once this setting is in place, it is possible to interact with the ProductService without sending an Authorization header:
GET {{baseRestUrl}}
         /services
         /productService
         /getProductInformation
         ?productId=123
# Authorization: not set
This request will respond in a successful response of the Service:
{
  "name": "Apple iPhone",
  "productId": "123",
  "price": 499.99
}
If you want to provide anonymous access to some entities endpoints, make sure the anonymous user has rights to these entities. You can do it by creating a resource role and assigning it to the anonymous user in the DatabaseUserRepository.initAnonymousUser() method. For example:
@ResourceRole(name = "AnonymousRestRole", code = AnonymousRestRole.CODE, scope = "API")
public interface AnonymousRestRole {

    String CODE = "anonymous-rest-role";

    @EntityAttributePolicy(entityClass = Product.class,
        attributes = "*",
        action = EntityAttributePolicyAction.MODIFY)
    @EntityPolicy(entityClass = Product.class,
        actions = {EntityPolicyAction.READ, EntityPolicyAction.UPDATE})
    void product();
}
@Primary
@Component("UserRepository")
public class DatabaseUserRepository extends AbstractDatabaseUserRepository<User> {
// ...
@Override
protected void initAnonymousUser(User anonymousUser) {
Collection<GrantedAuthority> authorities = getGrantedAuthoritiesBuilder()
.addResourceRole(AnonymousRestRole.CODE)
.build();
anonymousUser.setAuthorities(authorities);
}
}
The anonymous access feature does not require that anonymous user has the rest-minimal role.
|
Predefined Roles
REST: minimal access (rest-minimal): Allows users to interact with the application via the API.
