6. Working with Images
In this chapter, you will add the picture attribute to the User entity and learn how to upload and display images in UI.
Adding File Reference Attribute
Jmix allows you to store uploaded files outside the database in a so-called file storage. In the simple case, it’s just a file system directory with a special structure. To link the file located in the file storage to an entity, you create an attribute of the FileRef type.
Let’s create such an attribute for managing the user picture.
If your application is running, stop it using the Stop button ( ) in the main toolbar.
Double-click on the User entity in Jmix tool window and select the joiningDate attribute (to add the new attribute after it).
Click Add ( ) in the Attributes toolbar. In the New Attribute dialog, enter
 picture into the Name field and select FileRef in the Type dropdown:
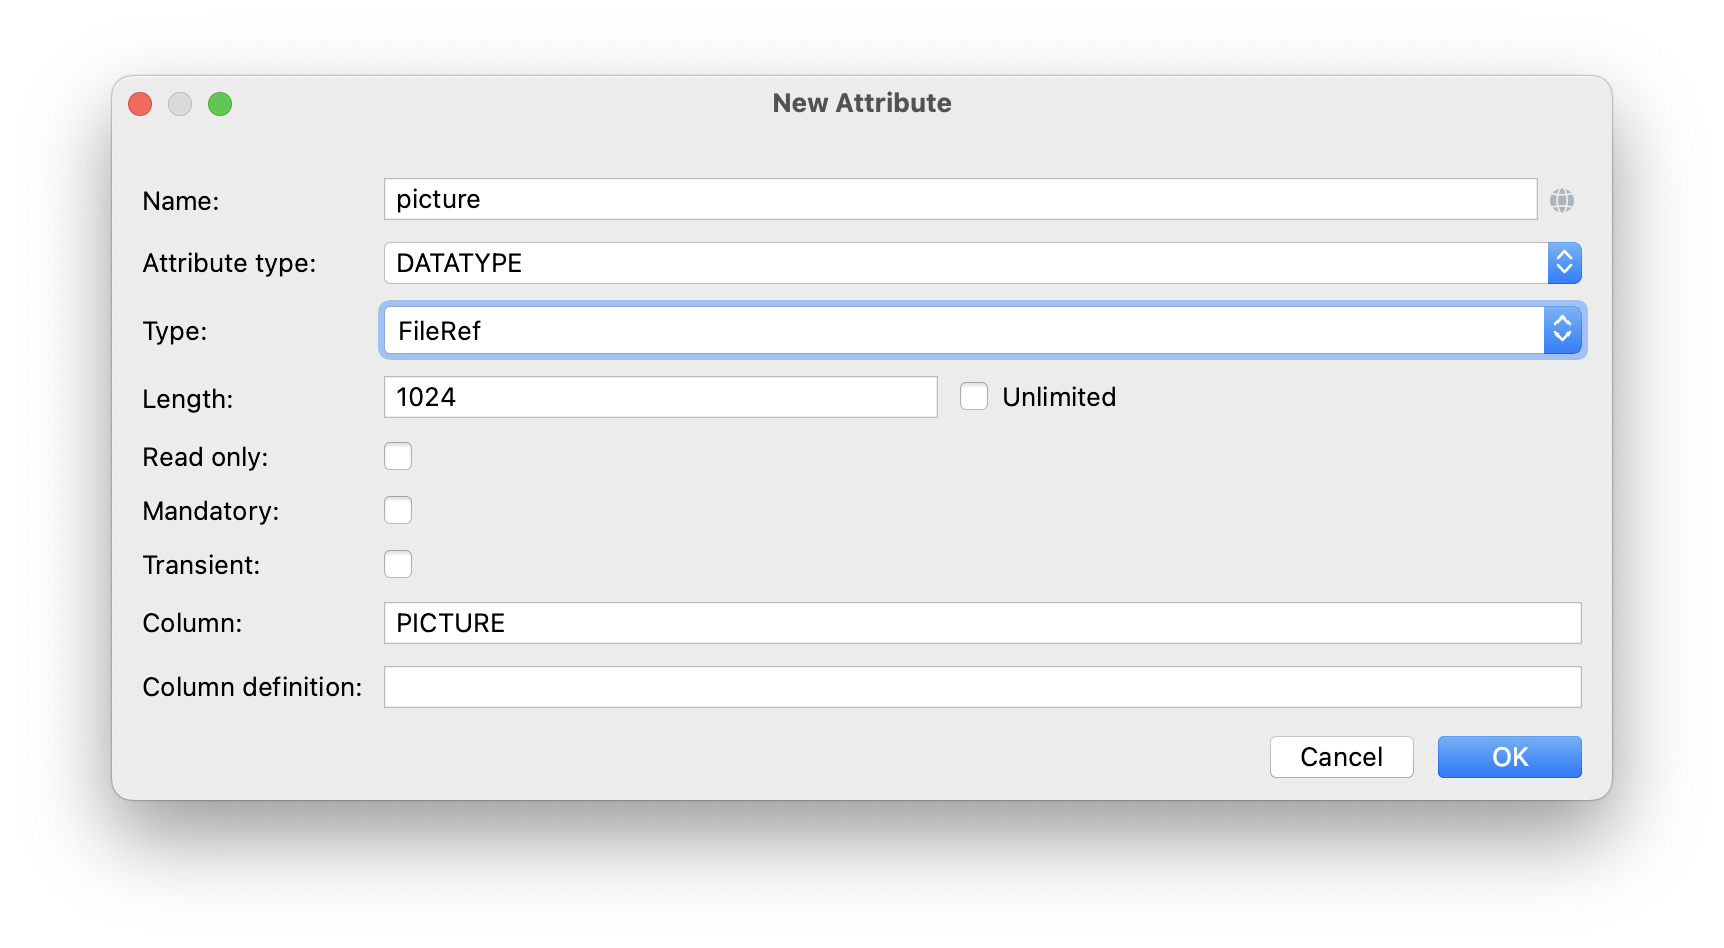
Accept the suggested value (1024) in the Length field. For FileRef attribute it defines the column length for storing a reference, not the file itself, so it doesn’t limit the file size.
Click OK.
Select the picture attribute and click the Add to Screens ( ) button in the Attributes toolbar.
The appeared dialog window will show all screens that display the User entity. Select both User.edit and User.browse screens and click OK.
Studio will create the picture column in the usersTable of the User.browse screen:
<groupTable id="usersTable" dataContainer="usersDc" ...>
    ...
    <columns>
        ...
        <column id="picture"/>
    </columns>
and the pictureField component in the form of the User.edit screen:
<form id="form" dataContainer="userDc">
    <column ...>
        ...
        <fileStorageUpload id="pictureField" property="picture"/>
    </column>
Click the Debug button ( ) in the main toolbar.
Before running the application, Studio will generate a Liquibase changelog:
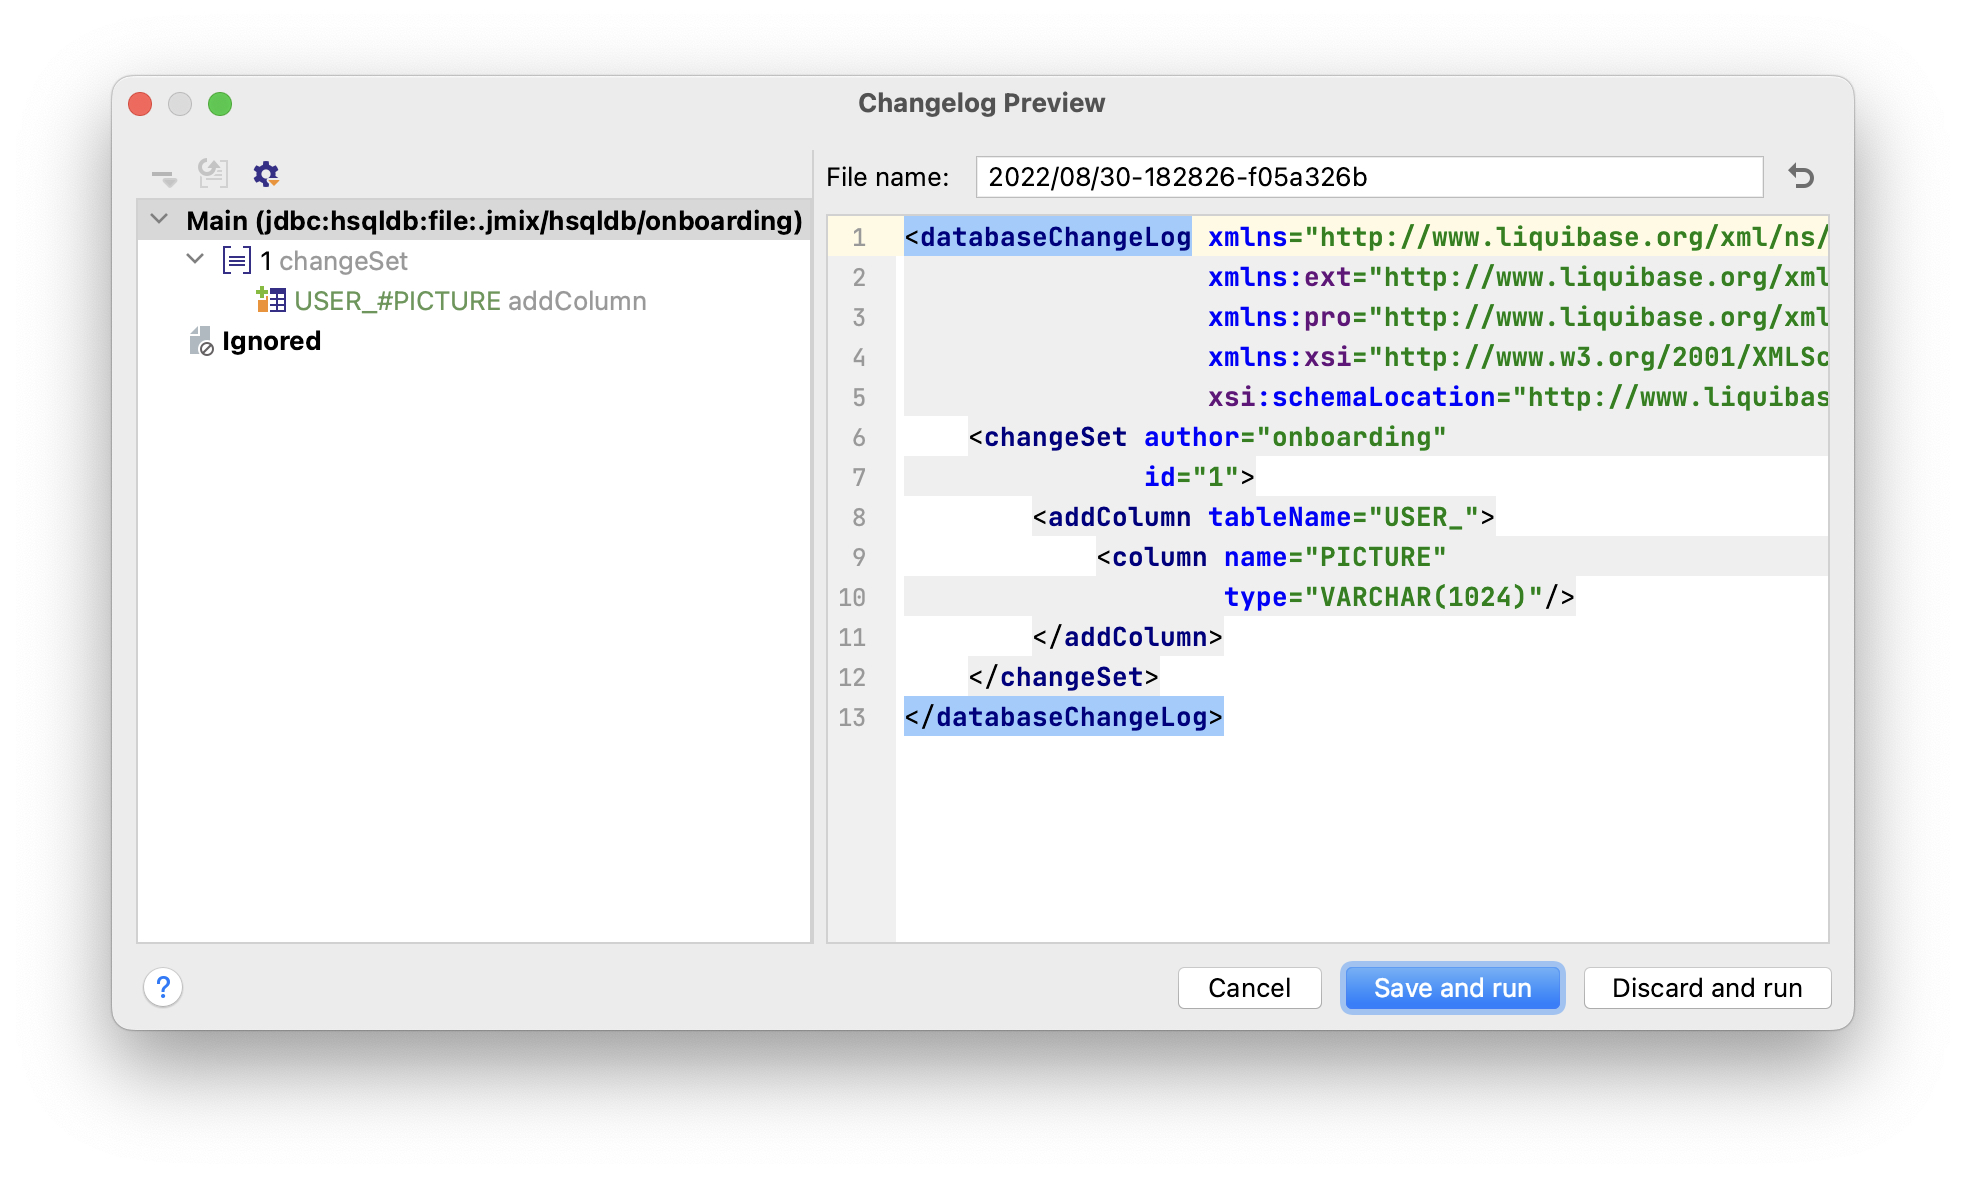
As you can see, the changelog contains a command for adding the PICTURE column to the USER_ table. The column is of type VARCHAR(1024), because the file reference is actually a string.
Click Save and run.
Studio will execute the changelog, then build and run the application.
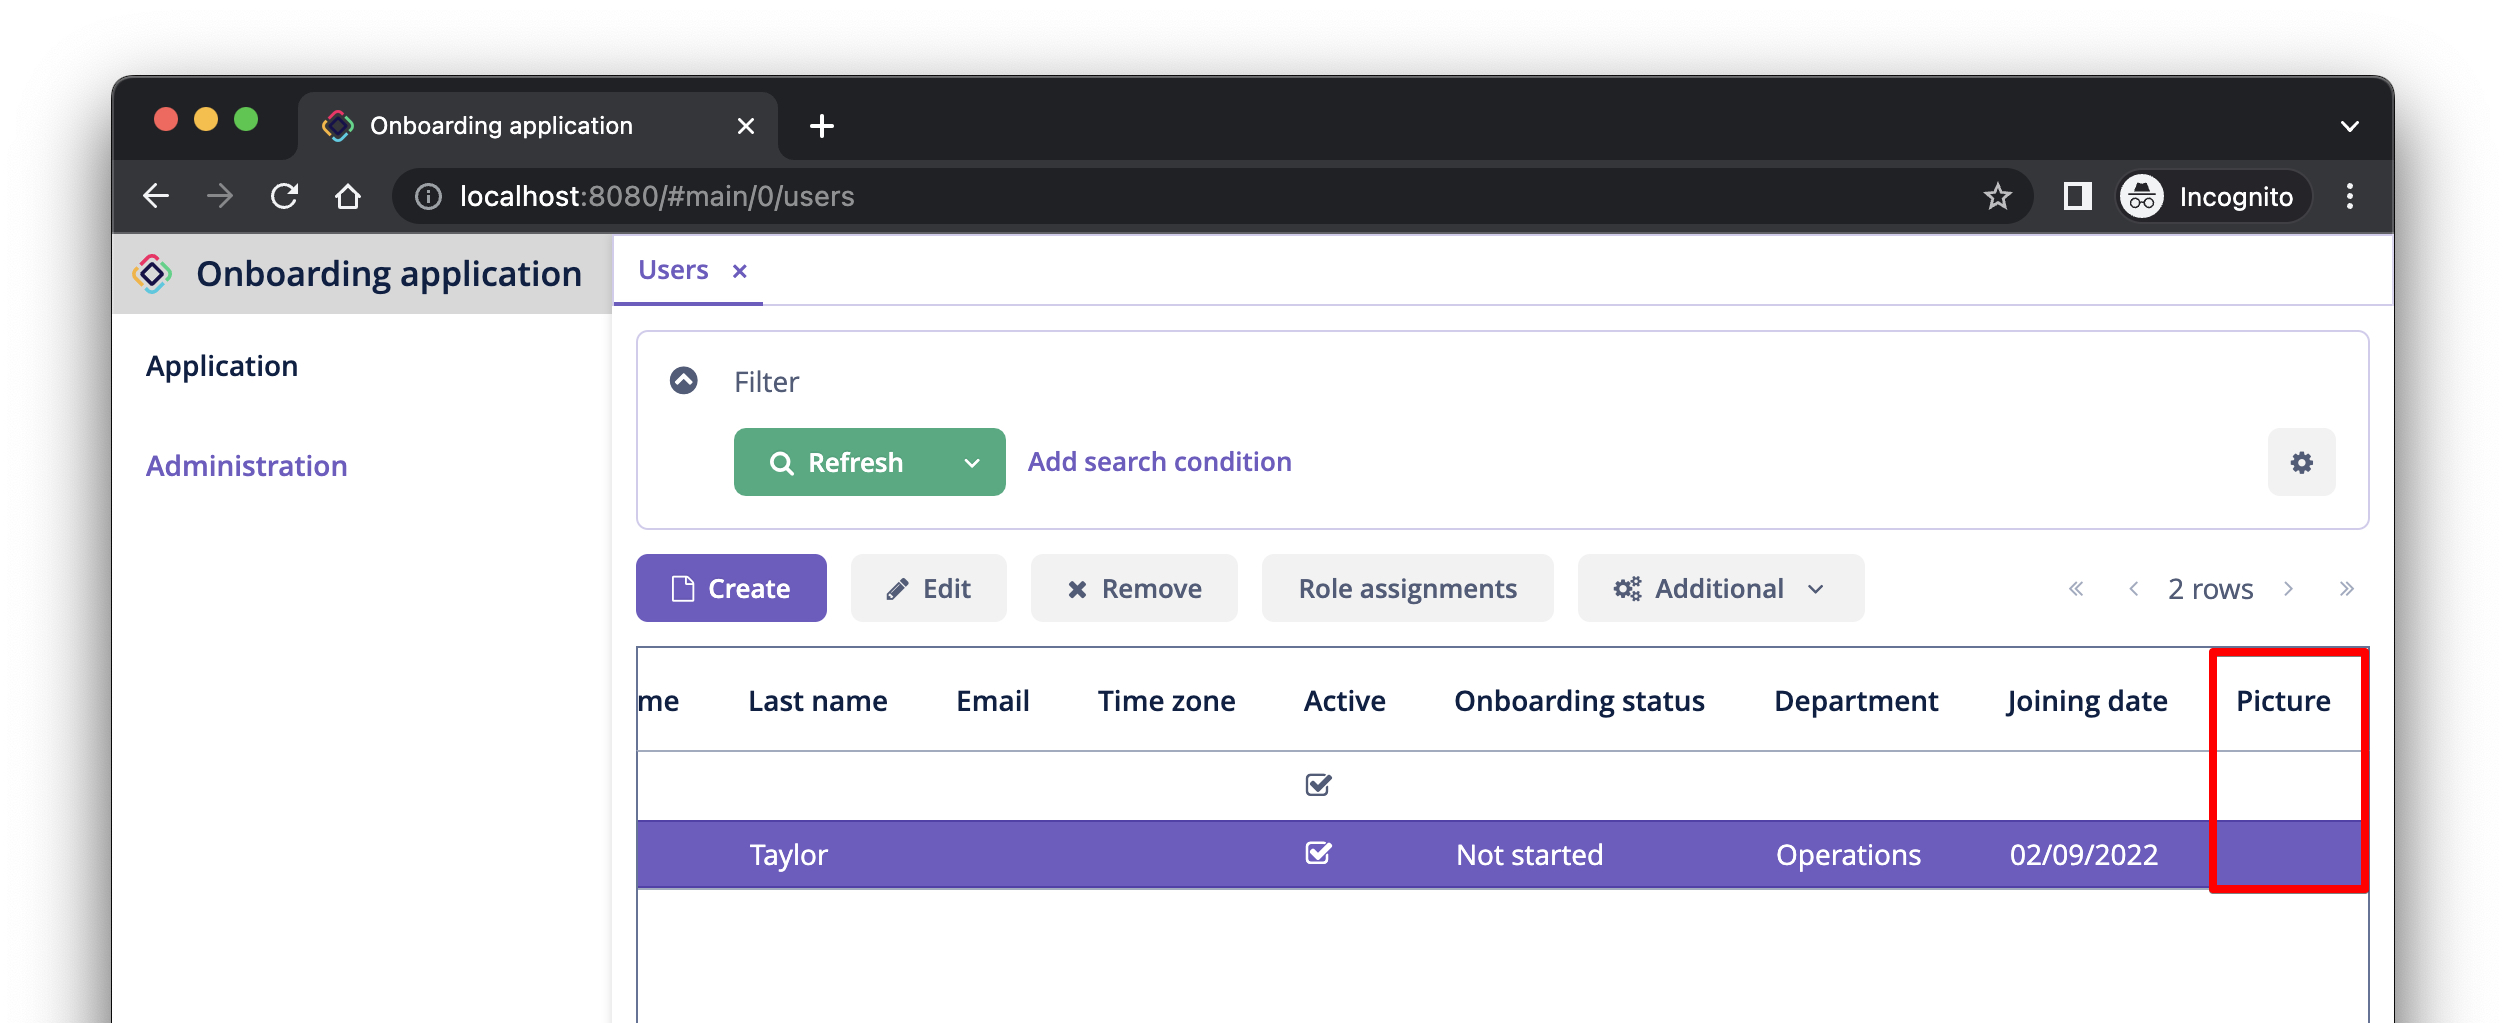
Open http://localhost:8080 in your web browser and log in to the application with admin / admin credentials.
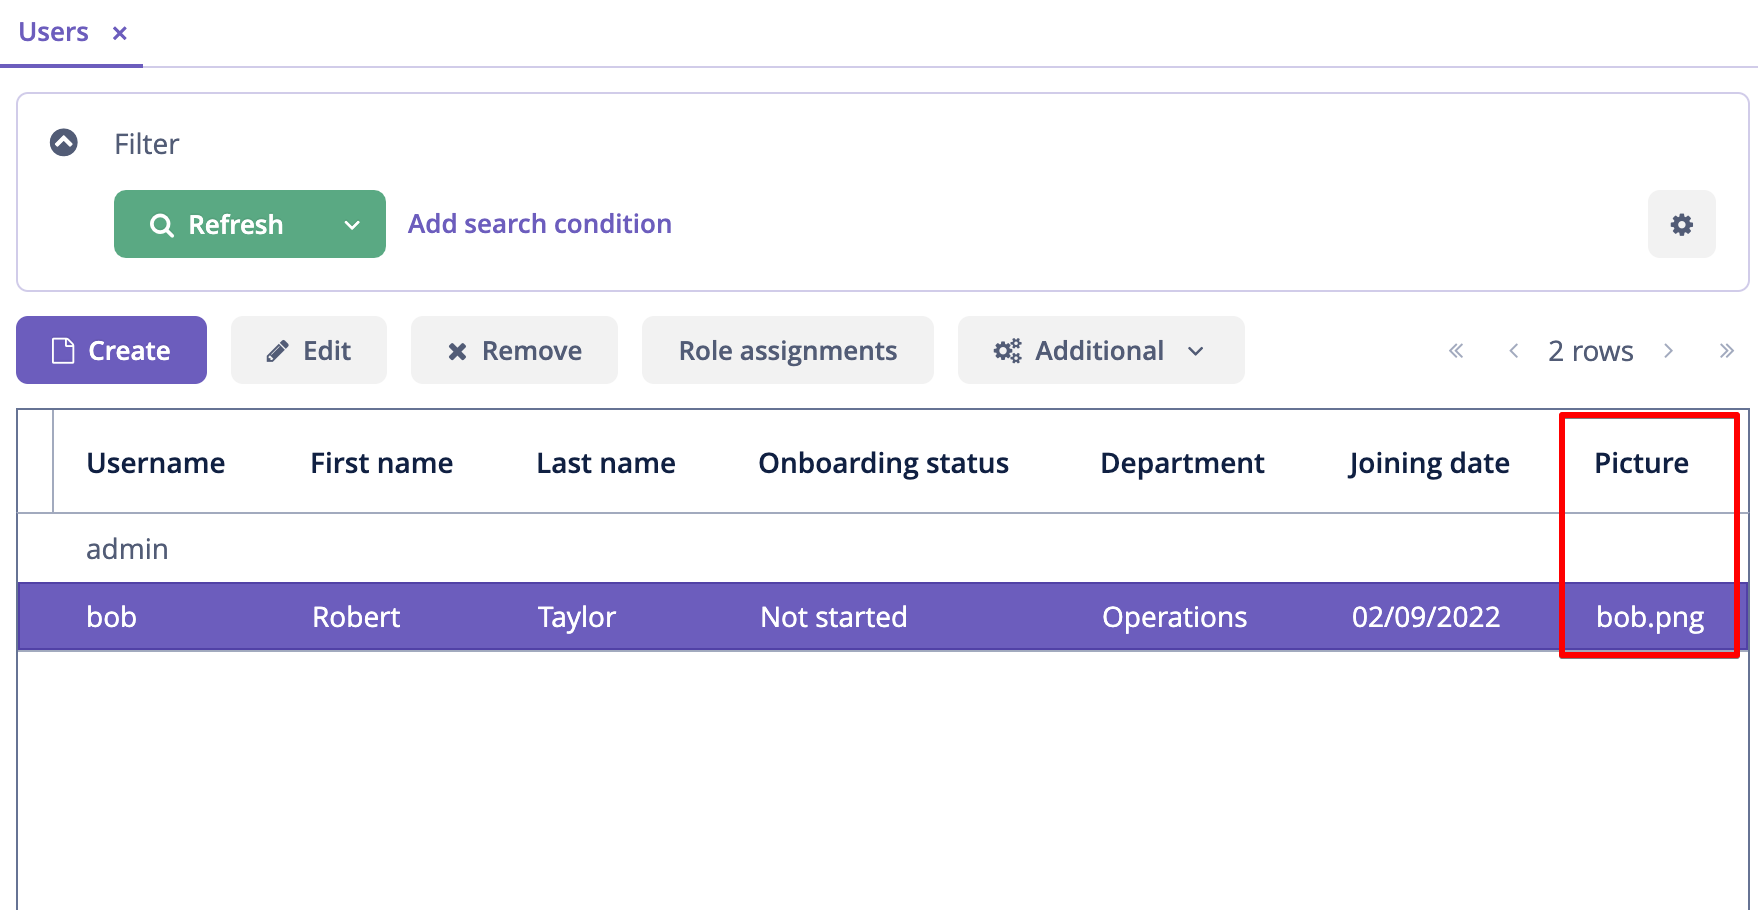
Click on the Users item in the Application menu. You will see the Picture column in the User.browse screen (scroll the table to the right):
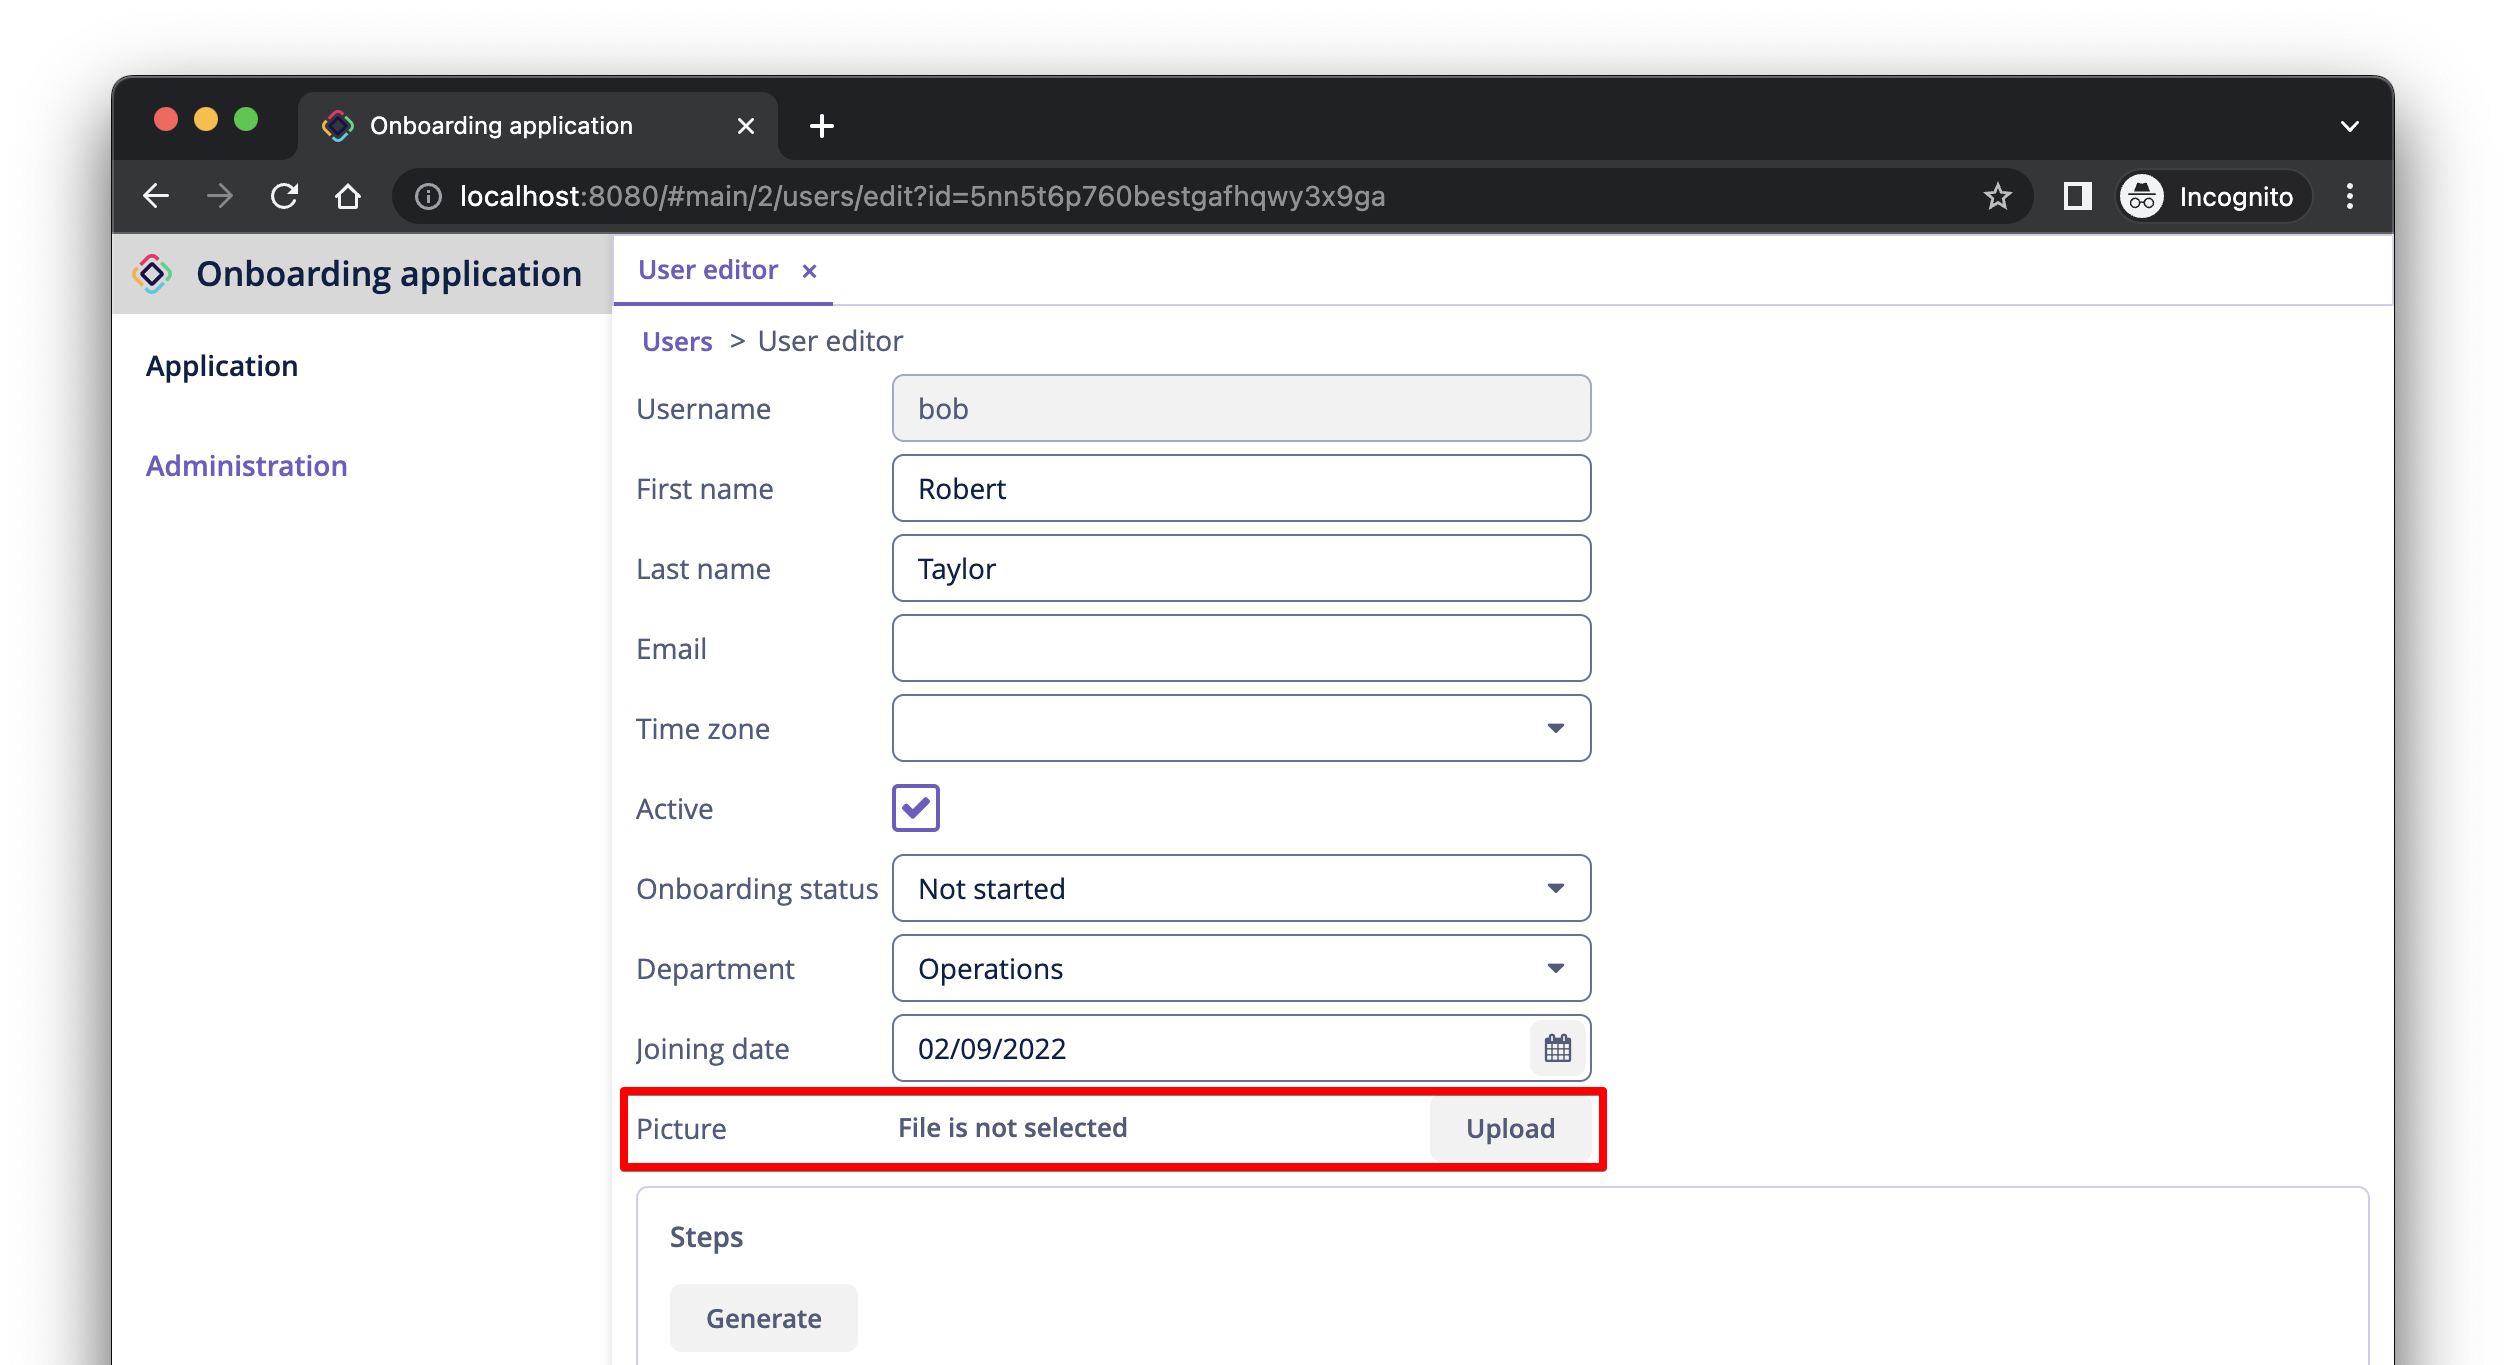
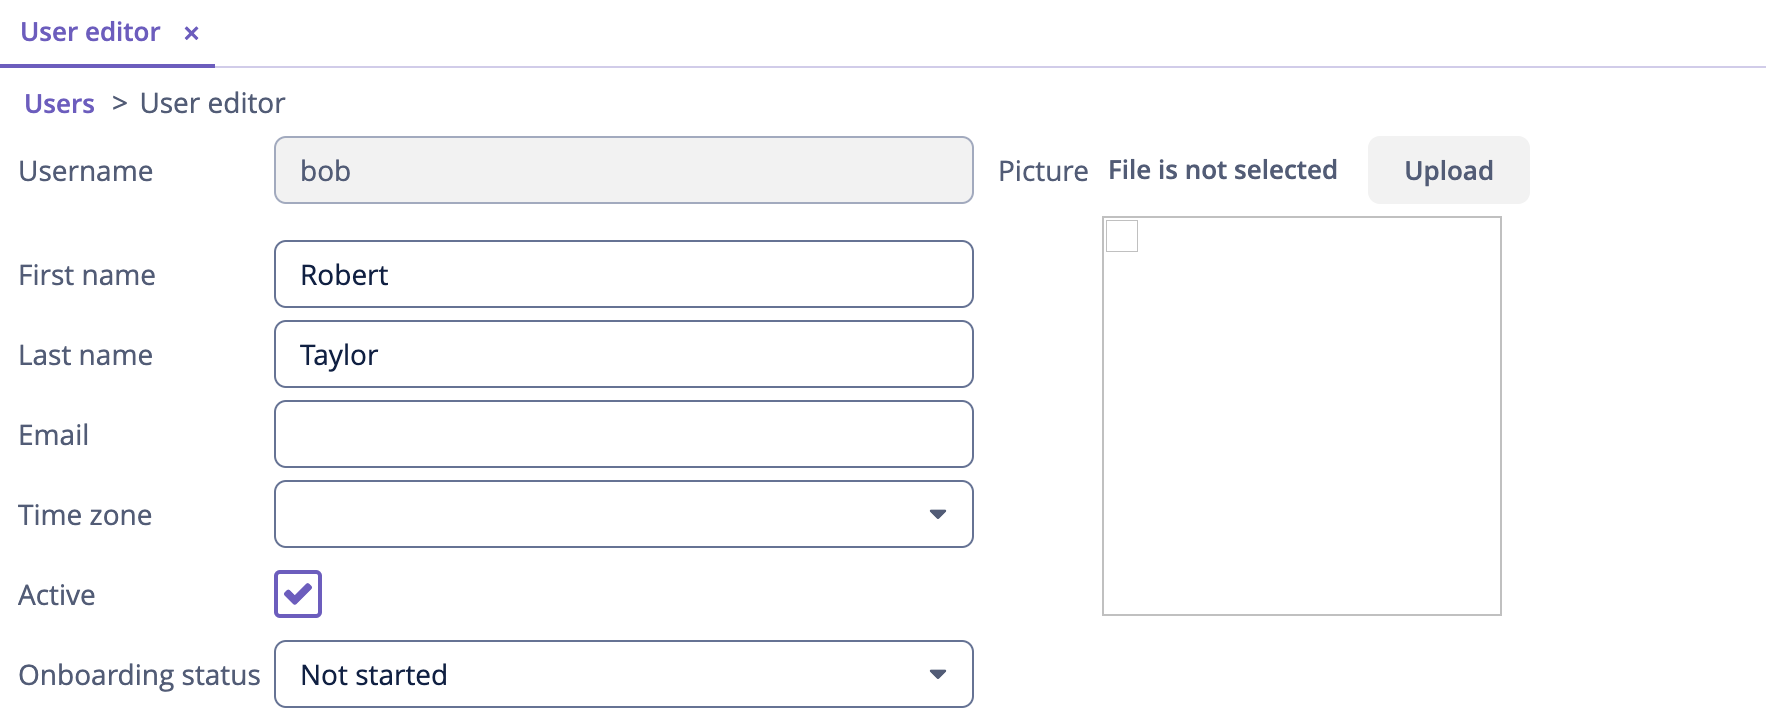
Click Edit for a user. The UI control for uploading a picture is shown at the bottom of the form:
Displaying Image in Form
In this section, you will improve the edit screen to display the uploaded picture in the form.
First, add a second column to the form component and move fileStorageUpload to it:
Then add the image component below fileStorageUpload with the following attributes:
<form id="form" dataContainer="userDc">
    ...
    <column>
        <fileStorageUpload id="pictureField" property="picture"/>
        <image id="image" property="picture"
               scaleMode="CONTAIN"
               rowspan="10" caption=""
               height="200" width="200"/>
    </column>
</form>-
property="picture"binds theimagecomponent to thepictureattribute of theUserentity. -
scaleMode="CONTAIN"makes sure the image fills the whole allocated area but keeps the proportions. -
rowspan="10"allows the component to fill up to 10 rows of the form instead of 1. So the image will occupy all available space on the right. -
caption=""removes the default caption inferred from the entity attribute.
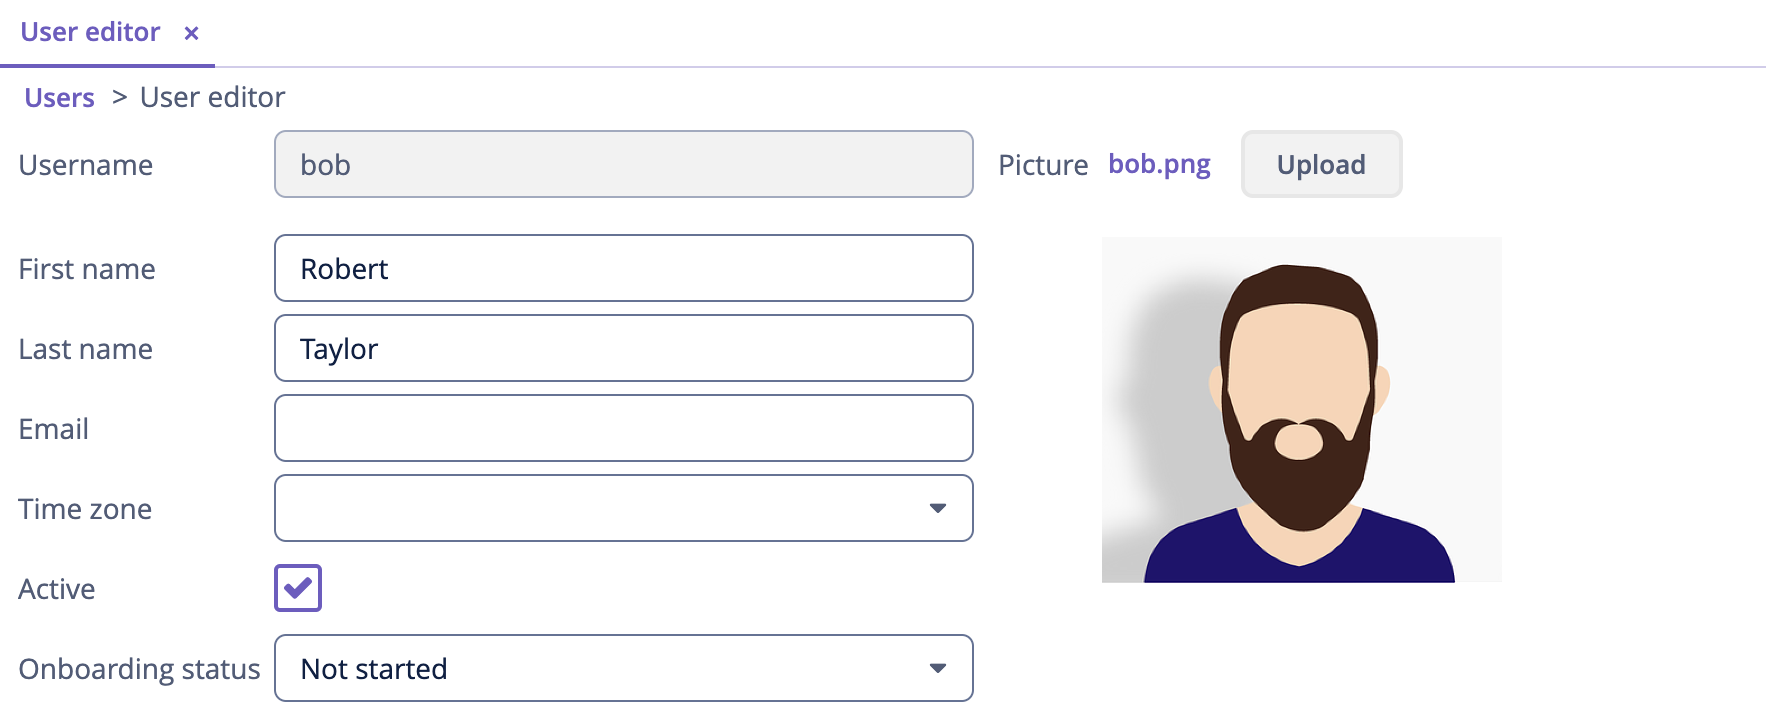
Press Ctrl/Cmd+S and switch to the running application. Reopen the User edit screen:
If you upload a picture from a file, the file name will be shown by fileStorageUpload and the picture will be displayed by the image component:
Displaying Image in Table
If you close the edit screen after uploading a picture, you will see that the table column shows only the name of the uploaded file:
Let’s move the picture column to the first position and create a columnGenerator handler for it:
Inject UiComponents object into the controller class:
@Autowired
private UiComponents uiComponents;| You can use Inject button in the top actions panel of the editor to inject dependencies into screen controllers and Spring beans. |
Implement the handler method:
@Install(to = "usersTable.picture", subject = "columnGenerator") (1)
private Component usersTablePictureColumnGenerator(User user) { (2)
    if (user.getPicture() != null) {
        Image image = uiComponents.create(Image.class); (3)
        image.setScaleMode(Image.ScaleMode.CONTAIN);
        image.setSource(FileStorageResource.class)
                .setFileReference(user.getPicture()); (4)
        image.setWidth("30px");
        image.setHeight("30px");
        return image; (5)
    } else {
        return null;
    }
}| 1 | The @Install annotation indicates that the method is a delegate: a UI component (table in this case) invokes it on some stage of its lifecycle. |
| 2 | This specific delegate (column generator) receives an entity instance which is shown in the table row as an argument. |
| 3 | The Image component instance is created using the UiComponents factory. |
| 4 | The image component gets its content from the file storage by the reference stored in the picture attribute of the User entity. |
| 5 | The column generator delegate returns the visual component to be shown in the column cells. |
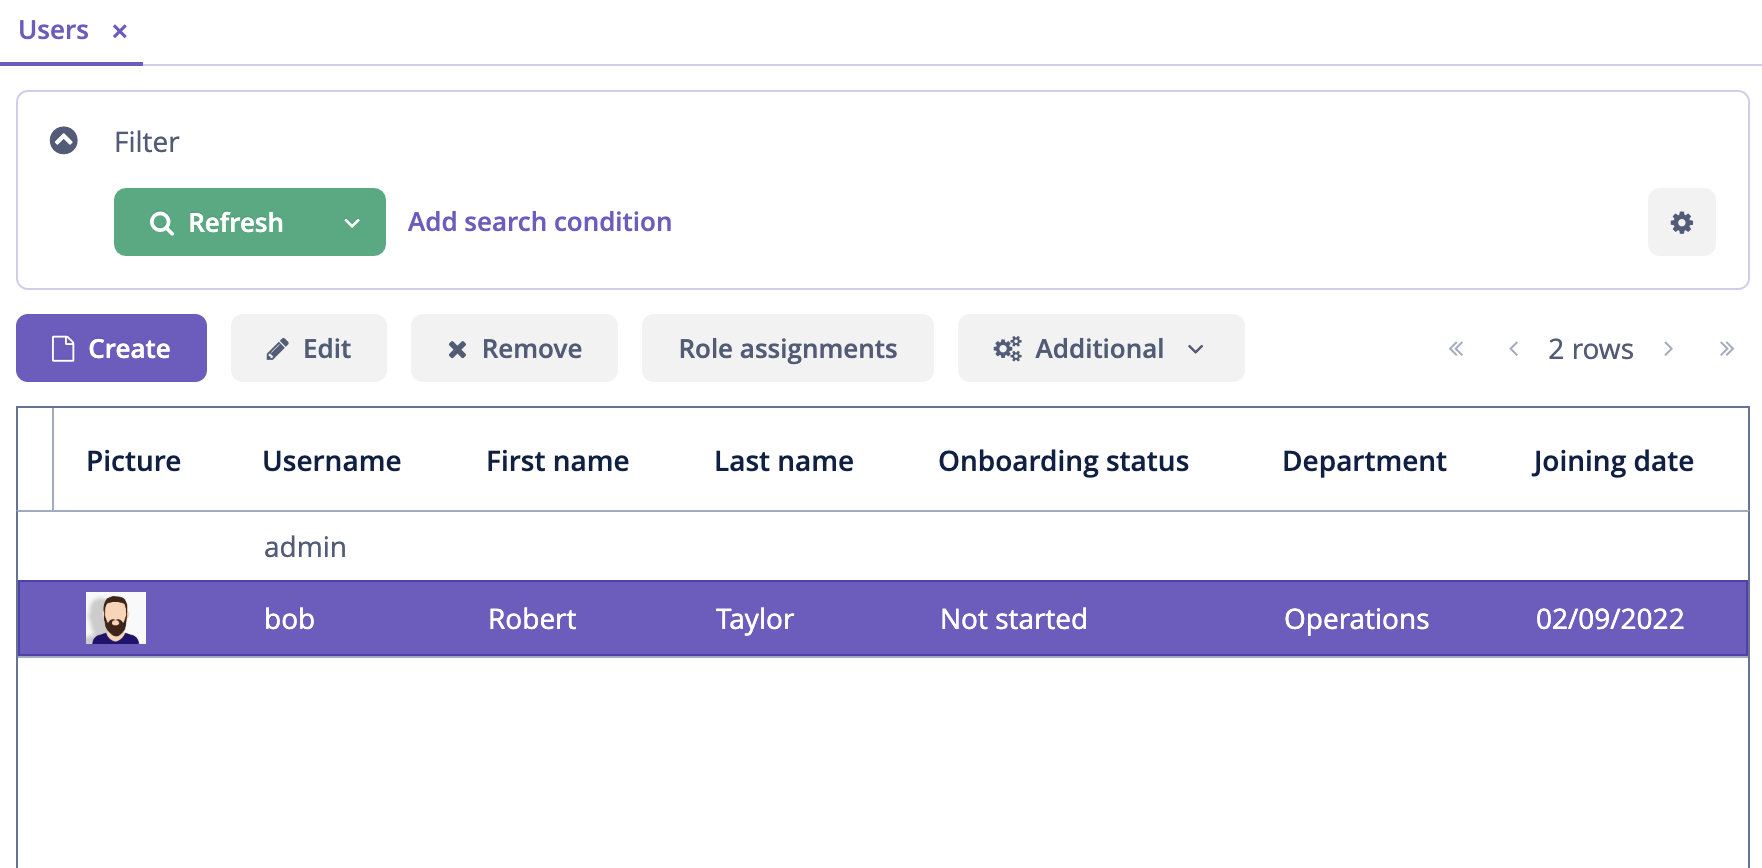
Press Ctrl/Cmd+S and switch to the running application. Reopen the User browse screen. You will see the user’s picture in the first table column:
Summary
In this section, you have added the ability to upload and show a user’s picture.
You have learned that:
-
Uploaded files can be stored in a file storage and linked with entities using attributes of the
FileReftype. -
The FileStorageUploadField component allows you to upload files, save them into the file storage and link to an entity attribute.
-
The Image component can display images saved in the file storage.
-
Generated columns can be used to display images in table cells.
