Account, Billing, and Subscription Management
Account Registration
You should register Jmix account to use Jmix Studio or to manage your subscriptions. You can make it both on website or right in Studio.
-
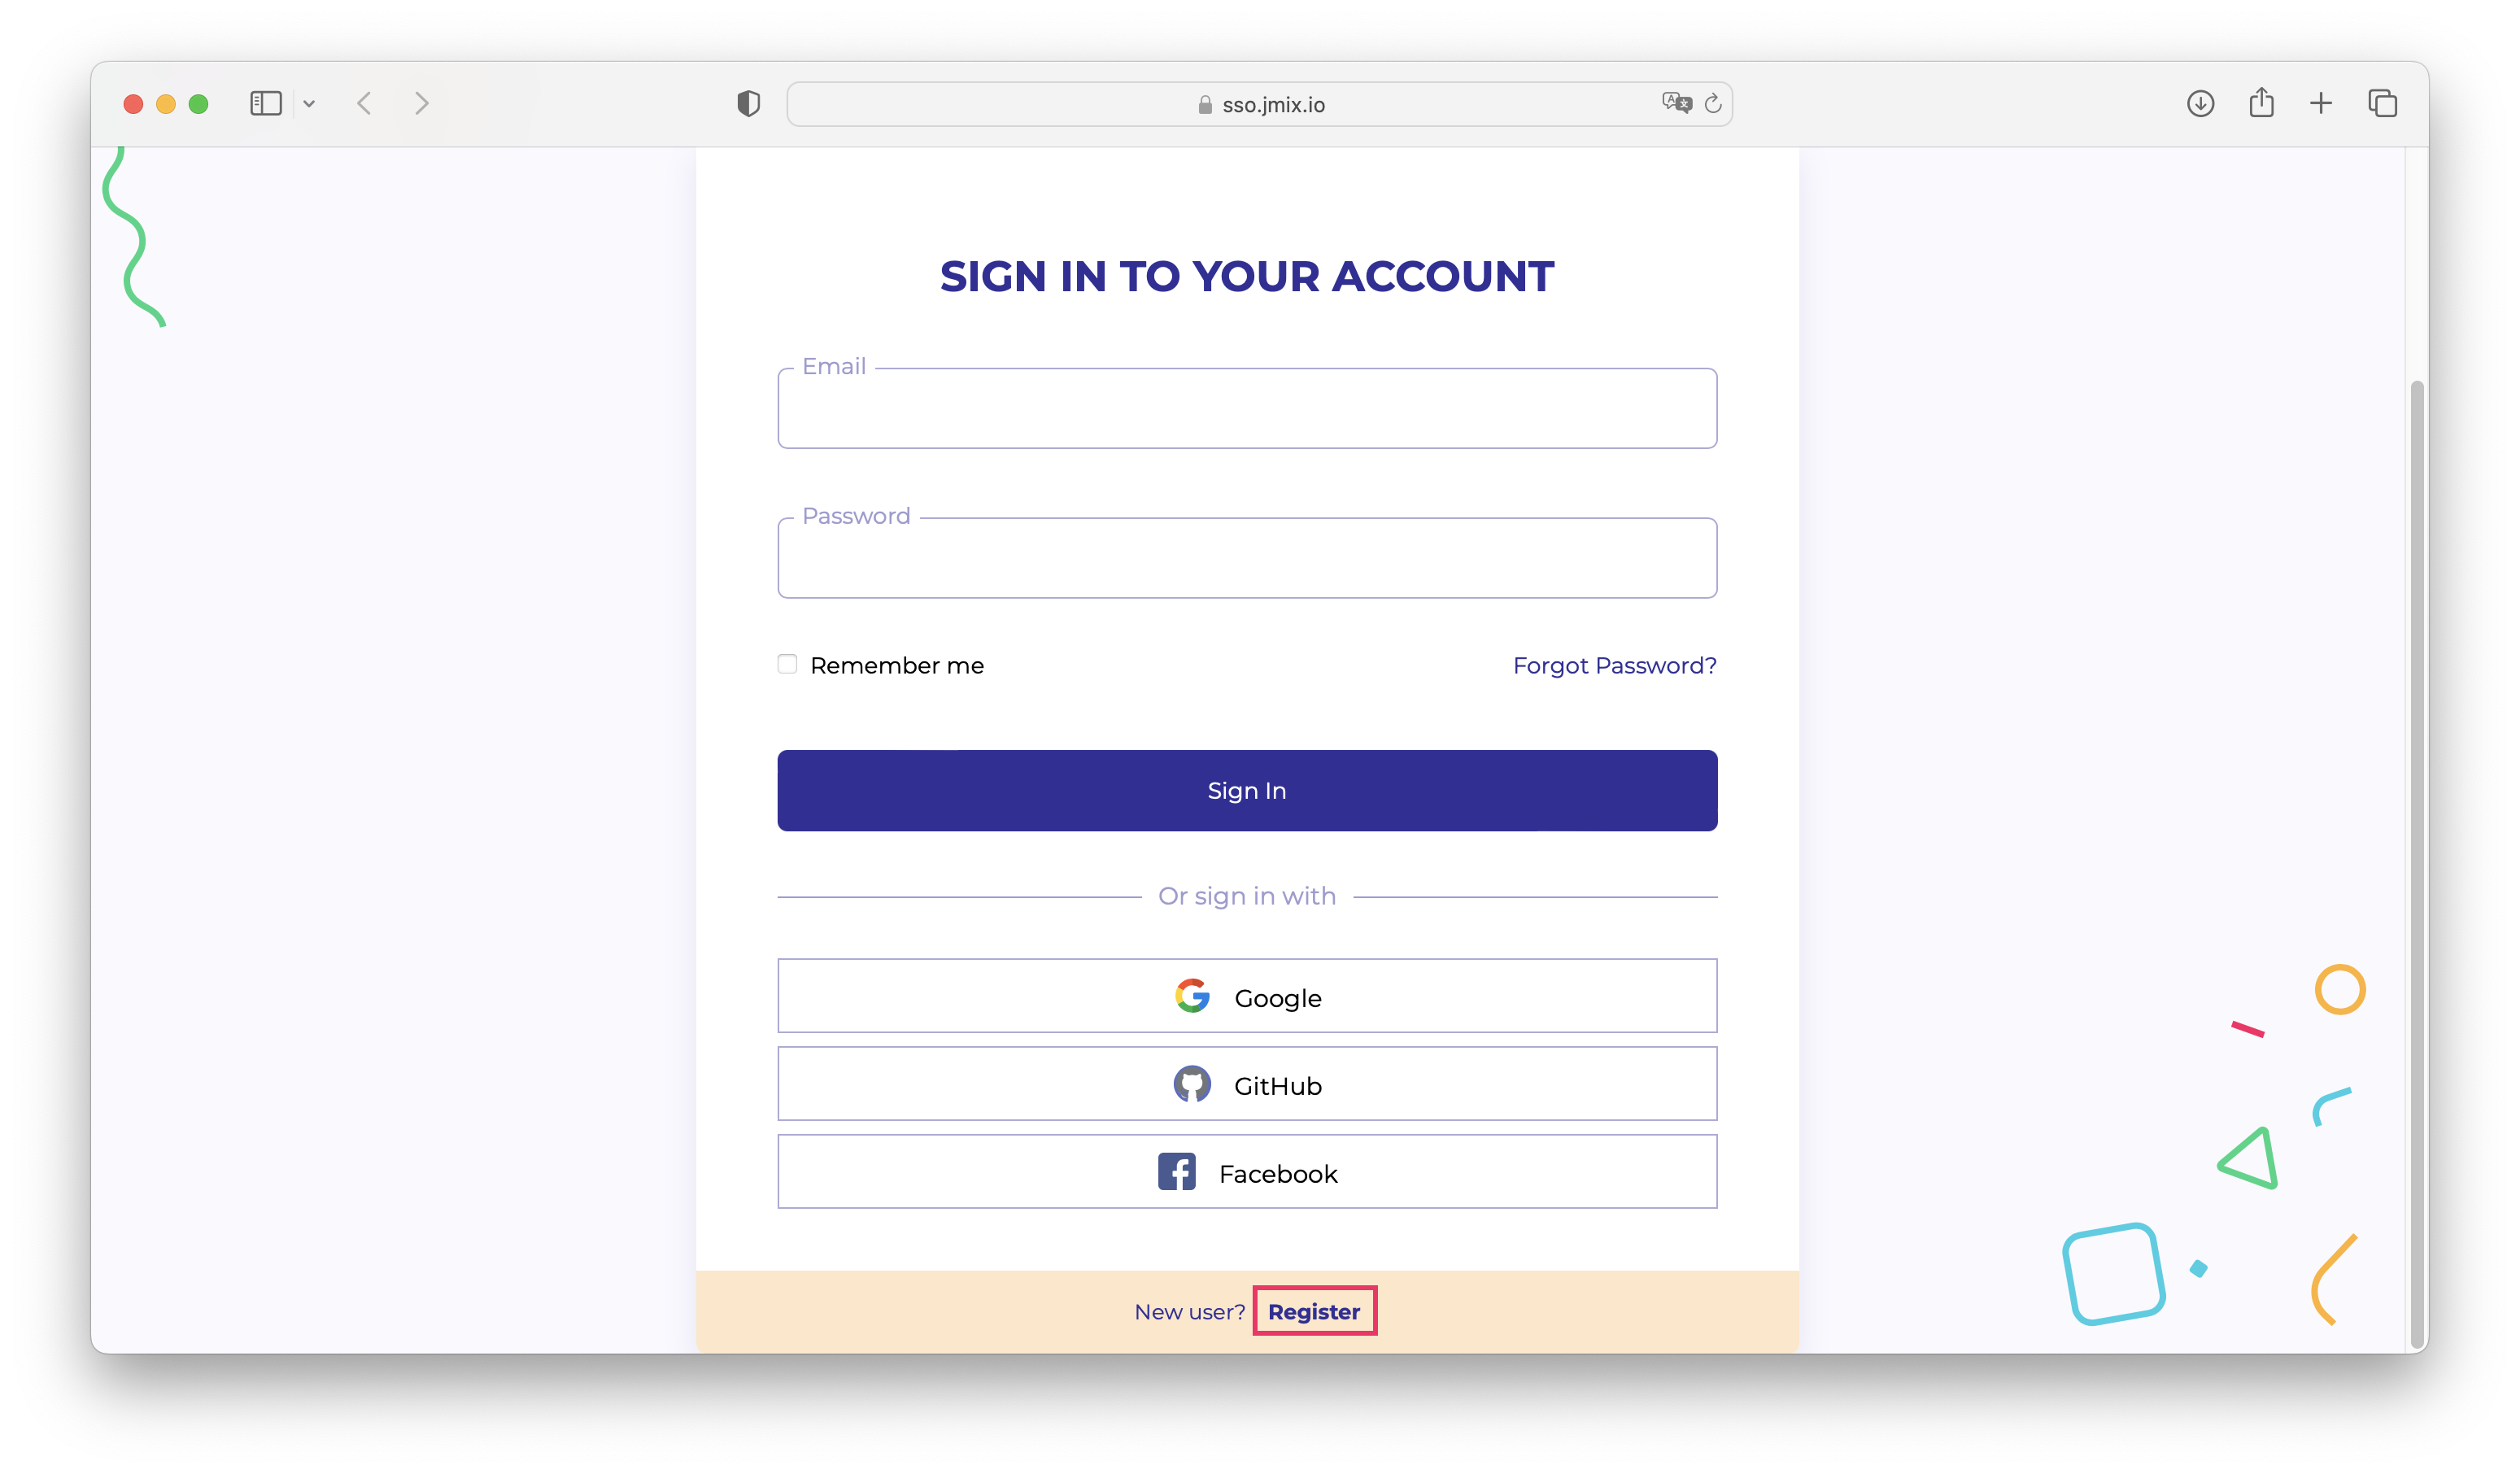
Open https://store.jmix.io/account.
-
Click on the Register link.
-
In the Registration form, fill in the First name, Last name, Email, and Password fields, accept the privacy policy and click on the Register button.
The email address you entered will be used as your login and the primary email address for your account. 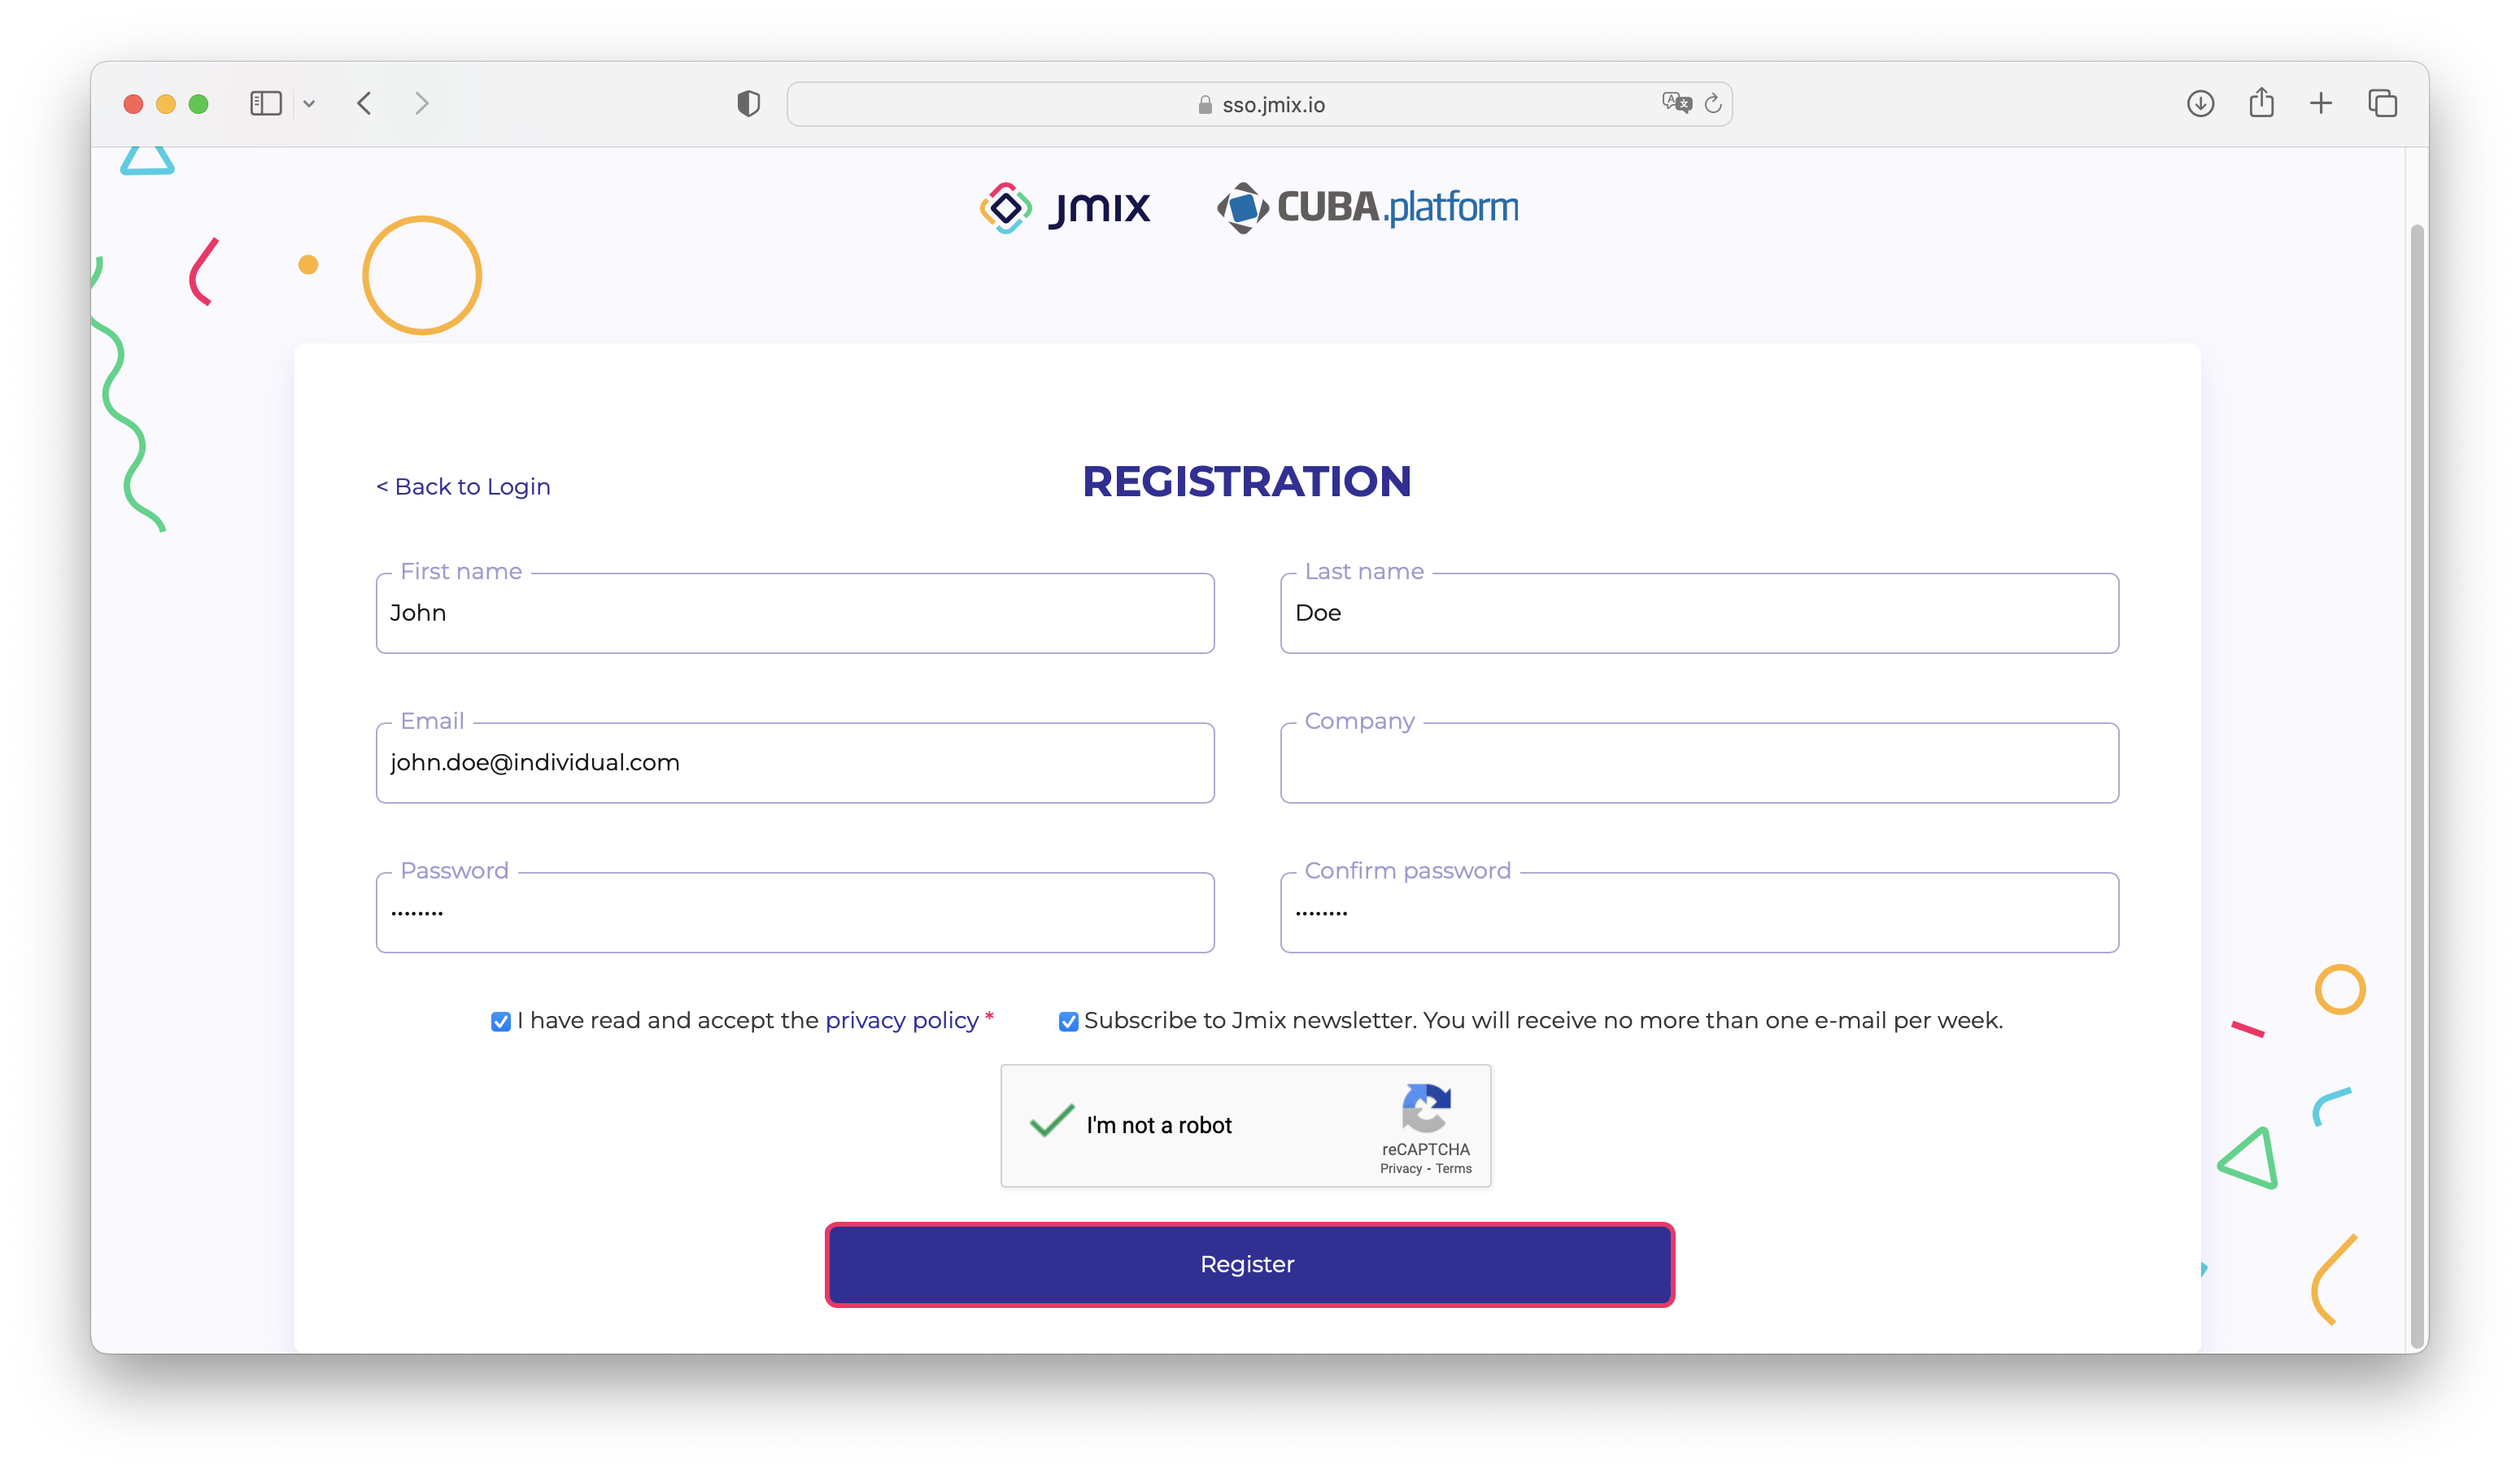
-
After you have submitted the registration form, you should verify your email address to activate your account.
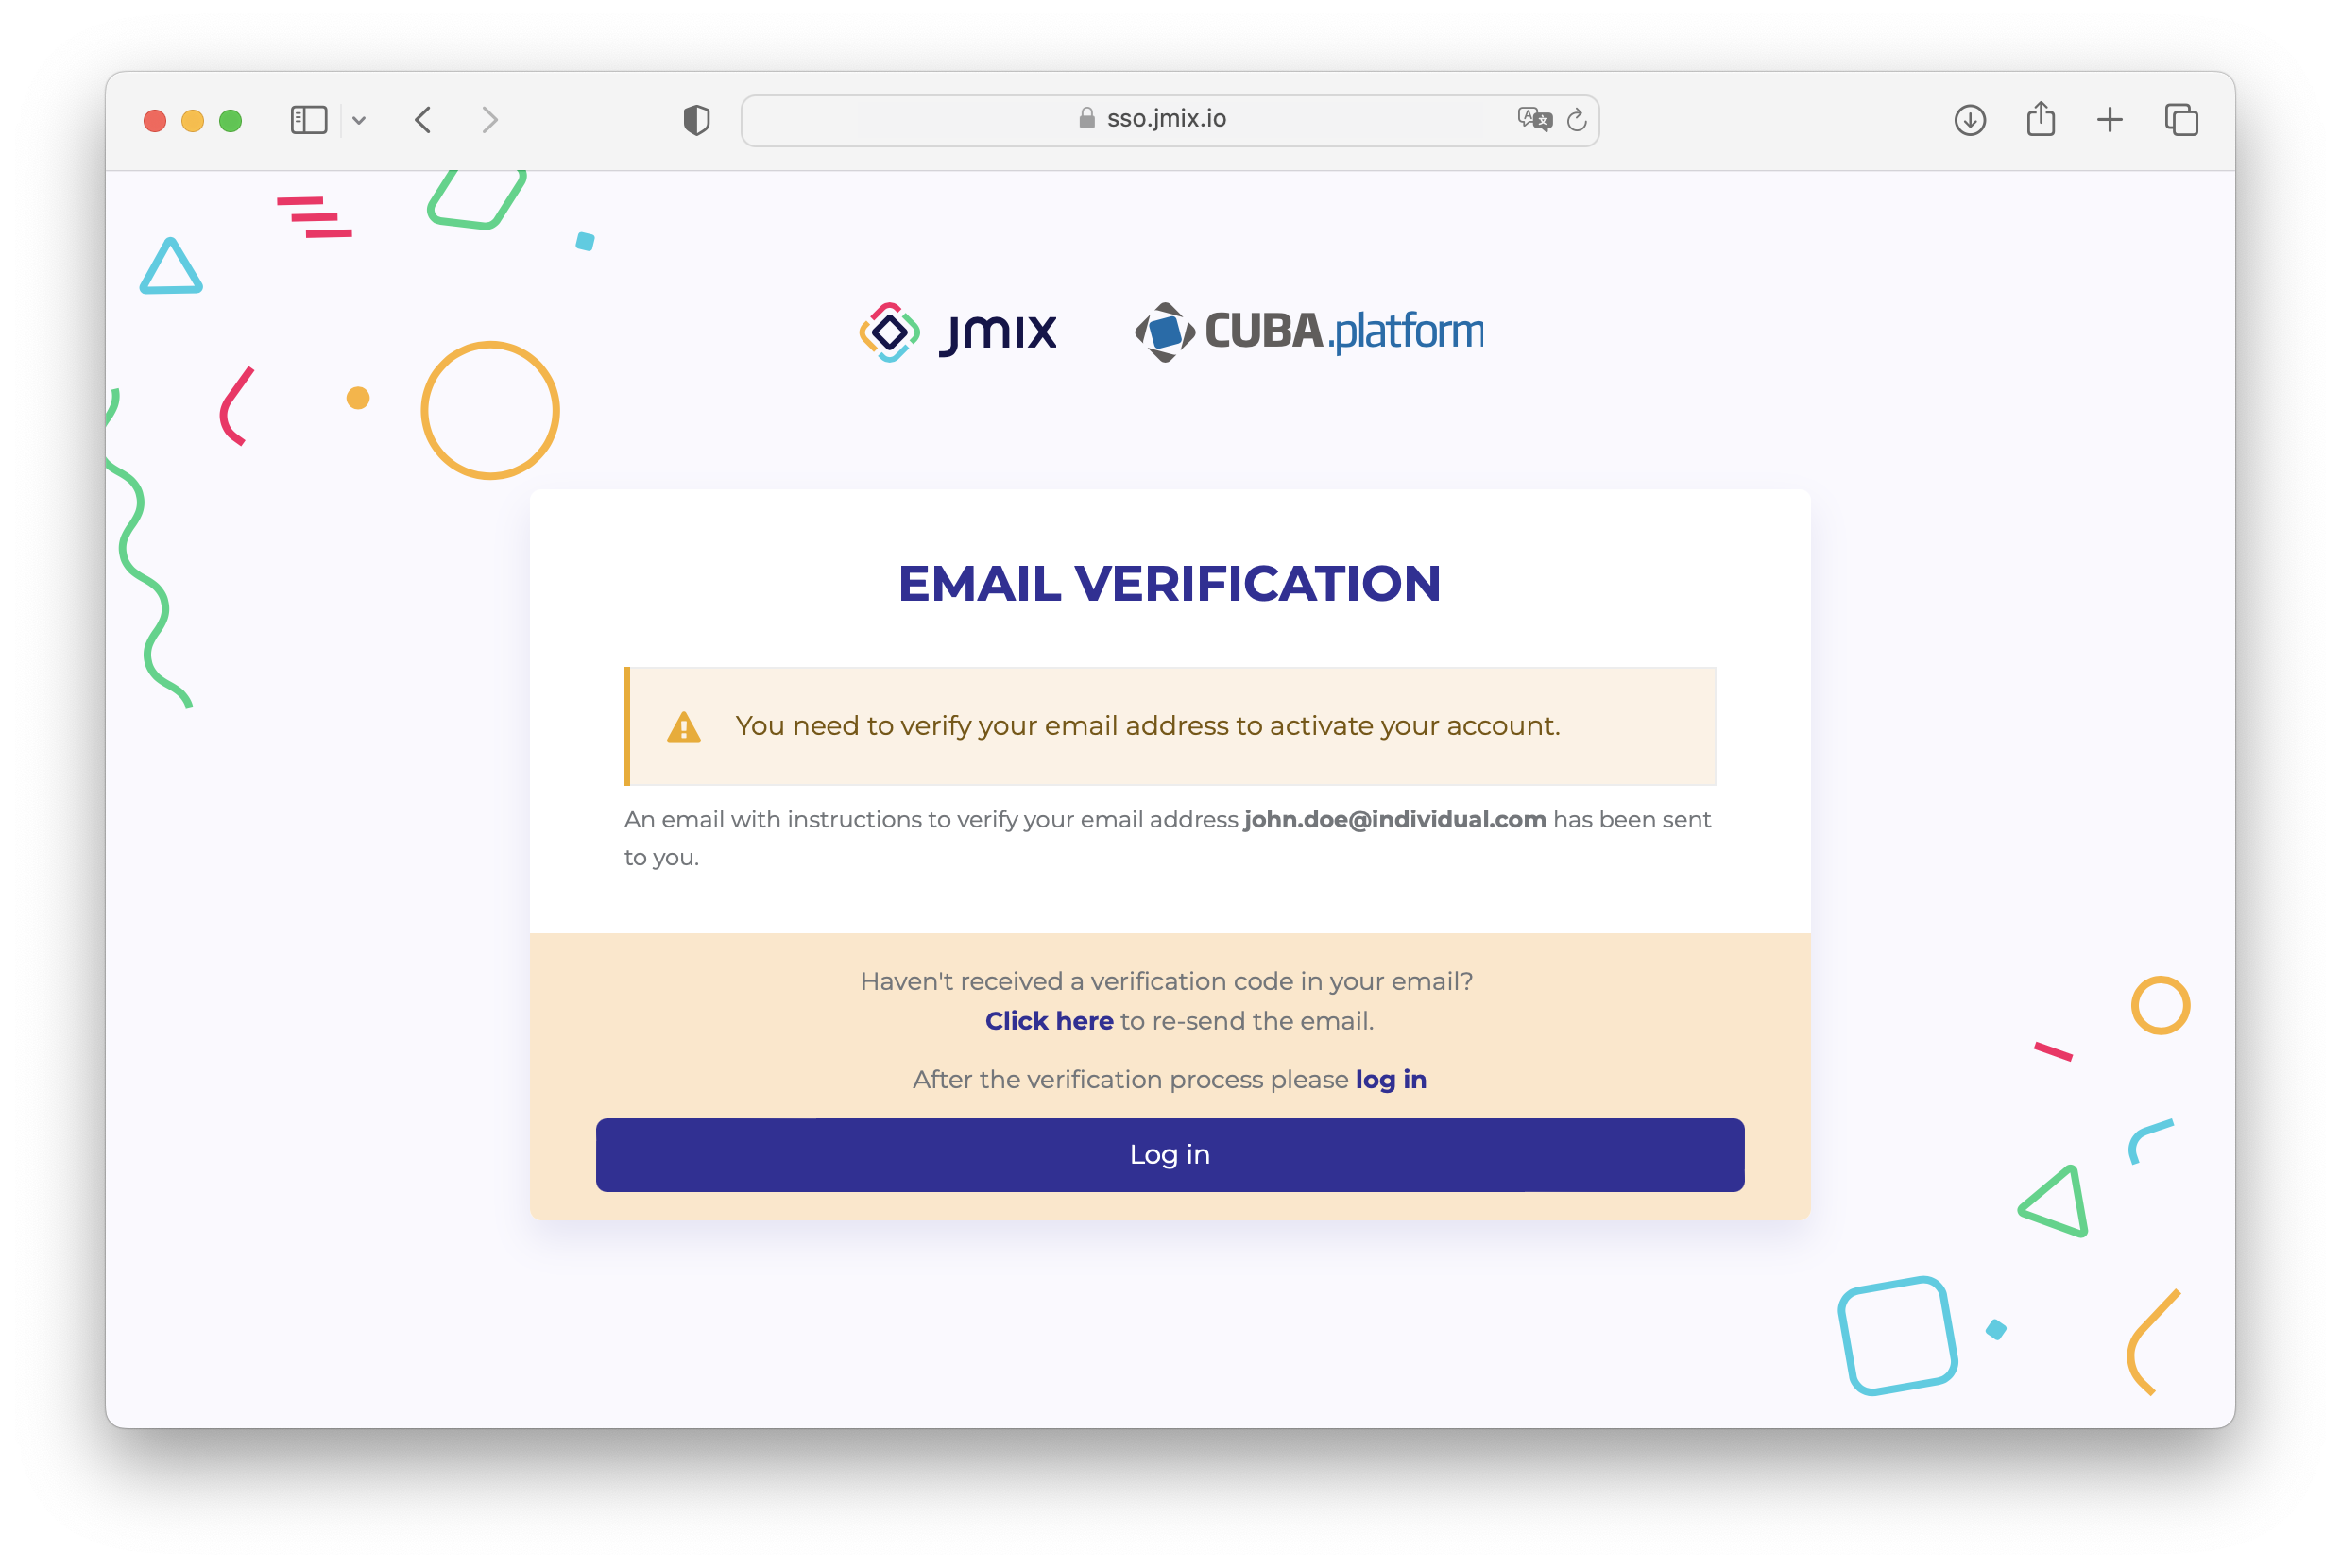
Find the verification email in your inbox and click the link in the email to finish the registration.
-
Go back to the browser and click the Log in button in the Email Verification form.
Trial Licenses
You can sign up for a free trial subscription and use it for 28 days.
Enterprise Trial
To get an Enterprise trial subscription, visit your profile page at https://store.jmix.io/account and click on the Get Enterprise trial button in the Subscription section.
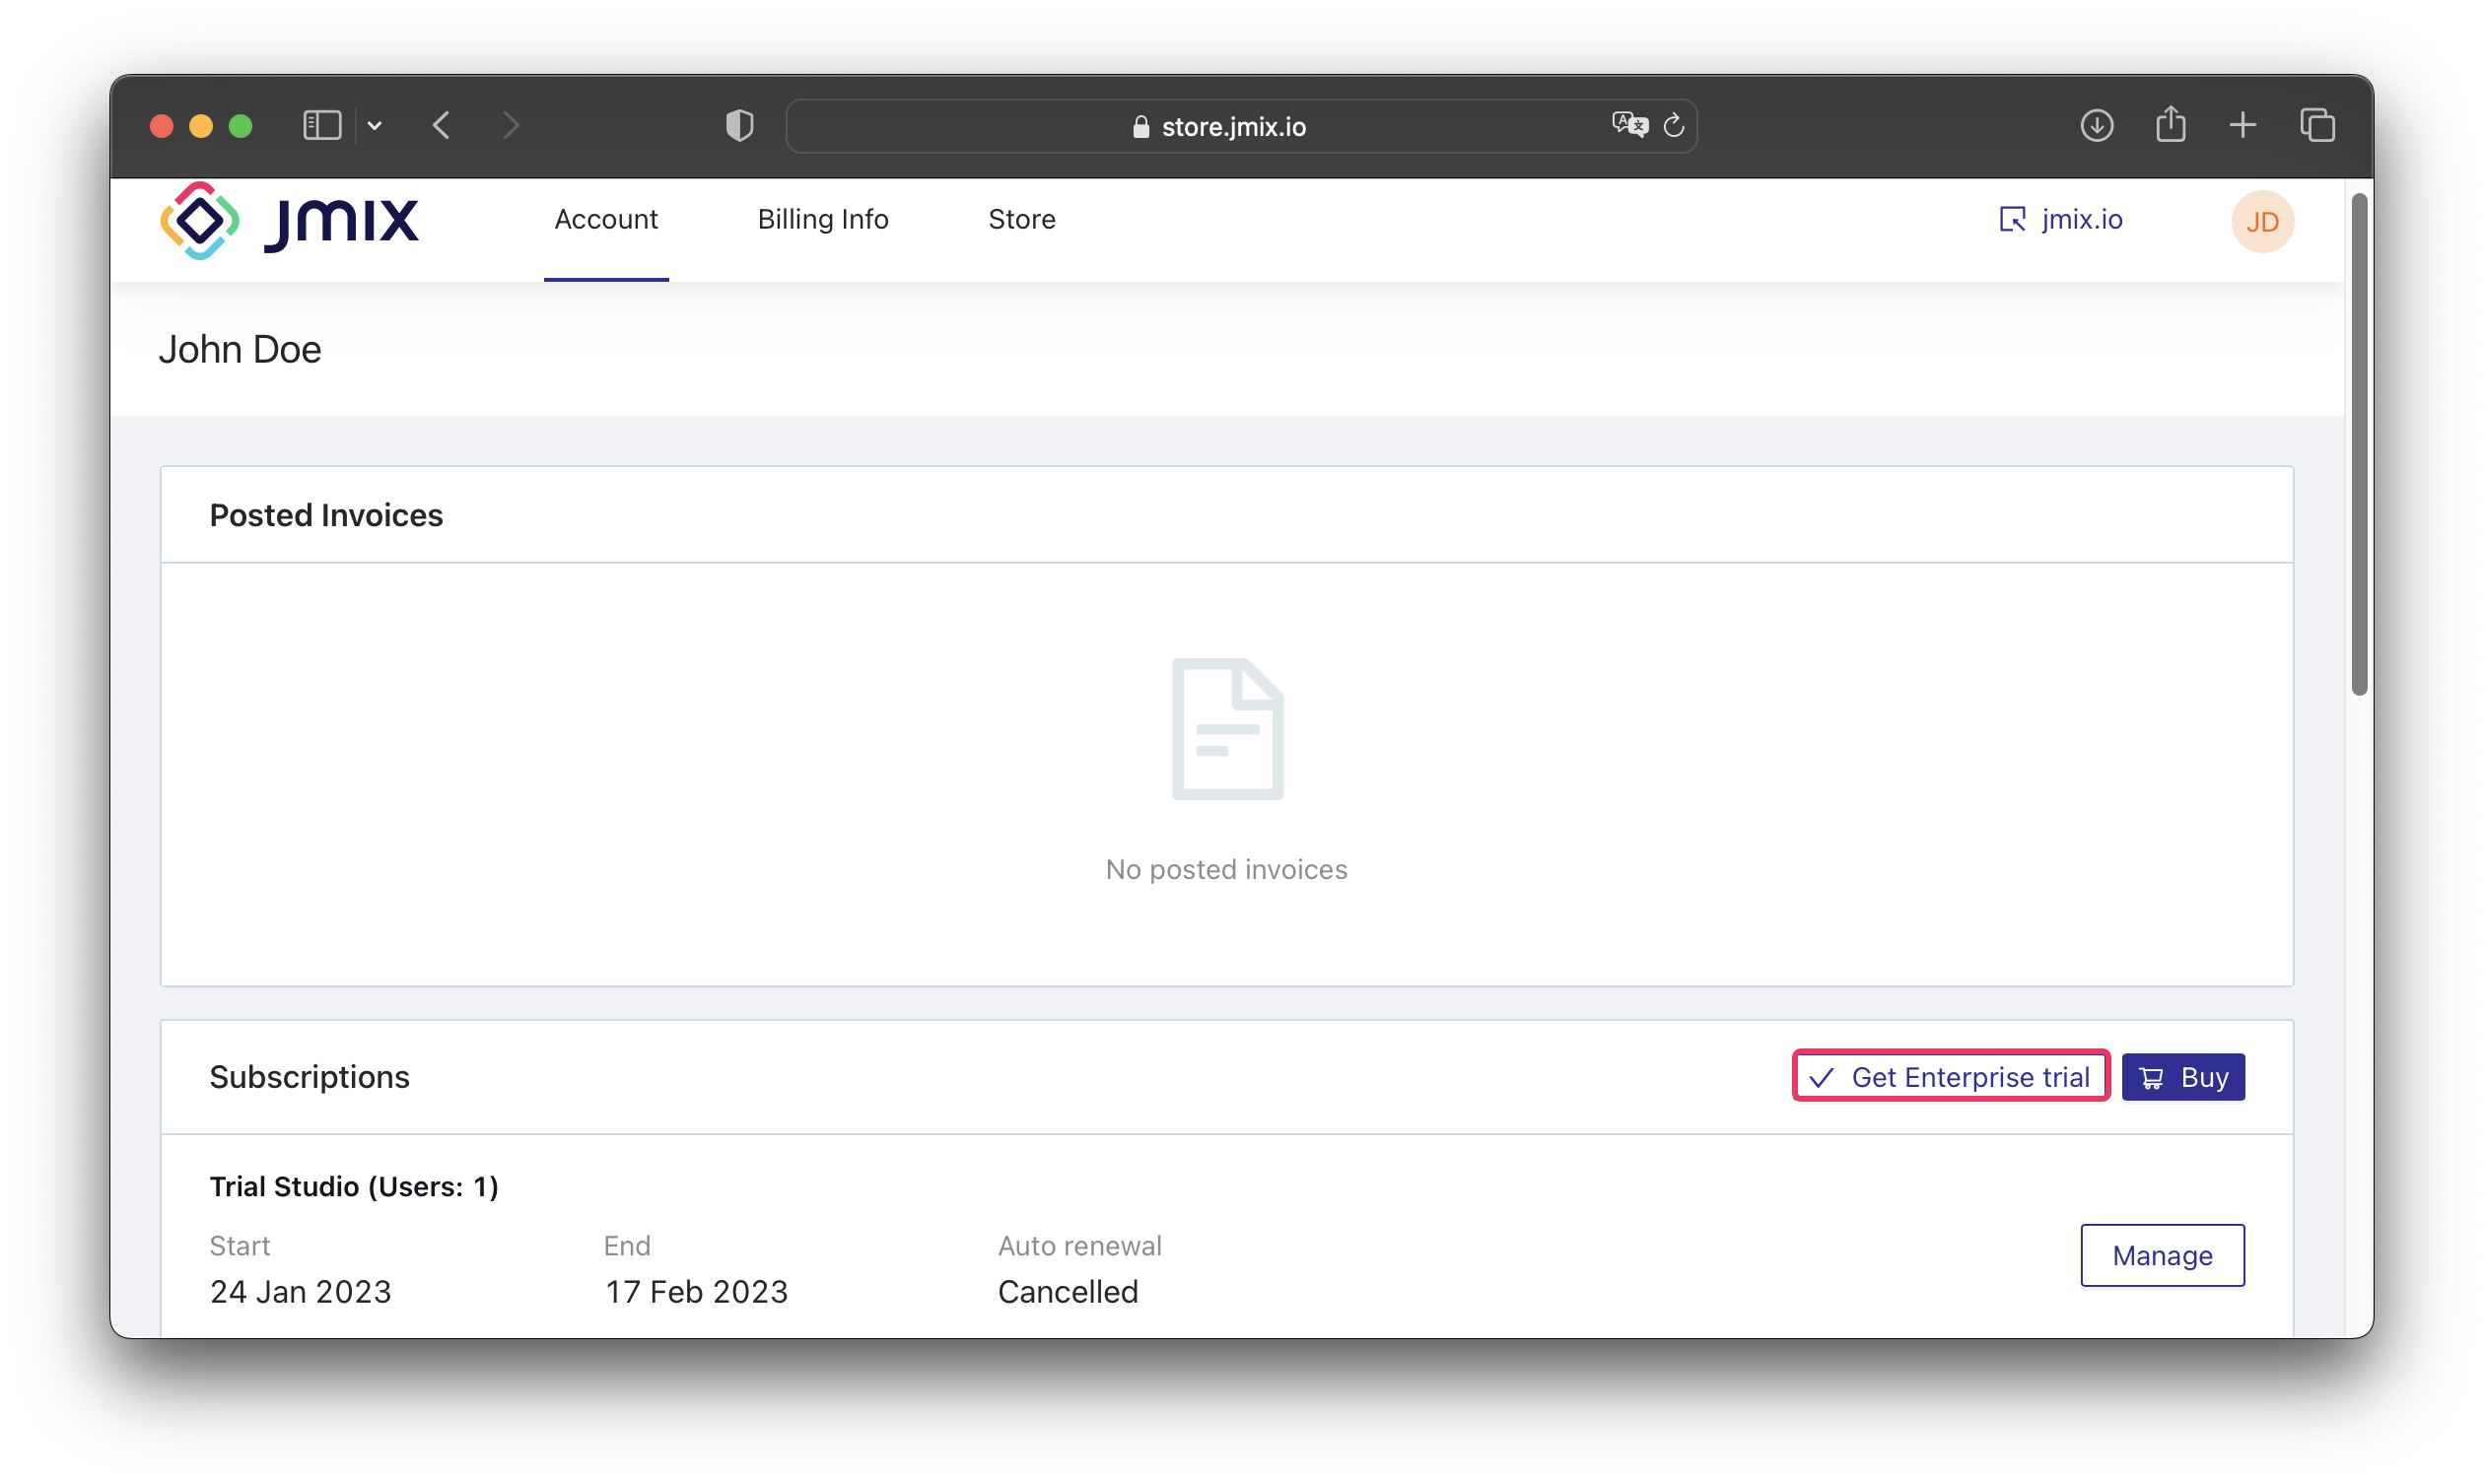
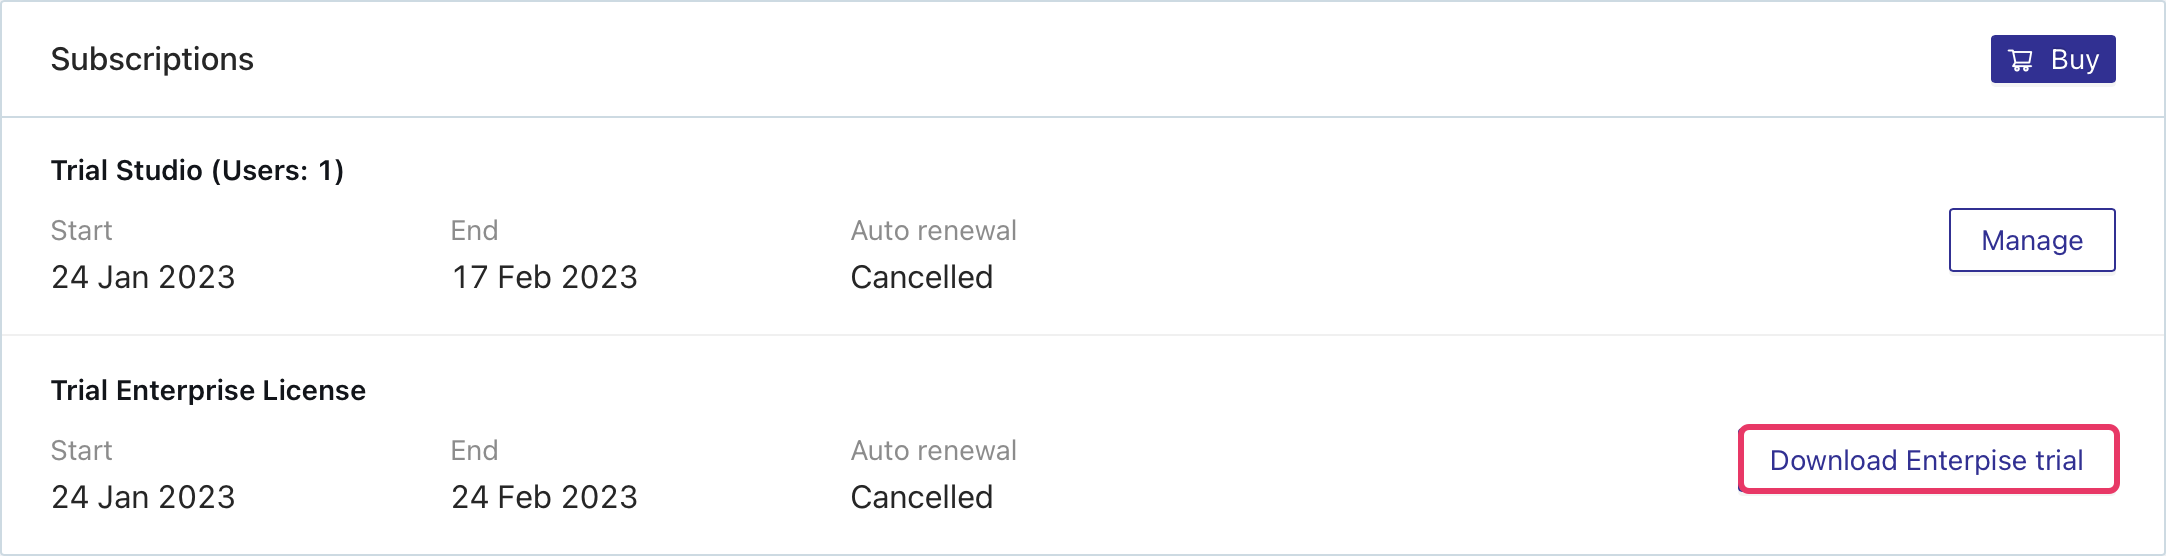
After that, the Enterprise trial subscription is activated, and the Download Enterprise trial button appears.
The downloaded project includes the trial versions of the following Jmix commercial add-ons:
-
BPM
-
Business Calendars
-
Maps
-
Notifications
-
WebDAV
Unpack the source code of the trial project and open it in Jmix Studio as described in the Opening Existing Project section.
| Trial versions of commercial add-ons will stop working in 28 days after requesting the trial Enterprise subscription. An application including expired trial add-ons will not run. |
Subscription Purchase
To buy a subscription, click on the Buy button in the Account tab, or switch to the Store tab and click on the Buy button there.
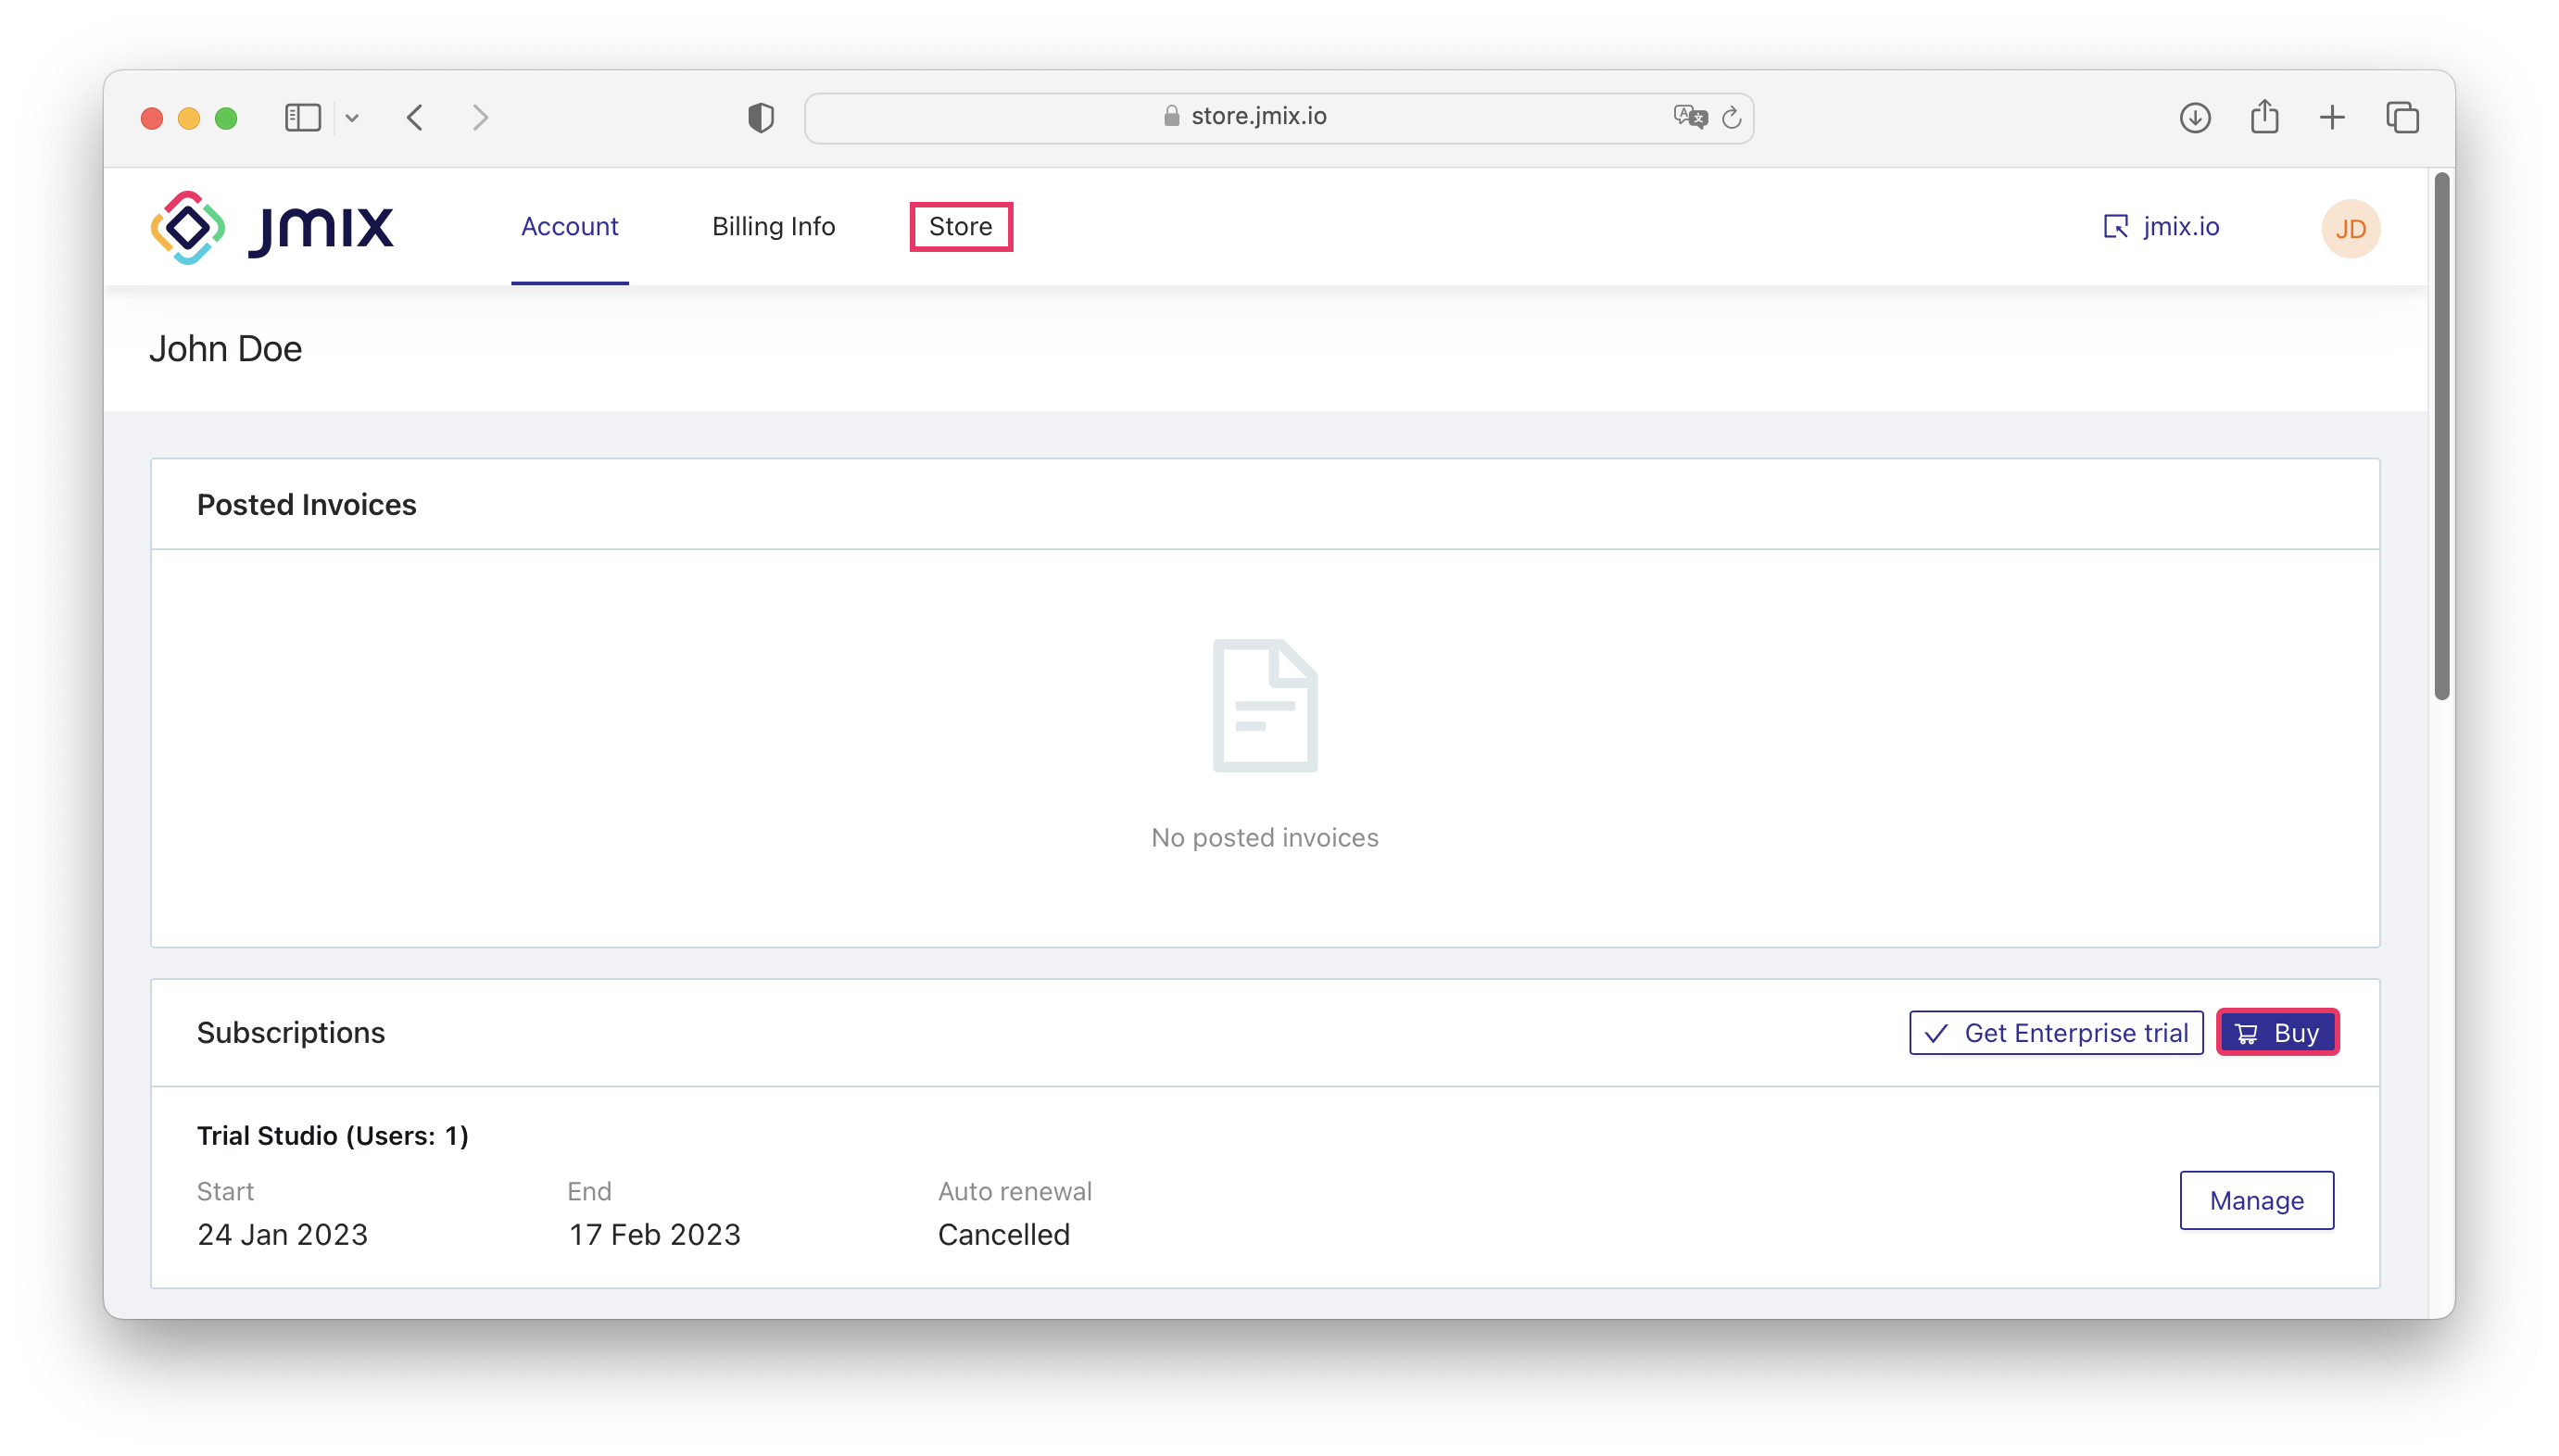
The page for purchasing a new subscription opens:
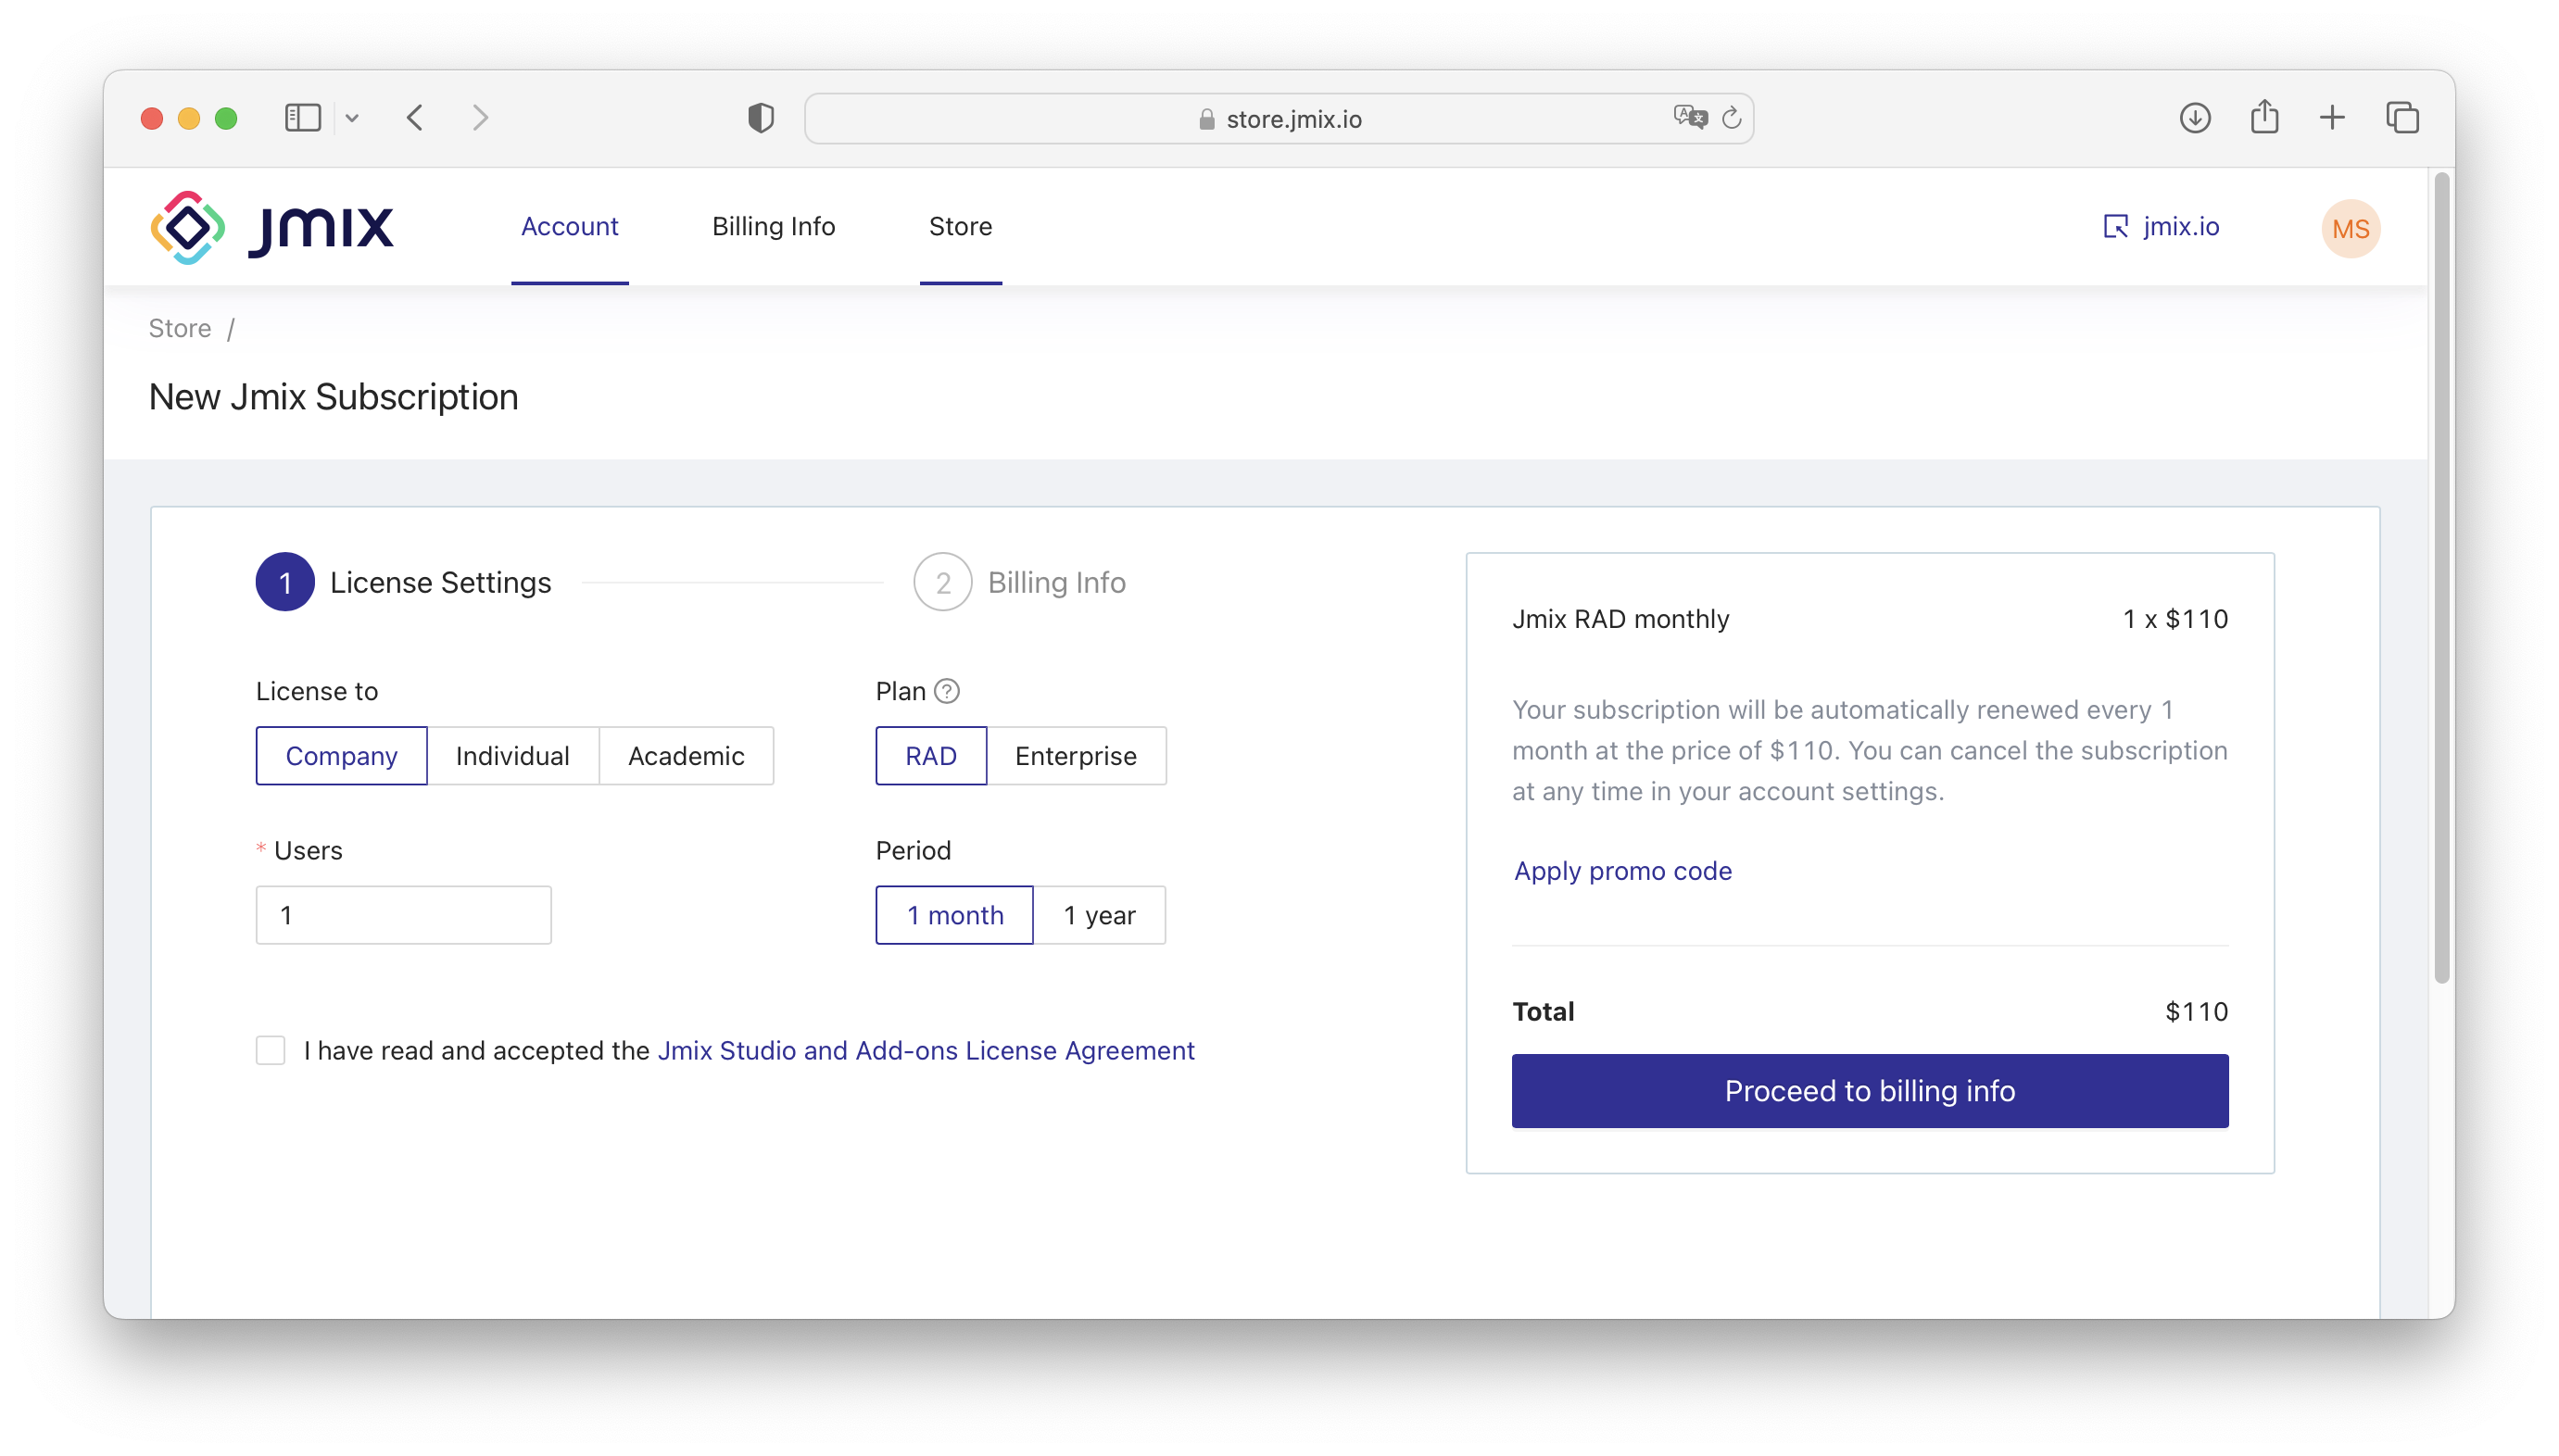
Company
A Company license is the standard licensing option for commercial organizations. A Company license can be used by a single person within the organization. You can find all the details about licensing on the Pricing page.
To buy a RAD or an Enterprise subscription:
-
Select the Company in the License to field, the Subscription Plan and the Period.
-
Specify the number of users that require a subscription purchase.
-
Read and accept the Jmix Studio and Add-ons License Agreement.
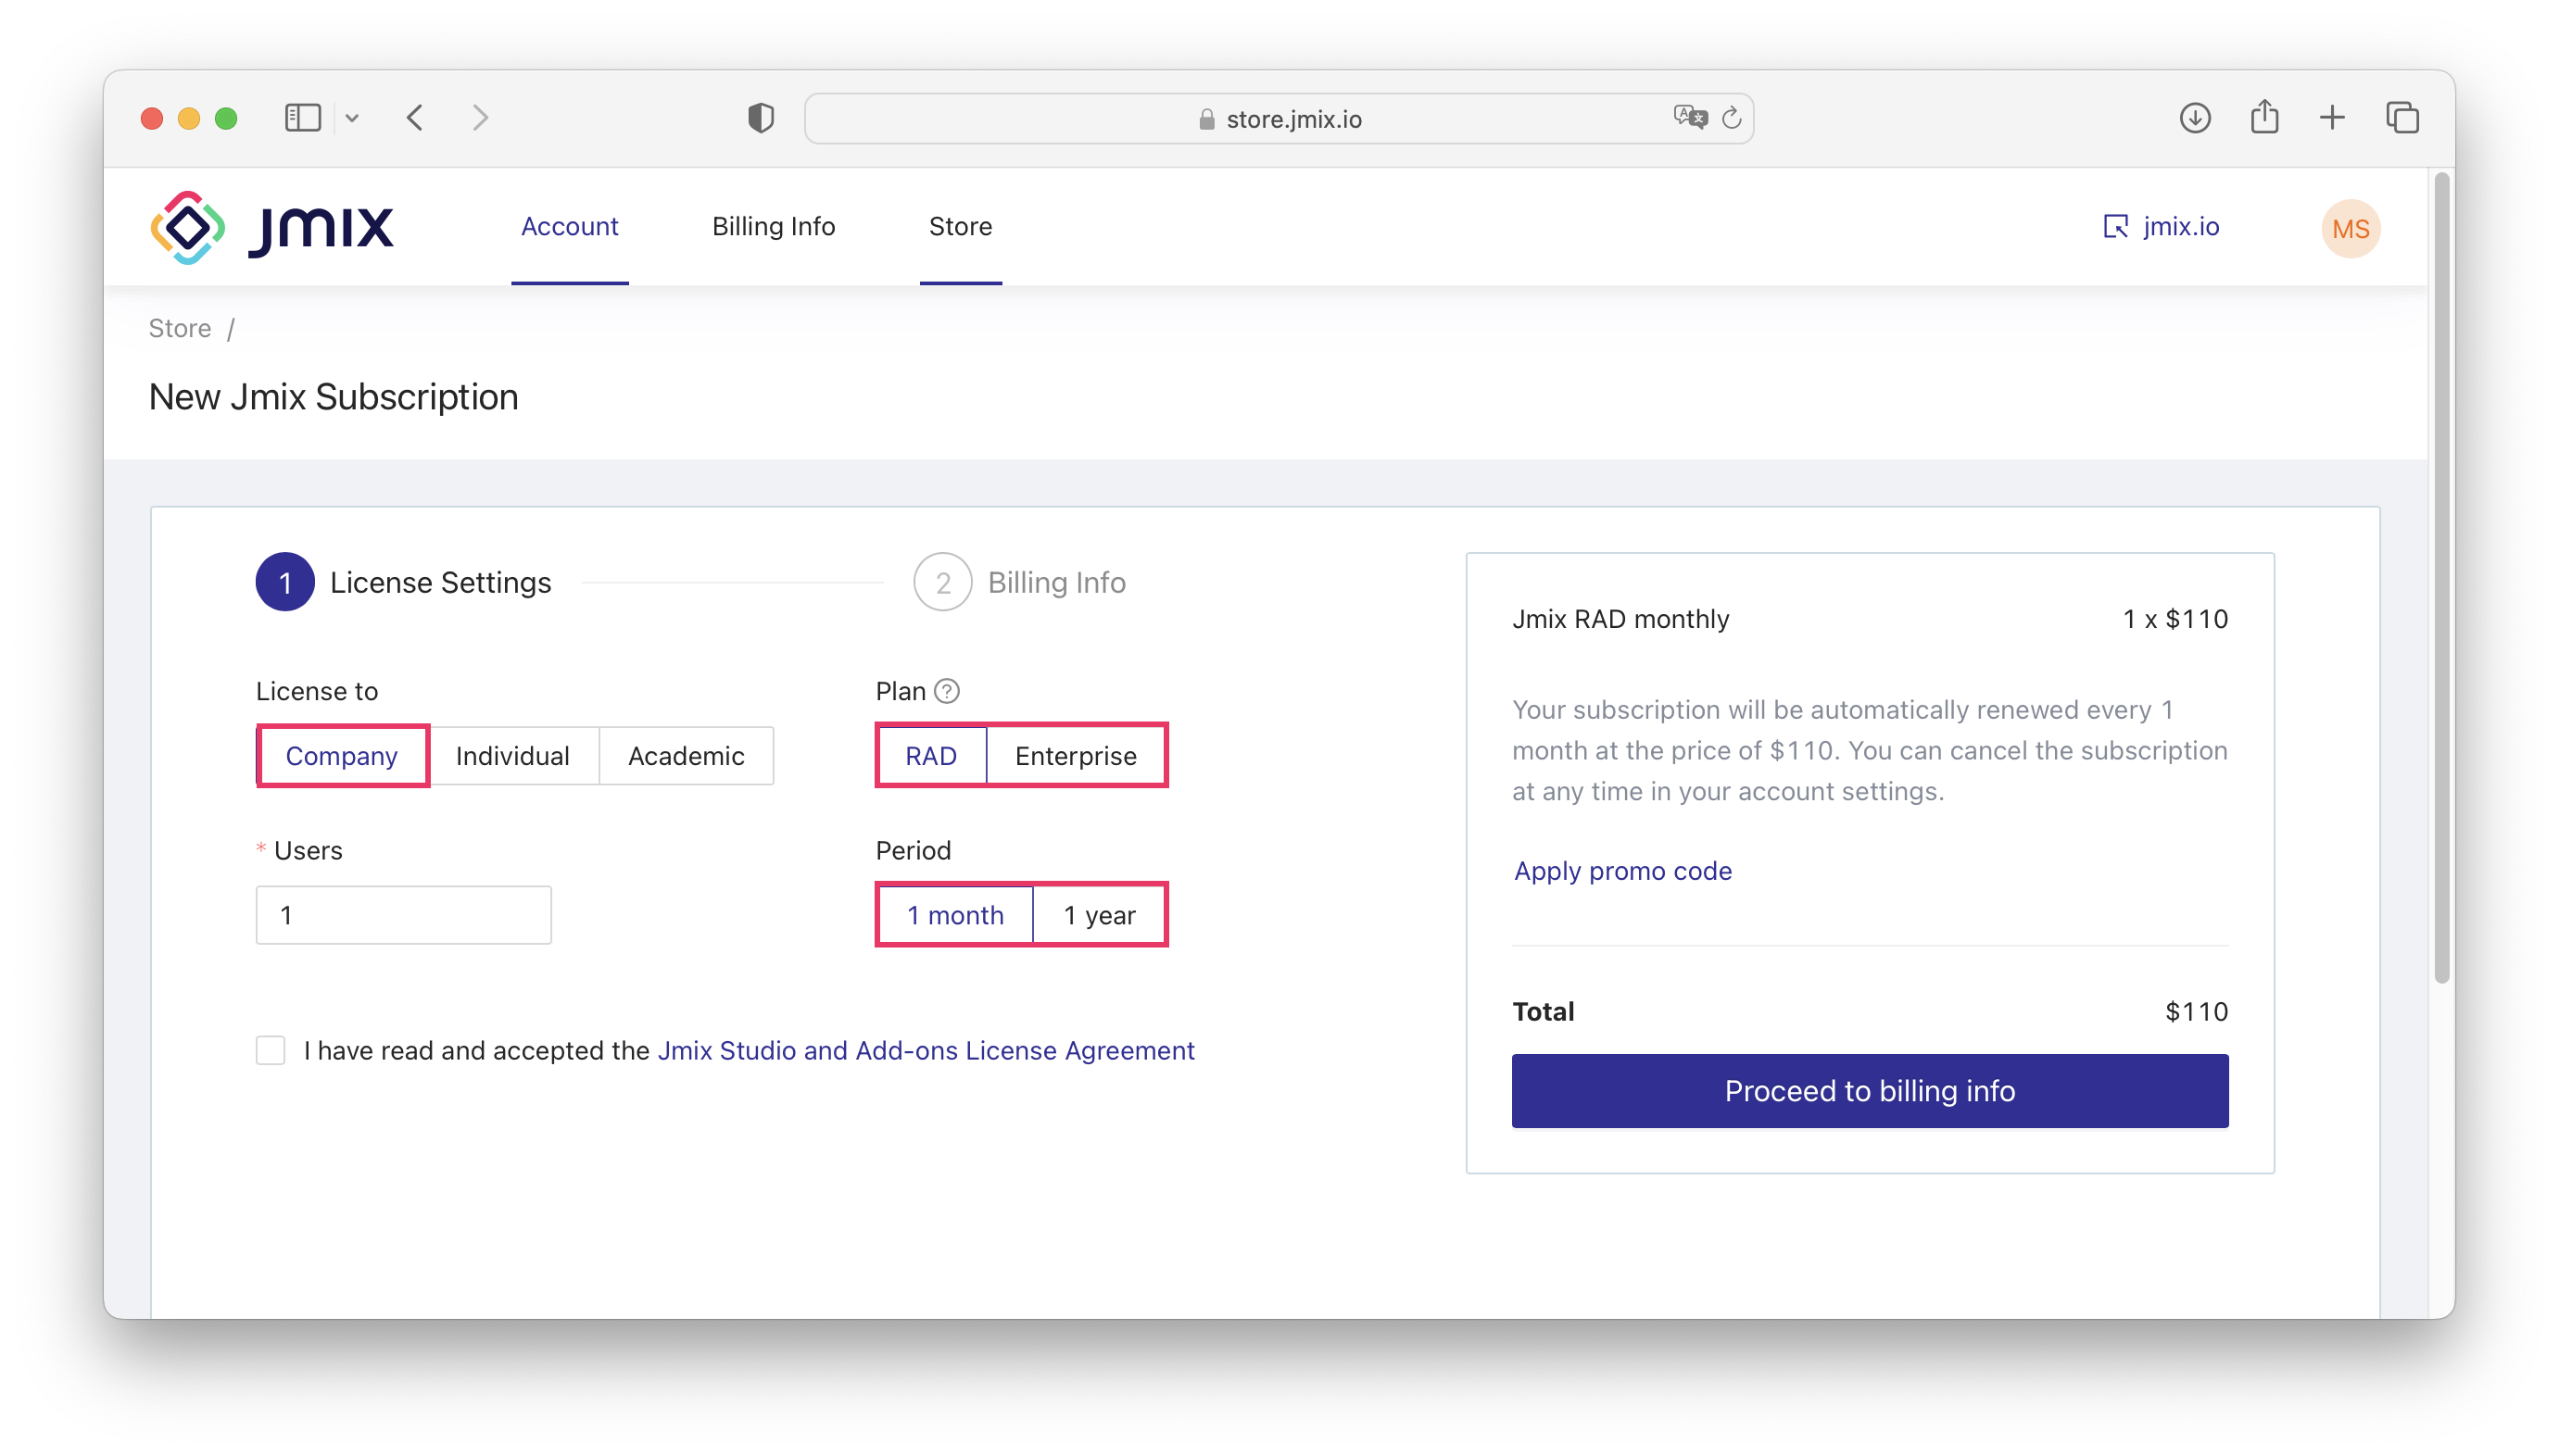
If you have a promo code, click on the Apply promo code link and enter the promo code in the dialog. -
Click on the Proceed to billing info button.
-
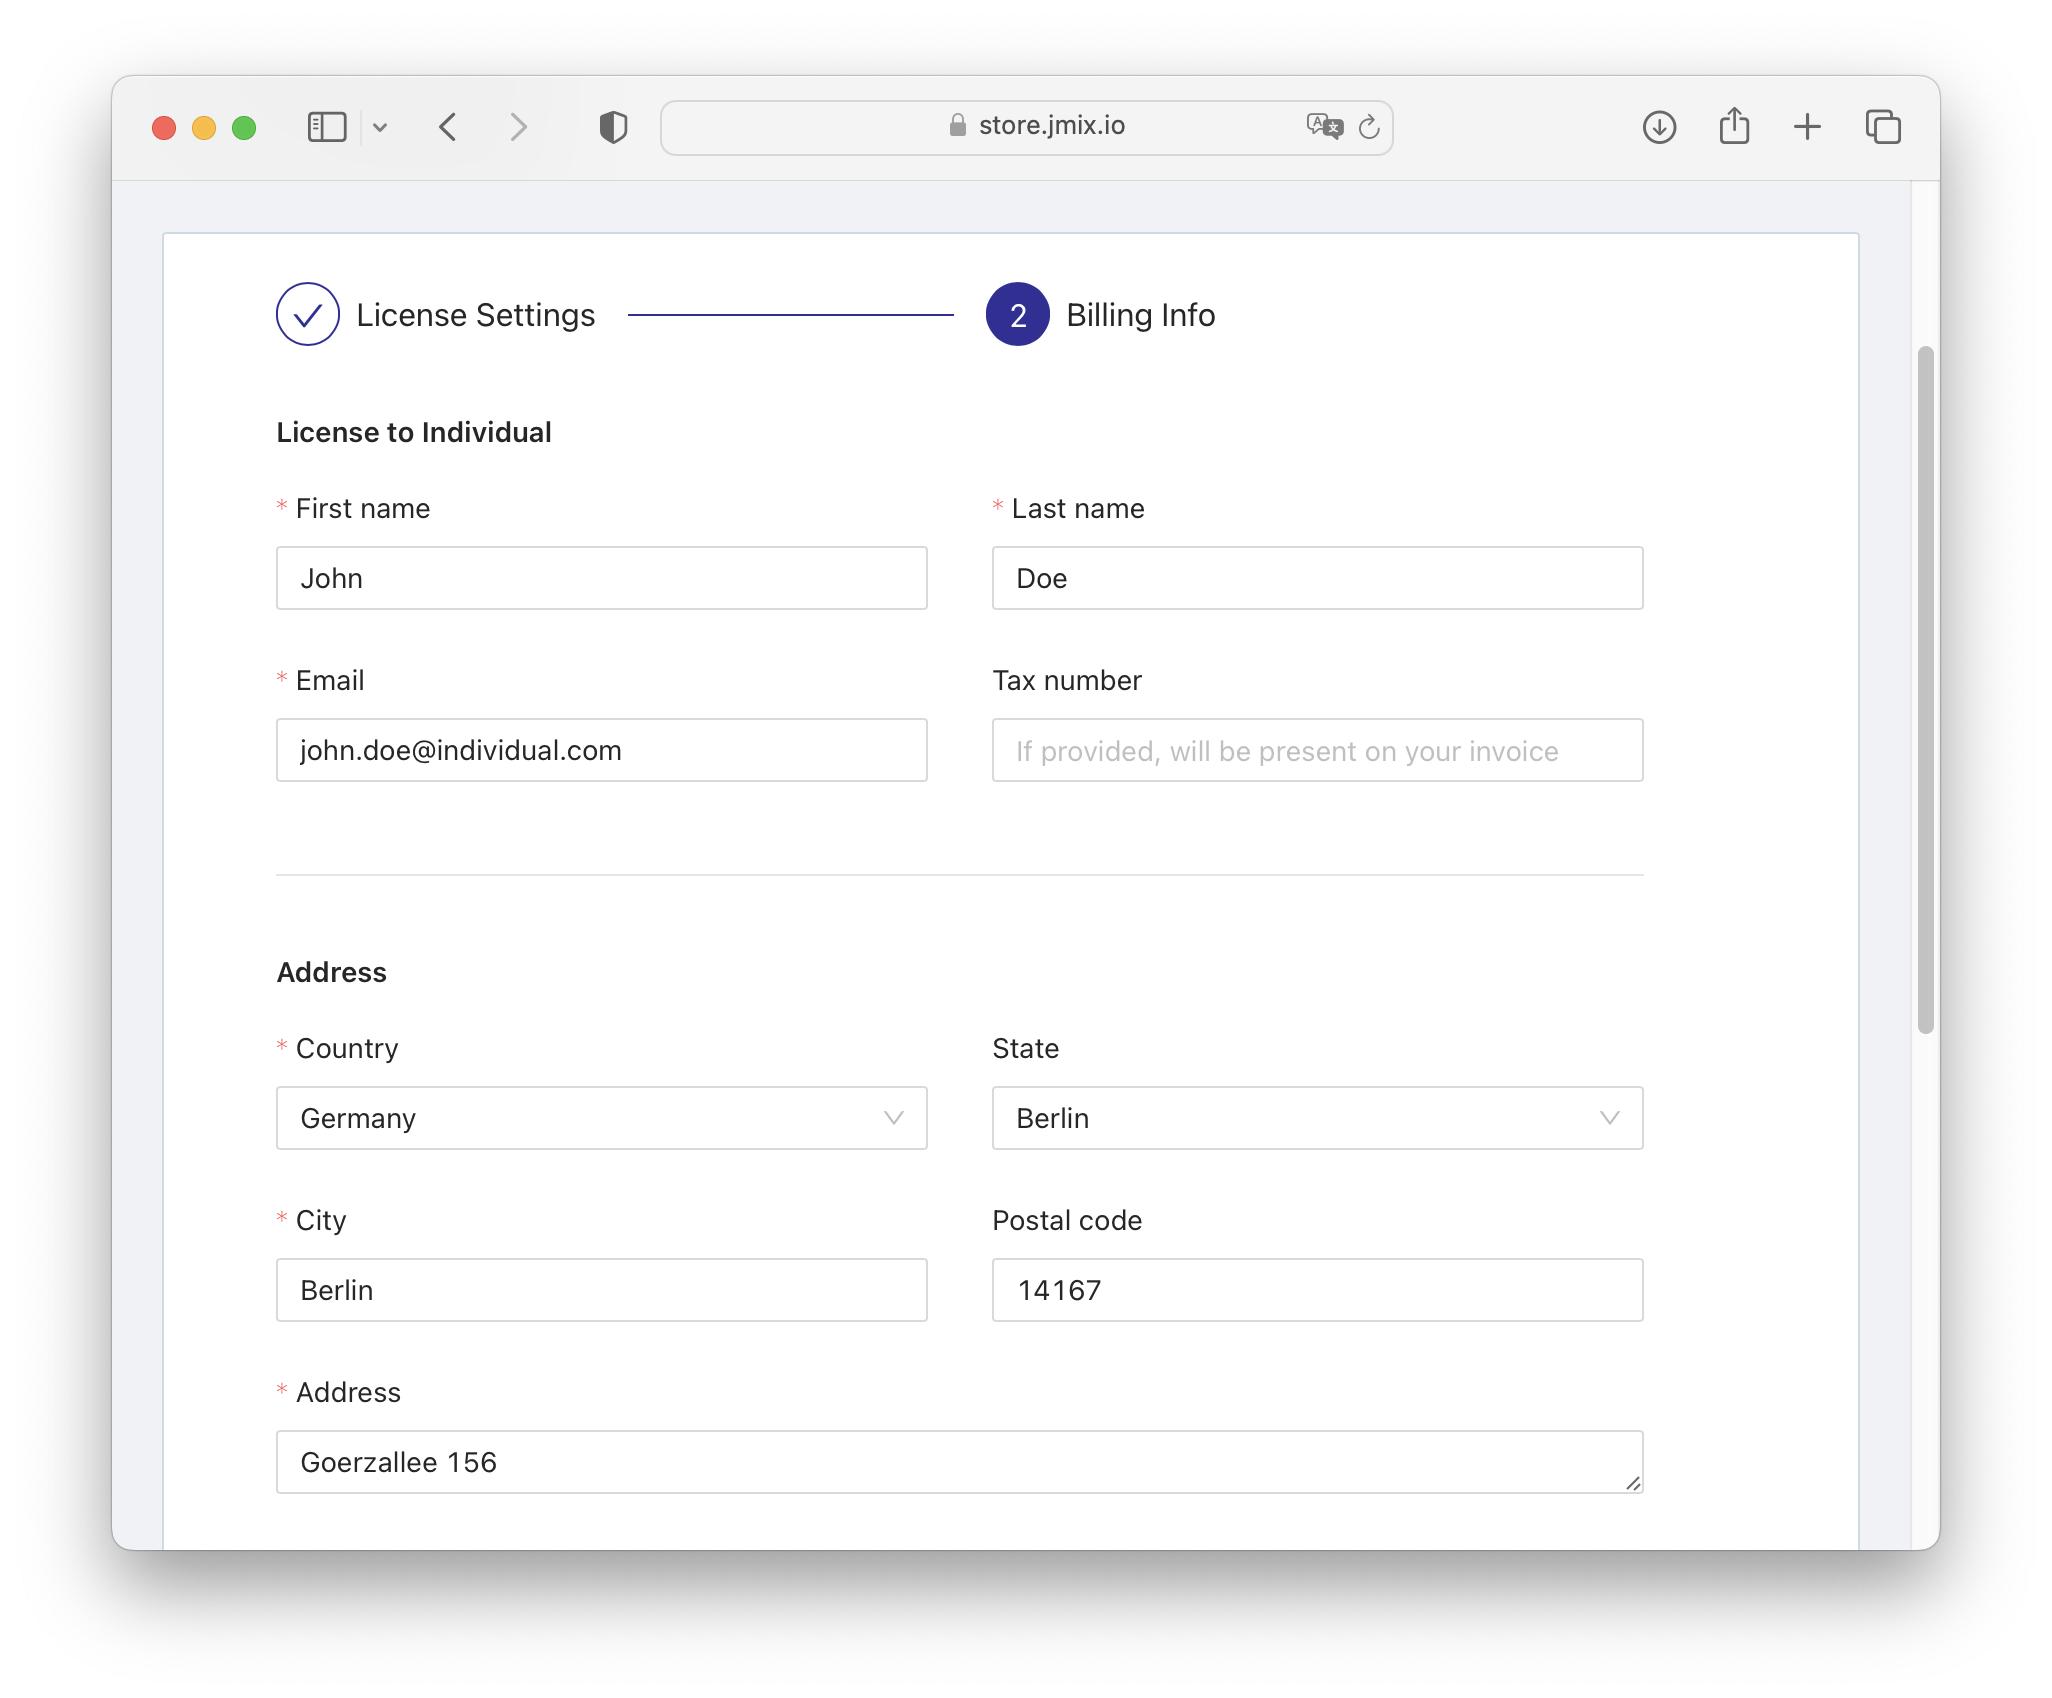
On the next step, fill in the billing info:
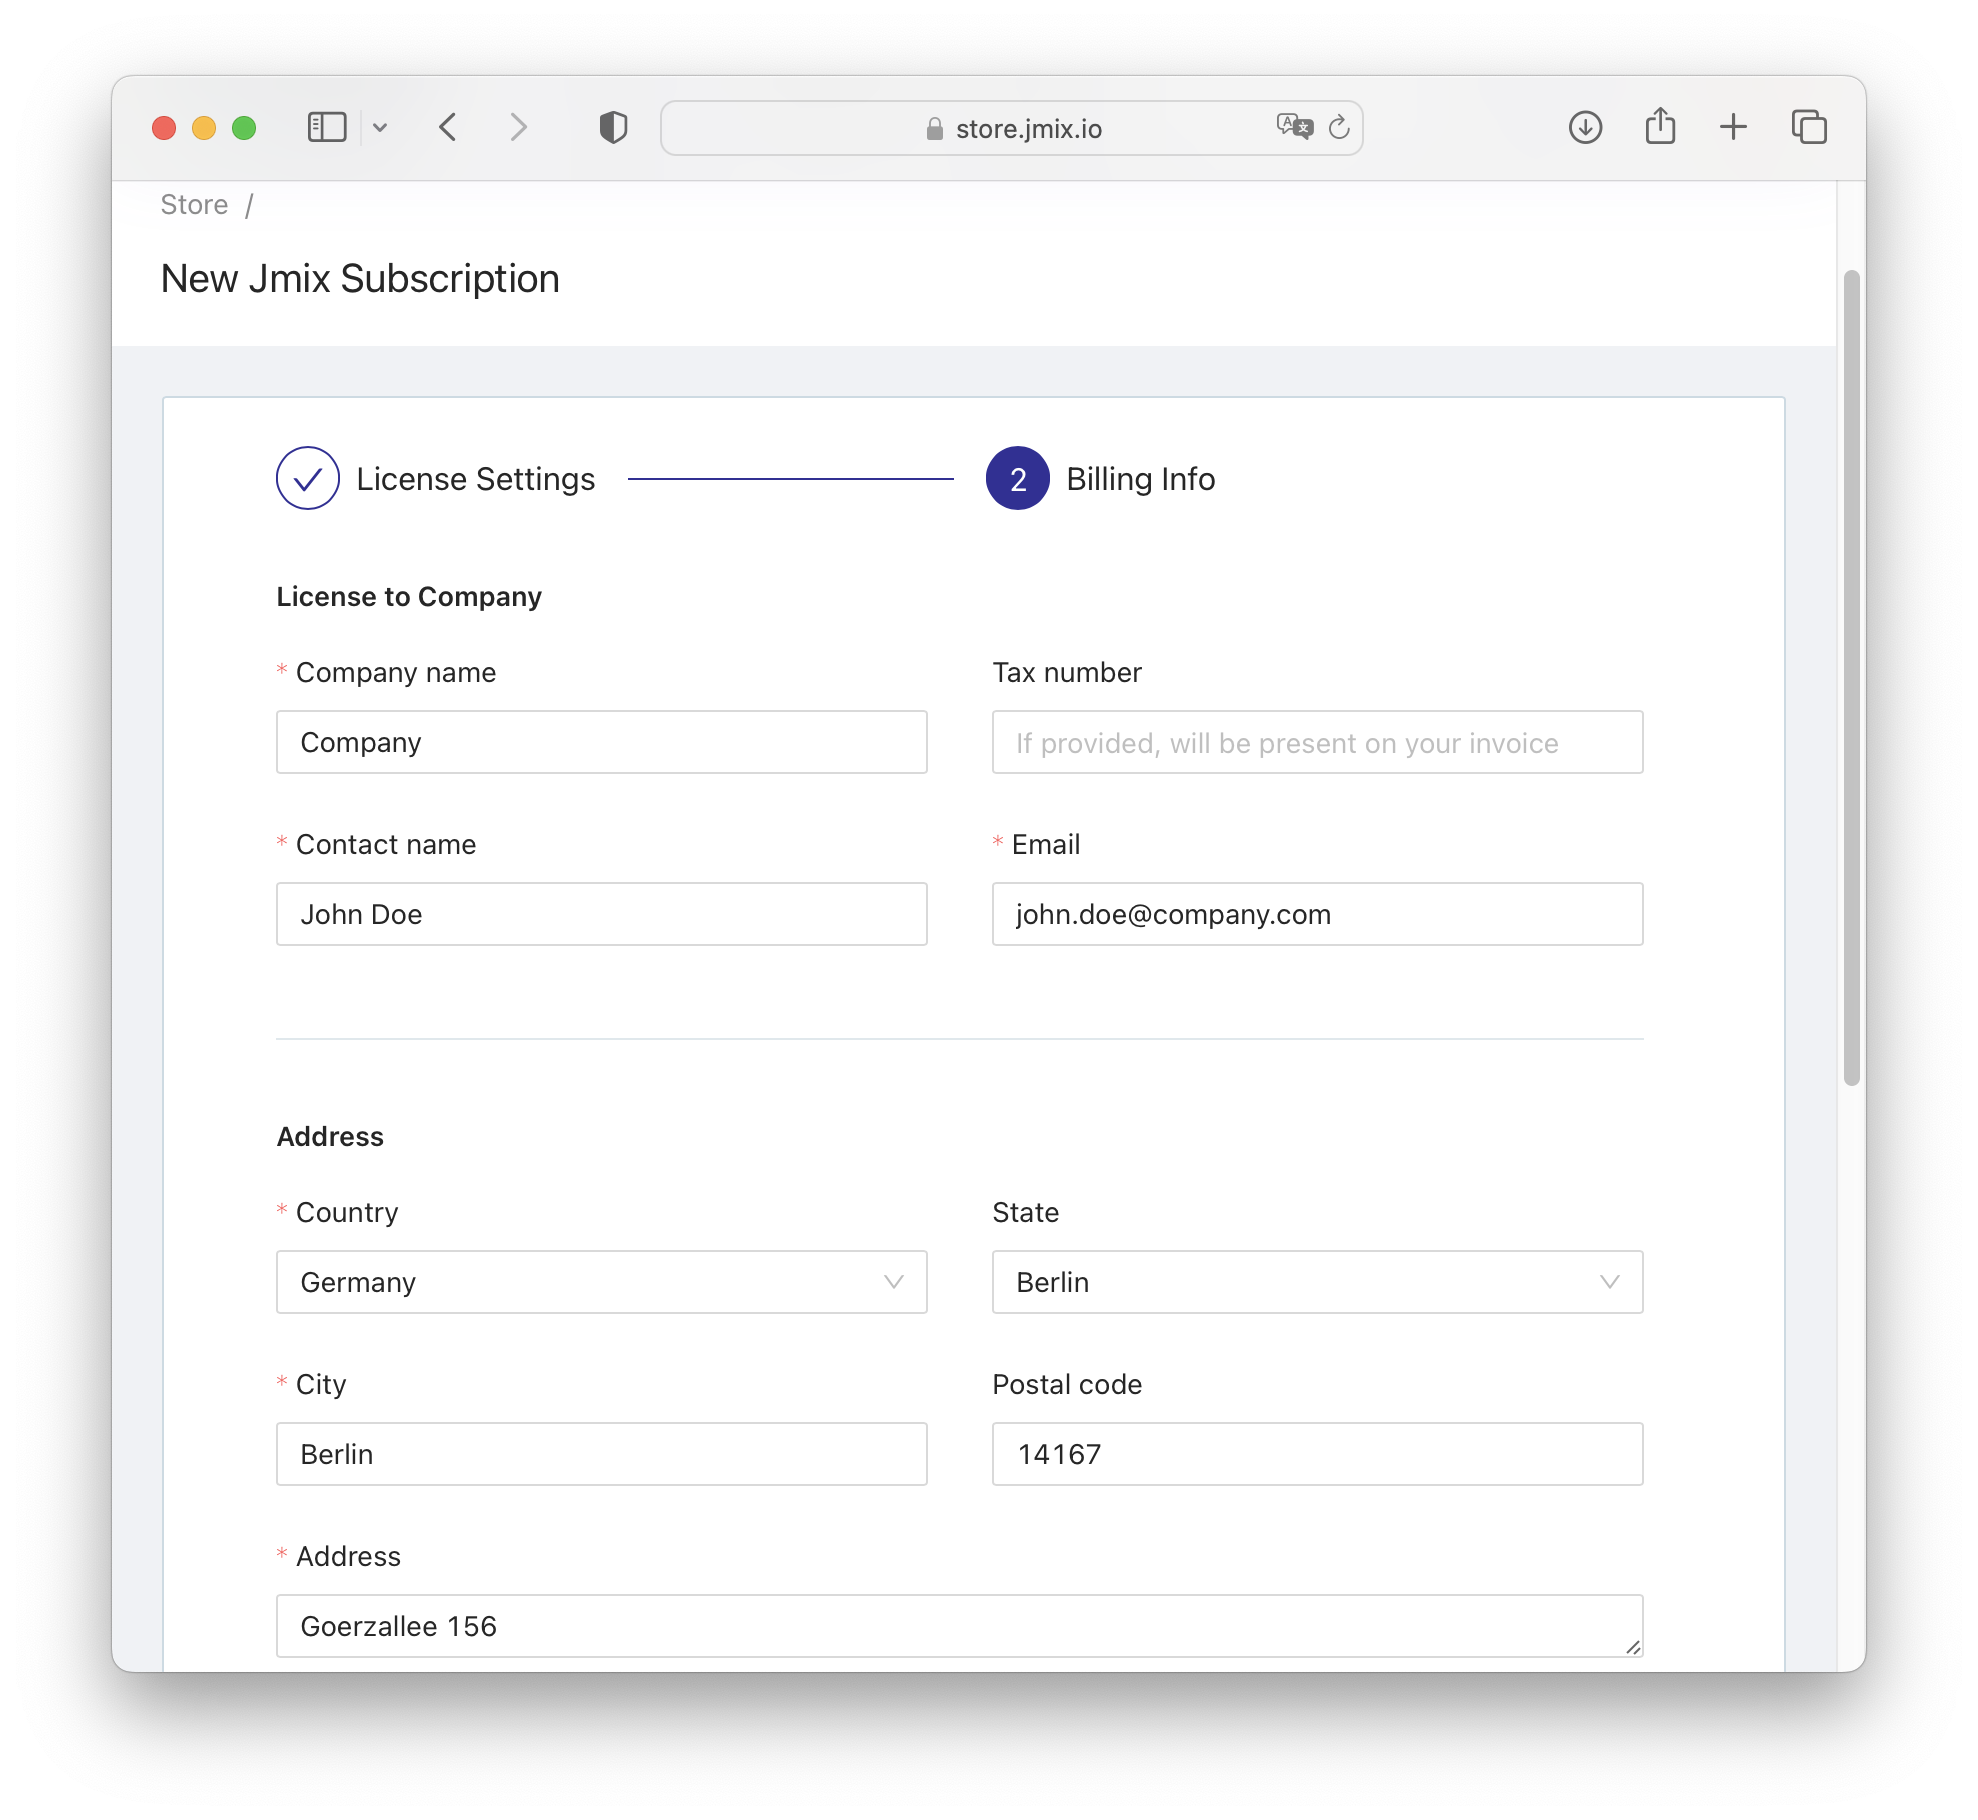
The information specified in this step will be displayed in the payment invoice. After making the purchase, the invoice will be sent to the email address you specified here. -
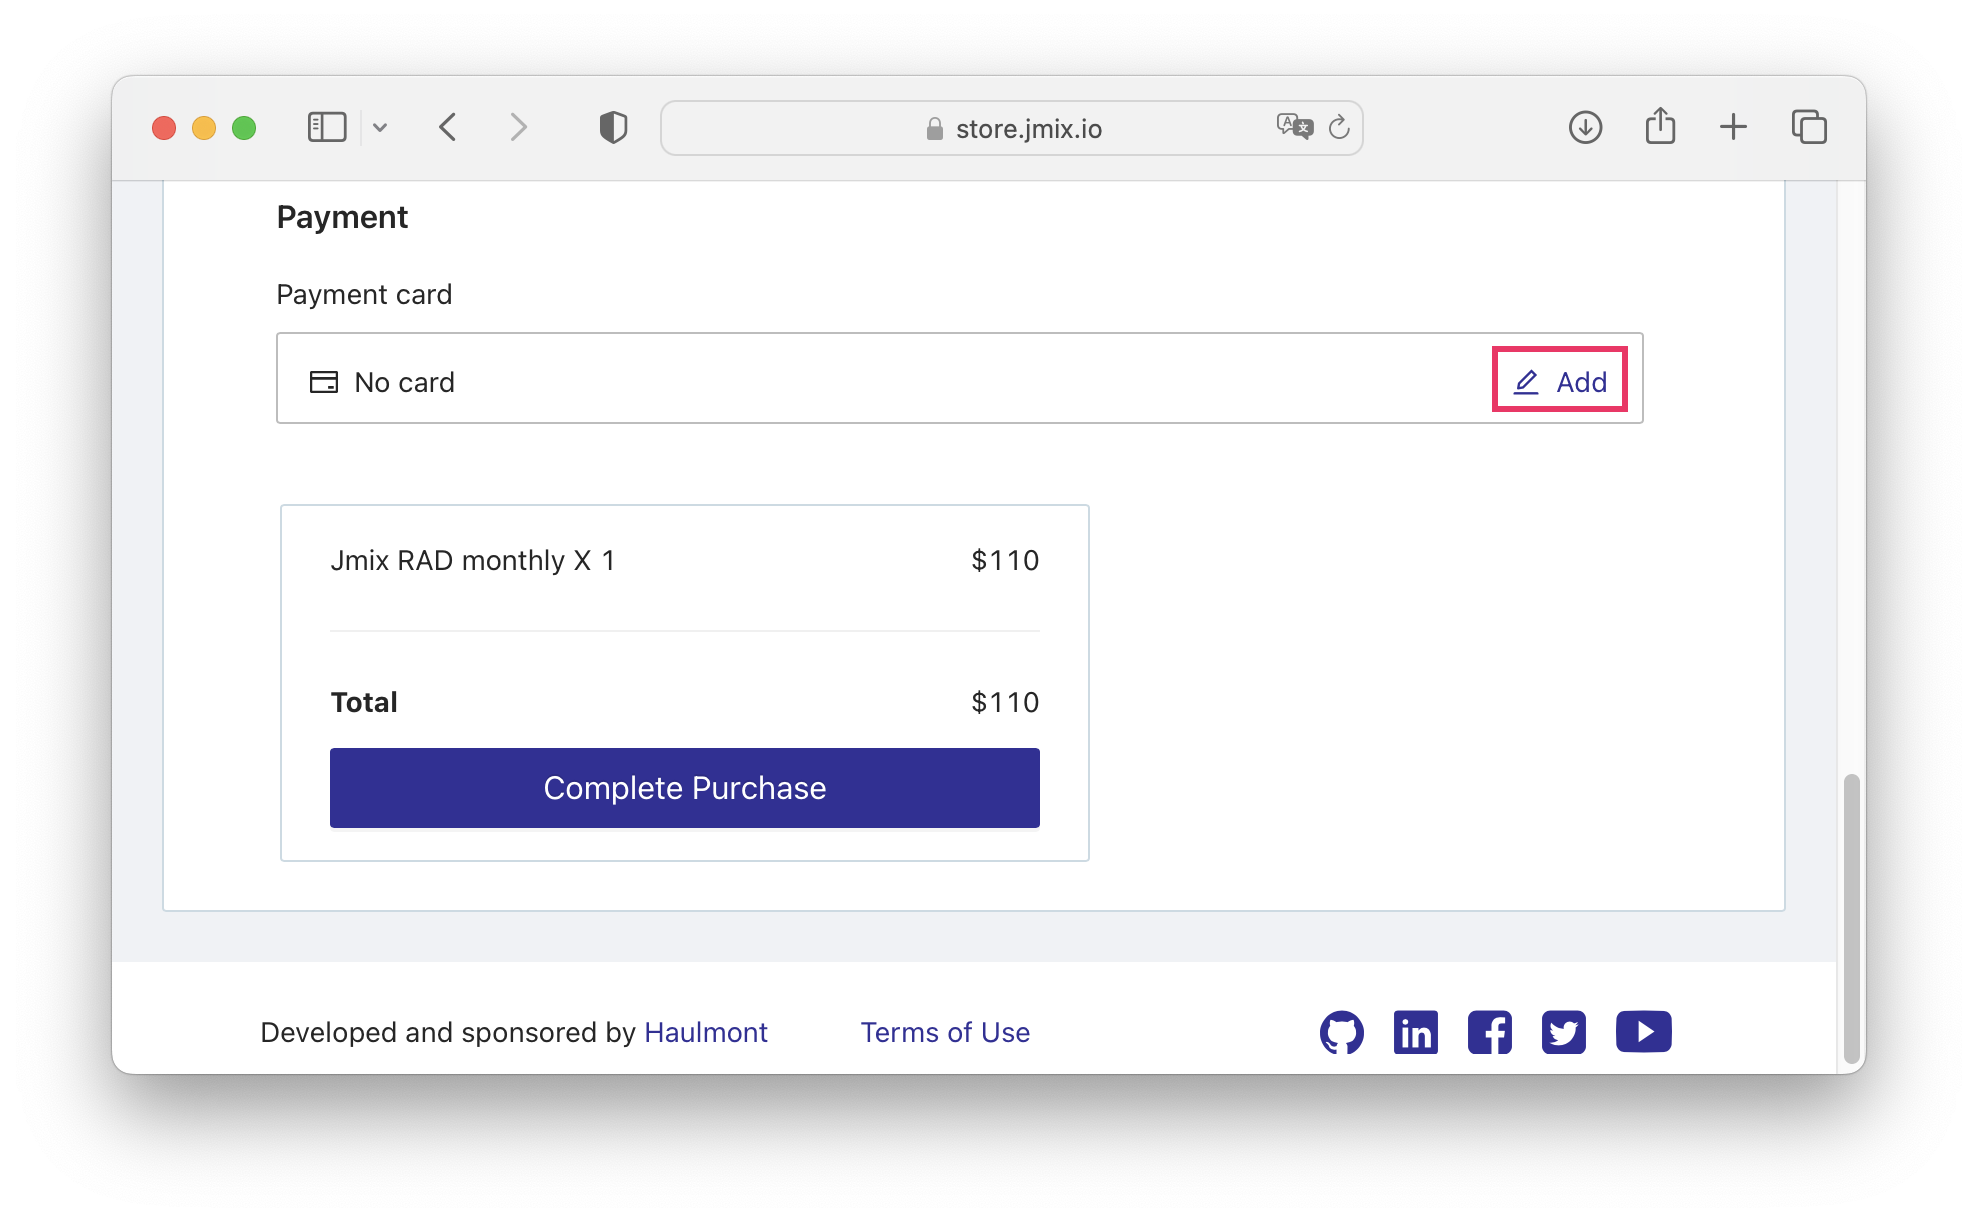
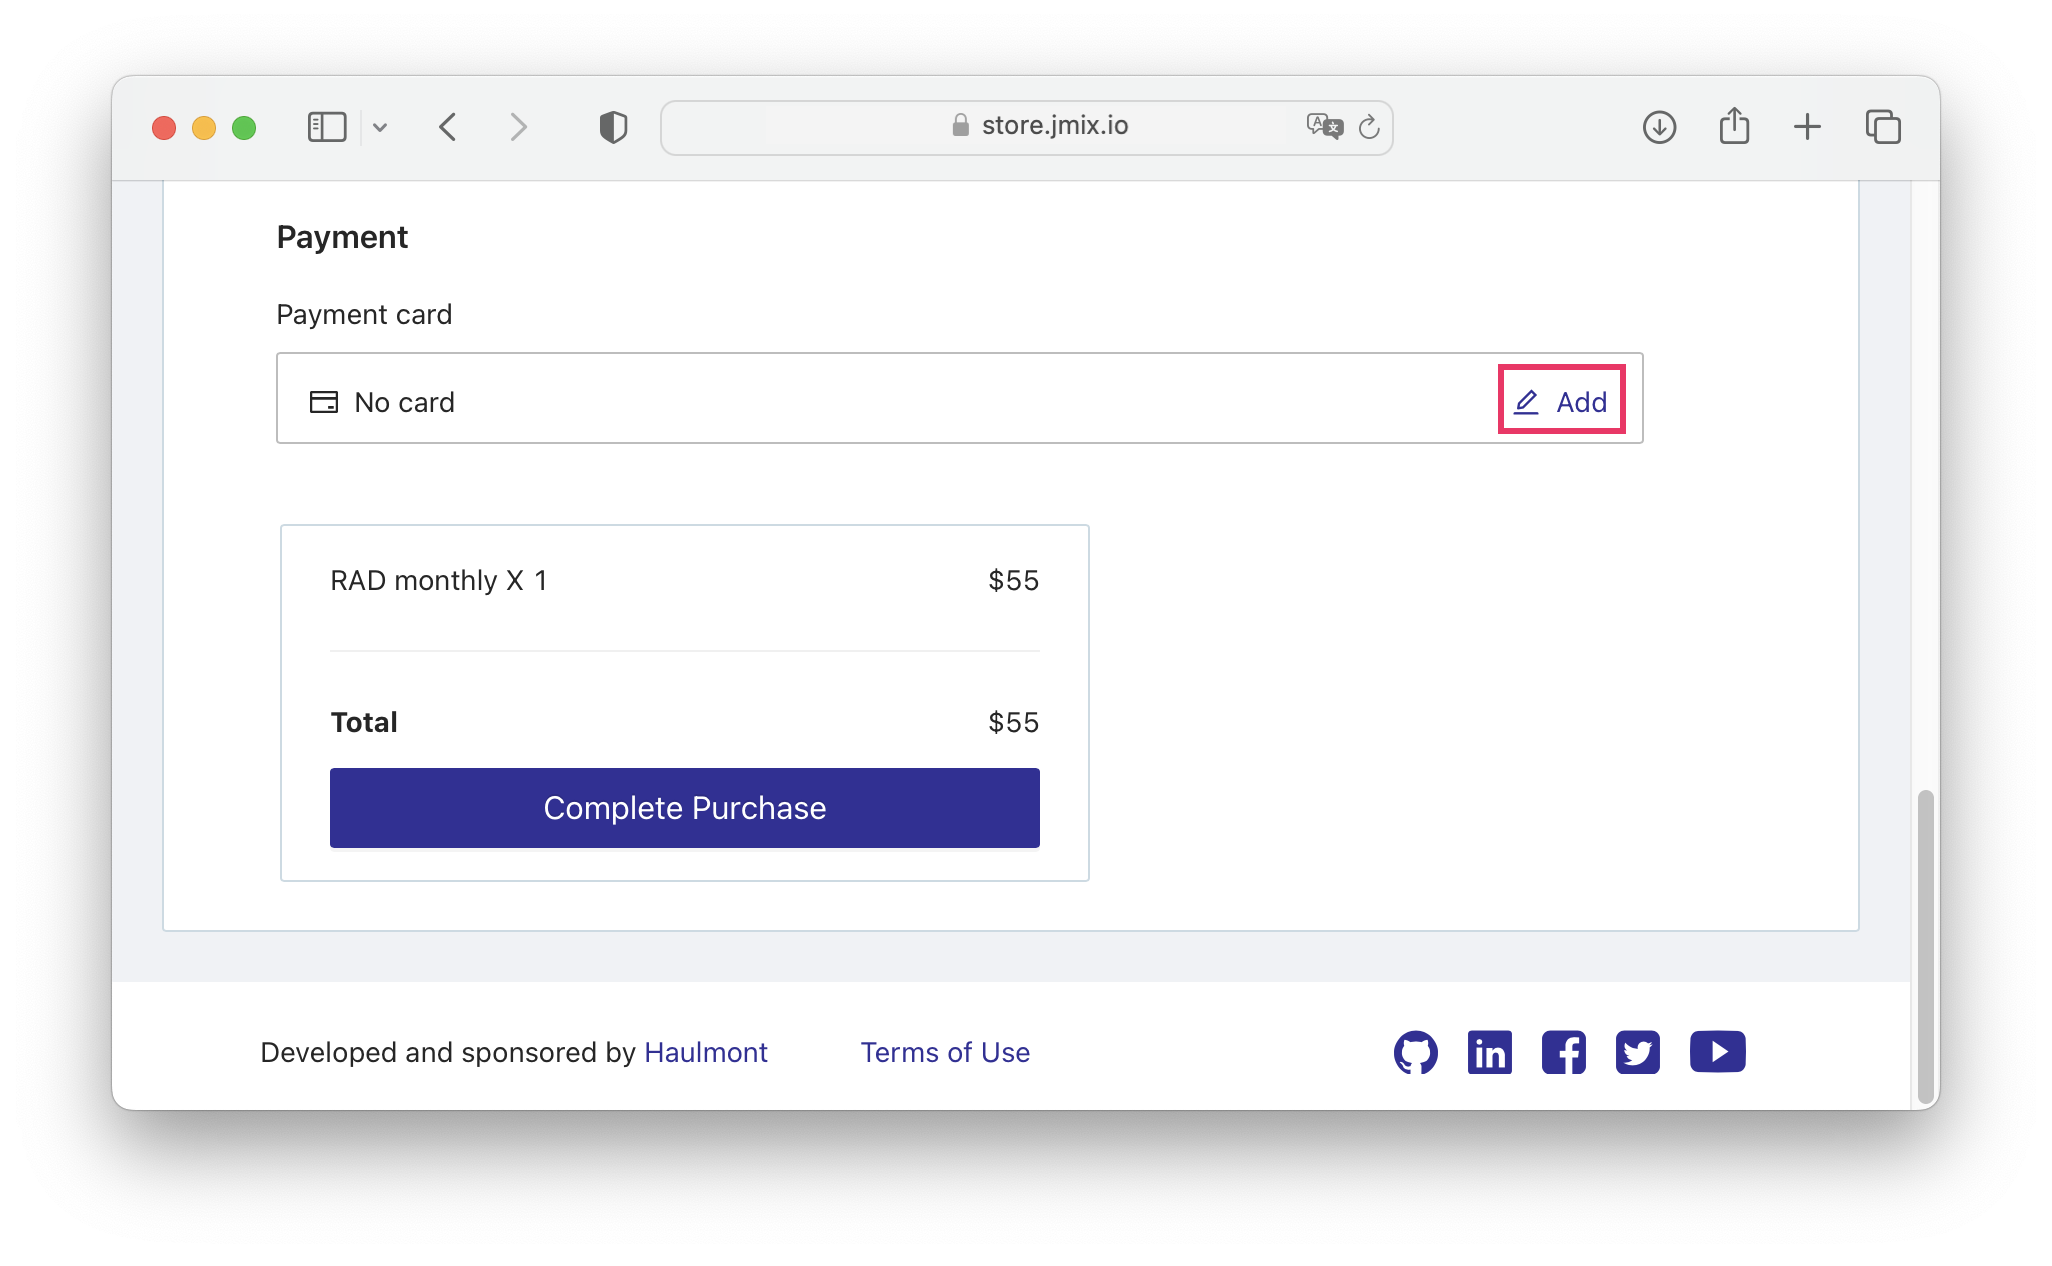
In the Payment section, add a valid payment card:
-
Verify the total sum and click on the Complete Purchase button.
-
The purchase is successful. Click on the button and assign licenses in your subscription. Find more details about it in the Subscription Management section.
Individual
An Individual license is an option for private individuals who purchase a license with their own funds and solely for their own use. Individual licenses are not to be purchased, refunded or in any way financed by companies.
To buy a RAD or an Enterprise subscription:
-
Select the Individual in the License to field, the Subscription Plan and the Period.
-
Read and accept the Jmix Studio and Add-ons License Agreement.
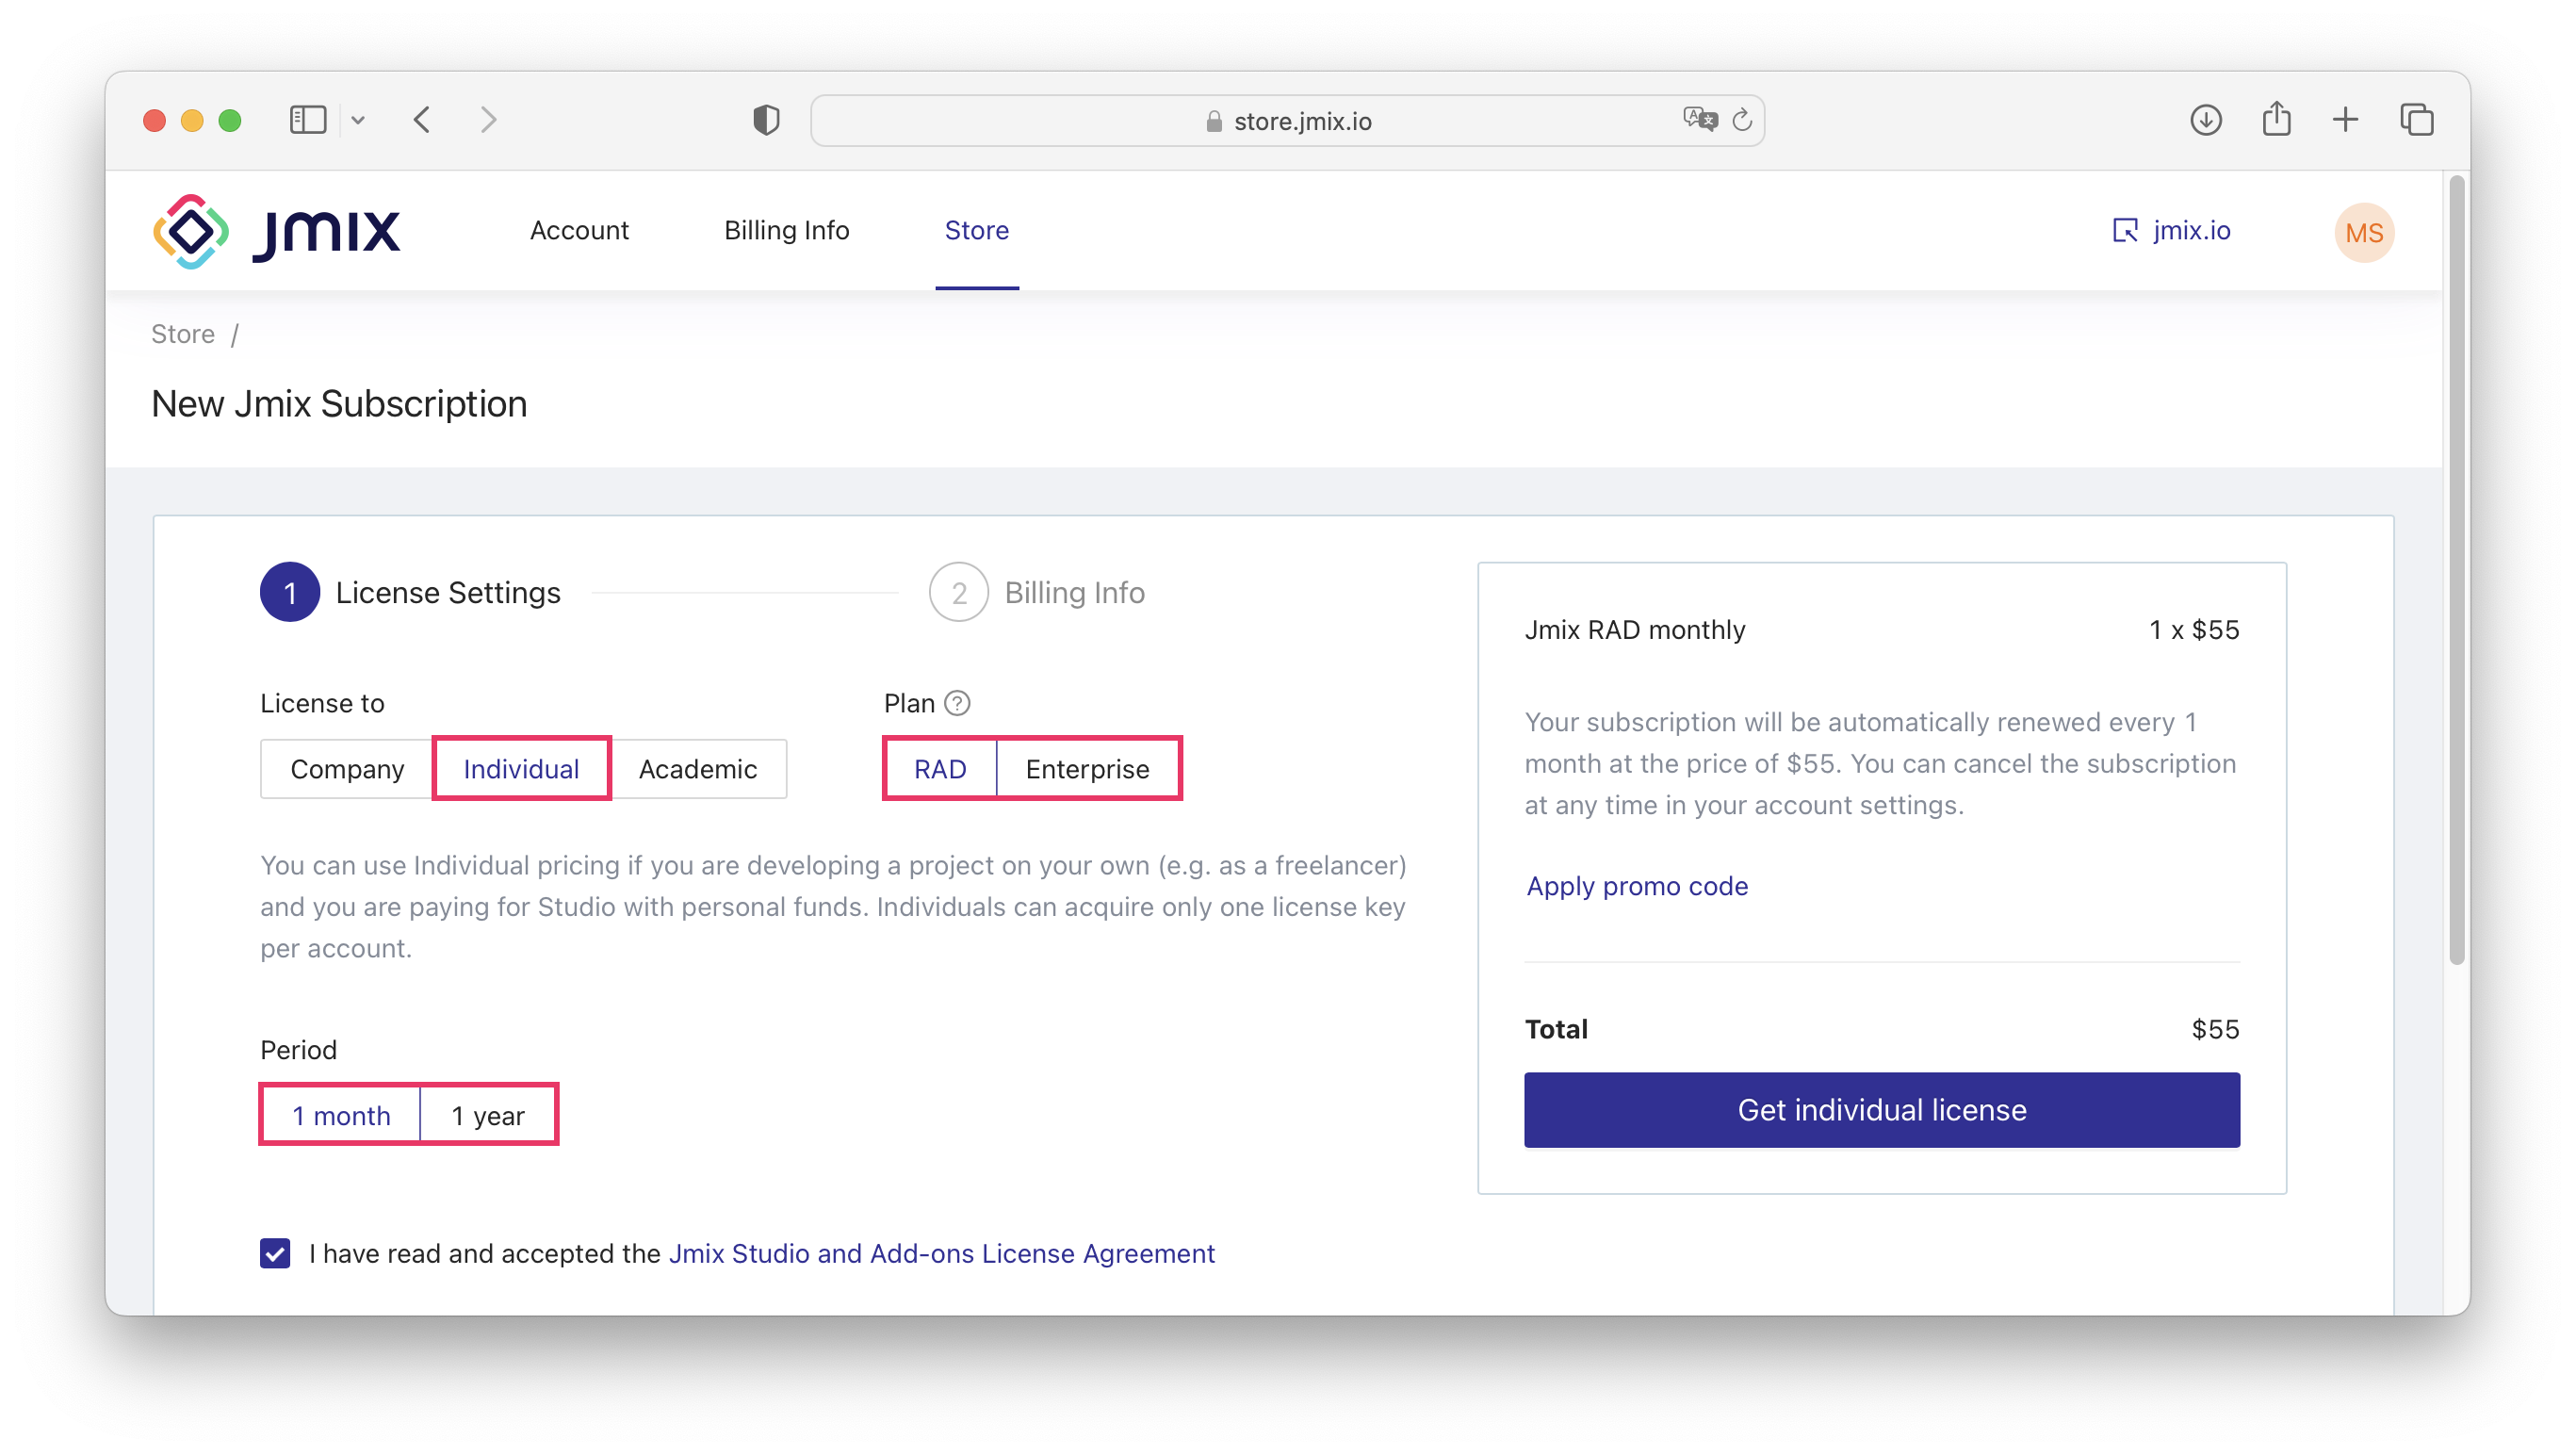
If you have a promo code, click on the Apply promo code link and enter the promo code in the dialog. -
Click on the Get individual license button.
-
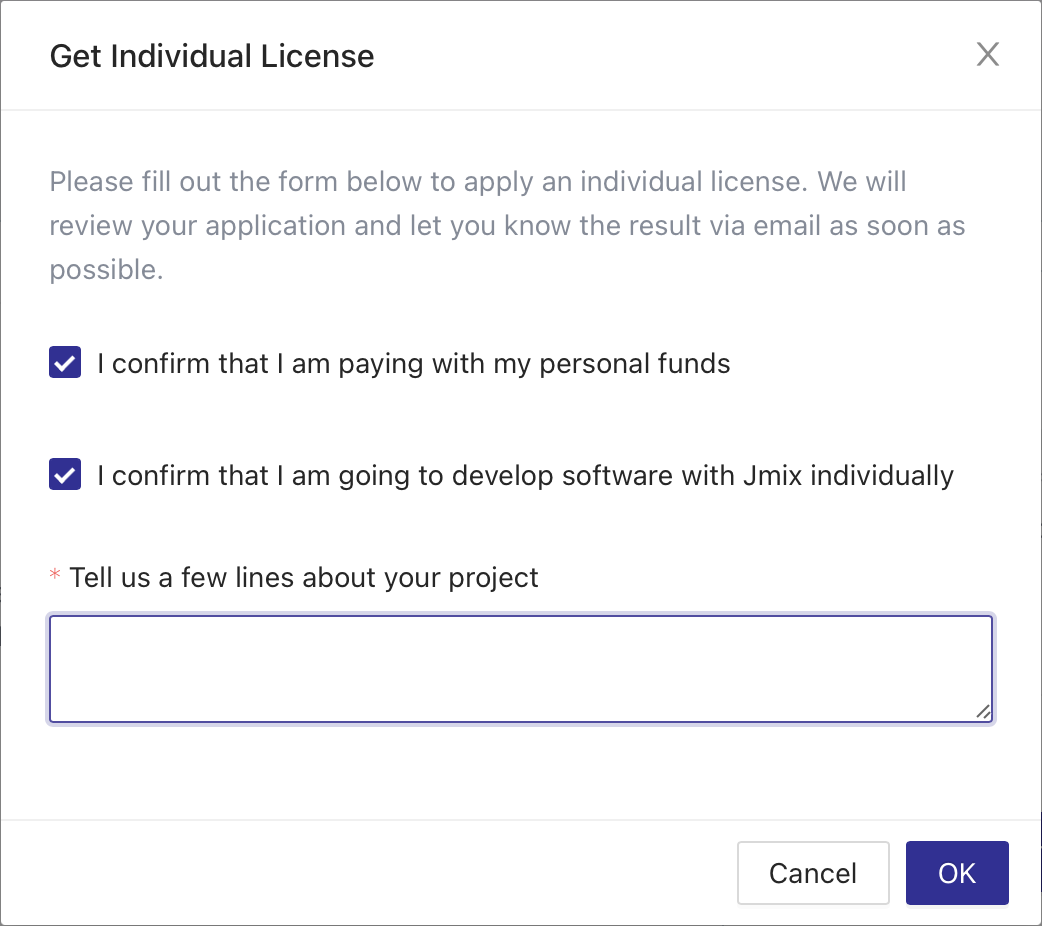
Fill in the fields in the request dialog and click on the OK button.
-
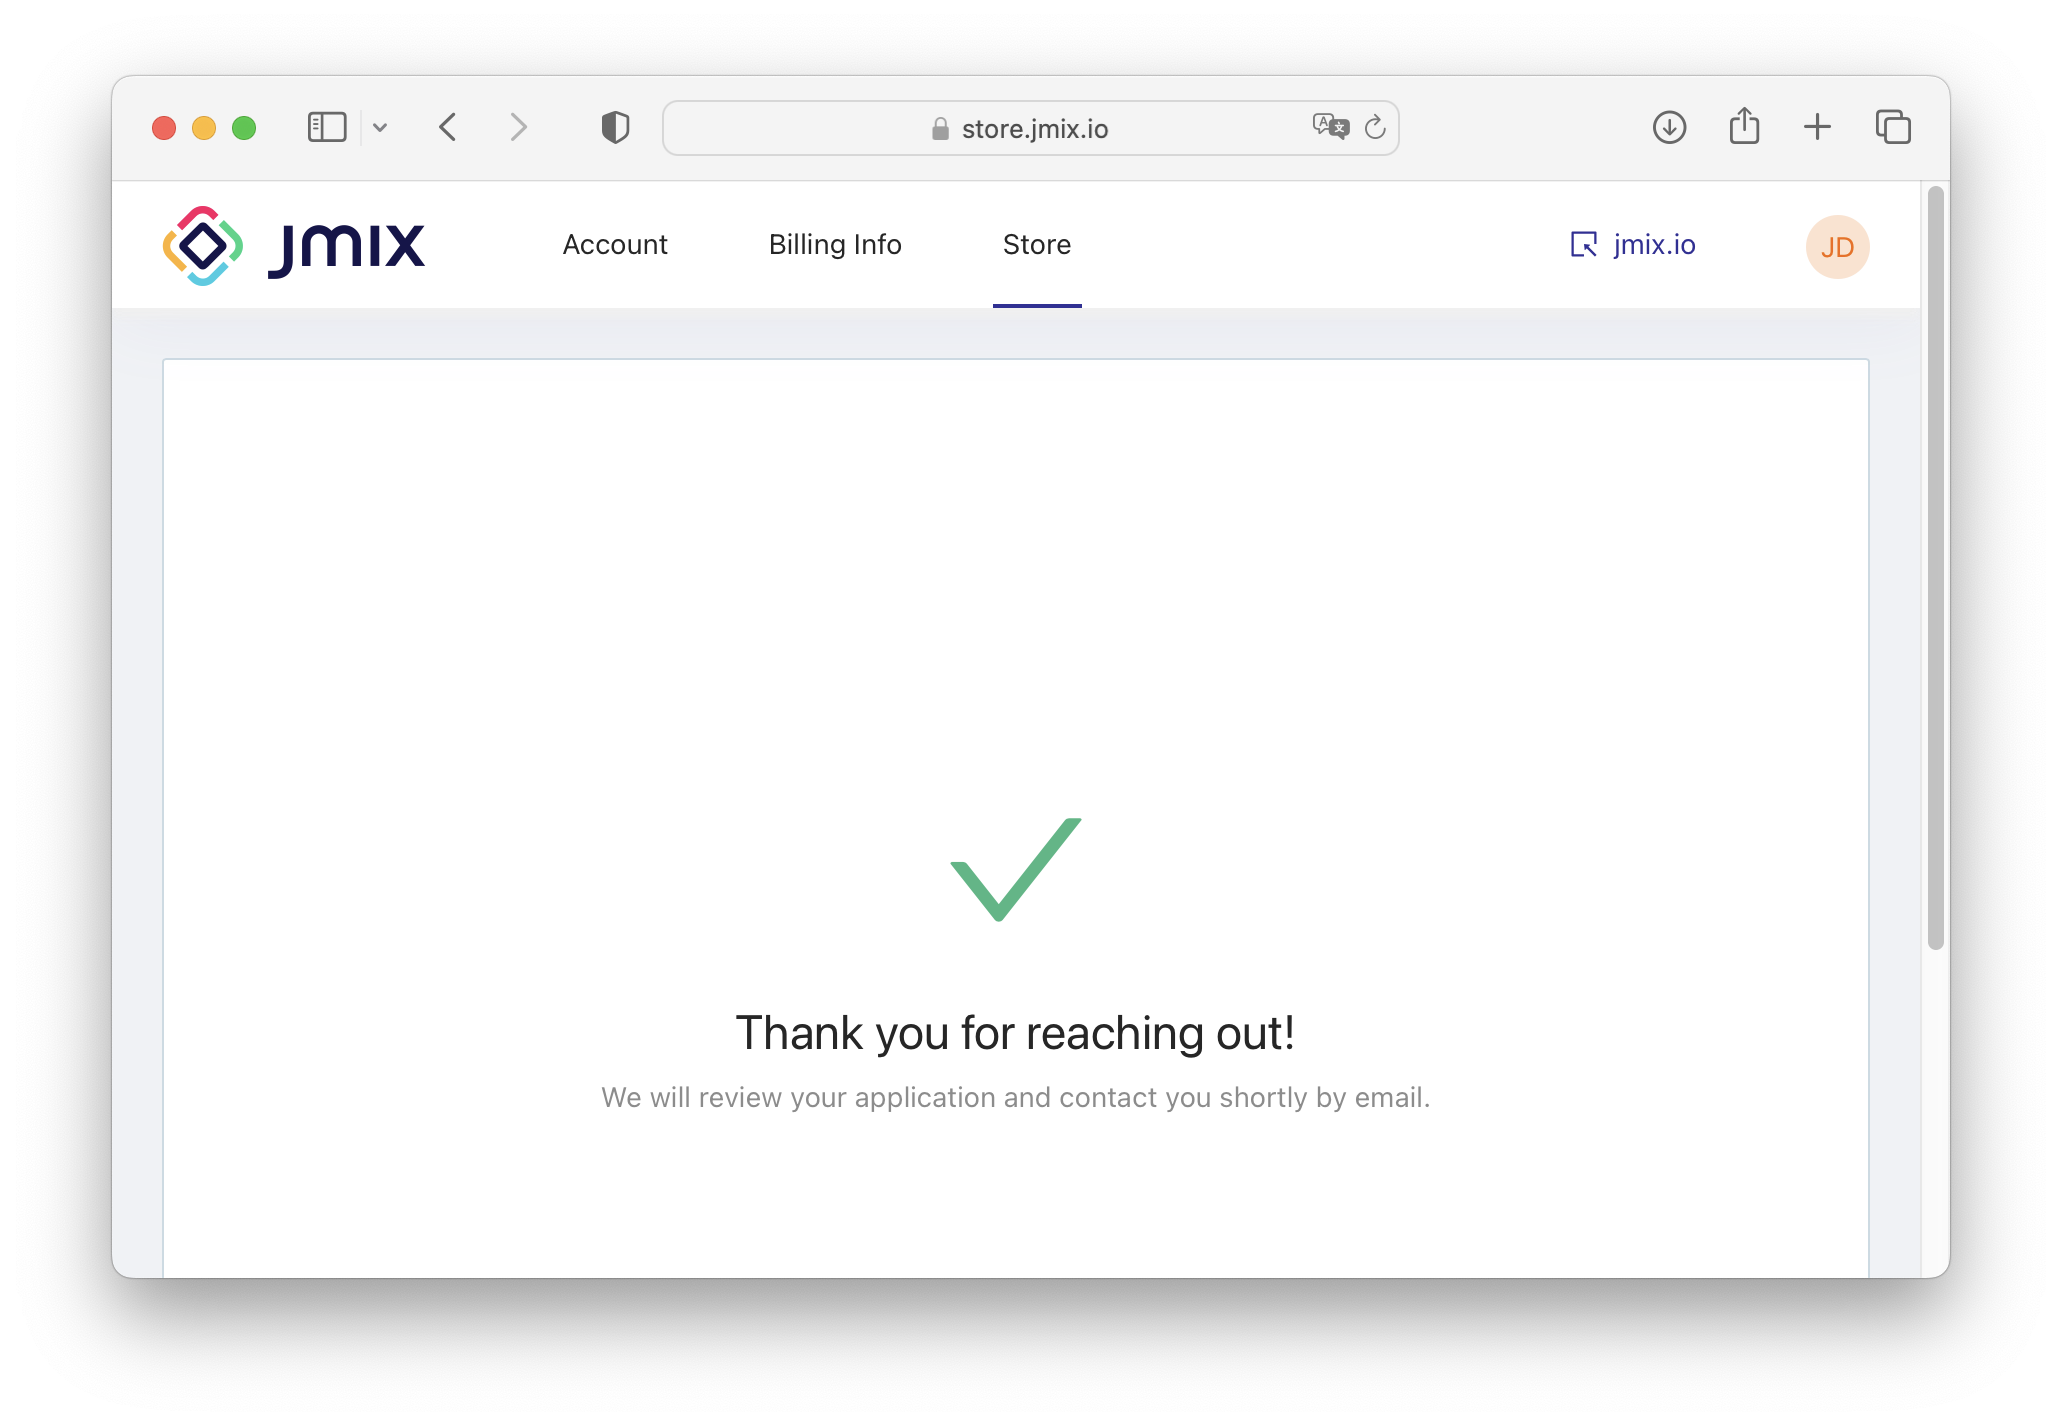
A request for an individual license will be sent to the Jmix team.
-
As soon as the Jmix team validates your data, they will email you with further instructions. Usually, it takes not more than one working days.
-
If your request has been confirmed, complete your purchase at the store. Go to the https://store.jmix.io/store.
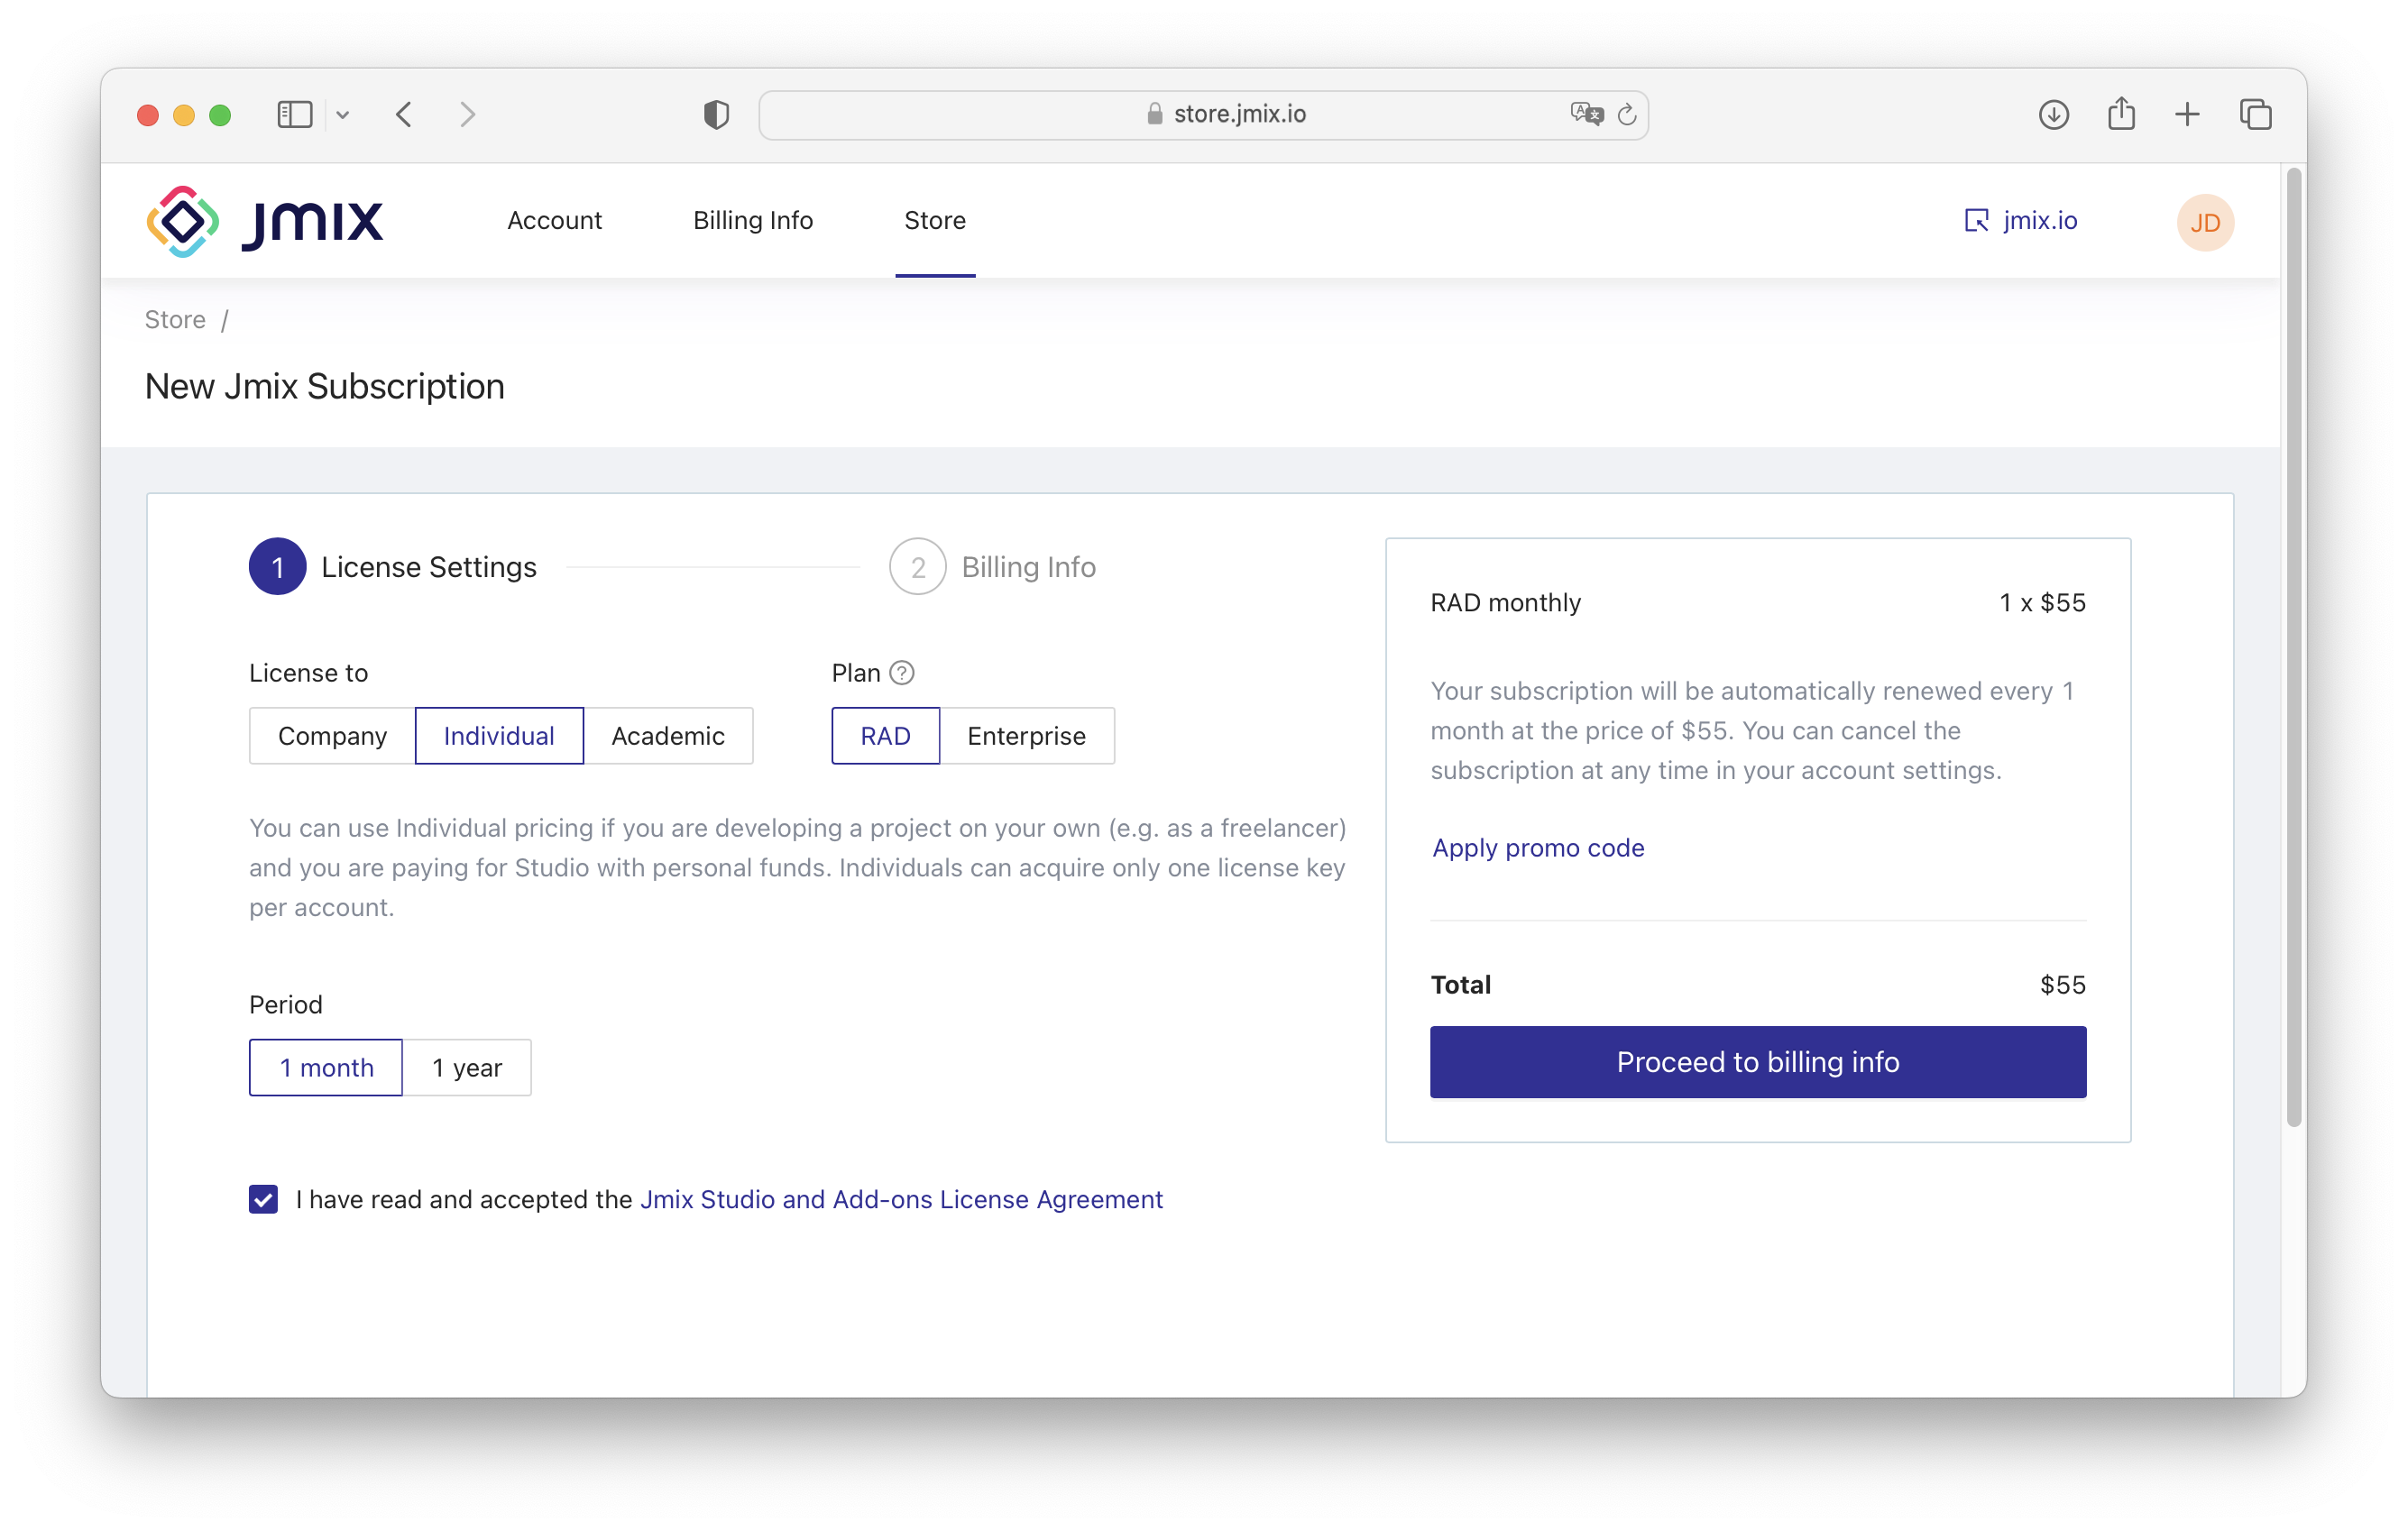
Select the Individual license, the subscription Plan and the Period. Accept the Jmix Studio and Add-ons License Agreement. Click on the Proceed to billing info button.
-
On the next step, fill in the billing info:
-
In the Payment section, add a valid payment card:
-
Verify the total sum and click on the Complete Purchase button.
-
After a successful purchase, the user can log in to Jmix Studio.
Academic
The Jmix team provides free Academic licenses to official educational organizations and their students.
To request an academic license:
-
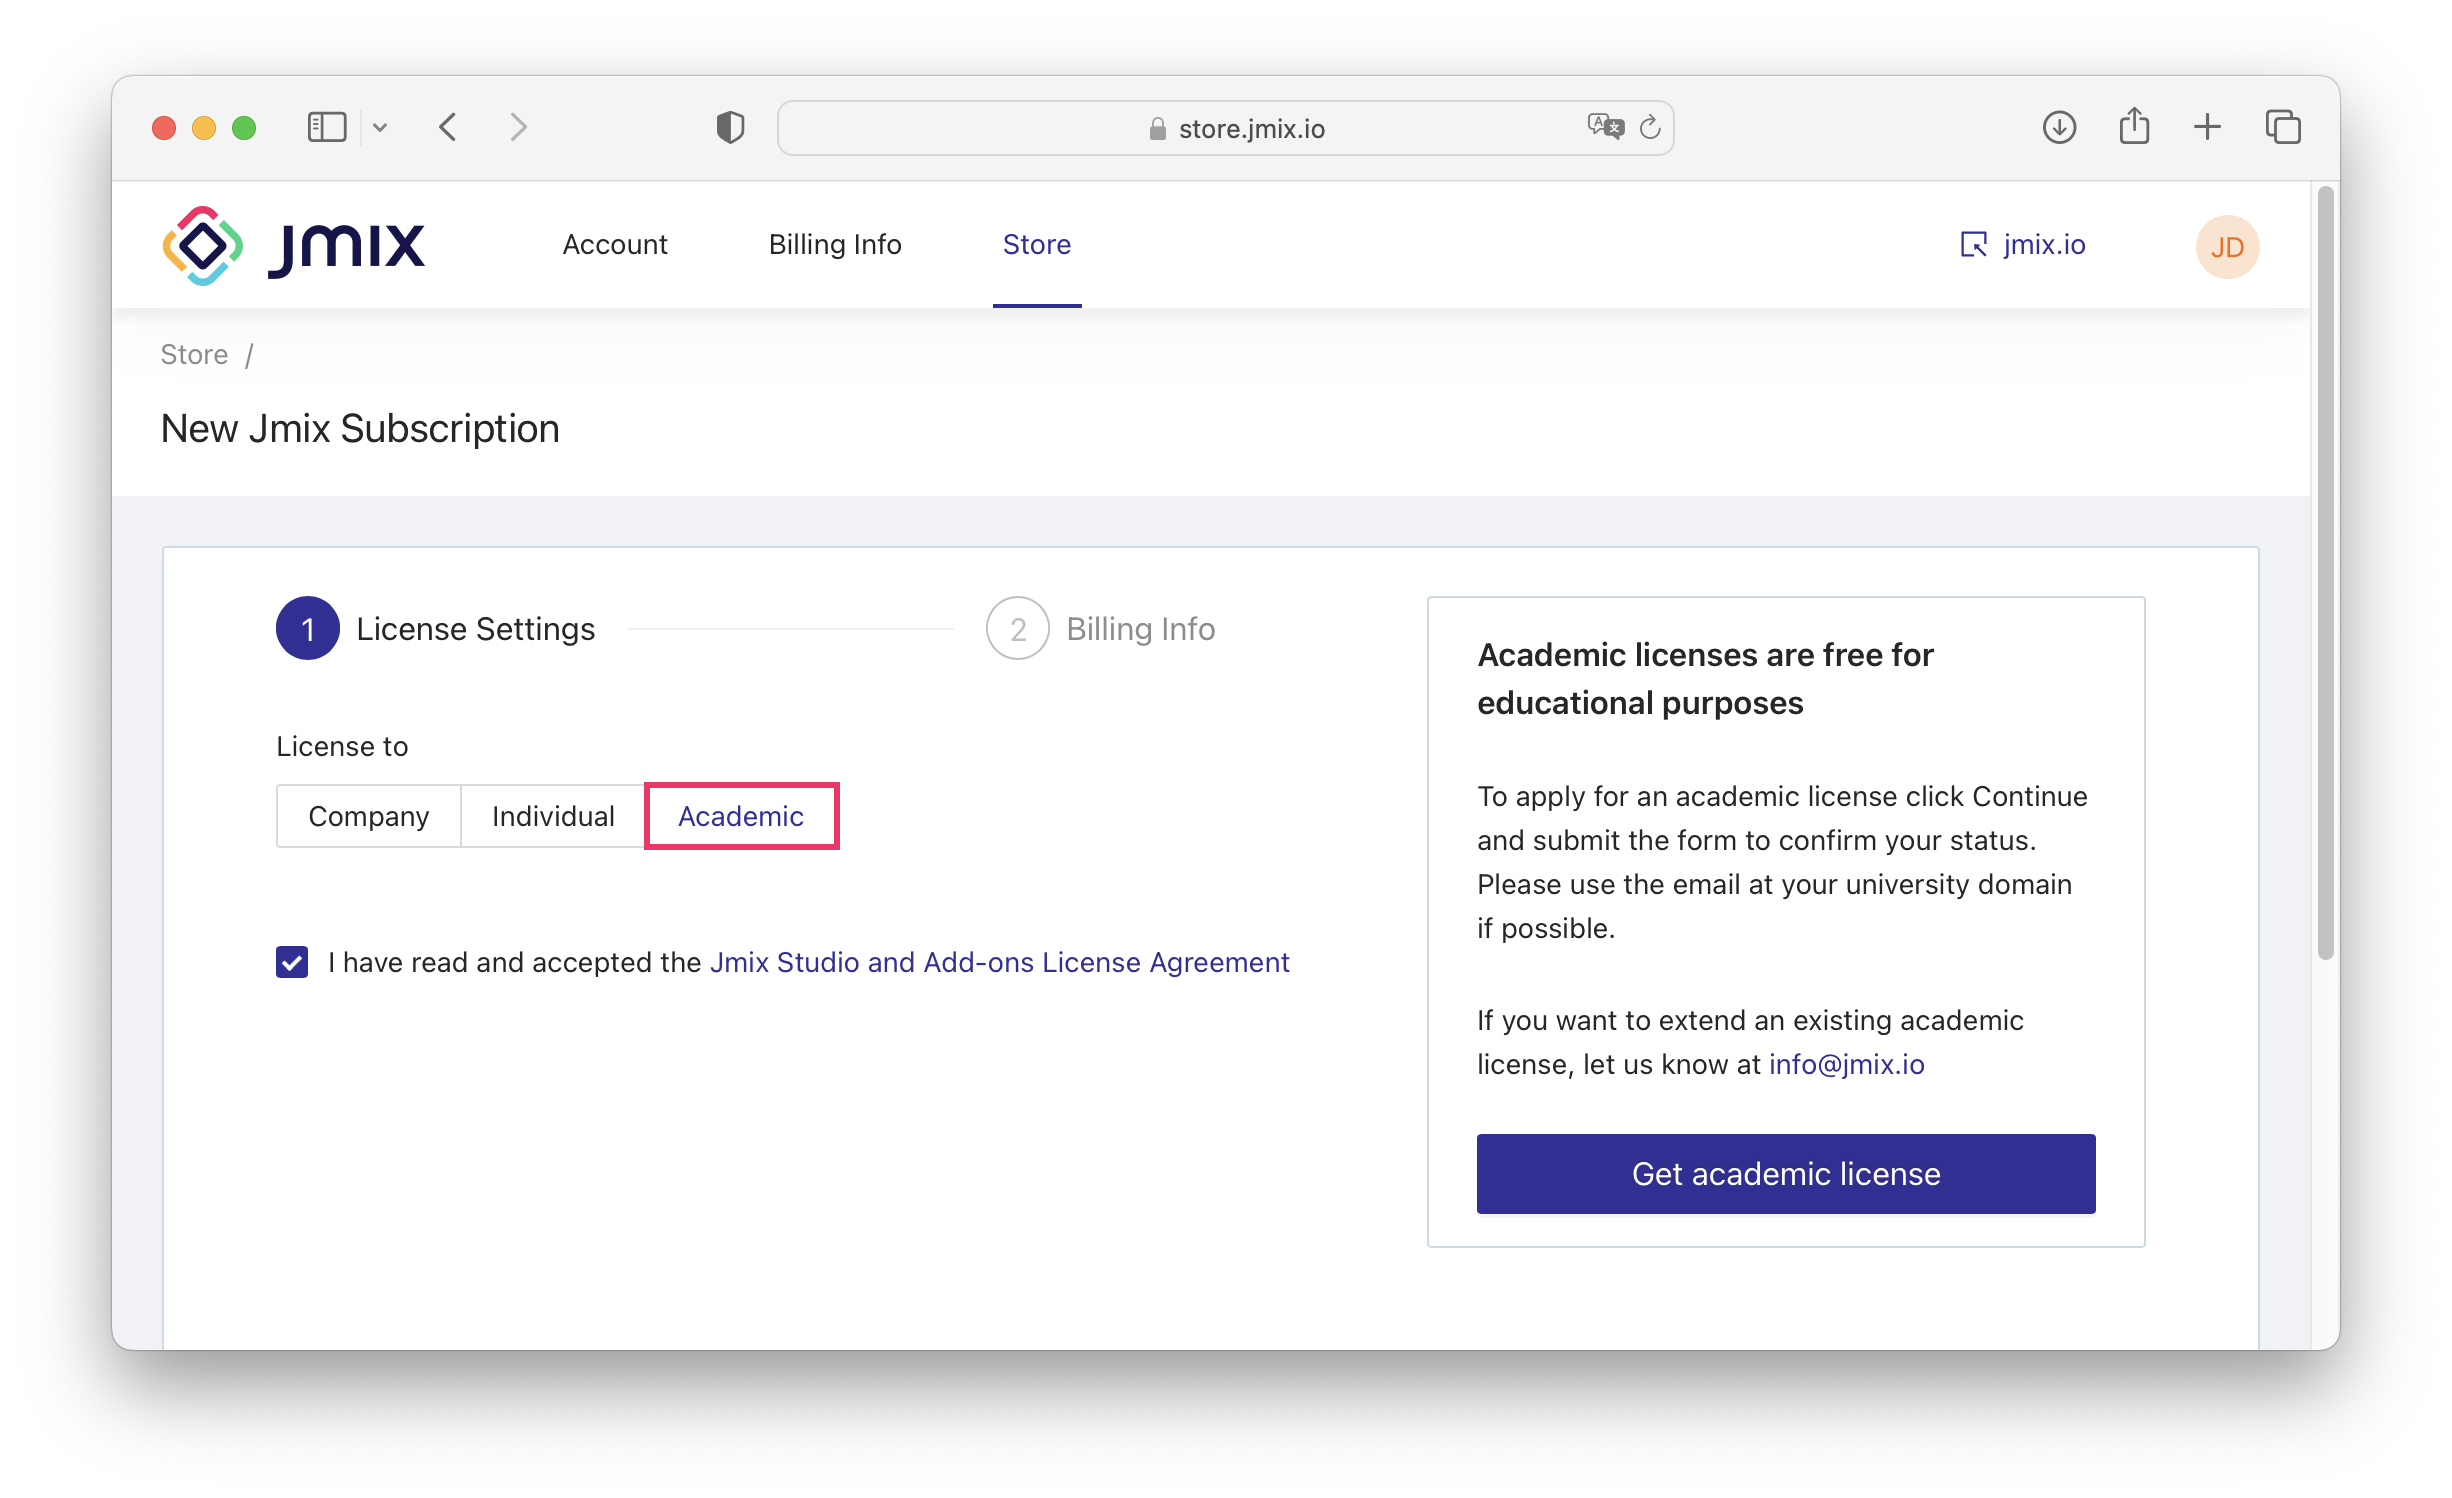
Select the Academic in the License to field.
-
Read and accept the Jmix Studio and Add-ons License Agreement.
-
Click on the Get academic license button.
-
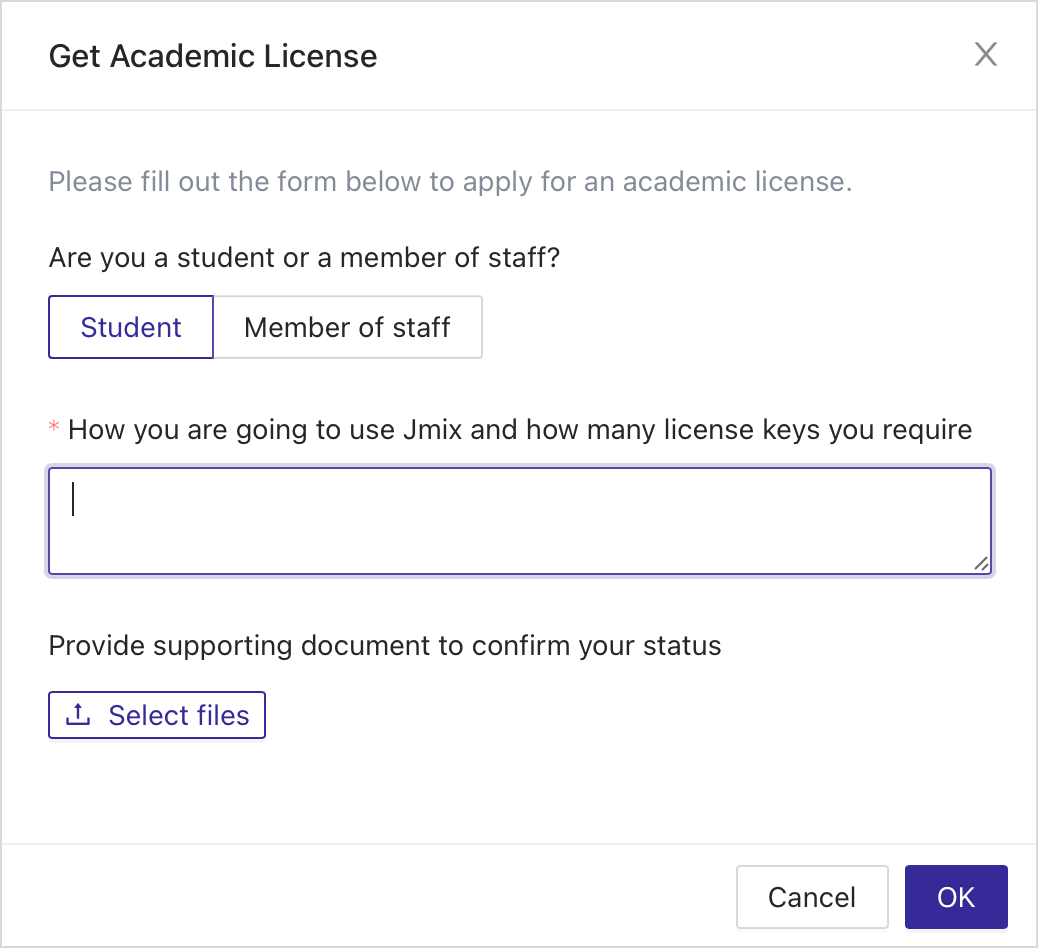
Fill in the fields in the request dialog and click on the OK button.
-
A request for an academic license will be sent to the Jmix team.
-
As soon as the Jmix team validates your data, they will email you with further instructions. Usually, it takes not more than one working days.
-
If your request has been confirmed, visit the subscription management page to assign licenses to your colleagues.
Subscription Management
To view details of subscription, change plan, or cancel renewal:
-
Switch to the Account tab (https://store.jmix.io/account).
-
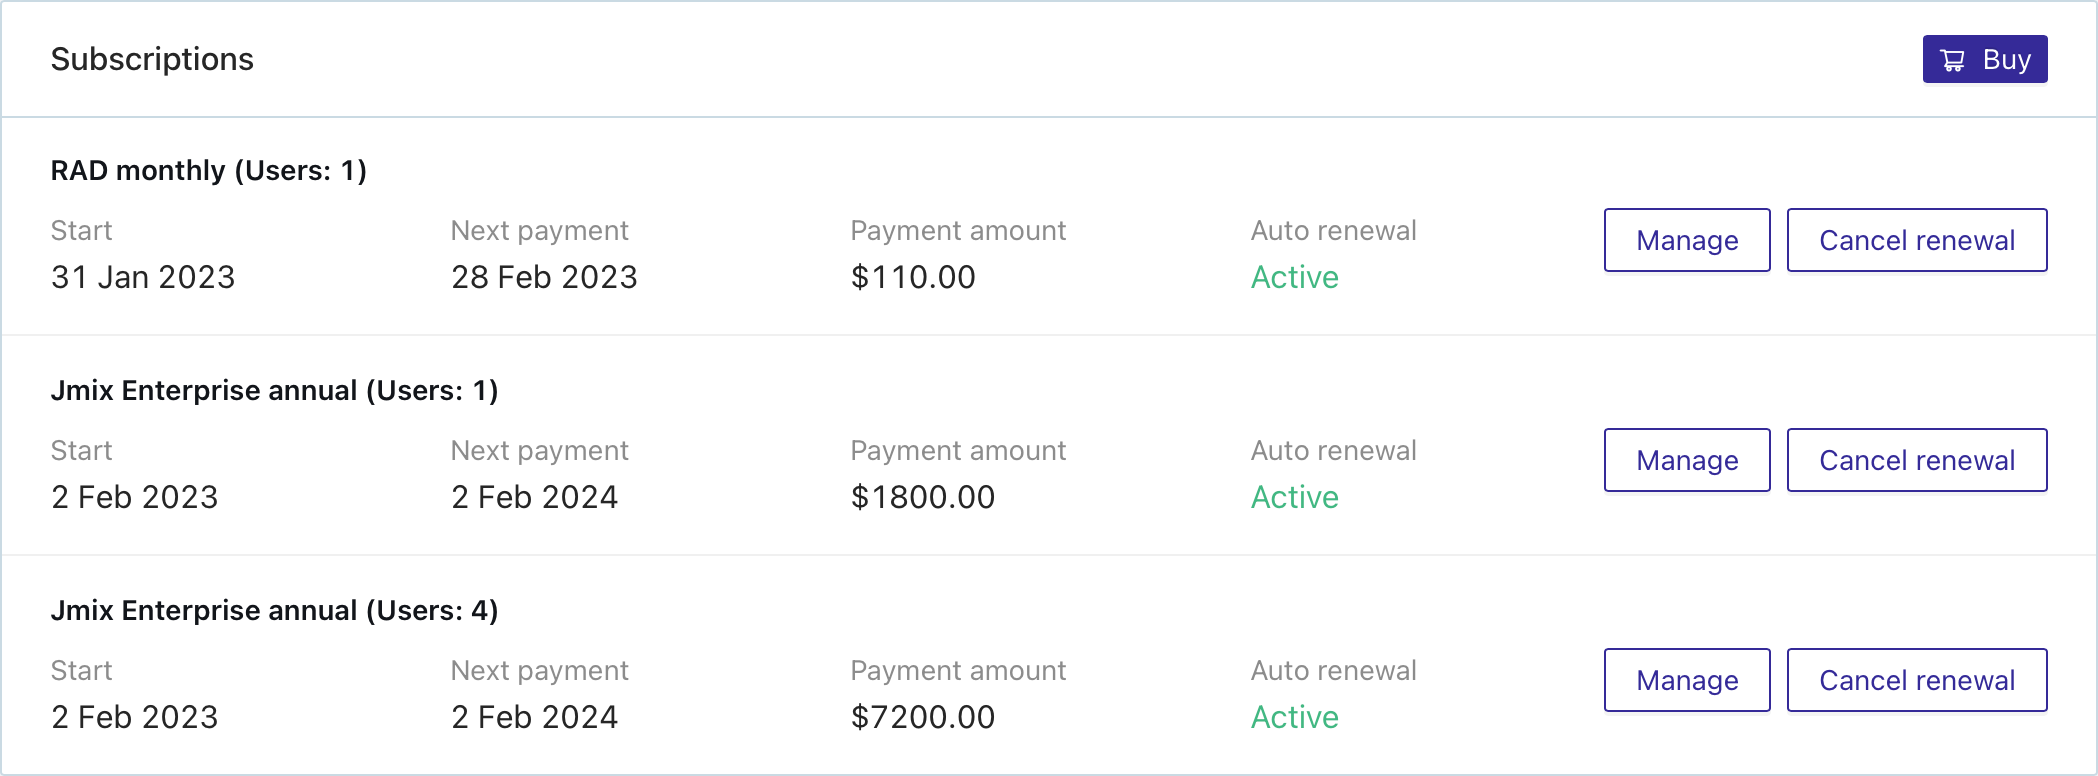
Scroll down to the Subscription section.
-
To cancel the automatic renewal of your subscription, click on the appropriate button next to the subscription.
If you cancel the automatic renewal, this action cannot be reverted. Your subscription will remain active until the end of the period you have paid for (whether this is monthly or annual), but you will no longer be charged for this subscription going forward. -
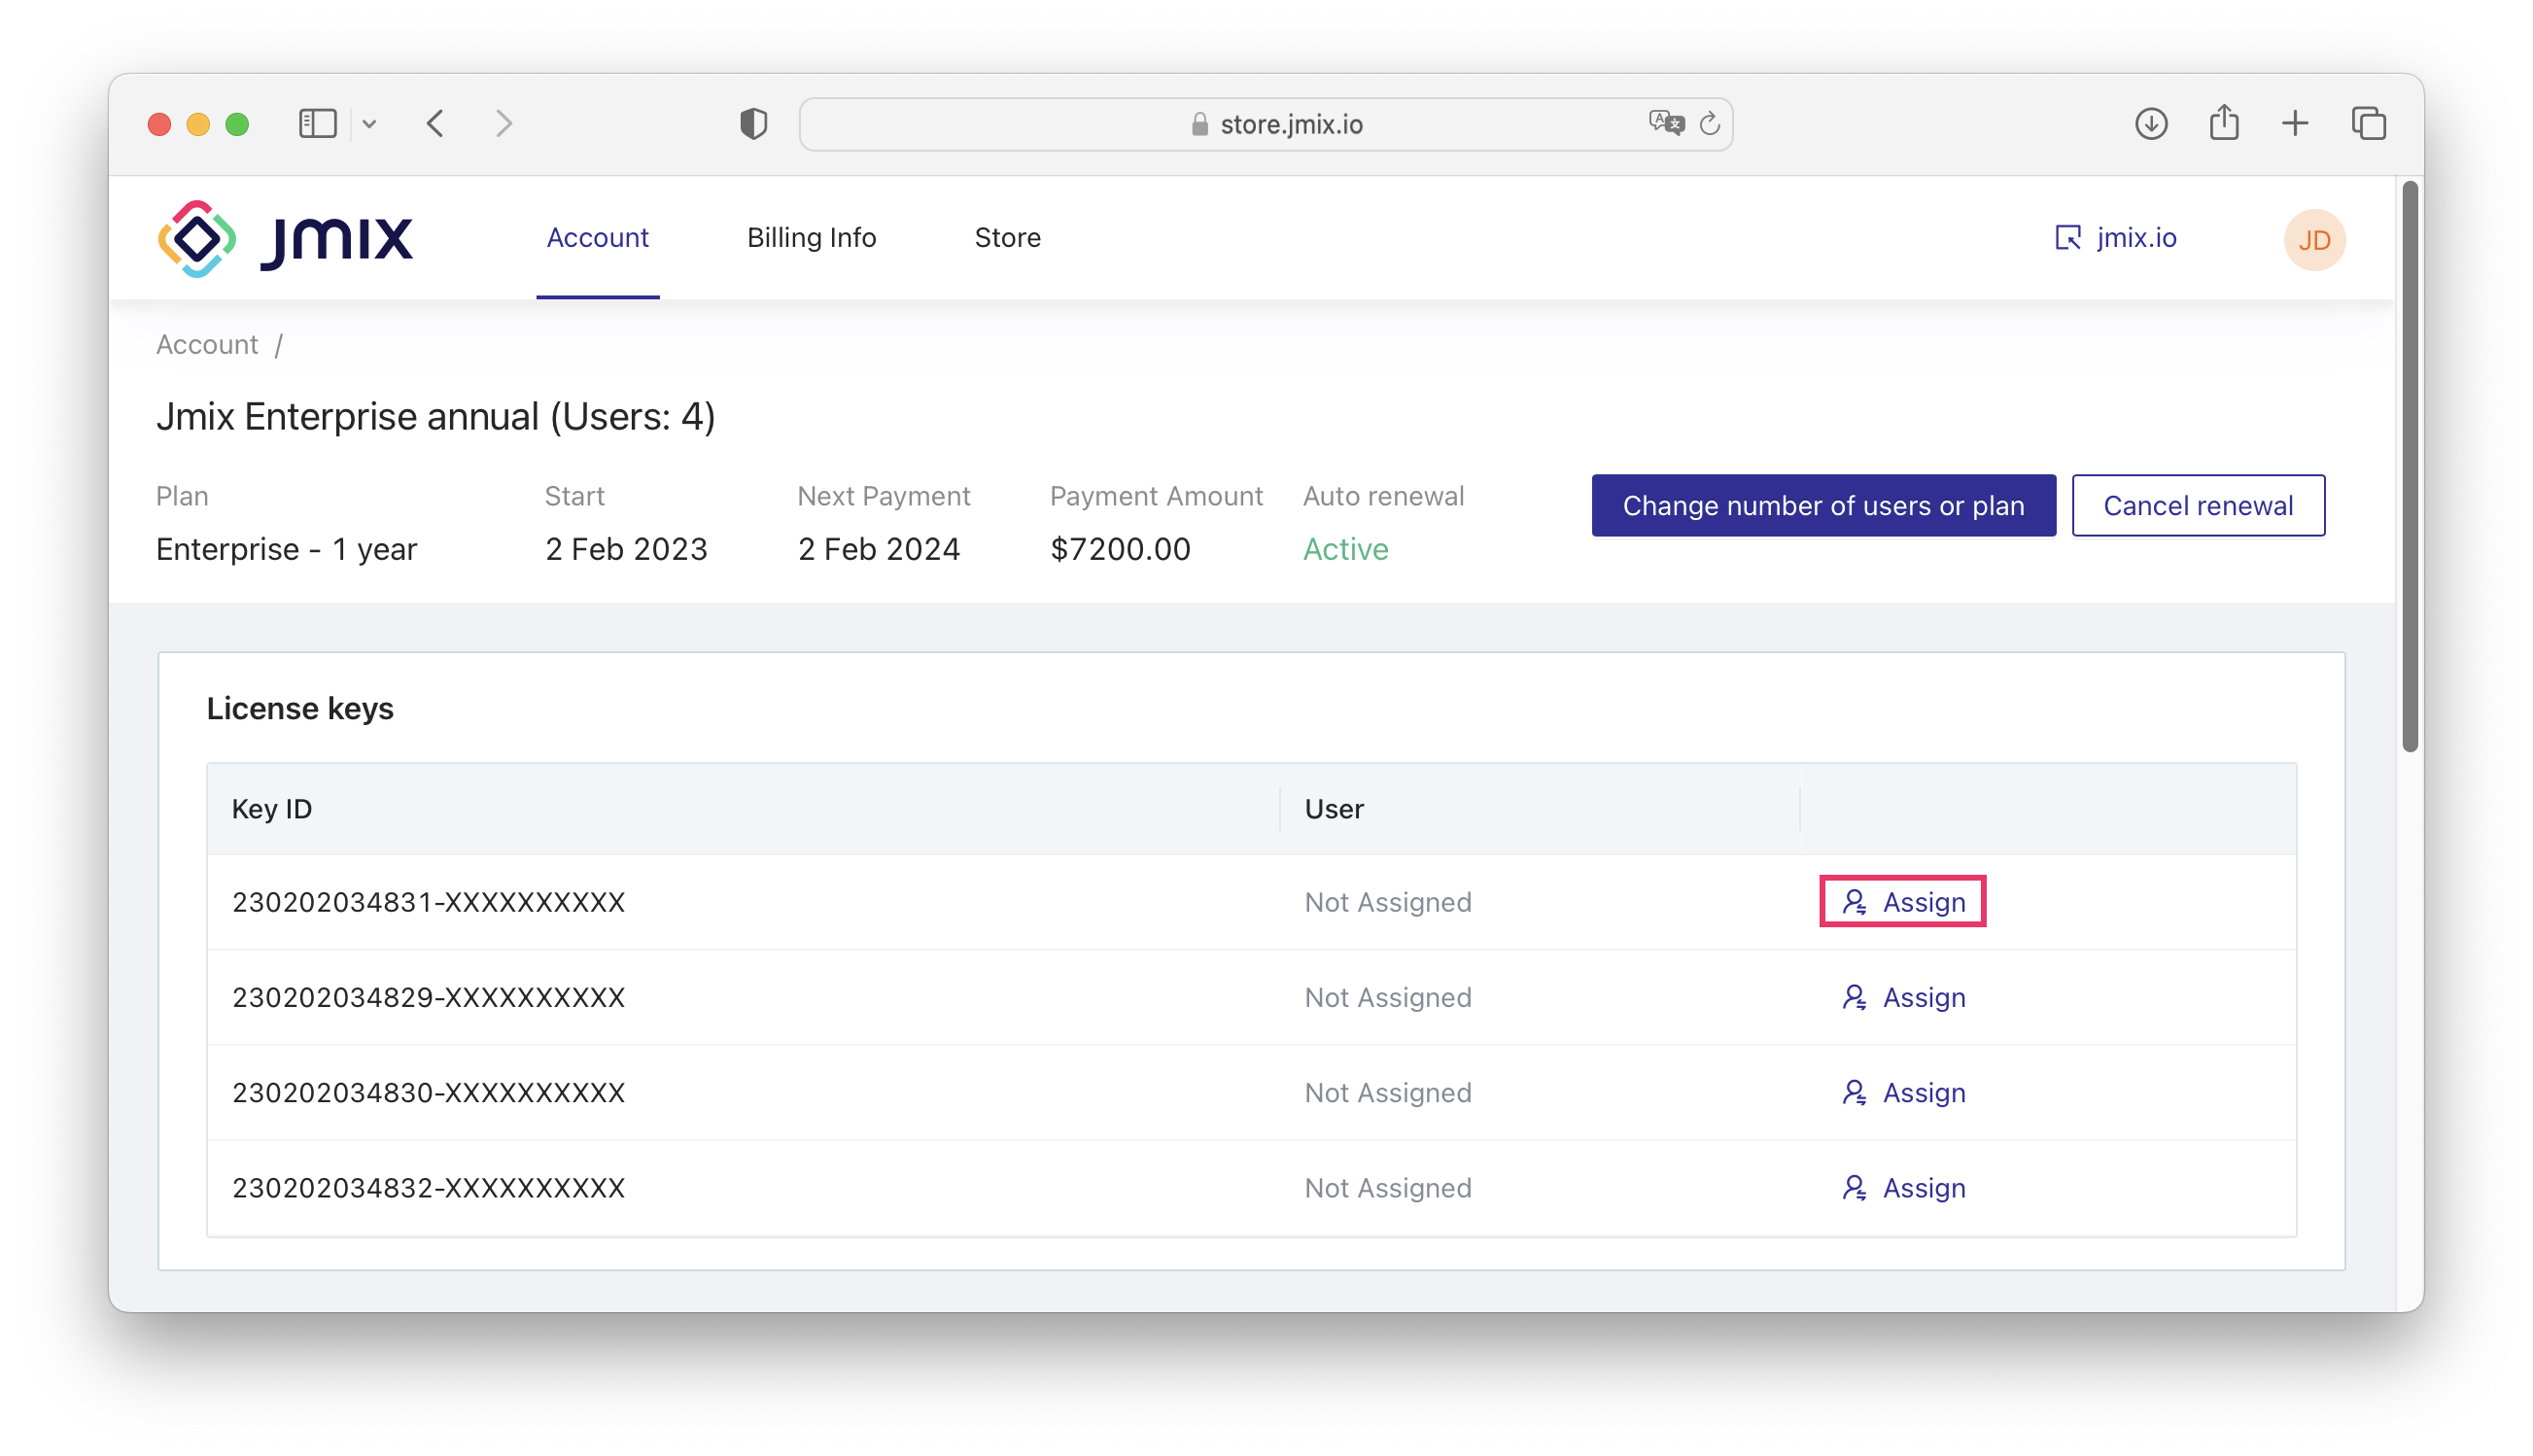
To view a subscription’s full details, click on the Manage button next to the subscription.
-
To change the subscription plan or number of users in this subscription, click on the Change number of users or plan button. To cancel the automatic renewal of your subscription, click on the Cancel renewal button.
-
If the license key is not assigned to the user, click the Assign button.
-
You can assign the license key to a user from your team:
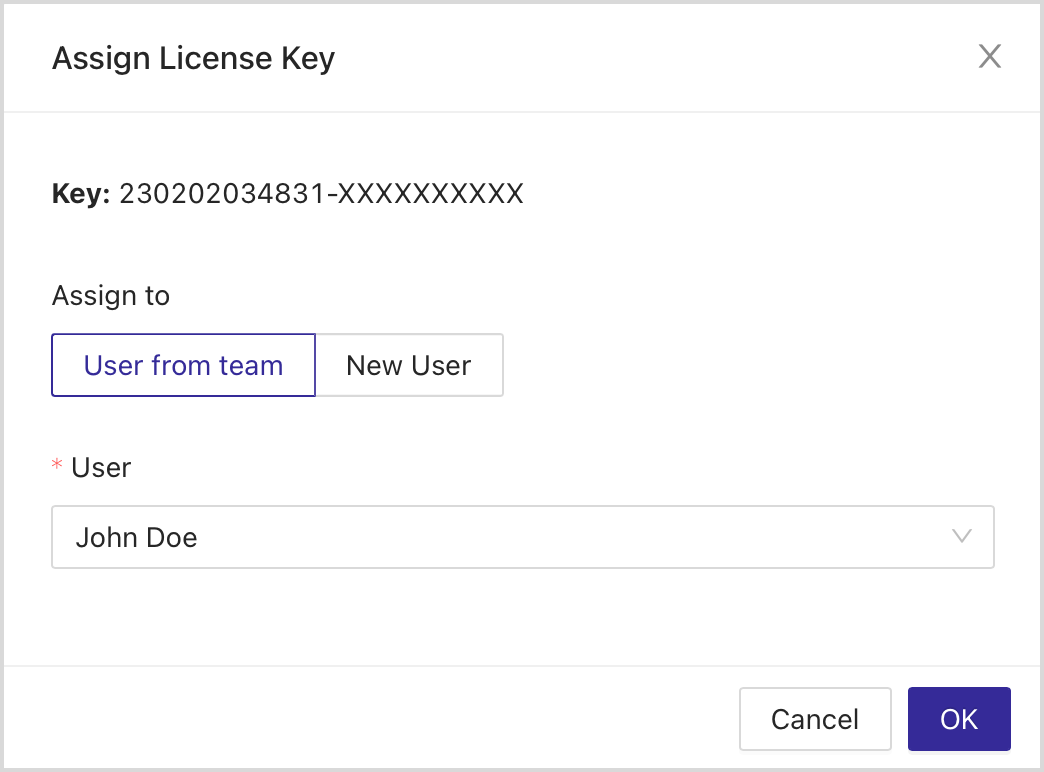
The instructions to activate a license will be sent to the user by email.
-
Or you can assign the license key to a new user:
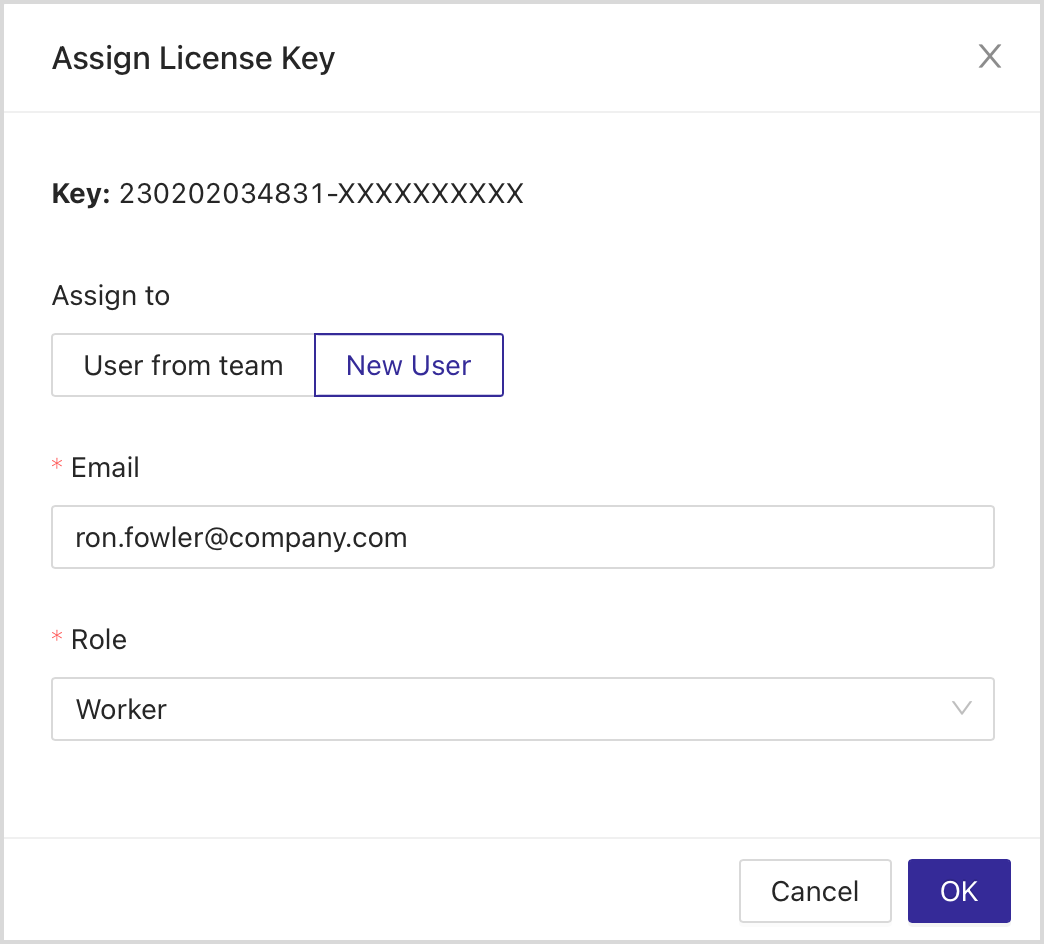
You should select a role for this user. Available values are Worker and Admin.
-
Worker only sees his license key on the profile screen. If a user with the Worker role buys a subscription, he becomes an Admin and manages the purchased and other subscriptions of the company.
-
Admin is a role with full access. Admin sees all the keys in the subscription in the company profile and can manage payments.
The instructions to register on the website and activate a license will be sent to the user by email. As soon as the invitation is confirmed, you will get a notification.
-
-
-
If the license key is assigned to the user, you can:
-
Re-assign this key
-
Email to the user with the instructions to activate a license
-
View the license key.
We recommend using the license key only for setting up CI/CD. To activate Jmix Studio, use your login and password. 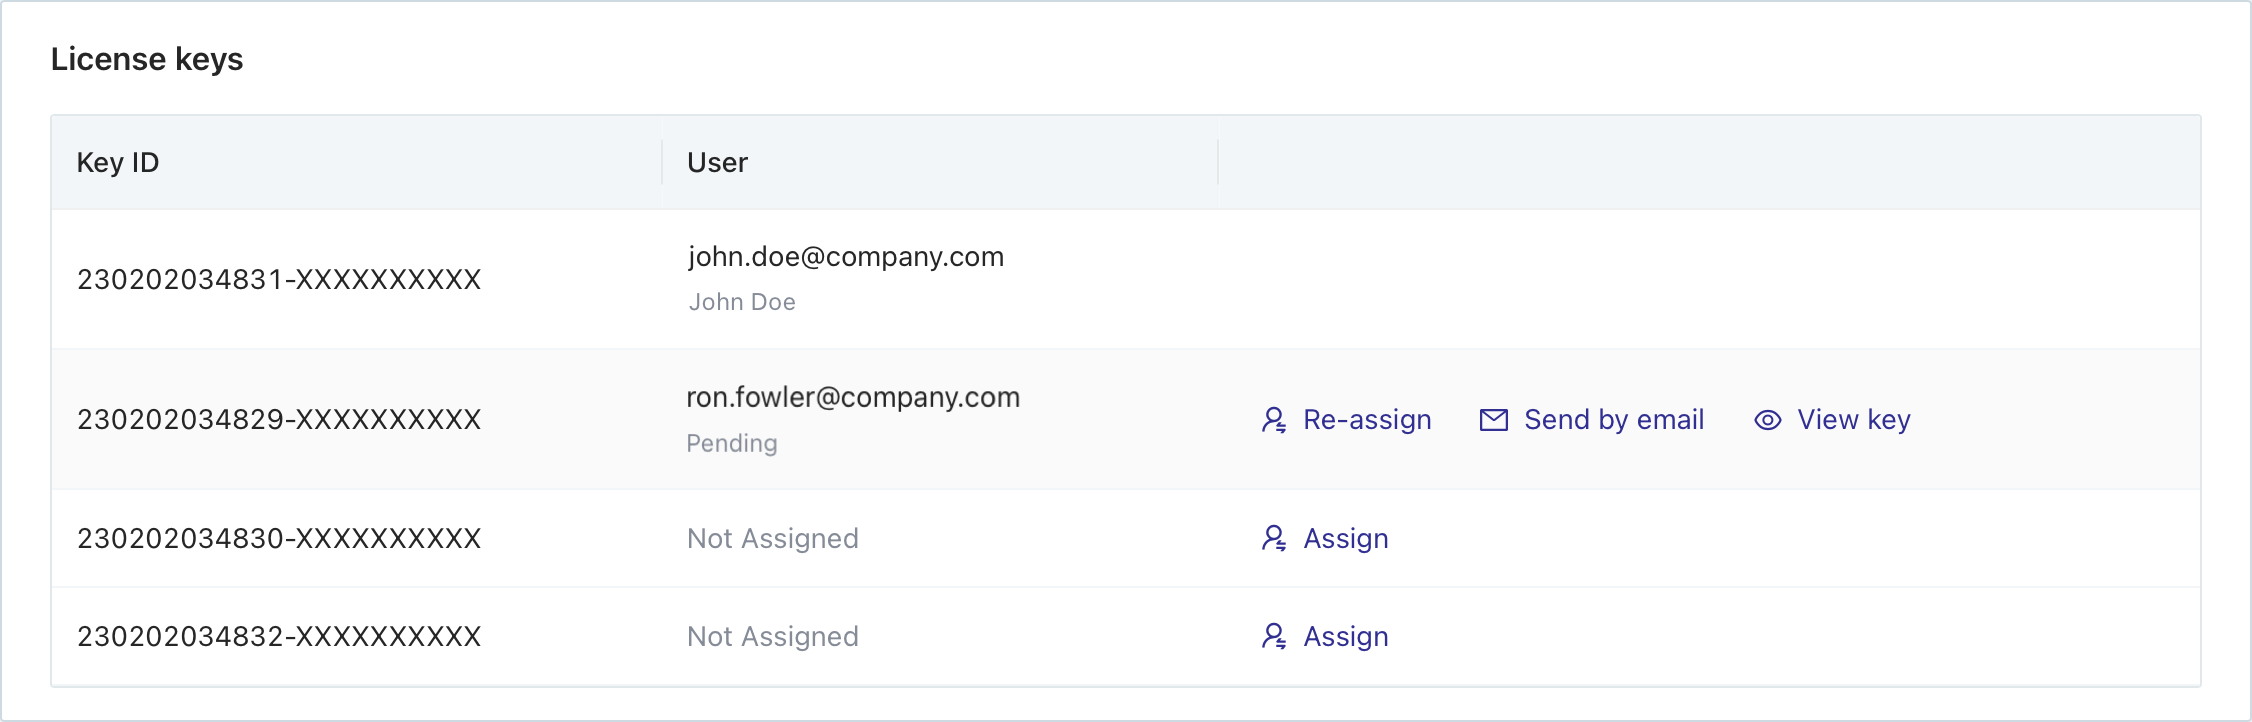
-
Company Profile Management
In the company profile, you can create new users and assign admins who can manage subscriptions.
-
Switch to the Account tab (https://store.jmix.io/account).
-
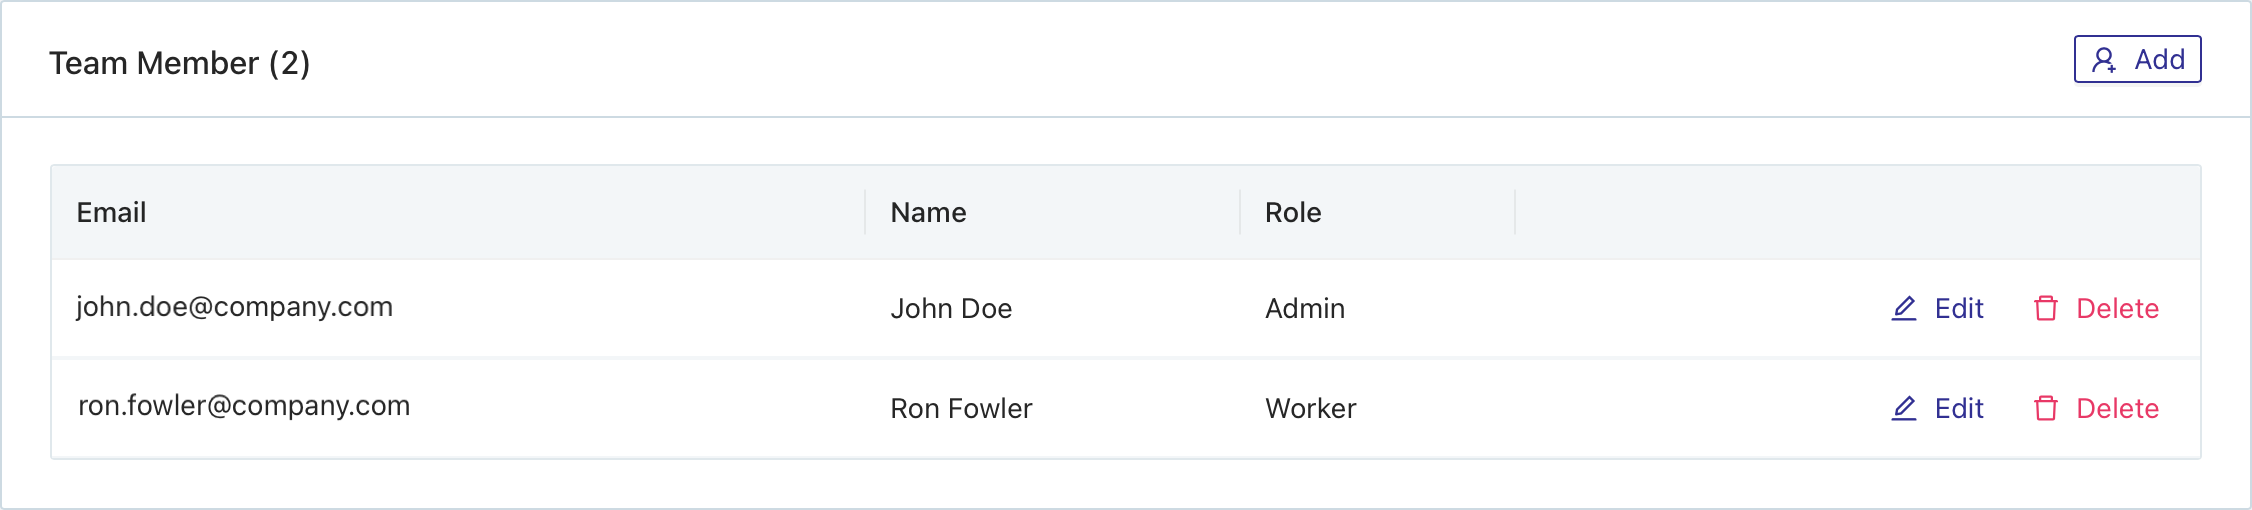
Scroll down to the Team Member section.
-
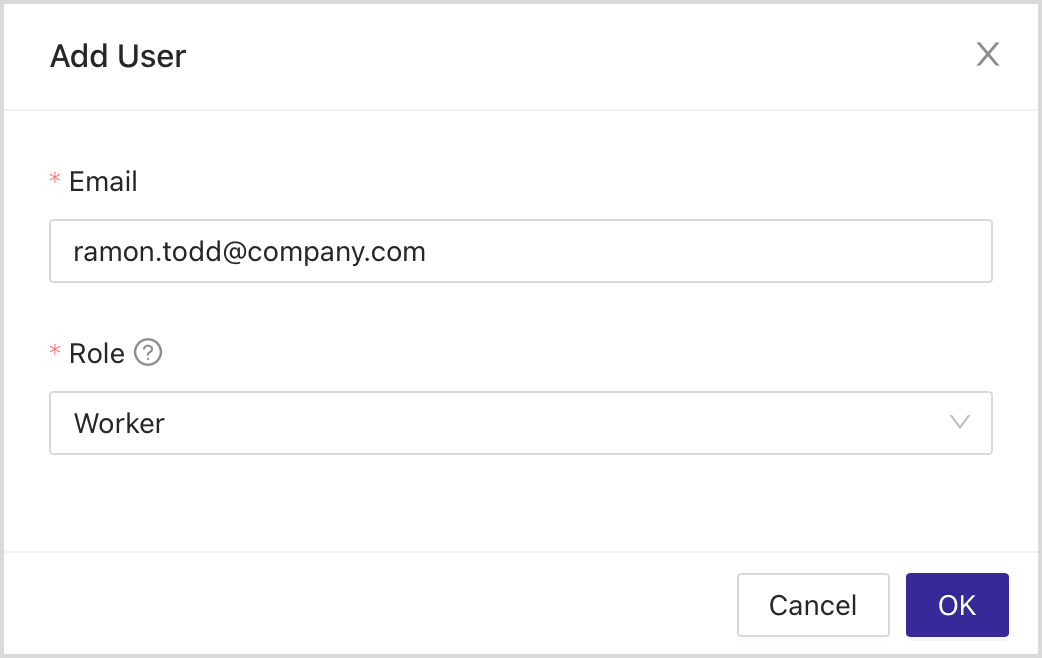
To add a new user, click on the Add button.
-
In the Add User dialog, fill in the Email field and select a user role. Two roles are available:
-
Worker only sees his license key on the profile screen. If a user with the Worker role buys a subscription, he becomes an Admin and manages the purchased and other subscriptions of the company.
-
Admin is a role with full access. Admin sees all the keys in the subscription in the company profile and can manage payments.
-
-
After you have added a user, you can assign the license key to this user.
-
To assign the role to the user, click on the Edit button in the Team Member section and change the role in the dropdown list.
-
To delete the user, click on the Delete button next to this user. If the user has a license key, you should unassign the license key from this user before deletion from team members.
Consulting
You can purchase consultancy hours and get support directly from the Jmix team.
Buy Consulting
-
To buy consulting, click on the Buy consulting button in the Balance of hours and incidents section of the Account tab, or switch to the Store tab and click on the Purchase button there.

-
The page for purchasing consultancy hours opens:

-
Select the Consulting language and Number of hours. Accept the Jmix Services Agreement. Click on the Proceed to billing info button.
-
On the next step, fill in the billing info:
-
In the Payment section, add a valid payment card:
-
Verify the total sum and click on the Complete Purchase button.
-
The instructions on how to set up the communication channels between you and the Jmix team will be sent to your email.

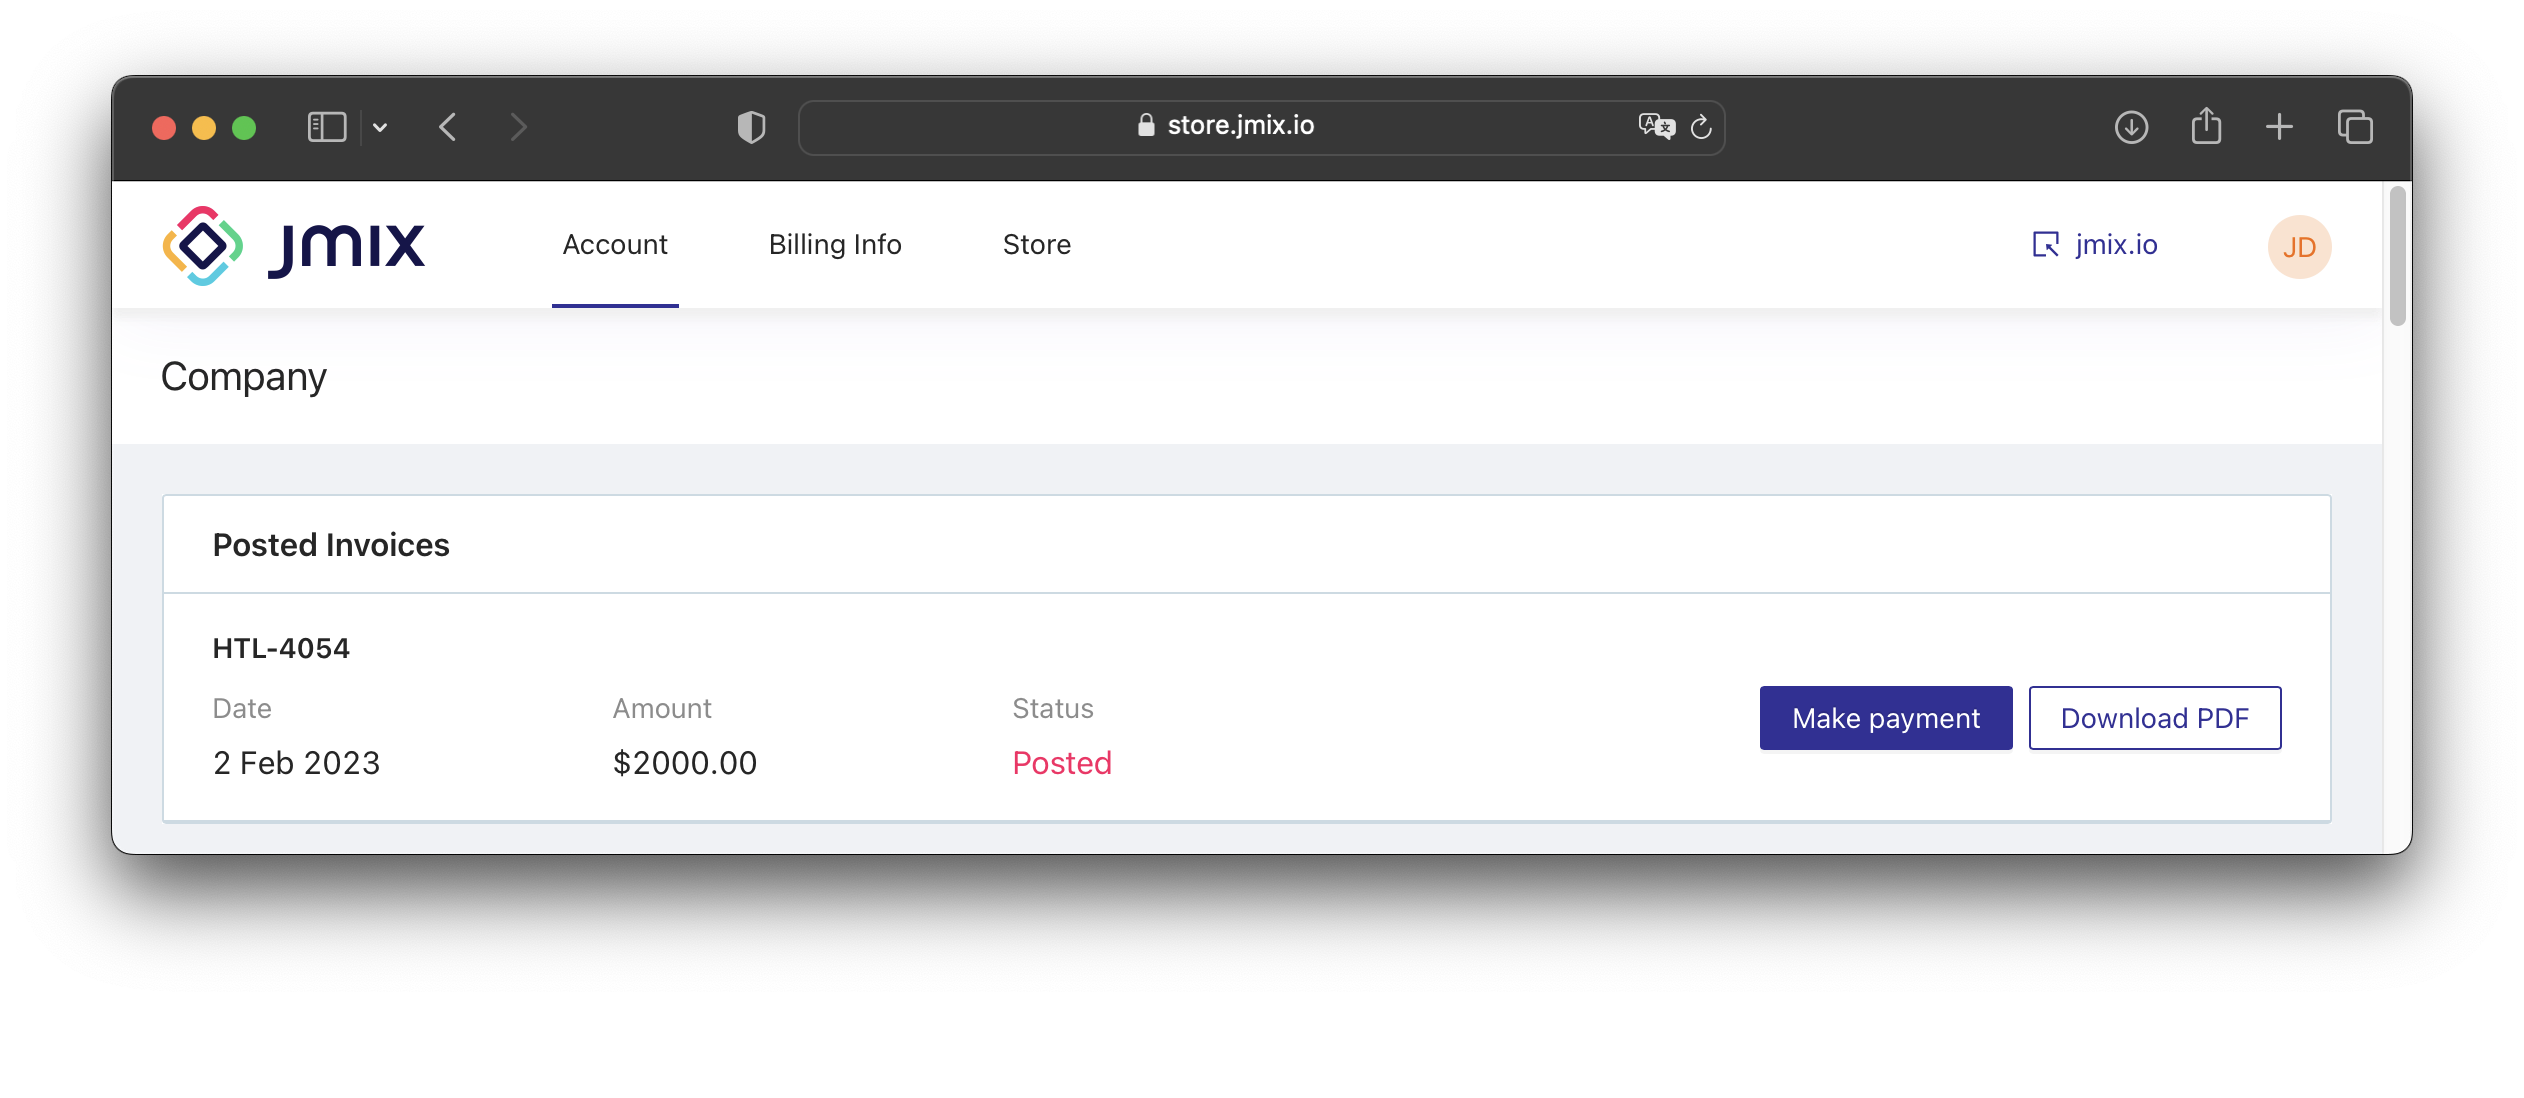
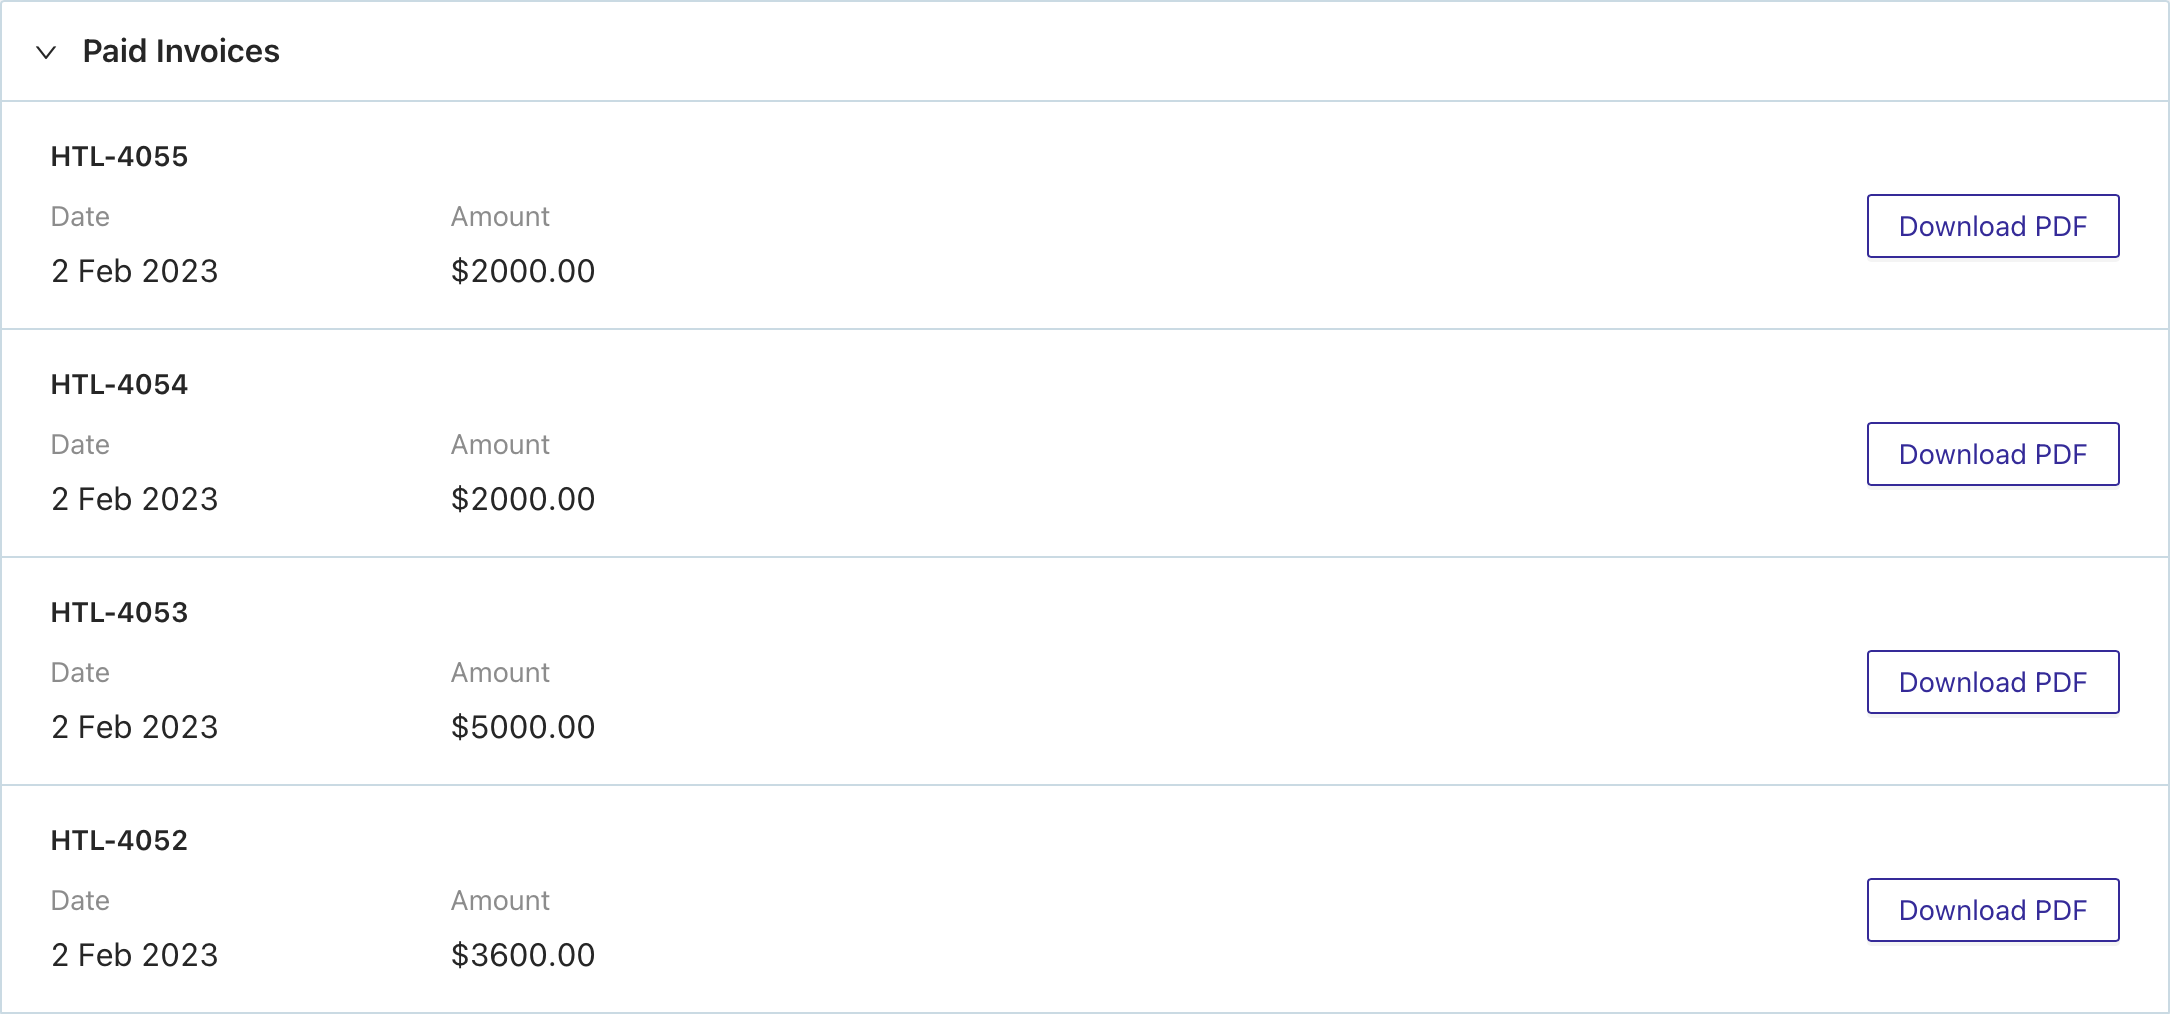
Invoices