Quick Deployment to AWS
To successfully use this functionality, you will need to:
-
Install the Docker plugin for IntelliJ IDEA. Enable it in the IDE after installing.
-
Install Docker Engine.
-
Create an account and ensure that you have access to the AWS Console.
The deployment instructions are described below:
-
Press Shift+Ctrl+A and type
Jmix Featuresin the search field. Double-click on the appeared element. The Jmix Features dialog window is opened. -
Select the One-Click Cloud Deployment checkbox and click the OK button.
-
The Docker and Deployment sections appear in the Jmix Tool Window.
-
Configure your database in the Data Stores section:
-
Switch the project to a database other than HSQLDB, for example, PostgreSQL.
-
Change the
localhosthostname to, for example,postgresdb. The hostname for the database will later be used for the name of the services in the docker-compose file.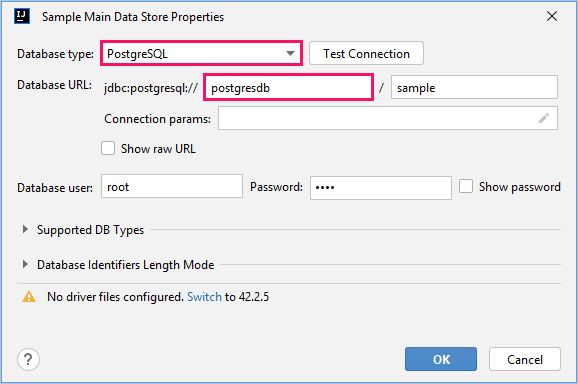
-
-
Install the necessary drivers.
-
Right-click the Docker item in the Jmix Tool Window and select New → Generate Docker Compose File in the context menu.
-
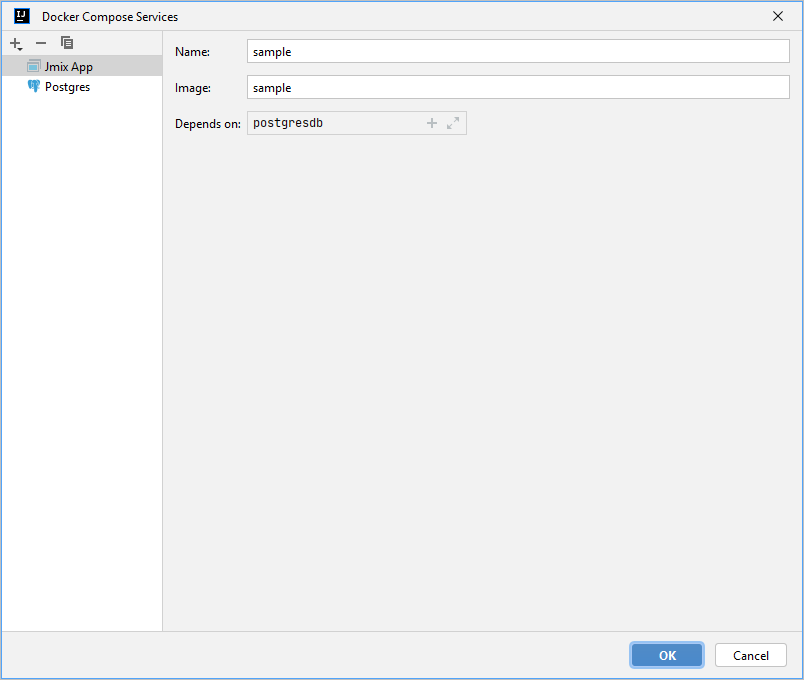
The Docker Compose Service dialog is opened:
-
Name - the service name.
-
Image - the Docker-image name.
-
Depends on - the dependency between services allows you to specify whether the service should wait for other services to be ready to work before starting.
-
-
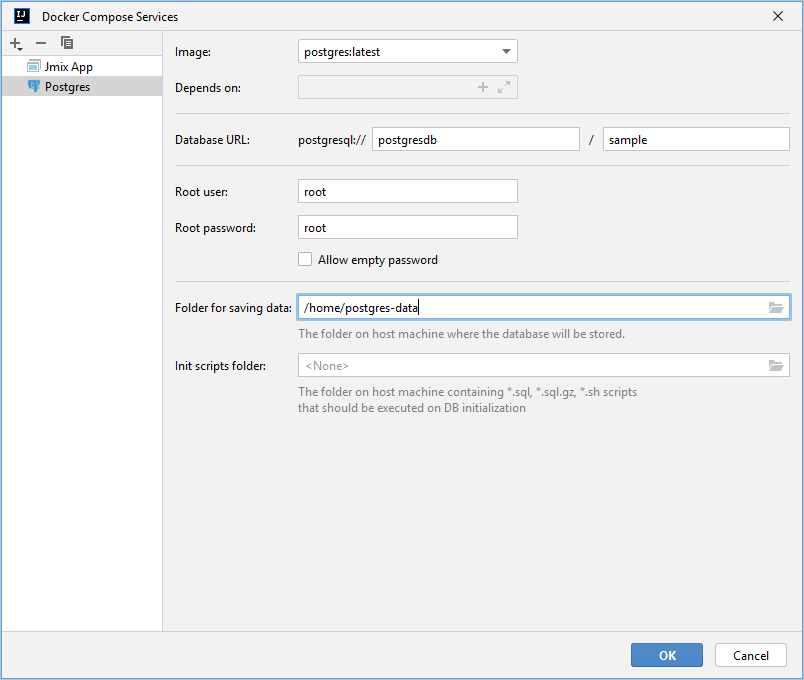
Open the Postgres tab:
-
Image - the Docker-image name.
-
Database URL - a host and database name.
-
Root user and Root password - database connection credentials.
-
Folder for saving data - specify the folder on the host machine for saving data.
Click the OK button.
-
-
A
docker-compose.yamlfile will be generated in the Docker section of the Jmix Tool Window: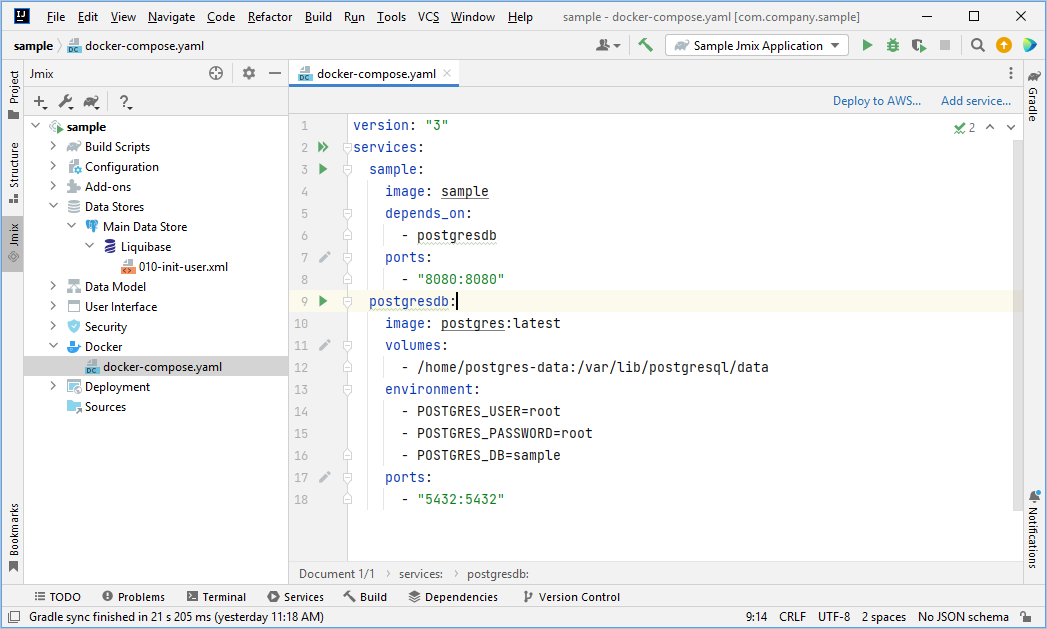
-
Click on the Deploy to AWS link in the top right corner. The Create AWS Deployment Configuration dialog window is opened:
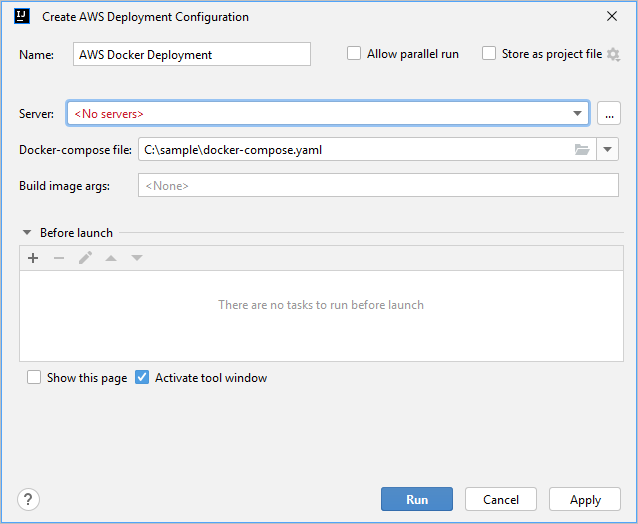
-
Select the Create new action in the Server dropdown. The AWS Docker dialog window is opened:
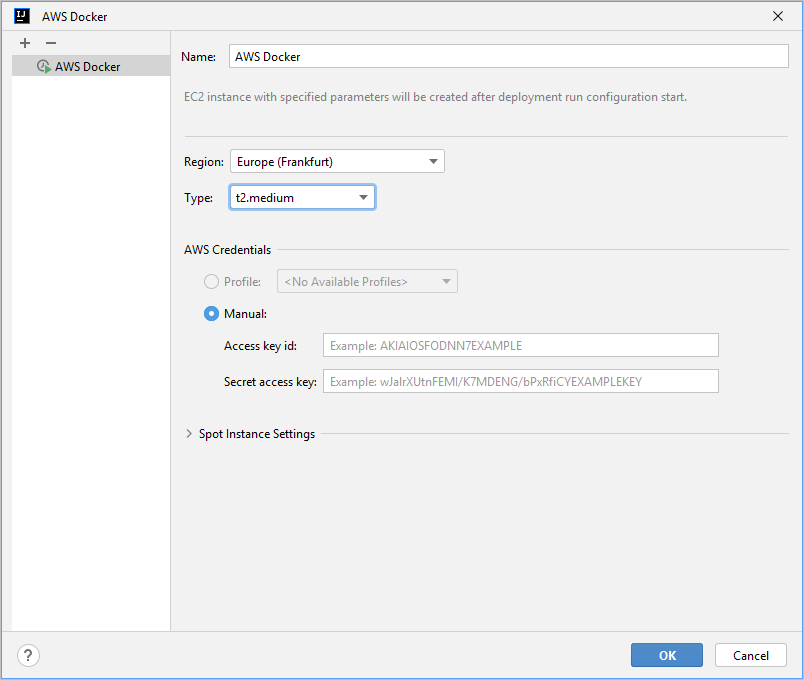
-
Name - the name of the instance.
-
Region - the name of the region. The field is a dropdown list with available regions. The list can be viewed in the table of available regions. It is recommended to choose the closest region to reduce data transmission delays.
-
Instance type is an instance type that includes various combinations of processor resources, memory, storage, network, and so on. The field is a dropdown list that can be viewed in the table of available instance types. The default value is
t2.micro. -
Access key id - the id of the user to access the AWS account.
-
Secret access key - the user’s password to access the AWS account.
Enter the required parameters and click OK.
-
-
Run the created configuration by clicking the Run button. Studio builds and deploys the application.
-
You will see the console output of deploying process steps in the Services tool window at the bottom:
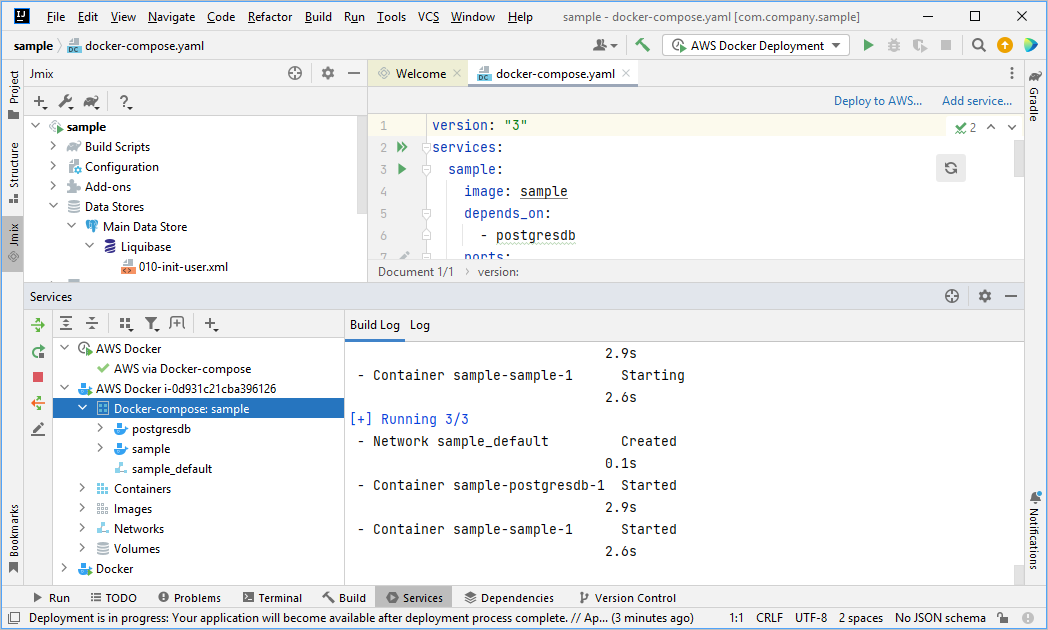
After successful deployment, container logs will be available.
-
During the deployment process, a notification about the future address of the application will be displayed in the lower right corner:
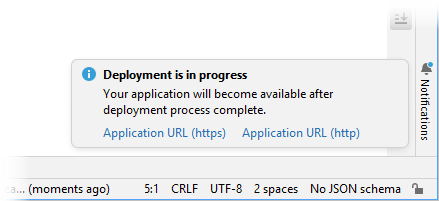
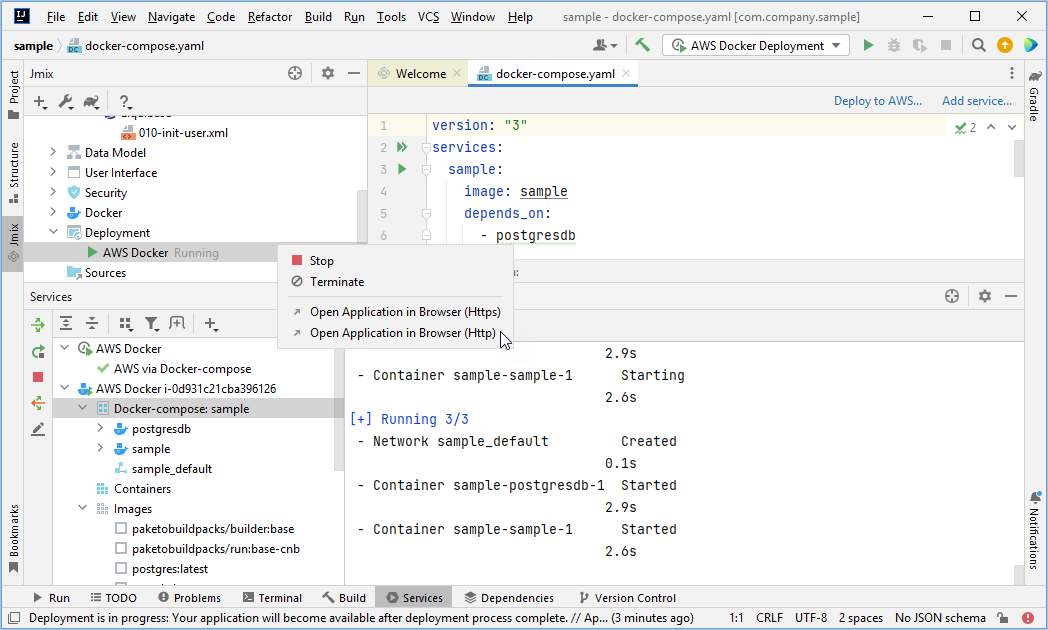
You can also open the link to the application by the context menu on the Deployment section of the already running server:
After successful deployment, you can deploy a new container with the application on an existing server without rebuilding the remaining containers.
To do this, stop the server using the Stop action in the context menu in the Deployment section on a specific server and call the Deploy to AWS action in the docker-compose file and wait for the deployment process to finish successfully.
