Report Browser
Reports add-on provides administration screens for configuring reports.
After the add-on is added to your application, the main menu contains the Reports item. Open the Reports → Reports menu item. The Report browser screen is opened. It contains a list of the created reports and the buttons for managing them.
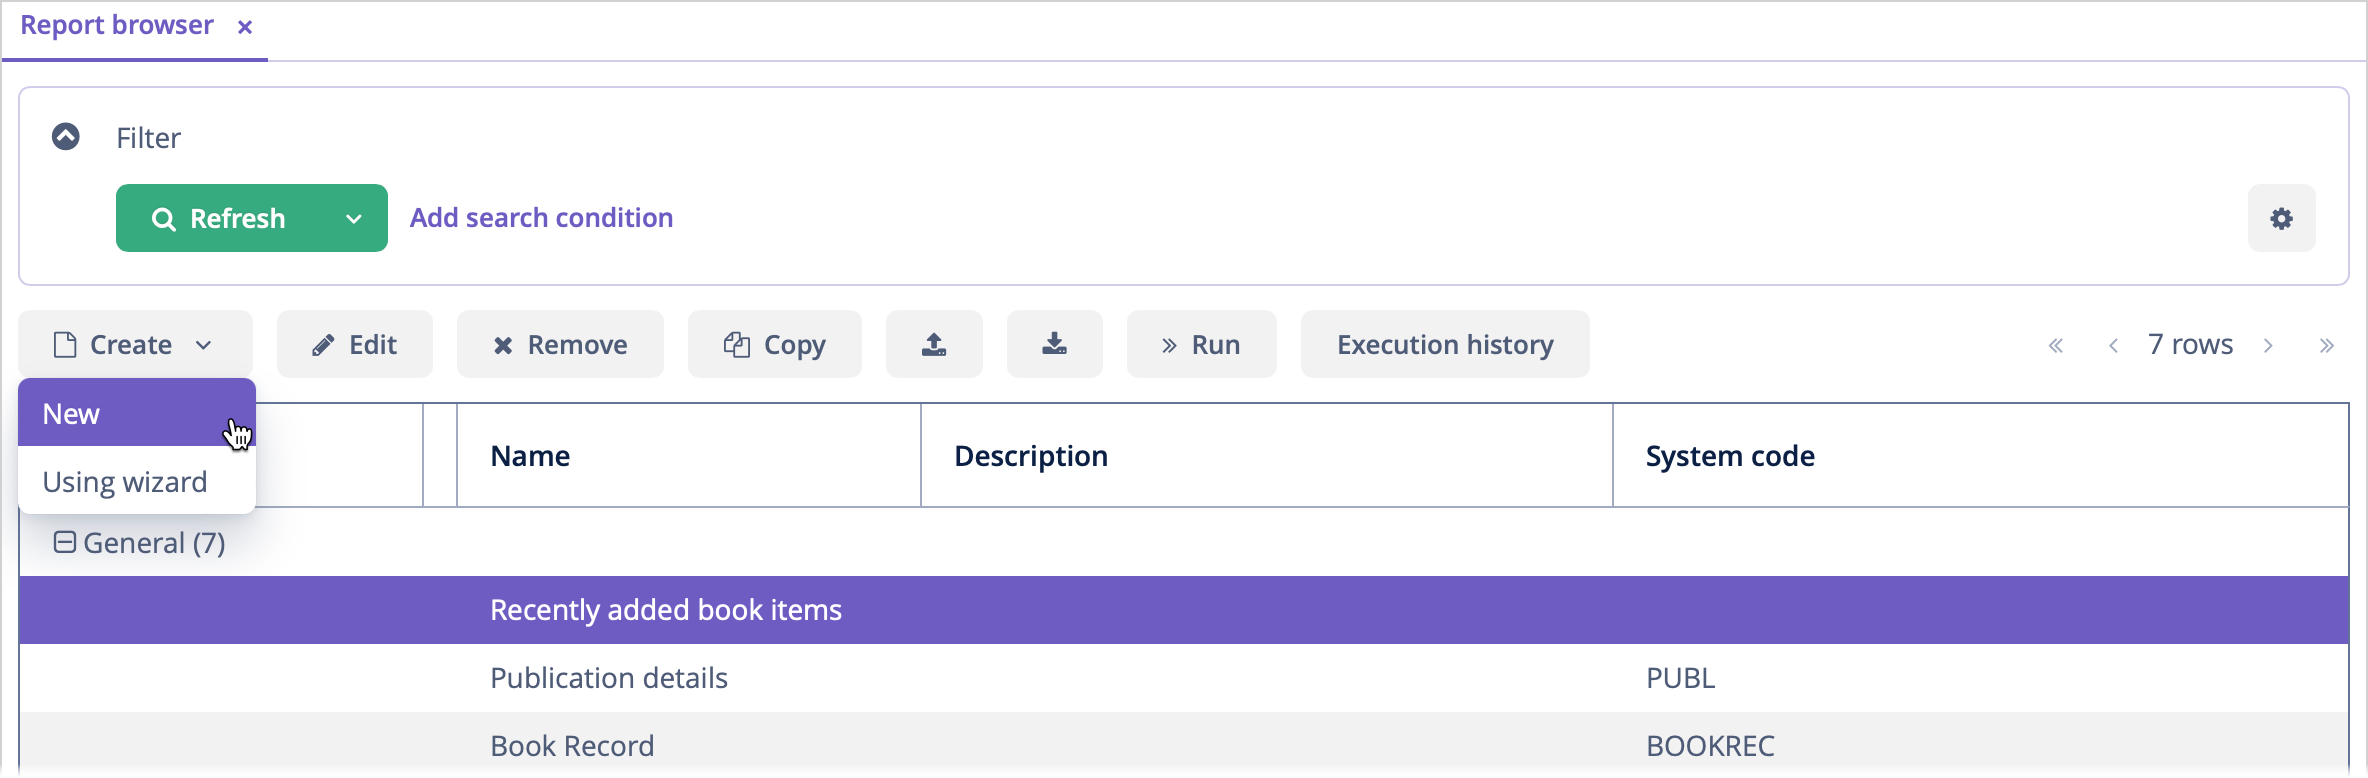
There are two ways to create reports: using the report wizard or the report editor.
Click on the Create → New popup button to create a report manually. The report editor is opened.
To open the report wizard, click on the Create → Using wizard popup button.
Click on the Copy button to quickly create a new report based on the selected one. The new report will have the same structure, parameters, and templates.
The framework provides the ability to export and import reports.
To import reports to the system, click on the Import ( ) button. The Import report dialog is opened:
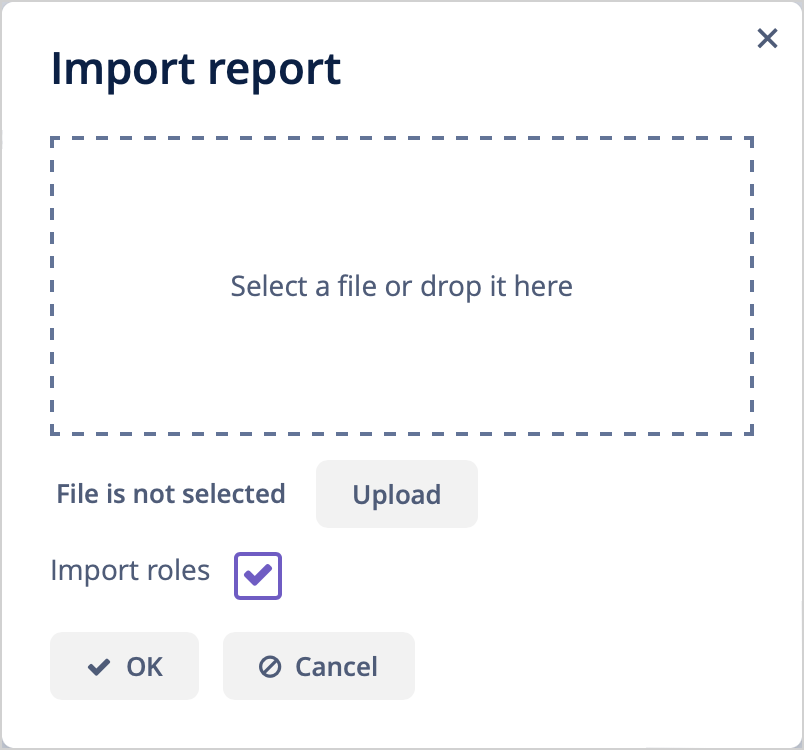
Clicking Upload allows selecting a ZIP file to upload to the system. This can also be done by dragging and dropping a required file to the drop zone. If you clear the Import roles checkbox, the imported reports will be available to all users.
If the report is compatible with the data model of the project, it should correctly work after the import. It means that you can create reports in your development environment and use them in the production system afterward.
Select the reports you want to export and click on the Export ( ) button. The framework creates a ZIP archive containing all selected reports.
Click on the Run button to execute the selected report.
The Execution history button opens the Execution history browser.
