Amazon Web Services
Before starting the guide, create an account and ensure that you have an access to the AWS Console.
| We will use PostgreSQL as a database for this guide. |
Deploying Executable JAR
The simplest way to deploy the application’s executable jar to AWS is to use Elastic Beanstalk Service (EBS).
Preparing The Application
Since we have more than one database connection now (local development and AWS), we need to configure additional properties file that will contain connection properties for AWS environment.
To switch between different configurations, we will use Runtime Profiles. For our case, we will use aws profile name.
Let’s create application-aws.properties file according to naming rules described in Spring Boot Documentation.
In this file, we will specify database connection properties using AWS Elastic Beanstalk environment variables:
-
RDS_HOSTNAME- internal EBS-specific database host name -
RDS_PORT- database port allocated by EBS -
RDS_DB_NAME- database name -
RDS_USERNAME- database username -
RDS_PASSWORD- database password
| Note that these variables should be specified if you create a database using EBS. If you created the database separately using RDS or another AWS service, you may not need these variables |
In addition to the datasource coordinates, we may want to specify the following properties before the deployment:
-
server.port- should be set to 5000 by default. You can specify EBS environment propertySERVER_PORTinstead if you like. We will show how to set EBS environment later. -
jmix.liquibase.enabled- if set totrue(default value) - enables automatic execution of Liquibase database migration scripts on application start.
So, the application-aws.properties file content may look like this:
main.datasource.url = jdbc:postgresql://${RDS_HOSTNAME}:${RDS_PORT}/${RDS_DB_NAME}
main.datasource.username = ${RDS_USERNAME}
main.datasource.password = ${RDS_PASSWORD}
server.port=5000
The application is ready, you can create an executable JAR and move to the next step.
Creating The AWS environment
Log in to the AWS Console and select Elastic Beanstalk service from the list of services.
After that, create the application by clicking on a corresponding link on the EBS main page. Enter application information:
-
Application name - any name you prefer.
-
Platform - Java. Select platform branch according to your preferences.
In the Application code section select Upload your code option. In the Source code origin section for the Local file option click on Choose file button and upload your application’s JAR. It is usually located in /build/libs folder.
Add a database to the environment by clicking on Configure more options button. In the configuration page, edit the database parameters:
Set database parameters similar to those on the picture:
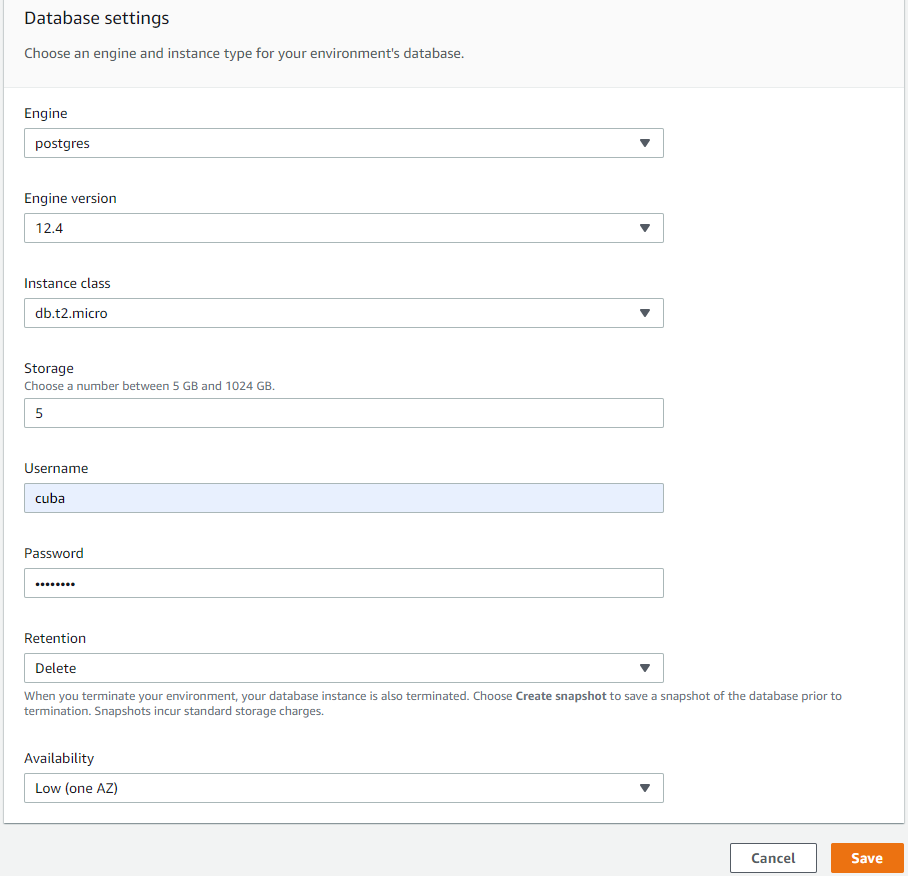
Setting Retention to Delete is recommended for test environments. For production environments set it to Create snapshot to avoid data loss in case of the application is deleted accidentally.
|
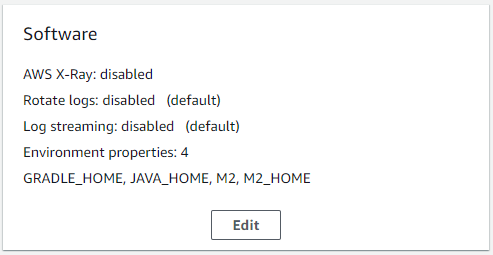
After creating the database, we have one more step specifying runtime profile to enable proper application configuration - aws. In order to do this, edit Software settings in the environment configuration page:
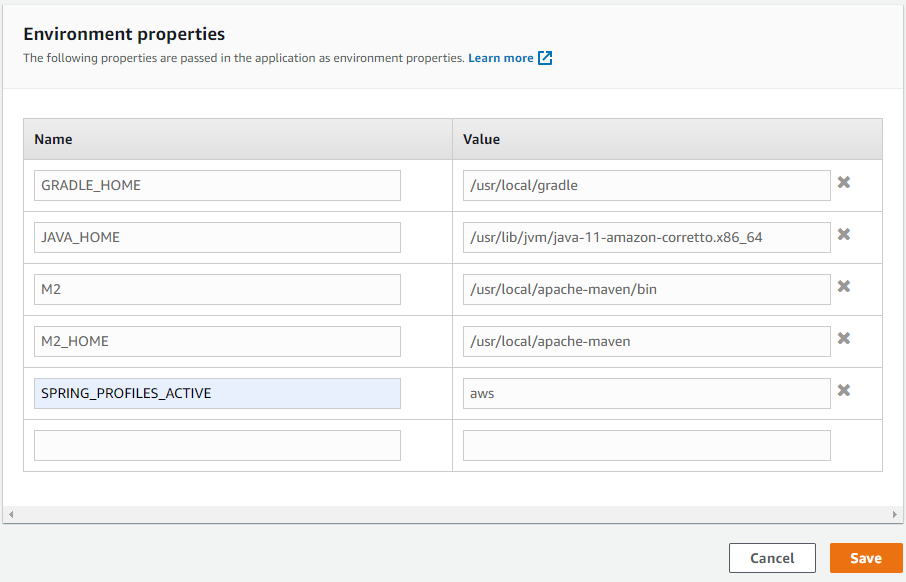
In the Environment properties section add the SPRING_PROFILES_ACTIVE property and set its value to aws:
Save all settings and create the application. The creation and startup usually takes 5-10 minutes.
Testing The Deploy
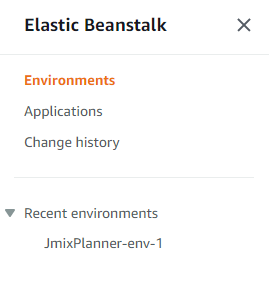
When the application is created and deployed, open the environments list and click on the corresponding environment:
In the environment page, click on the Go to environment link to open the deployed application page.
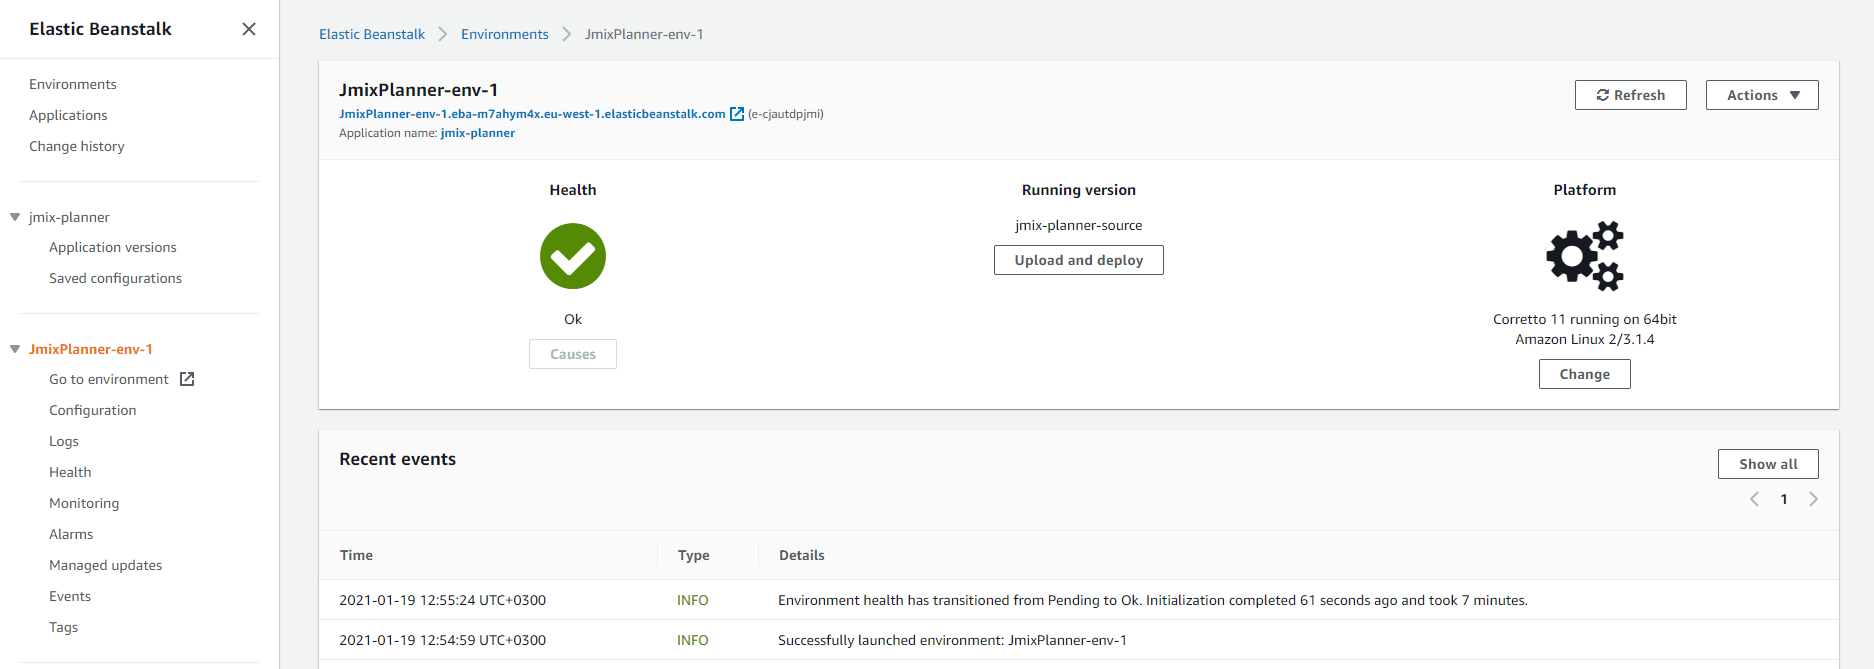
The application page should open.
More Information
The guide is based on the AWS guide, so you can refer to it for further details.
Also, you may find the guide on deploying Java applications useful.
