1. Room Booking Application Creation
In this chapter, you will learn how to create and configure the following components for your application:
-
The
Roomenumeration. Define an enumeration to represent the available rooms in your system. -
The
Bookingentity. Create aBookingentity to manage reservations. -
CRUD views for bookings. Develop CRUD views to enable users to interact with the
Bookingentity.
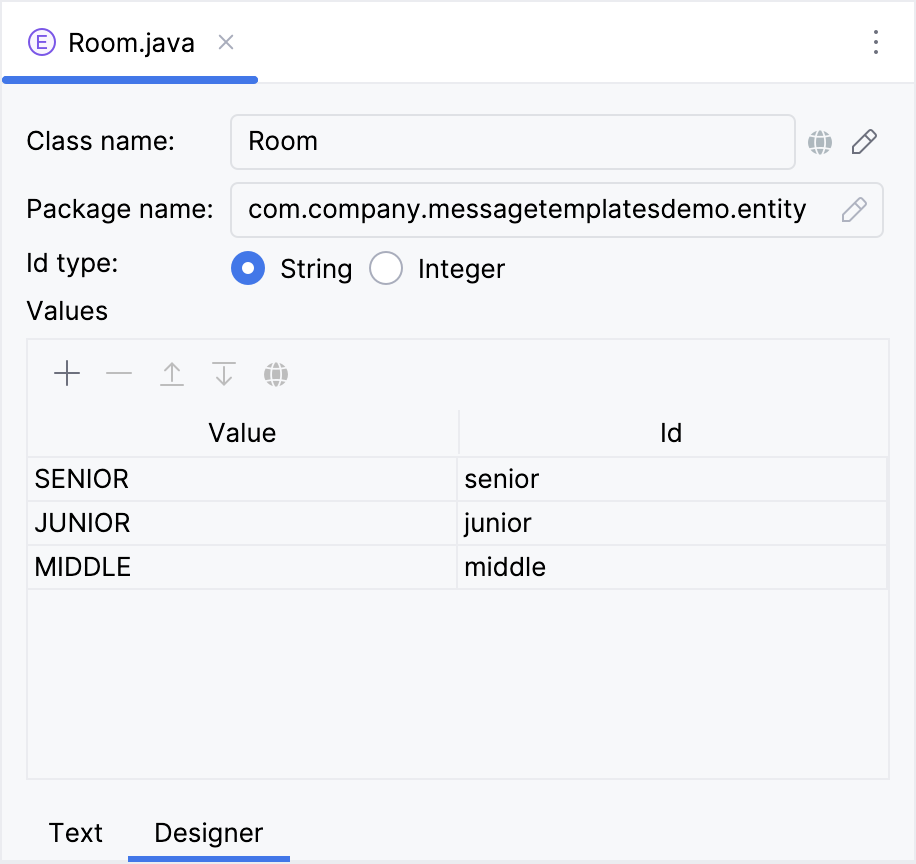
Creating Room Enumeration
To start, you’ll need to generate a Room enumeration consisting of the following values:
-
Senior -
Junior -
Middle
The detailed instructions for creating enumerations can be found in the Using Enumerations section of the Tutorial.
Creating Booking Entity
Next, create the Booking entity. You can find detailed instructions for creating entities in the Simple CRUD section of the Tutorial.
The Booking entity has the following attributes:
-
titlewithStringtype. A descriptive name for the booking. Select the Mandatory checkbox. -
room- the room selected for the booking (using theRoomenumeration). Select the Mandatory checkbox. -
startDateandendDatewithDateTimetype: the date and time range for the booking. Select the Mandatory checkbox. -
creator- the user who created the booking (linked to theUserentity many-to-one cardinality). Select the Mandatory checkbox.
Creating CRUD Views
Create entity list and detail views for the Booking entity. You’ll find the detailed steps for generating entity list and detail views in the Creating CRUD Views section of the Tutorial. On the Entity list view fetch plan step, add the creator attribute to the selection.
Follow the suggested values at each step of the view creation wizard.
Running the Application
After creating the entity and CRUD views for it, you can run the application to see the new feature in action.
You’ll find the detailed steps for running application in the Running Application from IDE section of the Tutorial.
Click the Debug button ( ) in the main toolbar.
Studio will show the warning about the data store and unapplied changelog files:
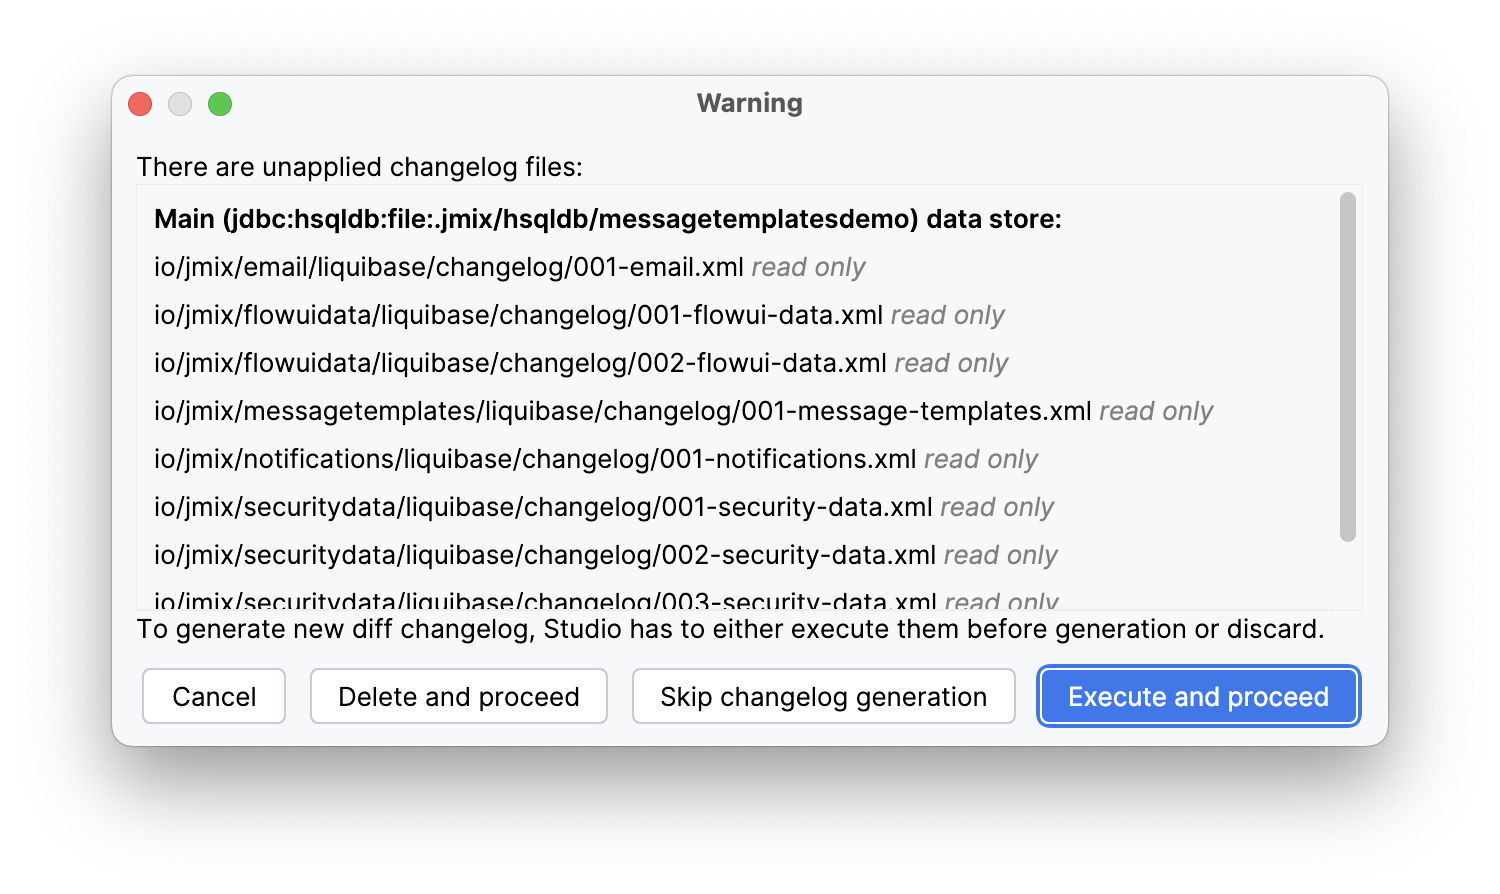
Click Execute and proceed.
Then Studio checks the difference between the project data model and the database schema. As long as you have created a new entity, Studio generates a Liquibase changelog for the corresponding changes in the database (creating the BOOKING table):

Click Save and run.
When the application is ready, open http://localhost:8080 in your web browser and log in to the application with admin / admin credentials.
Choose the Bookings item from the Application menu. You will see the Booking.list view.
Summary
In this section, you learned how to implement a Room Booking feature within your application. You gained practical experience in creating and configuring a Room enumeration, defining a Booking entity with key attributes, and generating CRUD views to enable users to manage room reservations effectively. You also learned how to run the application, apply database changes, and access the new booking feature through the application menu.
