Usage
Creating Email Templates
You can create, edit and remove email templates in the Administration → Email templates application screen.
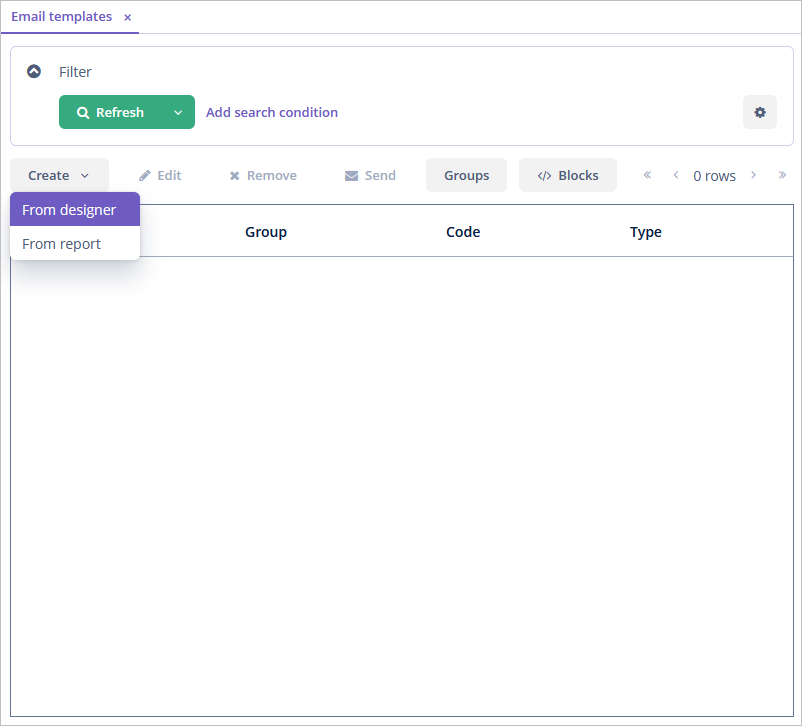
There are two ways to create an email template: from the report and from the designer.
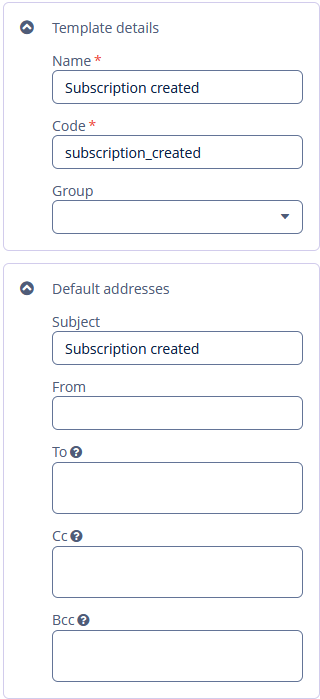
In both cases, you should set the following template parameters:
-
Name - human-readable template name. It is a required parameter.
-
Code - unique template name. It can be used to find the correct template using API. It is a required parameter.
-
Group is not mandatory. Groups are configured in the Email templates screen.
-
Subject - default email subject.
-
From - default sender’s address.
-
To - default recipient’s address.
-
Cc - additional recipient’s address.
-
Bcc is similar to the Cc field, but email addresses listed in the Bcc field are hidden from all recipients.
Creating From Designer
This type of creating template provides the ability to use an HTML editor.
The Email template screen appears after clicking the Create → From designer button in the Email templates screen and allows you to edit an email template.
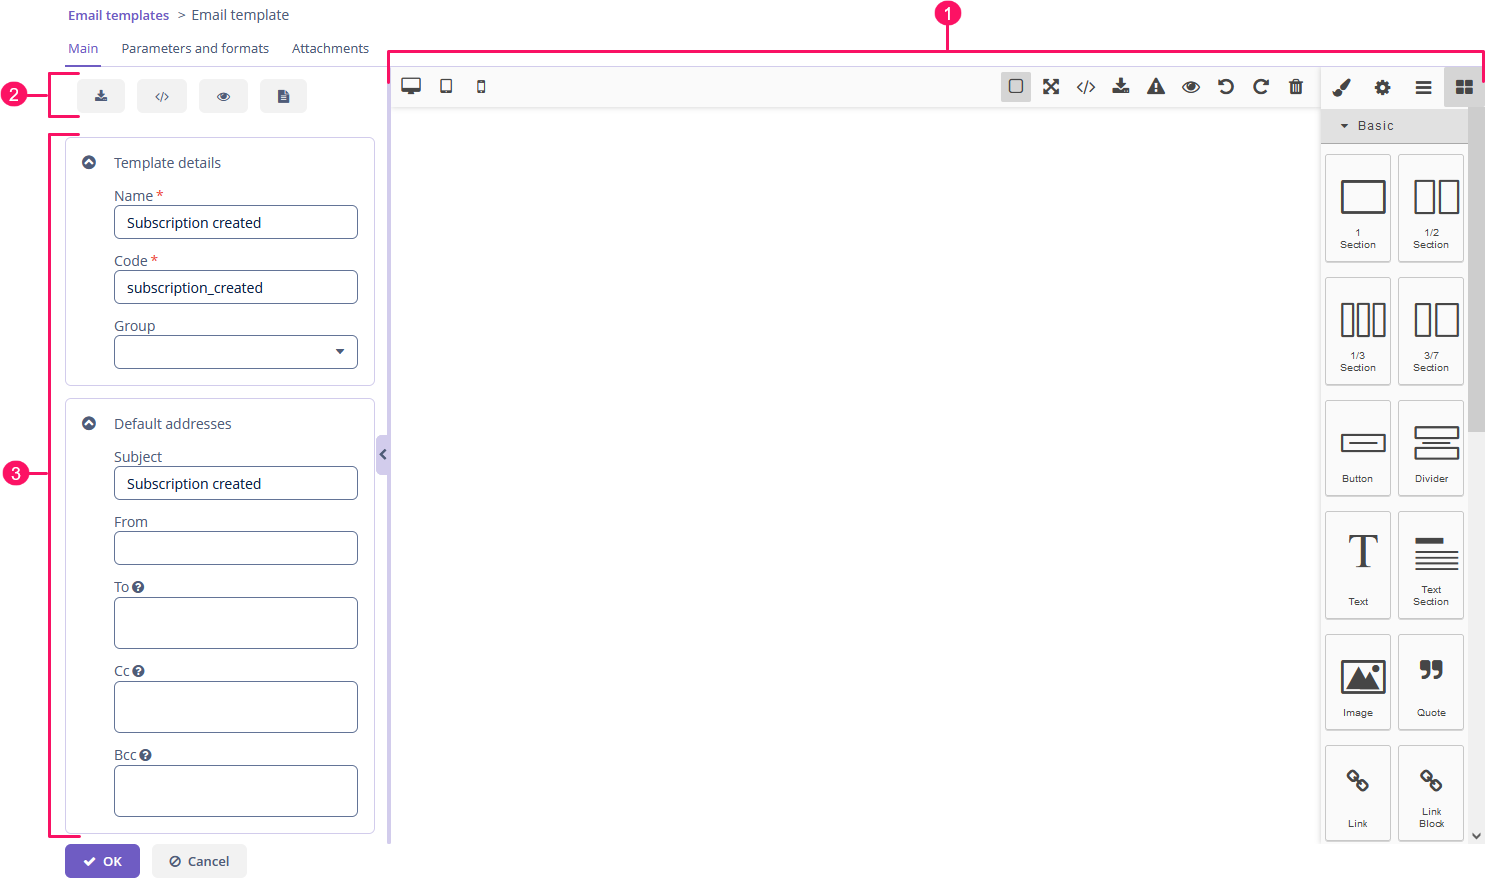
The editor contains the Main, Parameters and formats, Attachments tabs. The Main tab contains several panels described below.
-
HTML editor
-
Buttons panel
-
Parameters panel, described above.
In the HTML editor, you can design a template with different elements and define the parameters of every element using the Setting panel. See more information about using the editor in the GrapesJS add-on documentation.
The buttons panel contains the following buttons:
-
The Import HTML button allows you to import already existing HTML code.
-
The HTML code button allows you to view source code.
-
The View HTML button allows you to preview the HTML template in a new window.
-
The Export report button allows you to export the template as a report. Custom reports from the template may be useful if you want more complex logic for your template, or you need a report with multiple templates. To learn how to configure a report, see Reports documentation.
Parameters and value formats can be created and configured in the Parameters and Formats tab.
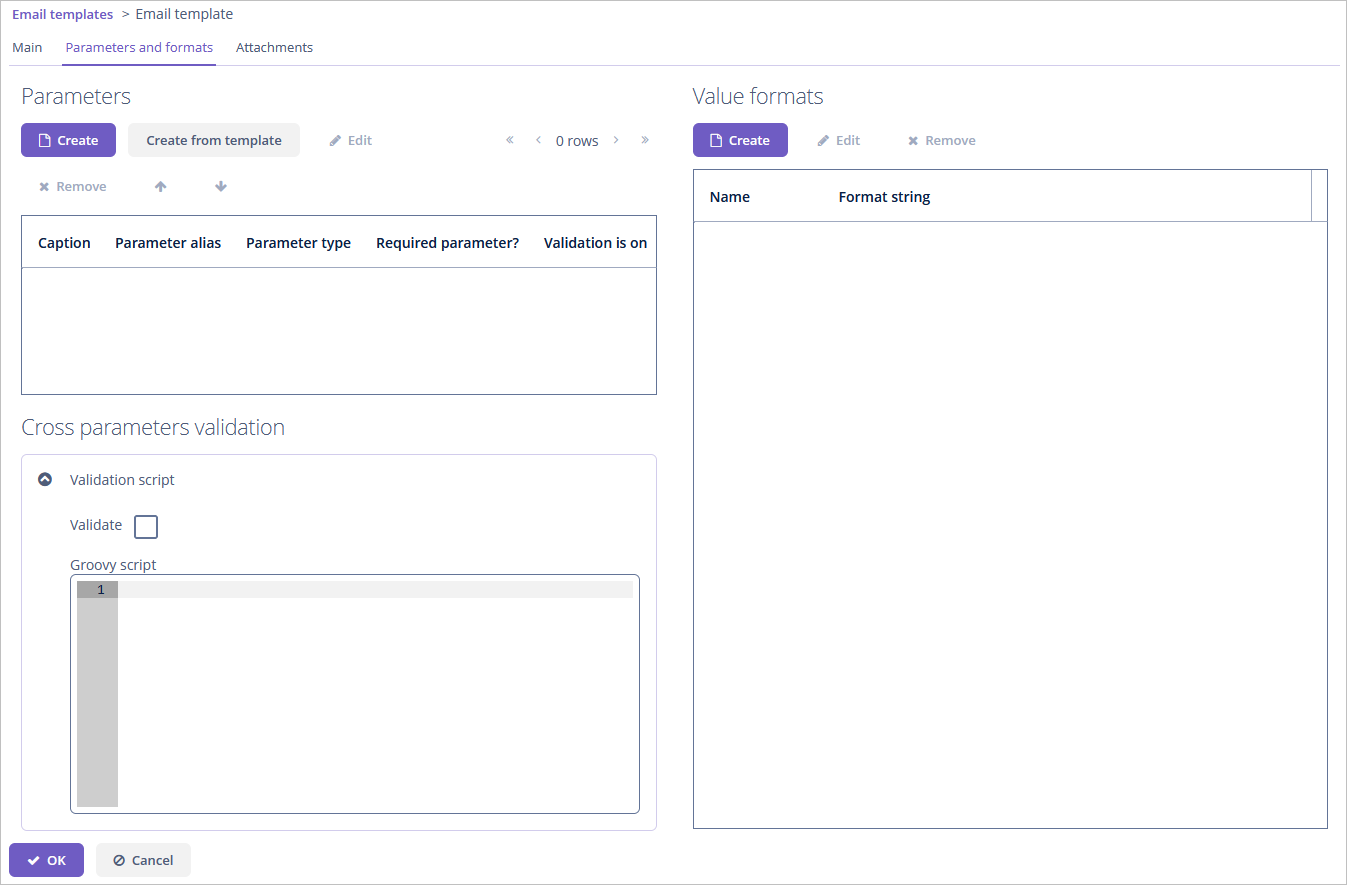
To create parameters automatically from a template, use the Create from template button in the Parameters section.
See the complete information about parameters, value formats, and cross parameters validation in the Reports add-on documentation.
Creating From Report
You can create an email template based on the report.
Template details and default values' fields are described above.
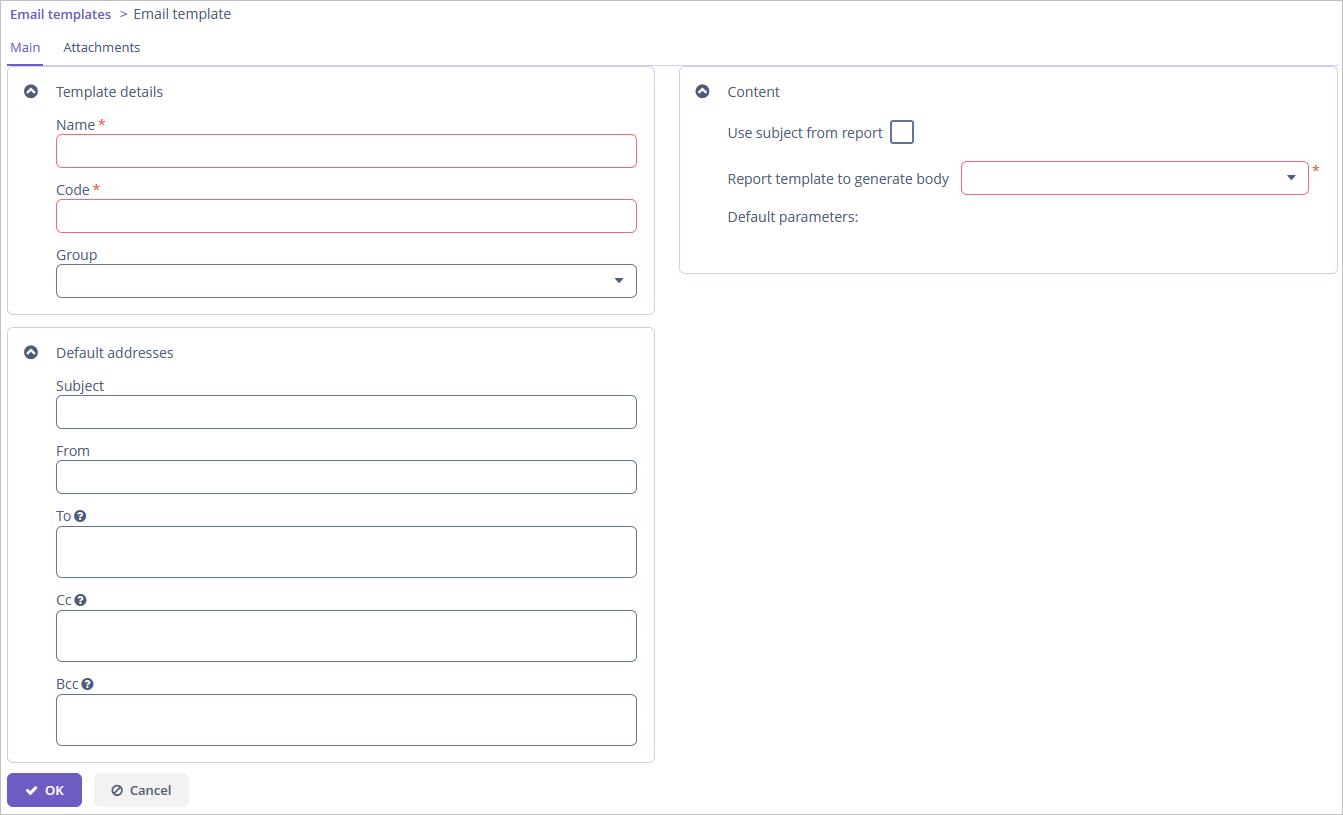
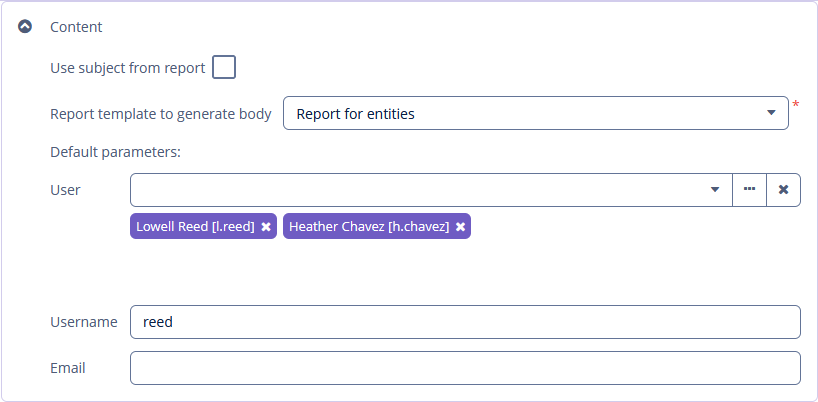
For this template, you should select a report which will generate HTML content in the Report template to generate body drop-down list.
If you want to use the report document name as an email subject, check the Use subject from report checkbox.
If the report type is a report with an entity, you can set an entity for a template. In addition, you can set report parameters.

If the report type is a report with entities, you can set entities for a template. In addition, you can set report parameters.
Setting Attachments
You can add or remove attachments on the Attachments tab for both types of templates: from the report and from the designer. You can attach a report or a file.
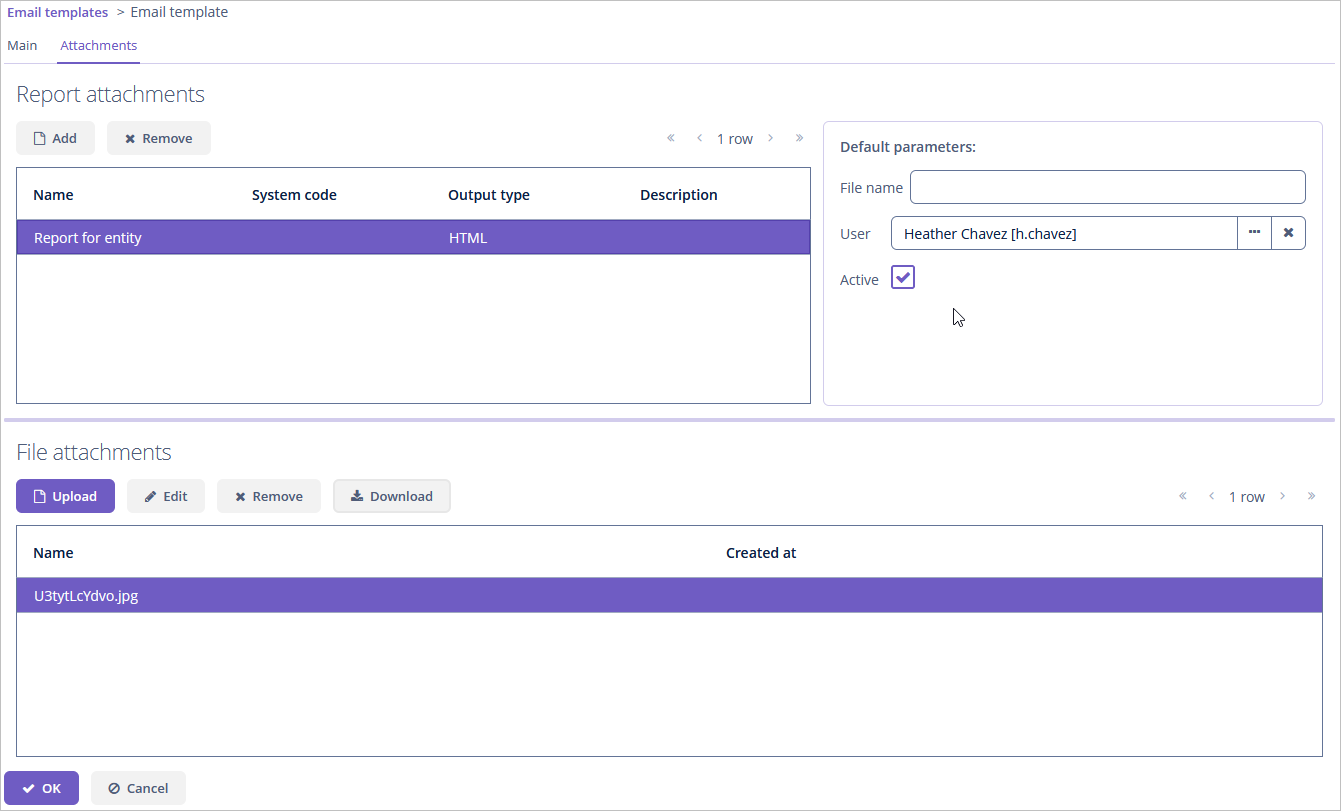
You can set the following parameters for a report attachment:
-
File name - a report attachment name for an addressee;
-
an entity or entities for a report;
-
parameters from a report.
Setting Groups
Email template groups can be useful when you have many templates in your project or you want to apply any security restrictions based on template groups.
To open the group browser, click Groups in the Email templates browser.
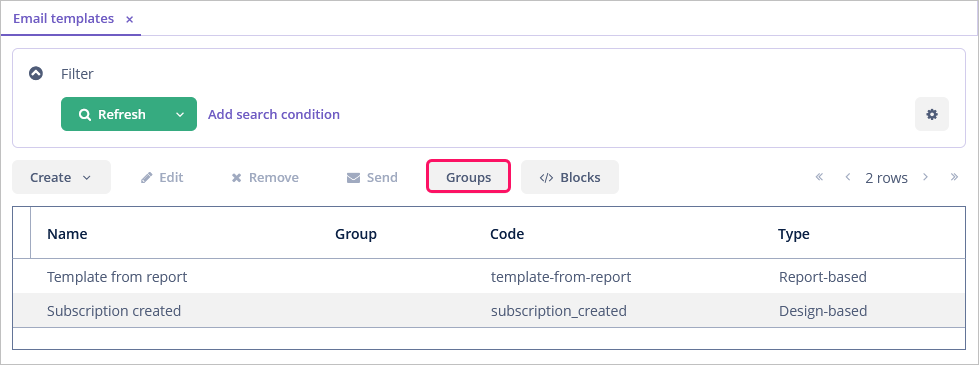
The opened screen enables you to create, edit or remove email template groups.
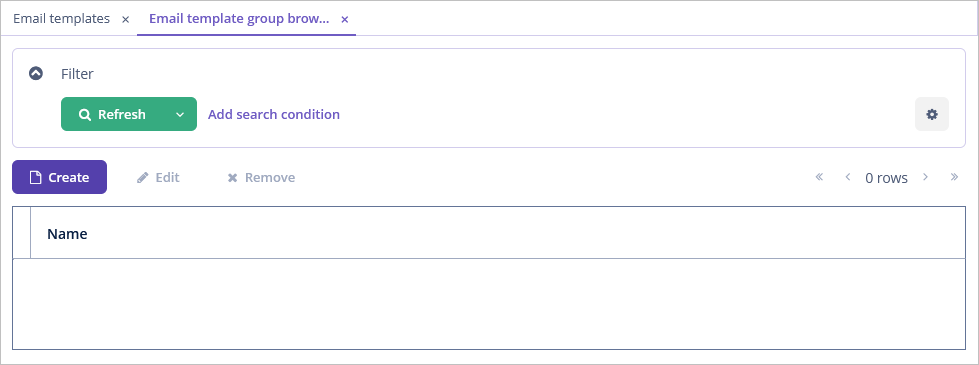
To create or edit the group, enter the name of the group.
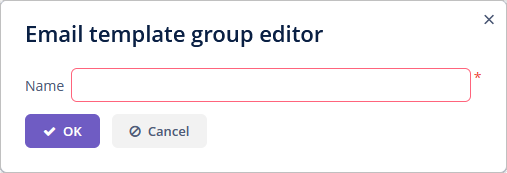
After creating a group, you can specify it for a template.
Custom Blocks
The add-on enables the creation of custom blocks. Go to Administration → Email templates and click the Blocks button.

The Template block editor screen appears after clicking the Create button in the Template block browser screen. It allows you to move predefined HTML elements and change them on the canvas. Also, you can see and set HTML code on the HTML tab.
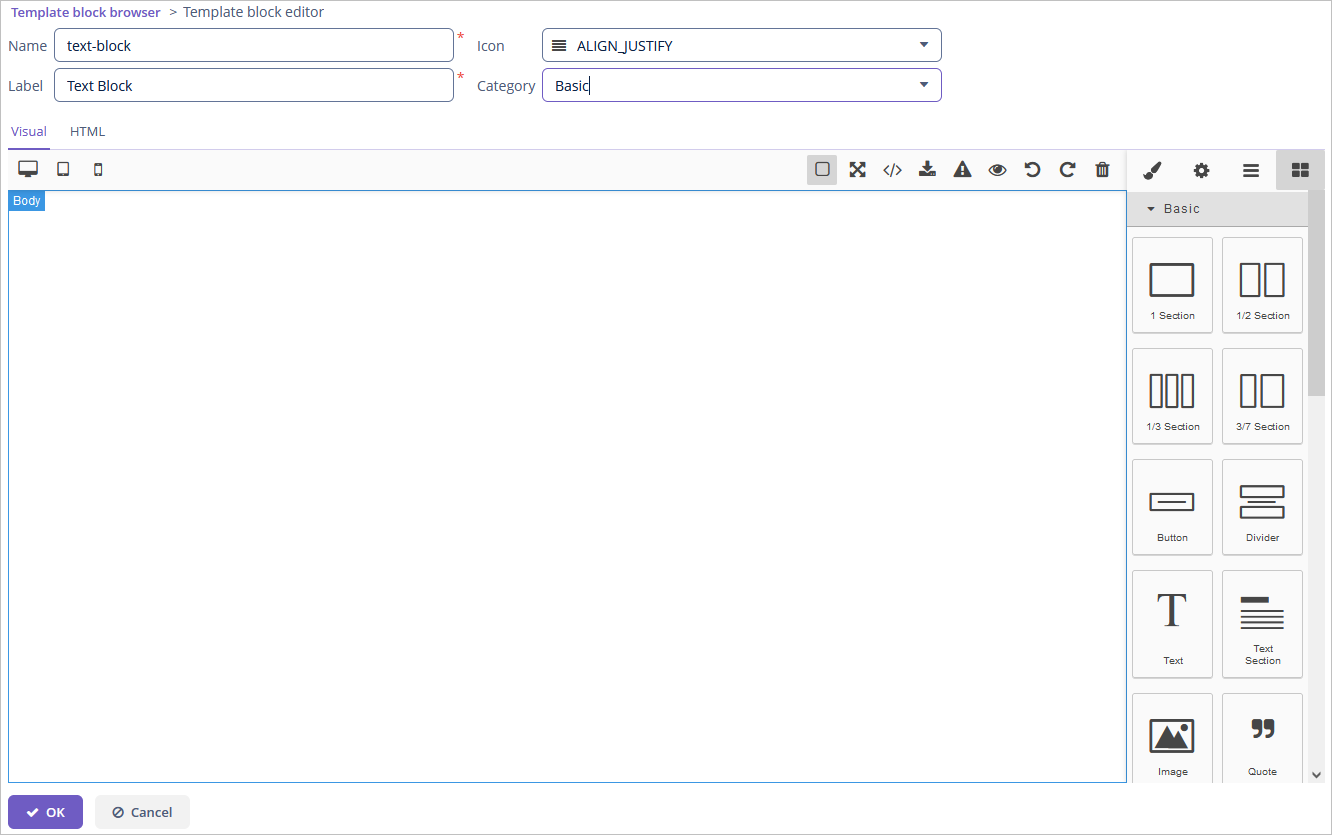
You can put the created custom block to the predefined groups or create your own. Go to Administration → Email templates and click the Blocks button and then Groups button.
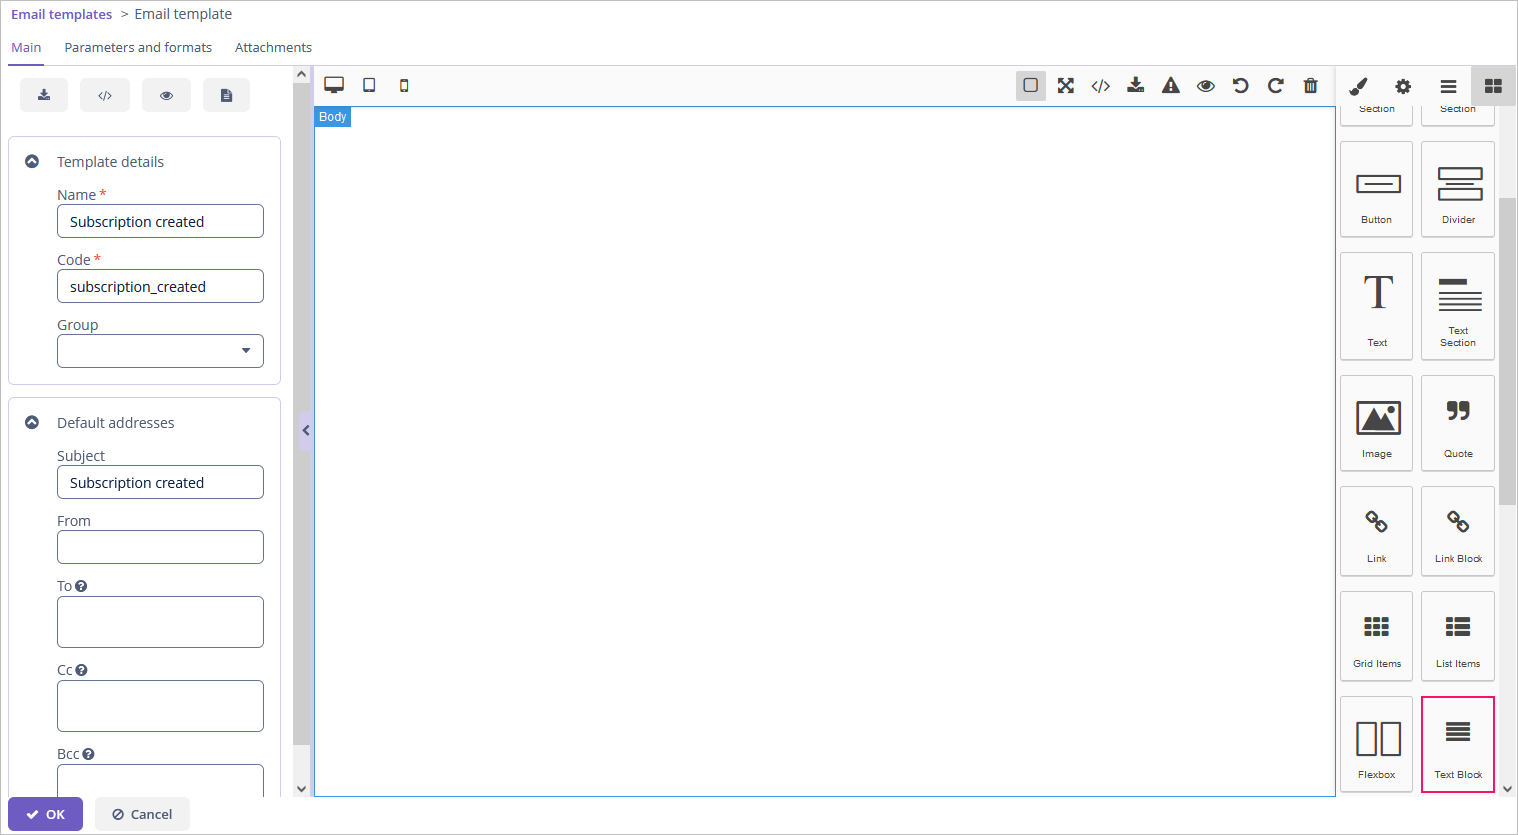
The created custom blocks will appear in the Email template editing screen while creating an email template from the designer.
Sending Emails
Select a template in the Template block browser screen and click Send to send an email.

After that, the Send email dialog will be opened.
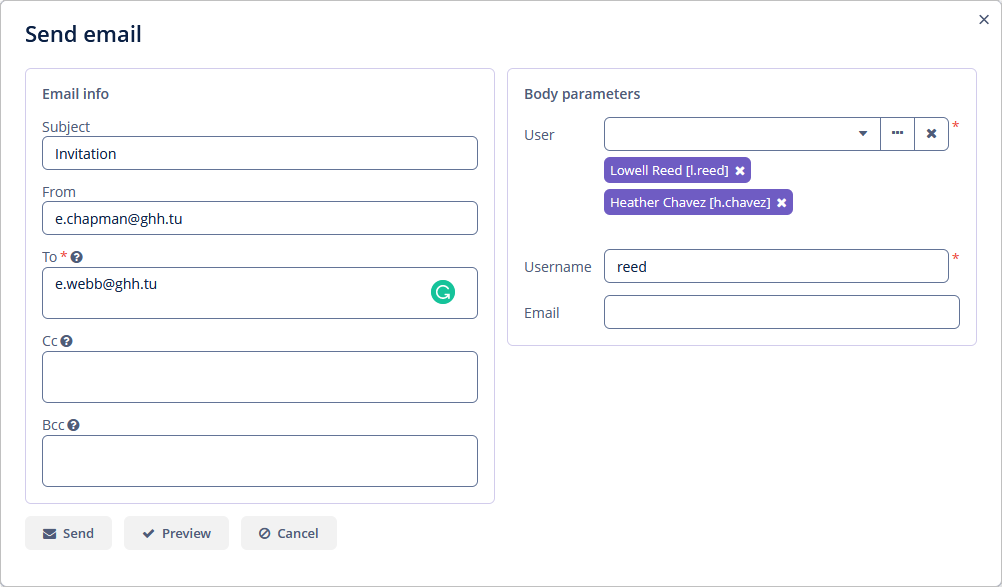
You can set the following parameters:
-
Subject - an email subject.
-
From - a sender’s address.
-
To - a recipient’s address. The To field is required.
-
Cc - an additional recipient’s address.
-
Bcc is similar to the Cc field, but email addresses listed in the Bcc field are hidden from all recipients.
If an email template has body parameters, it is possible to specify parameter values in the Body parameters panel.
Click on the Preview button to see how your email will look.
Predefined Roles
Jmix application with the Email template add-on has the following built-in resource roles:
-
Email Templates: administration - grants access to all Email templates screens and entities.
-
Email Templates: sending UI - allows users to send created email templates as emails.
