Getting Started with Email Templates
This section shows how to start using Email Templates in your application. We will create a simple application for managing users’ subscriptions. This application will send emails on subscription lifecycle events using the Email Templates add-on.
First, add the Email Templates add-on to your project according to the installation section.
Creating Data Model and Screens
Let’s create the following classes:
-
The
Customerentity with the fields:-
firstNamewithStringtype. -
lastNamewithStringtype. -
emailwithStringtype.
-
-
The
Subscriptionentity with the fields:-
namewithStringtype. -
activewithBooleantype. -
expiryDatewithDatetype -
customerwith association toCustomer, many-to-one cardinality.
-
Create edit and browse screens for the Customer and Subscription entities.
Creating Email Template
Let’s create our first template using the visual editor.
Start the application and open the Administration → Email templates screen. Click the Create → From designer button.
After that, the Email template screen is opened. Modify the fields:
-
Name:
Subscription created. -
Code:
subscription_created. -
Subject:
Subscription created.
Let’s create our first email template content. You can simply drag all required elements from the palette on the right side to the canvas.
Our template will contain three sections.
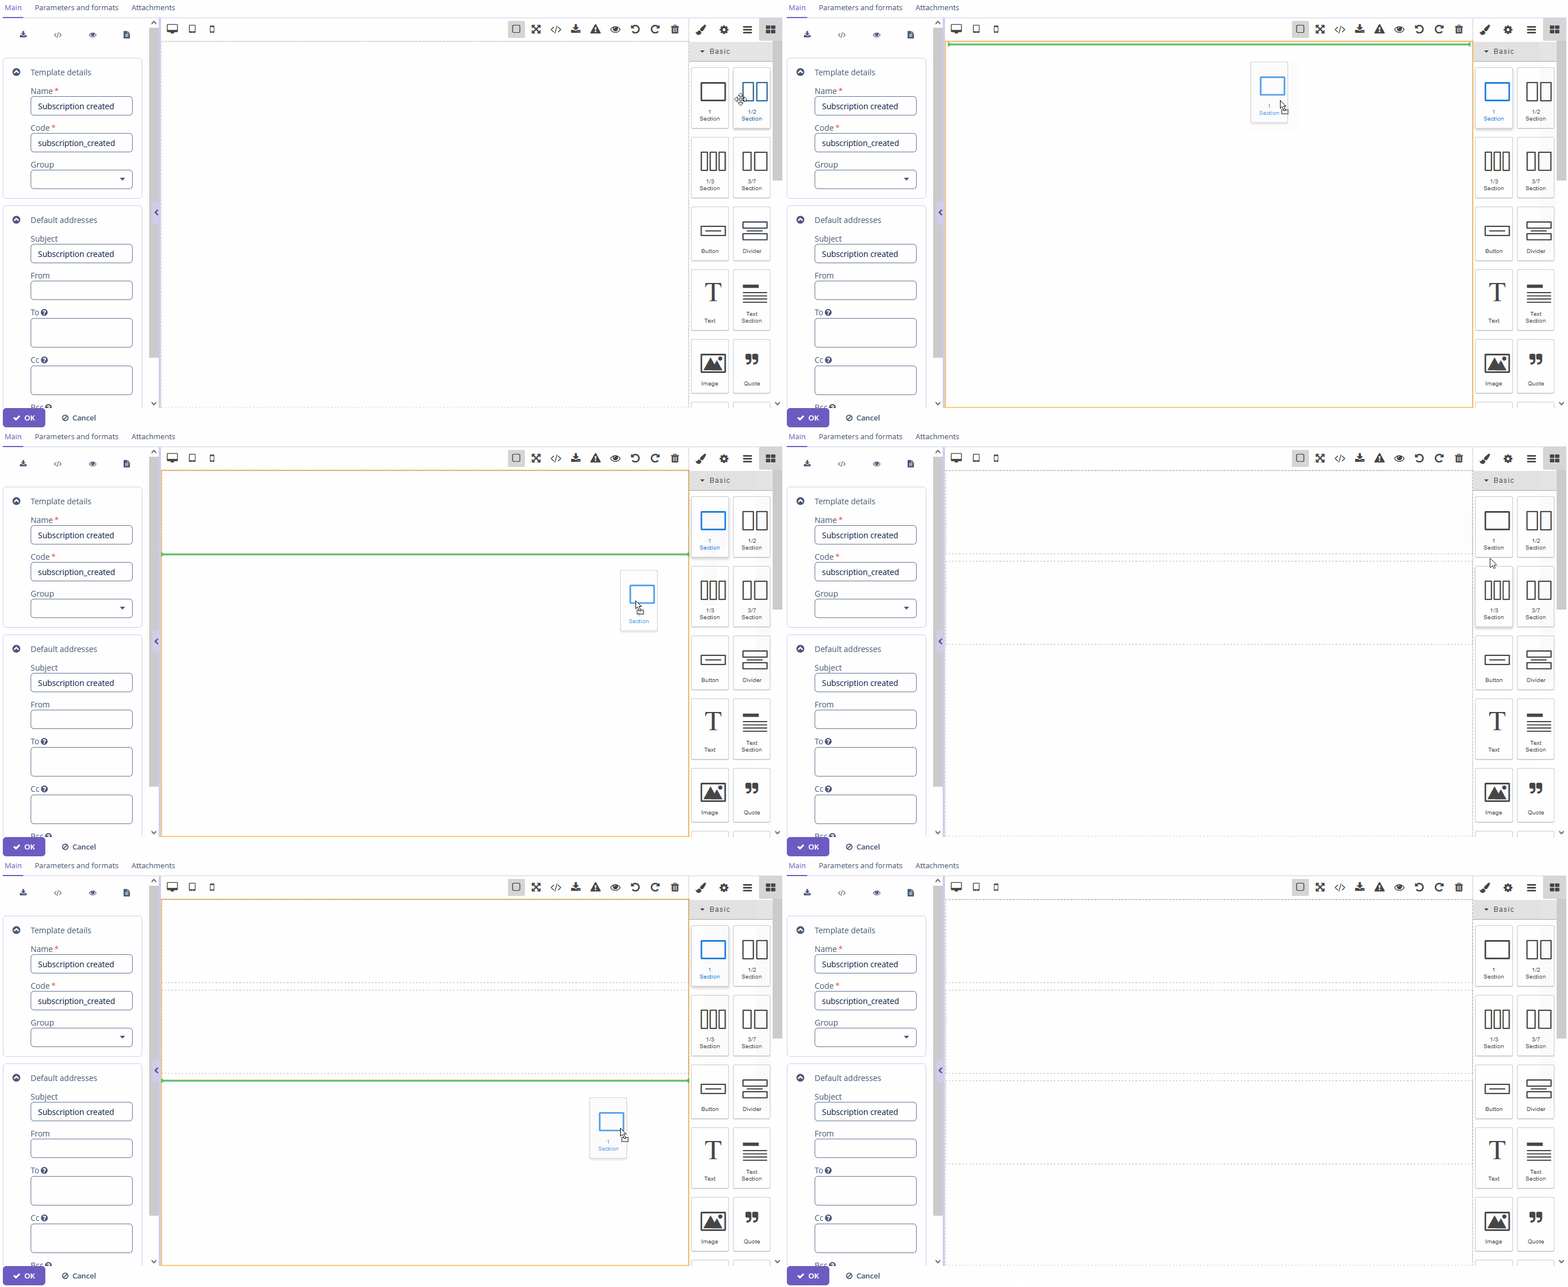
In the first section, we will add the company logo image. Find the Image element and drag it to the first section.
You can provide a link to the image or upload an image from the file storage.
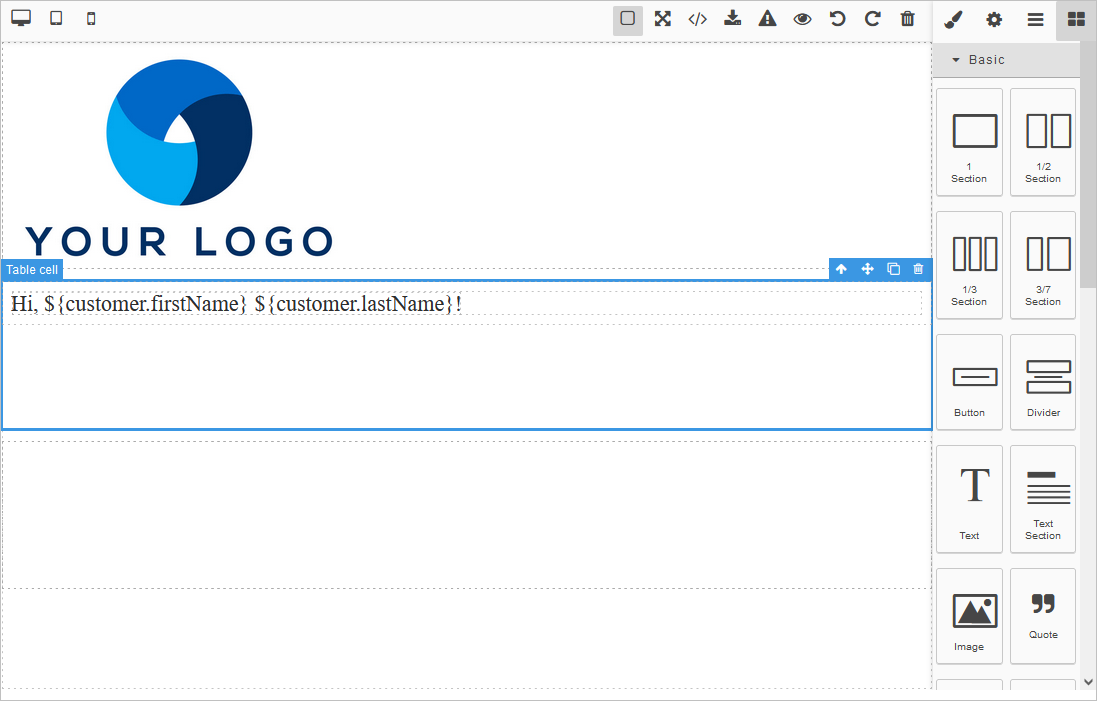
The second section will contain a message for the customer. In the template, we can use the template’s parameters. Those parameters will be created automatically. Type Hi, ${customer.firstName} ${customer.lastName}! with parameters mask in the Text element:
Then go to the Parameters and formats tab and click Create from template. The system will create one template parameter with the customer alias and Customer entity type.
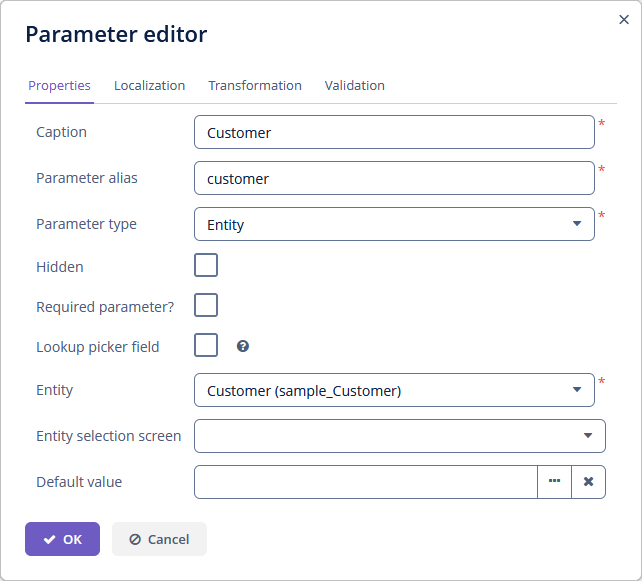
You can set the correct parameter type for each template parameter and configure other values.
Let’s define a format for parameters in the template. Go to the Main tab and add the Text element to the canvas. Type the following content: Your subscription will be expired on ${subscription.expiryDate?string("YYYY-MM-dd")}. Pay attention - we add subscription expiry date as a template parameter with a special mask with value format.
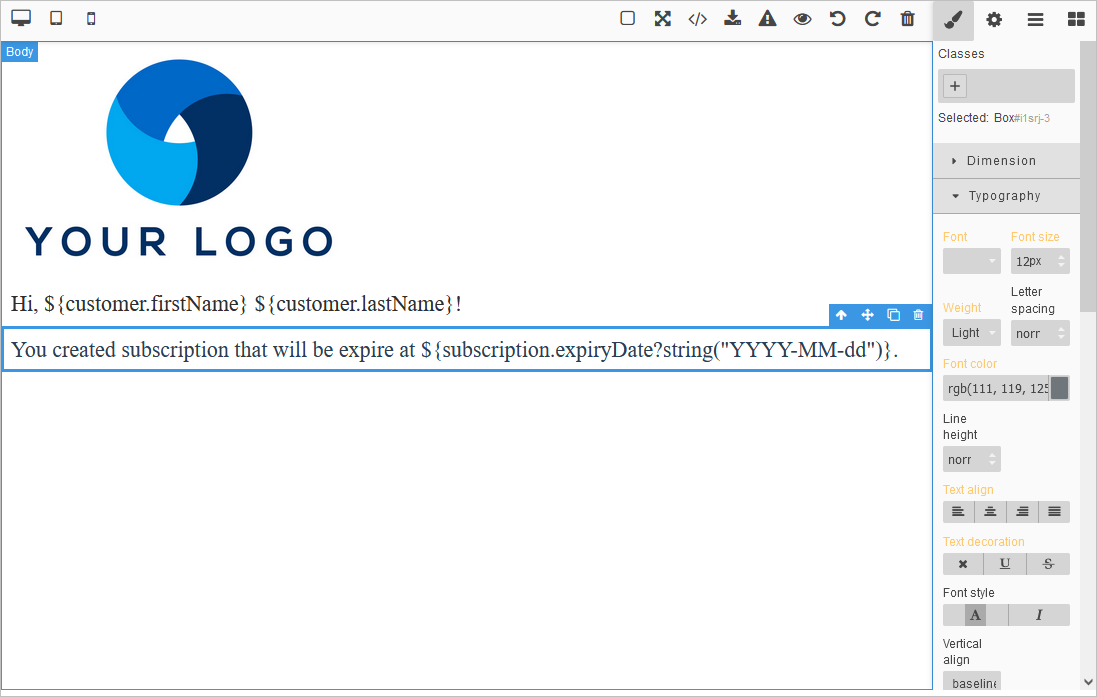
You can see that the new subscription variable with the Subscription entity type is created.
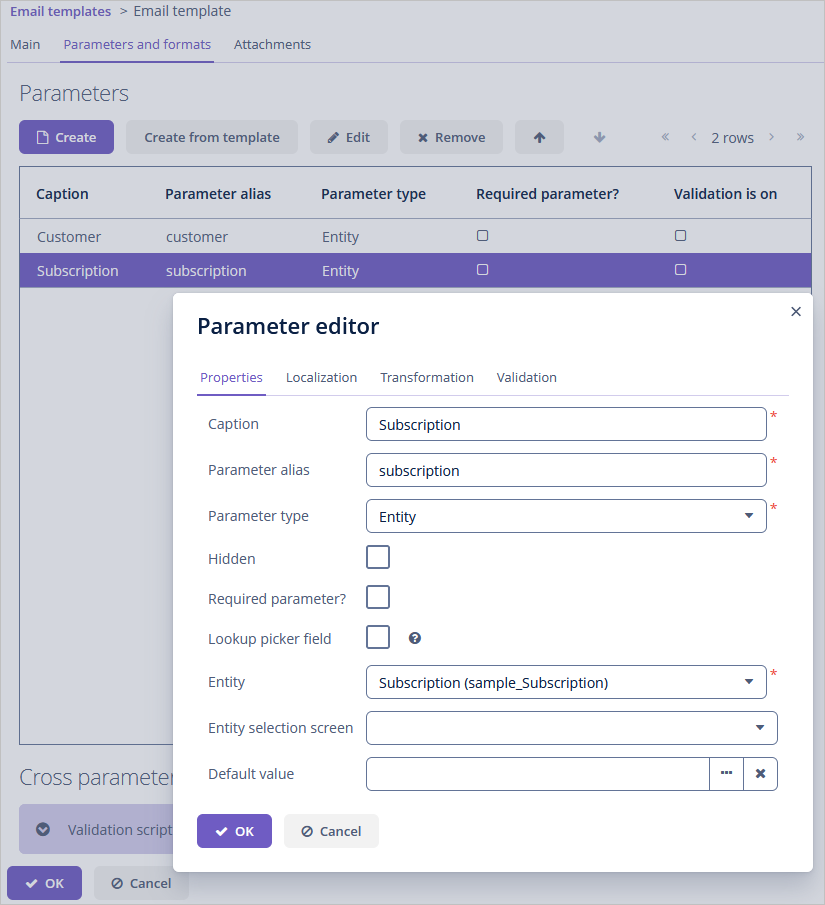
Go to the Main tab and add the Text element to the canvas with the following content: Best regards, Сompany team. Our template is complete.
Open the Email templates browser, select the created template and click the Send button.
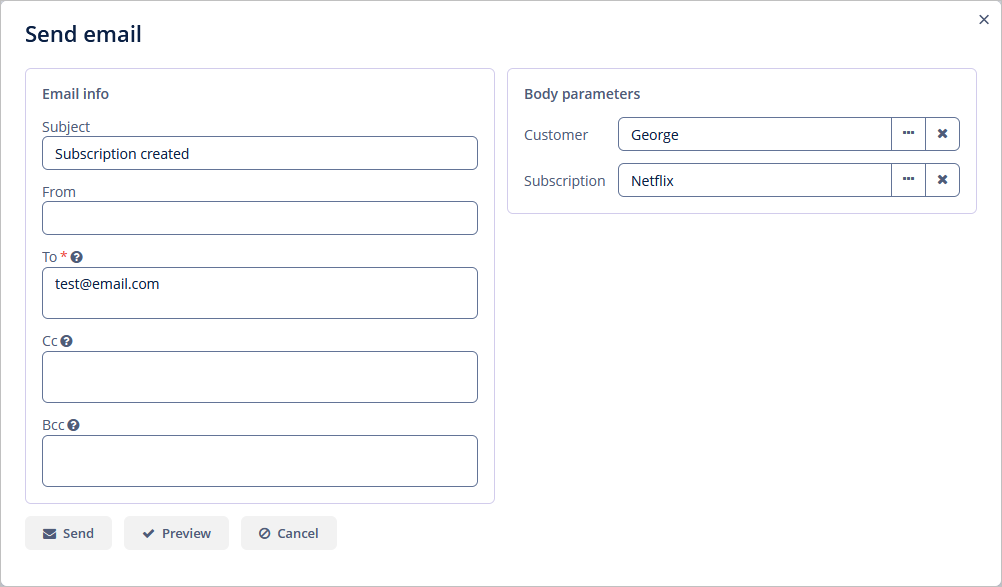
Fill in the required parameters and click on the Preview button to review email content that will be generated.

Adding Event Listener
Now we will add some automation to the application.
To send our templates automatically from the subscription lifecycle, we will create the subscription event listener. In this listener, we will use the Email templates API to send a "Subscription created" email when the subscription was created.
@Component
public class SubscriptionEventListener {

    private static final Logger log =
            LoggerFactory.getLogger(SubscriptionEventListener.class);

    @Inject
    EmailTemplates emailTemplates;  (1)

    public static final String CREATED_TEMPLATE_CODE = "subscription_created";

    @EventListener
    void onSubscriptionSaving(EntitySavingEvent<Subscription> event) {
        if (event.isNewEntity()) {
            try {
                emailTemplates.buildFromTemplate(CREATED_TEMPLATE_CODE)
                        .setTo(event.getEntity().getCustomer().getEmail()) (2)
                        .setBodyParameter("subscription", event.getEntity()) (3)
                        .setBodyParameter("customer", event.getEntity().getCustomer()) (4)
                        .sendEmail(); (5)
            } catch (TemplateNotFoundException | EmailException |
                    ReportParameterTypeChangedException e) {
                log.info(e.getMessage());
            }
        }
    }
}| 1 | EmailTemplates provides a fluent builder interface to customize your email template. |
| 2 | Sets the to property of email template. |
| 3 | Sets the subscription template parameter. |
| 4 | Sets the customer template parameter. |
| 5 | Sends filled email template using io.jmix.email.Emailer. |
Launch the application and ensure that the resulting email was sent after creating a subscription.
