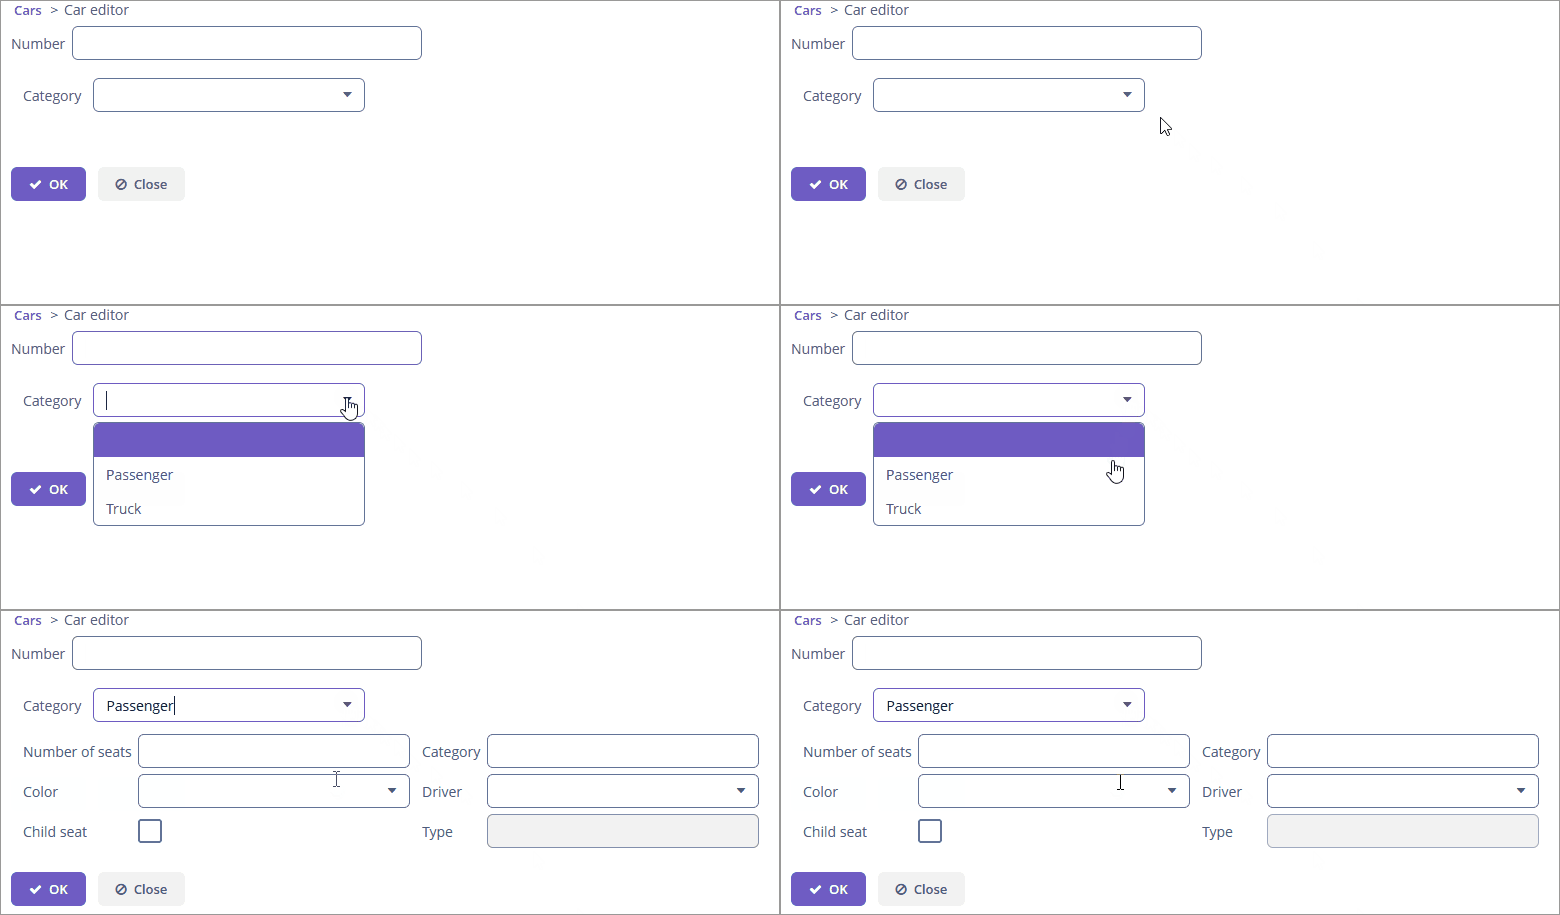
Displaying Dynamic Attributes
When you create a new editor or browser screen in the project with the plugged Dynamic Attributes add-on, the framework automatically adds the dynamicAttributes facet in XML descriptors.
Another way to show dynamic attributes in screens is using DynamicAttributesPanel.
Using dynamicAttributes Facet
dynamicAttributes facet allows you to show dynamic attributes in Table or Form components bound to a data container with the entity having dynamic attributes.
Add dynamicAttributes facet to the facet section in the screen XML descriptor:
<window xmlns="http://jmix.io/schema/ui/window"
        caption="msg://carEdit.caption"
        focusComponent="form"
        xmlns:dynattrui="http://jmix.io/schema/dynattr/ui">
    <facets>
        <dataLoadCoordinator auto="true"/>
        <dynattrui:dynamicAttributes/>
    </facets>
    <!--...-->
</window>
After that, you need to select this screen in the Category attribute editor on the Visibility tab.
Using DynamicAttributesPanel
If an entity implements the Categorized interface, then you can use the DynamicAttributesPanel component for displaying the dynamic attributes of the entity. This component allows you to select a category for the particular entity instance and specify values of dynamic attributes of this category.
In order to use the DynamicAttributesPanel component in an edit screen, do the following:
-
Declare an
InstanceContainerin the data section:<instance id="carDc" class="dynattr.ex1.entity.Car"> <fetchPlan extends="_base"> <property name="category" fetchPlan="_instance_name"/> (1) </fetchPlan> <loader dynamicAttributes="true"/> (2) </instance>1 Include the category attribute to the fetch plan of your categorized entity. 2 Set the dynamicAttributesparameter of the loader totrueto load the entity’s dynamic attributes. Dynamic attributes are not loaded by default. -
Include the
dynamicAttributesPanelvisual component in the XML descriptor of the screen:<dynamicAttributesPanel dataContainer="carDc" cols="2" rows="2" width="AUTO"/>You can specify the number of columns to display dynamic attributes using the
colsparameter. Or you can use therowsparameter to specify the number of rows (in this case, the number of columns will be calculated automatically). By default, all attributes will be displayed in one column.
On the Attributes location tab of the category editor, you can more flexibly customize the position of the dynamic attributes. In this case, the values of the cols and rows parameters will be ignored.
Adding Specific Attributes Explicitly
Also, you can add dynamic attributes to a screen manually. In order to do this, add dynamicAttributes="true" attribute to the data loader and use attribute’s code with + prefix when binding UI components:
<data>
    <instance id="carDc"
              class="dynattr.ex1.entity.Car">
        <fetchPlan extends="_local"/>
        <loader dynamicAttributes="true"/>
    </instance>
</data>
<layout>
    <form id="form" dataContainer="carDc">
        <!-- ... -->
        <textField property="+PassengerNumberofseats"
                   caption="Number of seats"/>
    </form>
</layout>