Entity Designer
Studio provides a visual designer that simplifies entity creation, so you don’t need to remember all the rules and annotations.
|
This feature requires a RAD or Enterprise subscription. If you don’t have the subscription, see how to get the trial version. |
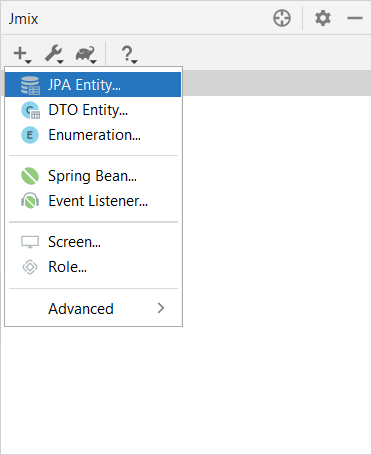
To create an entity, use the menu in the Jmix Tool Window.
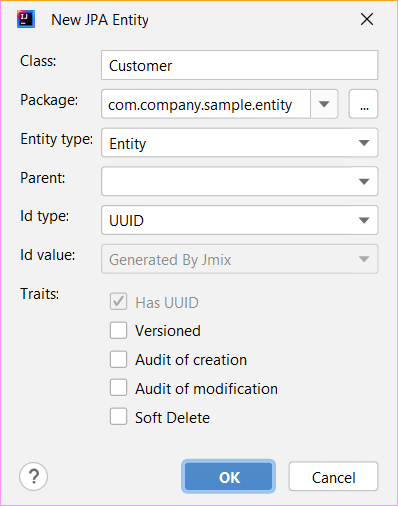
Then just enter a name of the entity and click OK in the appeared dialog.
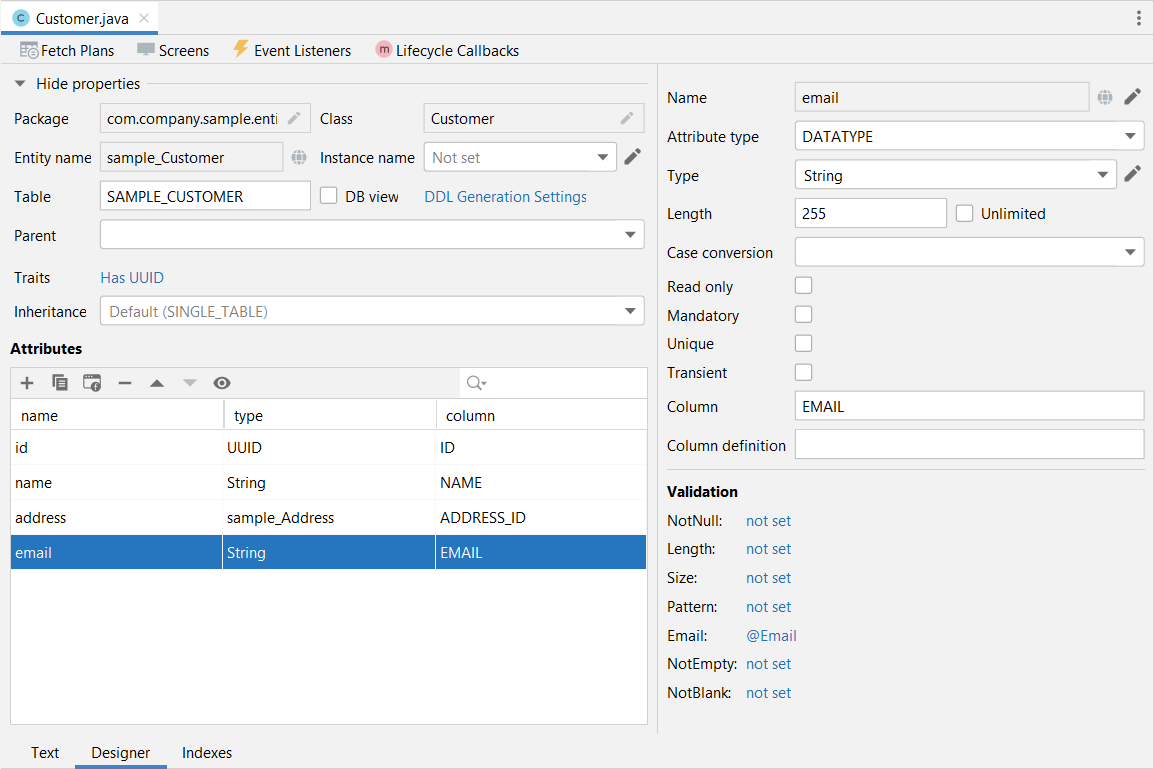
Studio displays three tabs for the created entity. Together they form the visual Entity Designer:
-
Text contains the source code of the entity.
-
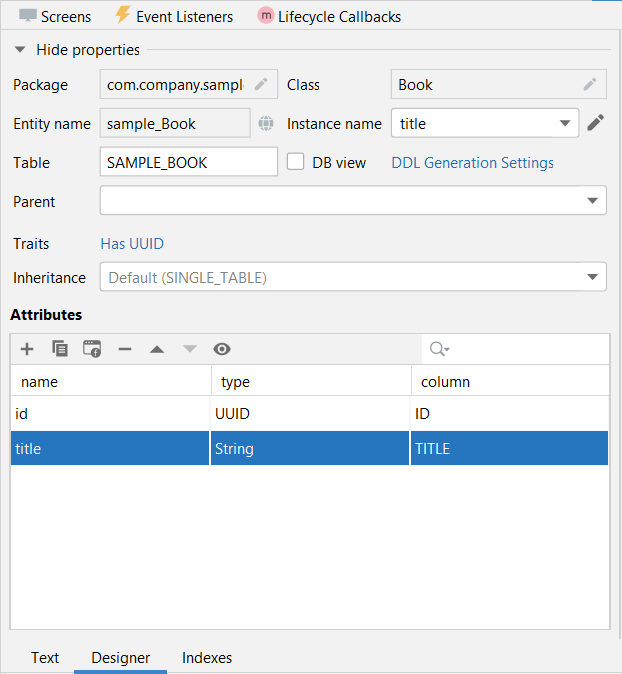
Designer shows the entity structure. You can add entity’s attributes, set an instance name and validations using graphical interface instead of writing Java code.
-
Indexes displays indexes and allows you to create the new ones.
Adding Attributes
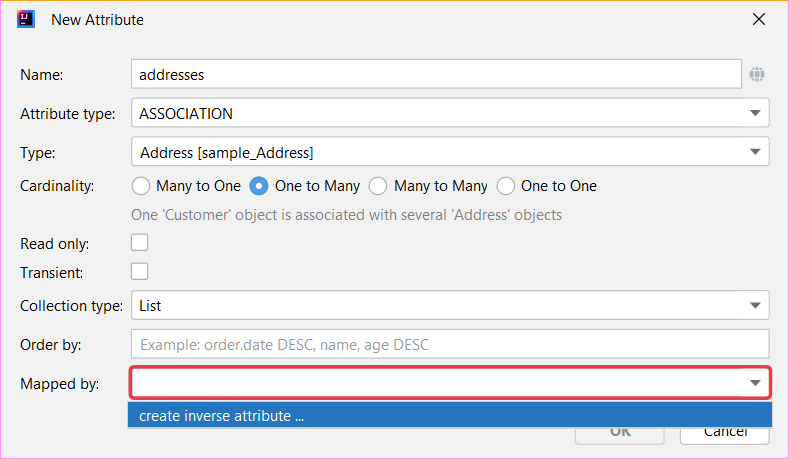
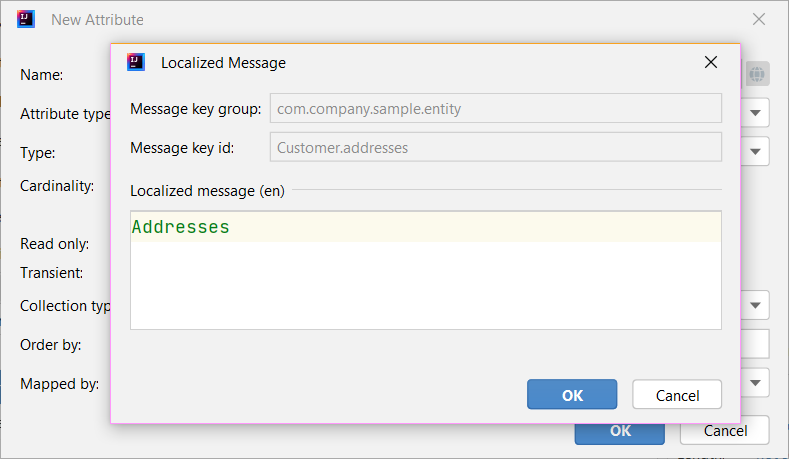
You can add attributes by clicking the Plus button in the Designer tab and configure the attribute in the appeared dialog. In the example below, the addresses attribute with the Attribute type ASSOCIATION is added. In this case, for one-to-many reference, you need to create an inverse attribute in the Address entity.
The globe button in the right part of the Name field lets you immediately set a user-friendly name of the attribute. It is stored in the messages.properties file and used by default in UI components.
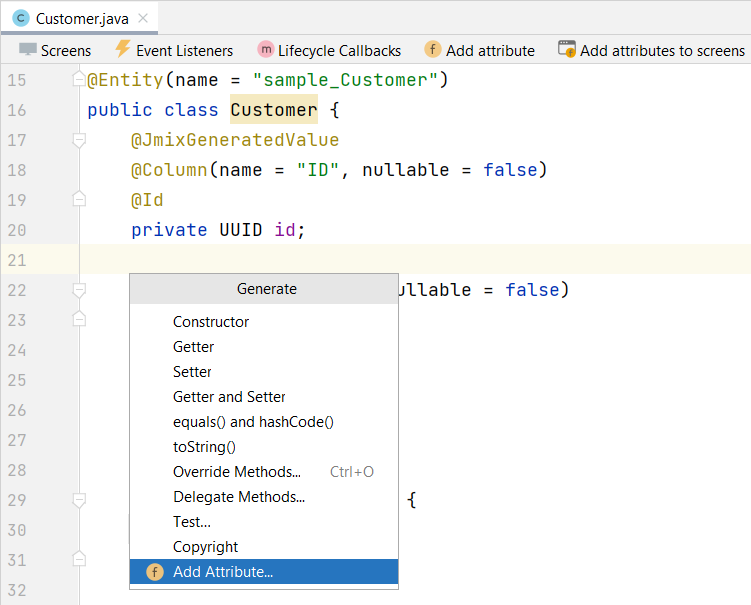
Also, you can call the creation attribute dialog in the Text tab clicking Add attribute on the top panel or in the Generate popup.
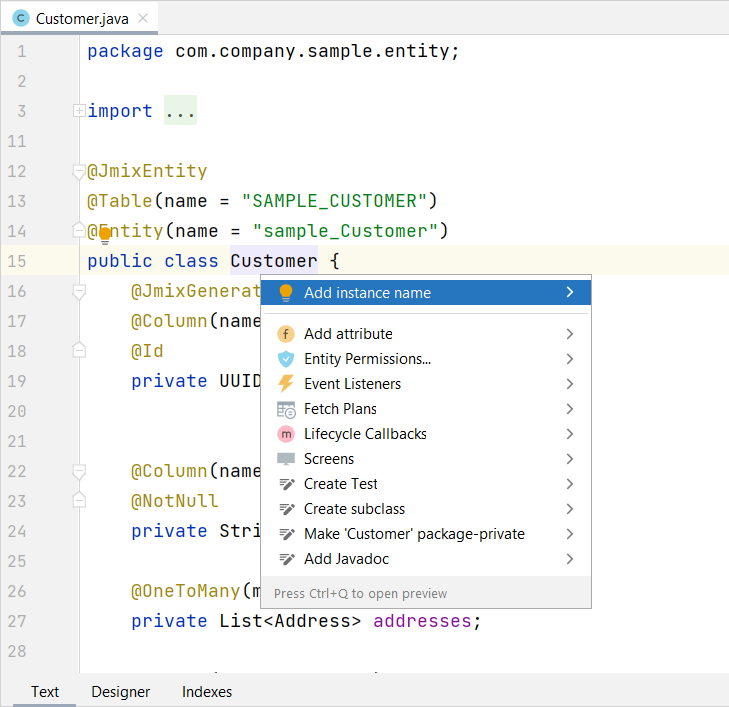
Creating Instance Name
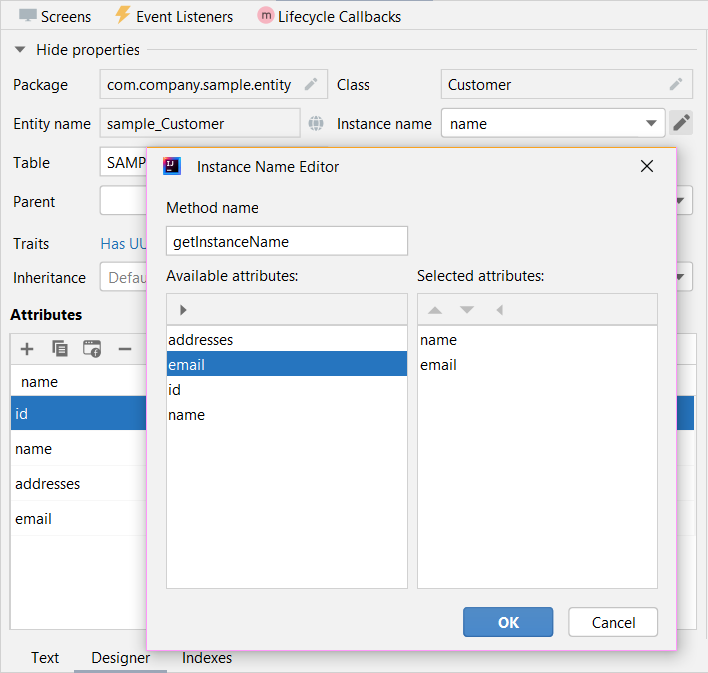
Studio sets an instance name for an entity automatically when an attribute with one of the following names is added to the entity: name, title, caption, label, summary, description, firstName, lastName, middleName.
When you want to set another attributes for generating an instance name, use the visual constructor. You can open it by clicking the pencil button in the Instance name field.
Instance name can also be created in the Text tab. Position the cursor on the class name, click Alt+Enter (⌥↩) and select Add instance name.
Enumerations
Studio helps to work with enumerations by providing a set of actions and the visual designer. Use the menu in the Jmix Tool Window to create enumeration.
When the enumeration is created, its class will be opened in the editor with two tabs.
-
Text contains the source code.
-
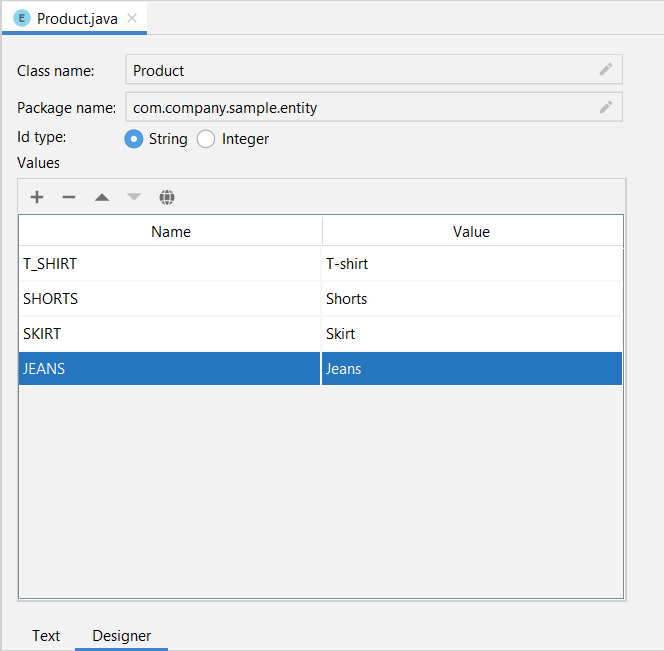
Designer shows the enumeration designer where you can configure the enumeration and its values using graphical interface instead of writing Java code.
Use the Values table and its associated buttons to set up enumeration constants.
-
Name column allows you to enter the enumeration constant name to be used in the code. It can be renamed later without affecting existing data in the database.
-
Value column allows entering the id of the enumeration constant. This is the actual value stored in the database.
The globe button allows you to set localized captions for the selected enumeration constant.
Designer also provides the ability to change the Id type used by the enumeration from String to Integer and vice versa. Studio will migrate usages of the enumeration in the code. After that, you should change values of the existing enumeration constants.
|
Such migration does not migrate enumeration values already stored in the database tables, you will need to implement such migration yourself. |
