Getting Started with Reports
This section helps you quickly explore the basic functionality of the Reports add-on by creating a couple of reports with minimal effort.
Examples in this section are based on the Onboarding application created in Tutorial. You will create two reports:
-
User Profile: Shows the main details and the list of onboarding steps for a selected user.
-
List of Users: Displays the list of users and their roles.
| See also the Report Generation guide for practical examples of reports with a complex structure and various output types. |
Project Setup
-
Download and unpack the source code of the Jmix Onboarding project, or clone it using Git:
git clone https://github.com/jmix-framework/jmix-onboarding-2.git
-
Open the
jmix-onboarding-2project in Studio as described in the Opening Existing Project section. -
Add the Reports add-on to the project as described in the Installation section.
Creating Report at Runtime
In this section, you will create the User Profile report using the wizard available in the running application. The report definition and template will be stored in the database.
Launch the application using the Onboarding Jmix Application run/debug configuration of your IDE, navigate to http://localhost:8080 and log in as admin with admin password.
-
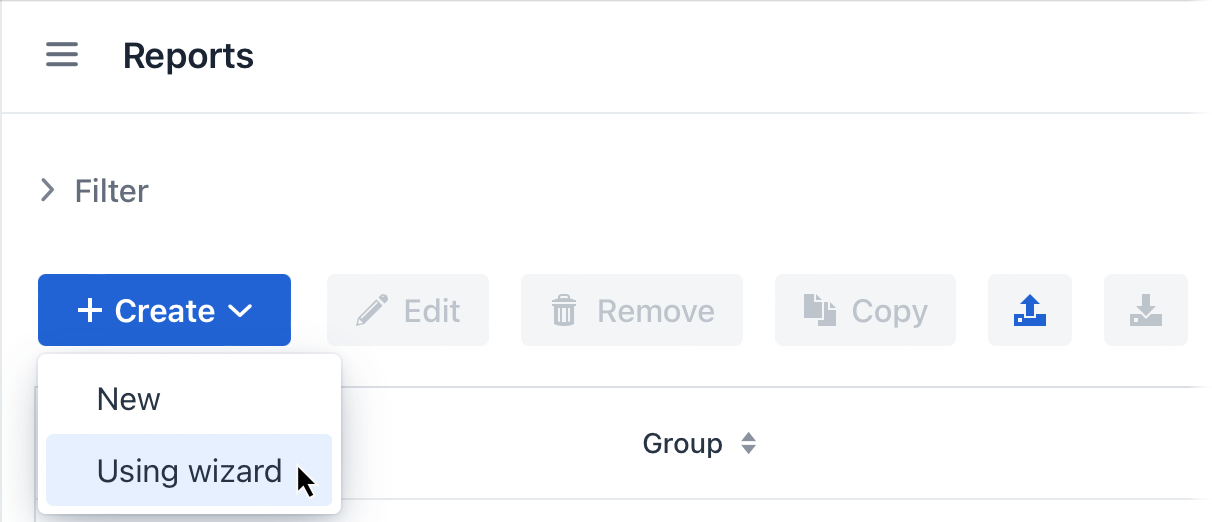
Open the Reports → Reports view and run the report creation wizard by clicking Create → Using wizard.
Enter the following parameters on the first step of the wizard:
-
Entity:
User -
Template type:
DOCX -
Report name:
User Profile -
Report code:
user-profile -
Report type:
Report for single entity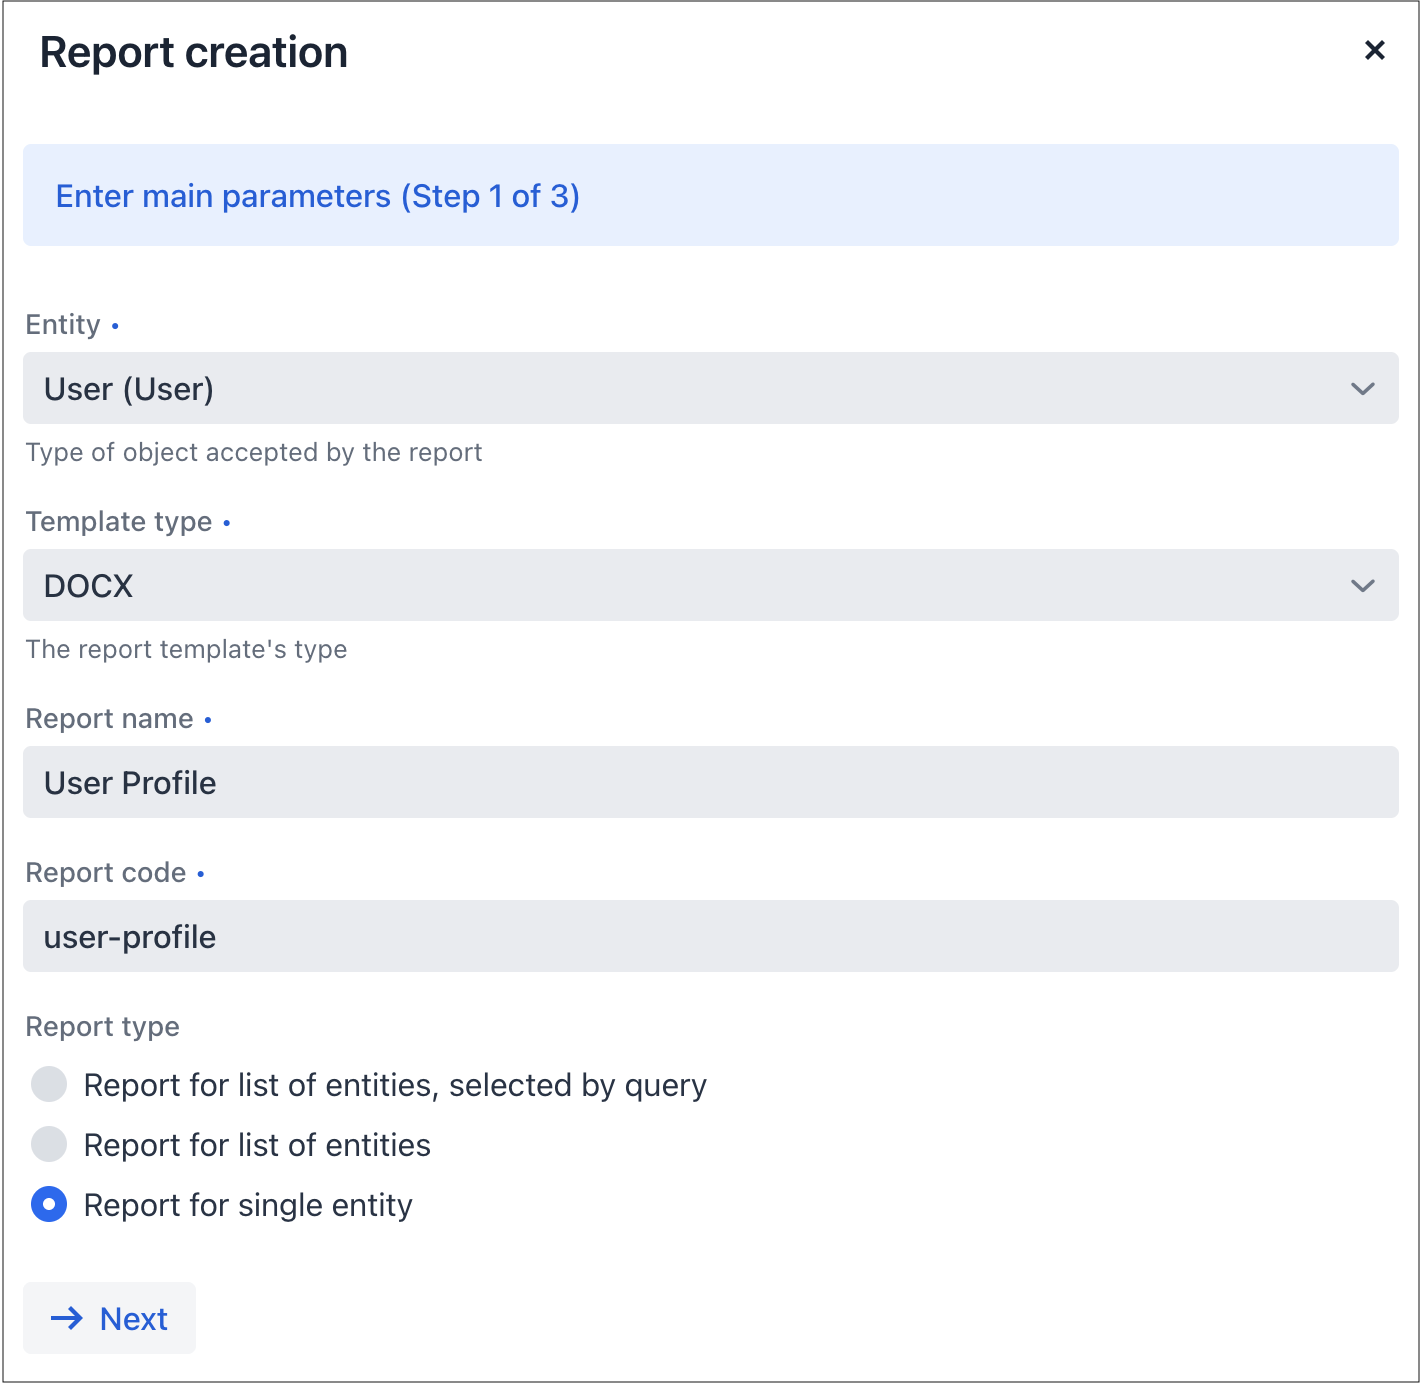
-
-
In the next step of the wizard, specify the attributes of the
Userentity and the relatedDepartmentthat should be displayed in the report. These attributes will form the "simple region".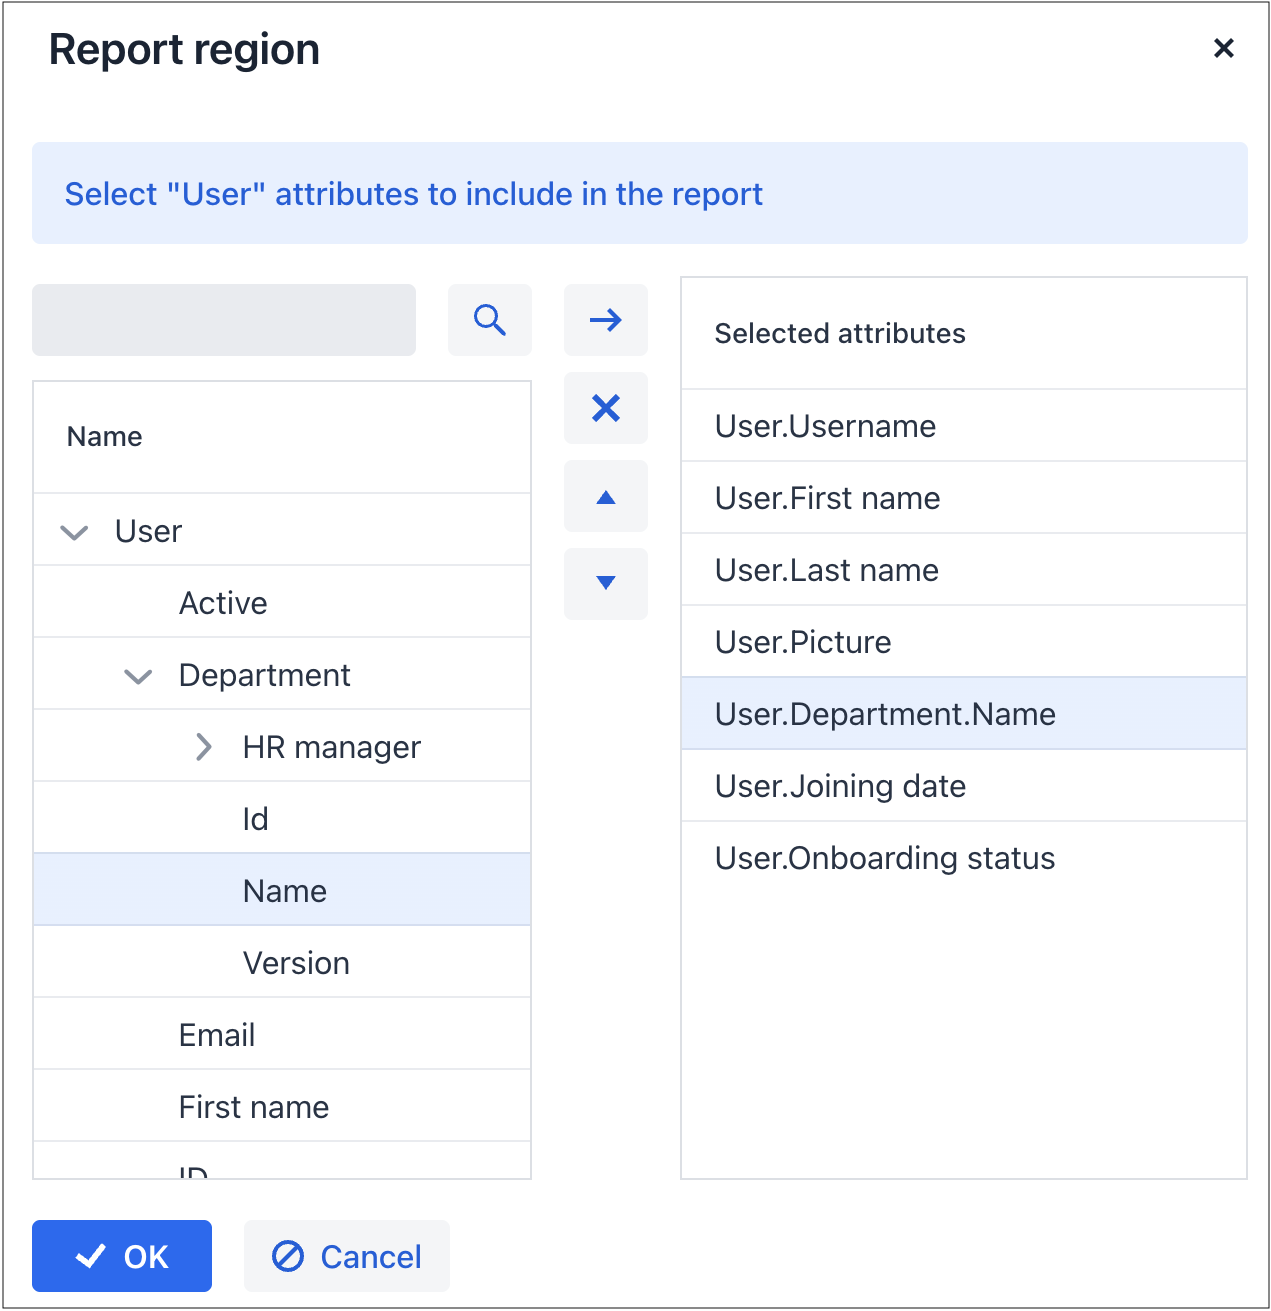
Click OK to proceed to the next step: editing report regions.
-
The view that appears contains a list of named regions, or bands, that display related data. If the entity includes collection attributes, the Add tabulated region button is enabled.
Click on the Add tabulated region button to create a band for displaying a list of onboarding steps of this
Userinstance.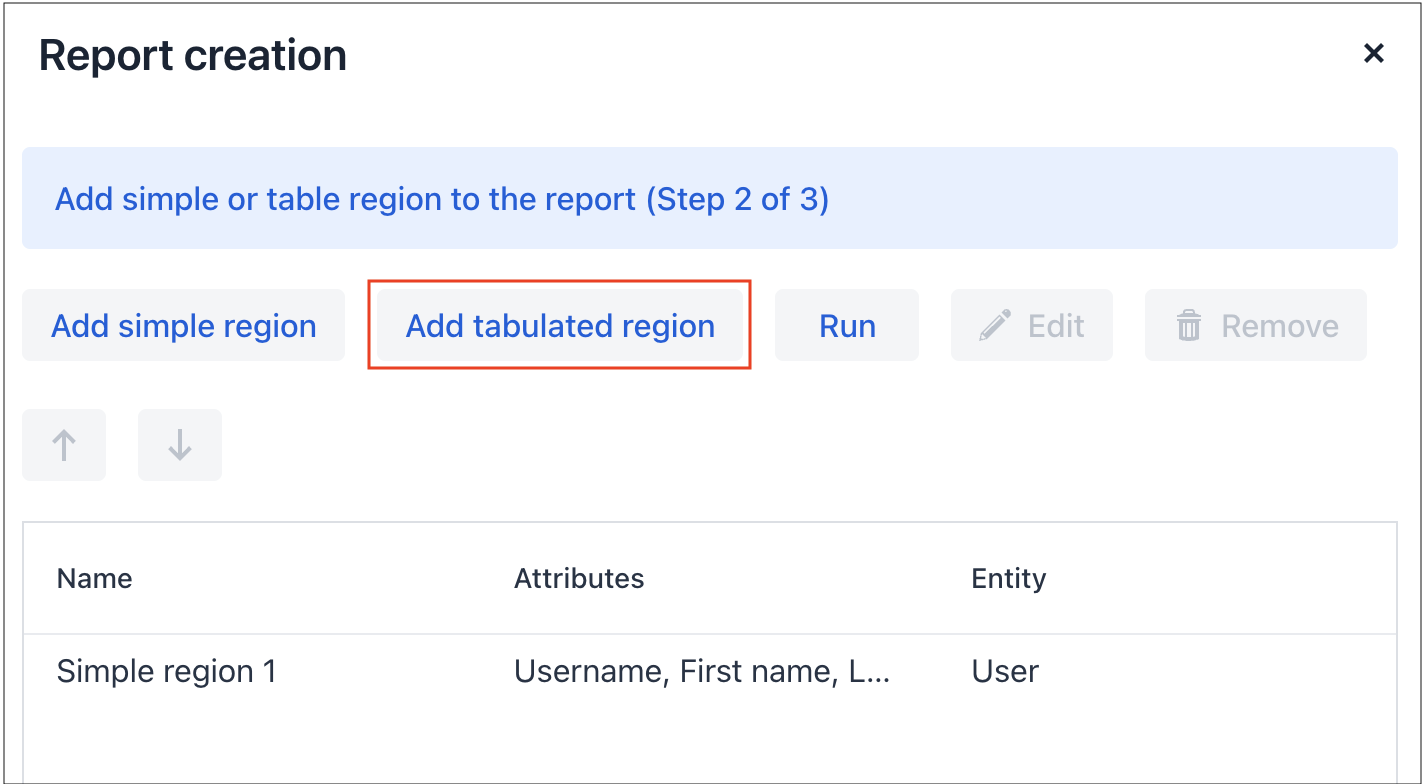
Select
User.Stepsin the Select attributes dialog.Then select the
Steps.Step.Name,Due dateandCompleted dateattributes.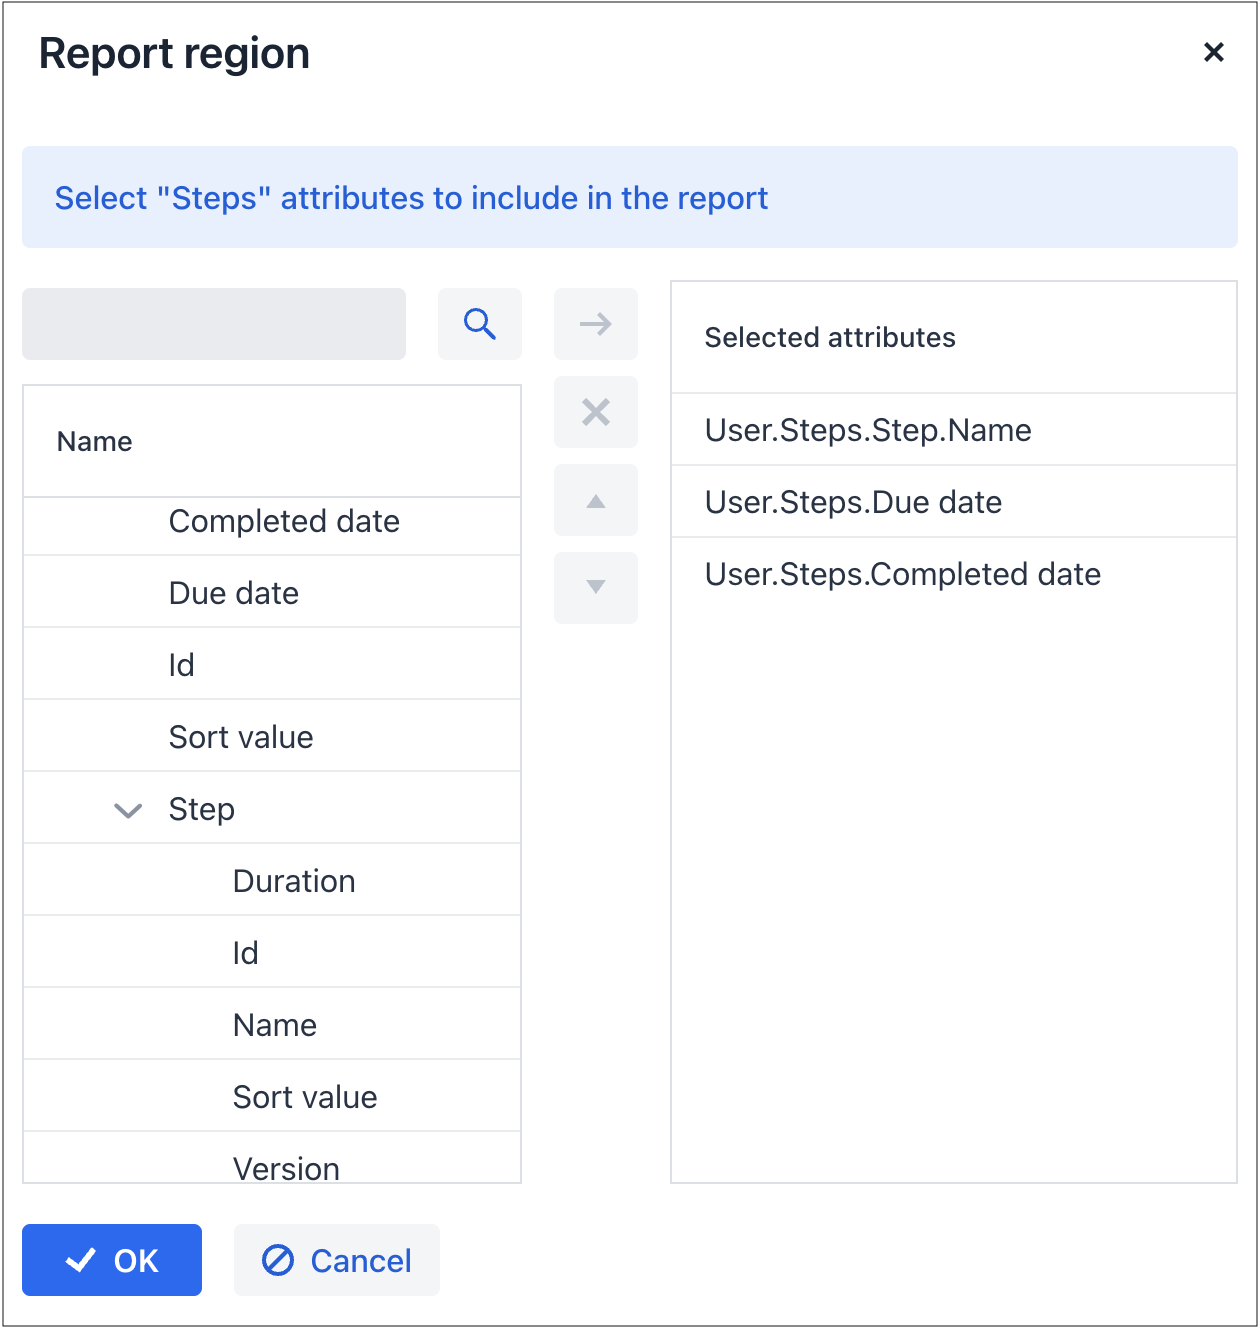
Click OK, then Next to move to the final step where you can adjust the output file name and format. Click Save.
-
The wizard finishes and the report detail view is opened. You can explore the created report structure and run the report.
-
To render the user picture in the report, create a value format for this field. Switch to the Value formats tab and click Create. Enter
User1.picturein the Name field and${imageFileId:200x200}in the Format string field: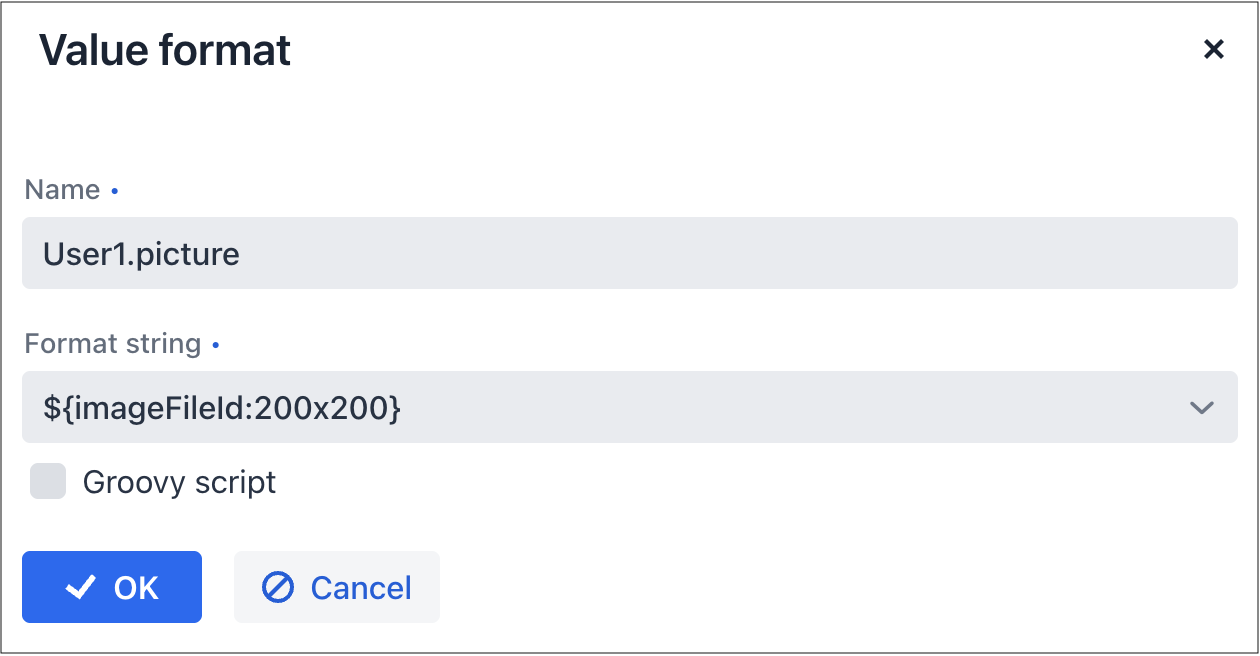
Save the value format.
-
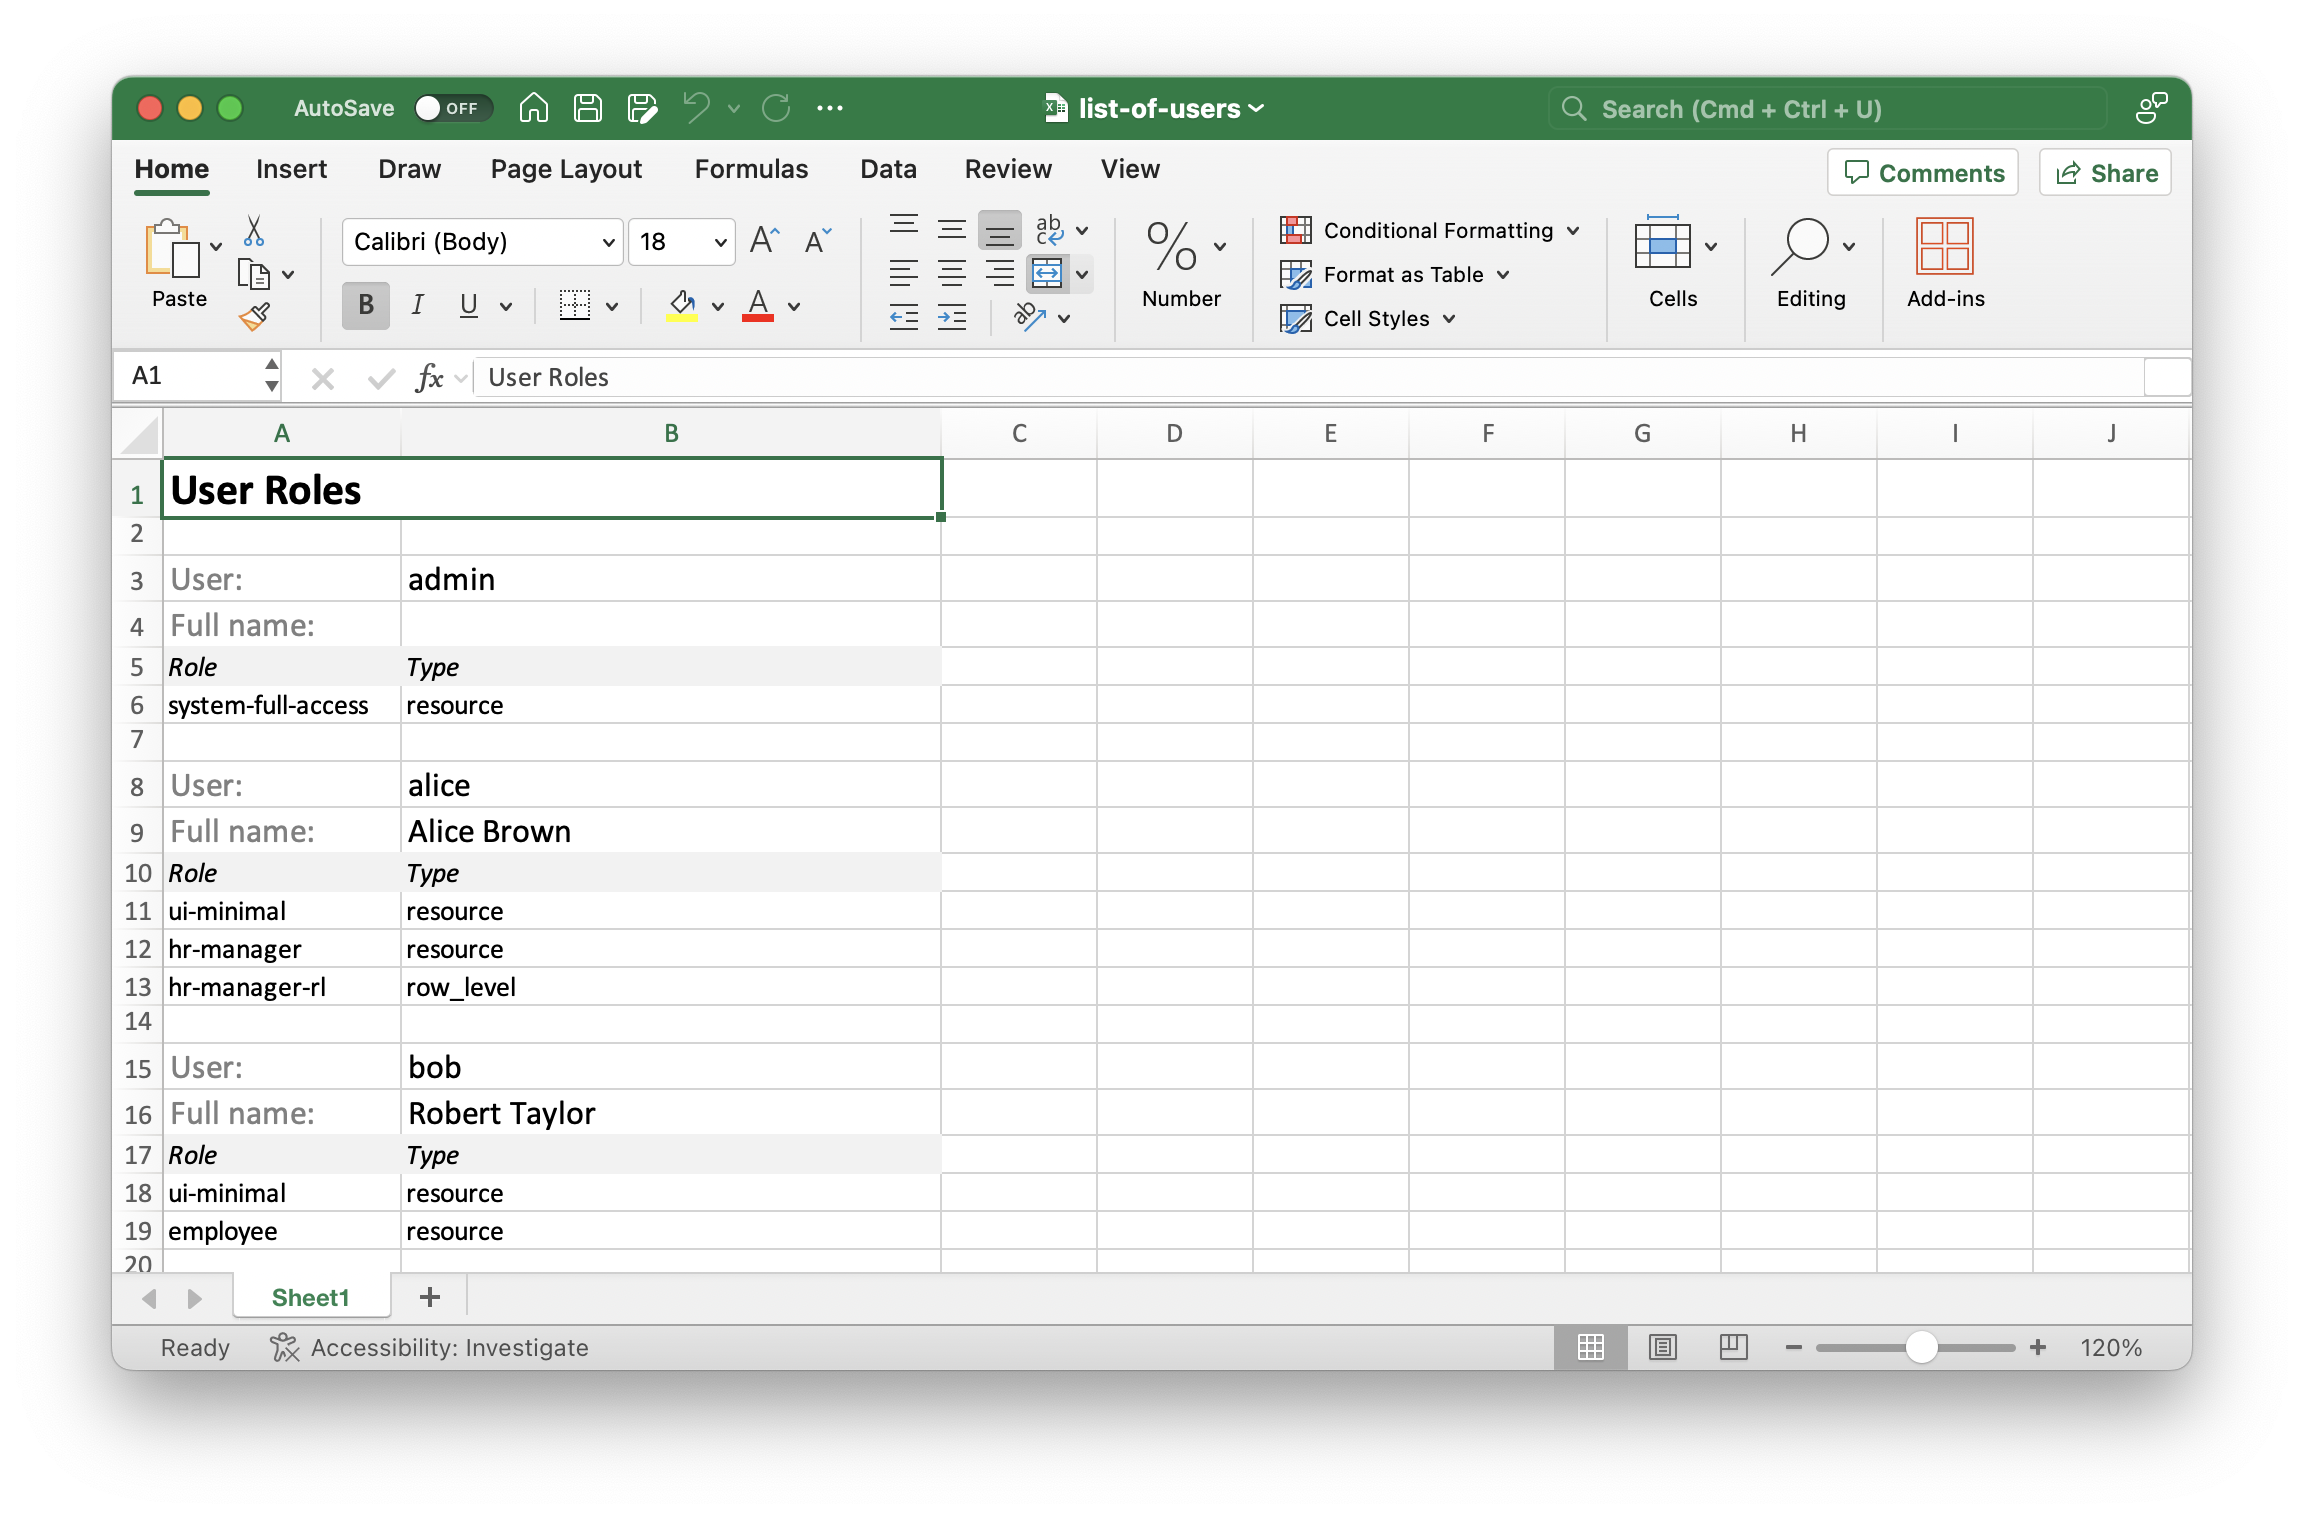
You can adjust the visual representation of the report by modifying the template on the Templates tab. Below we will show the output generated from the default template created by the wizard automatically.
-
Click Run and select a user in the Input parameters dialog window.
The report will be generated and downloaded by your browser as the
User Profile.docxfile.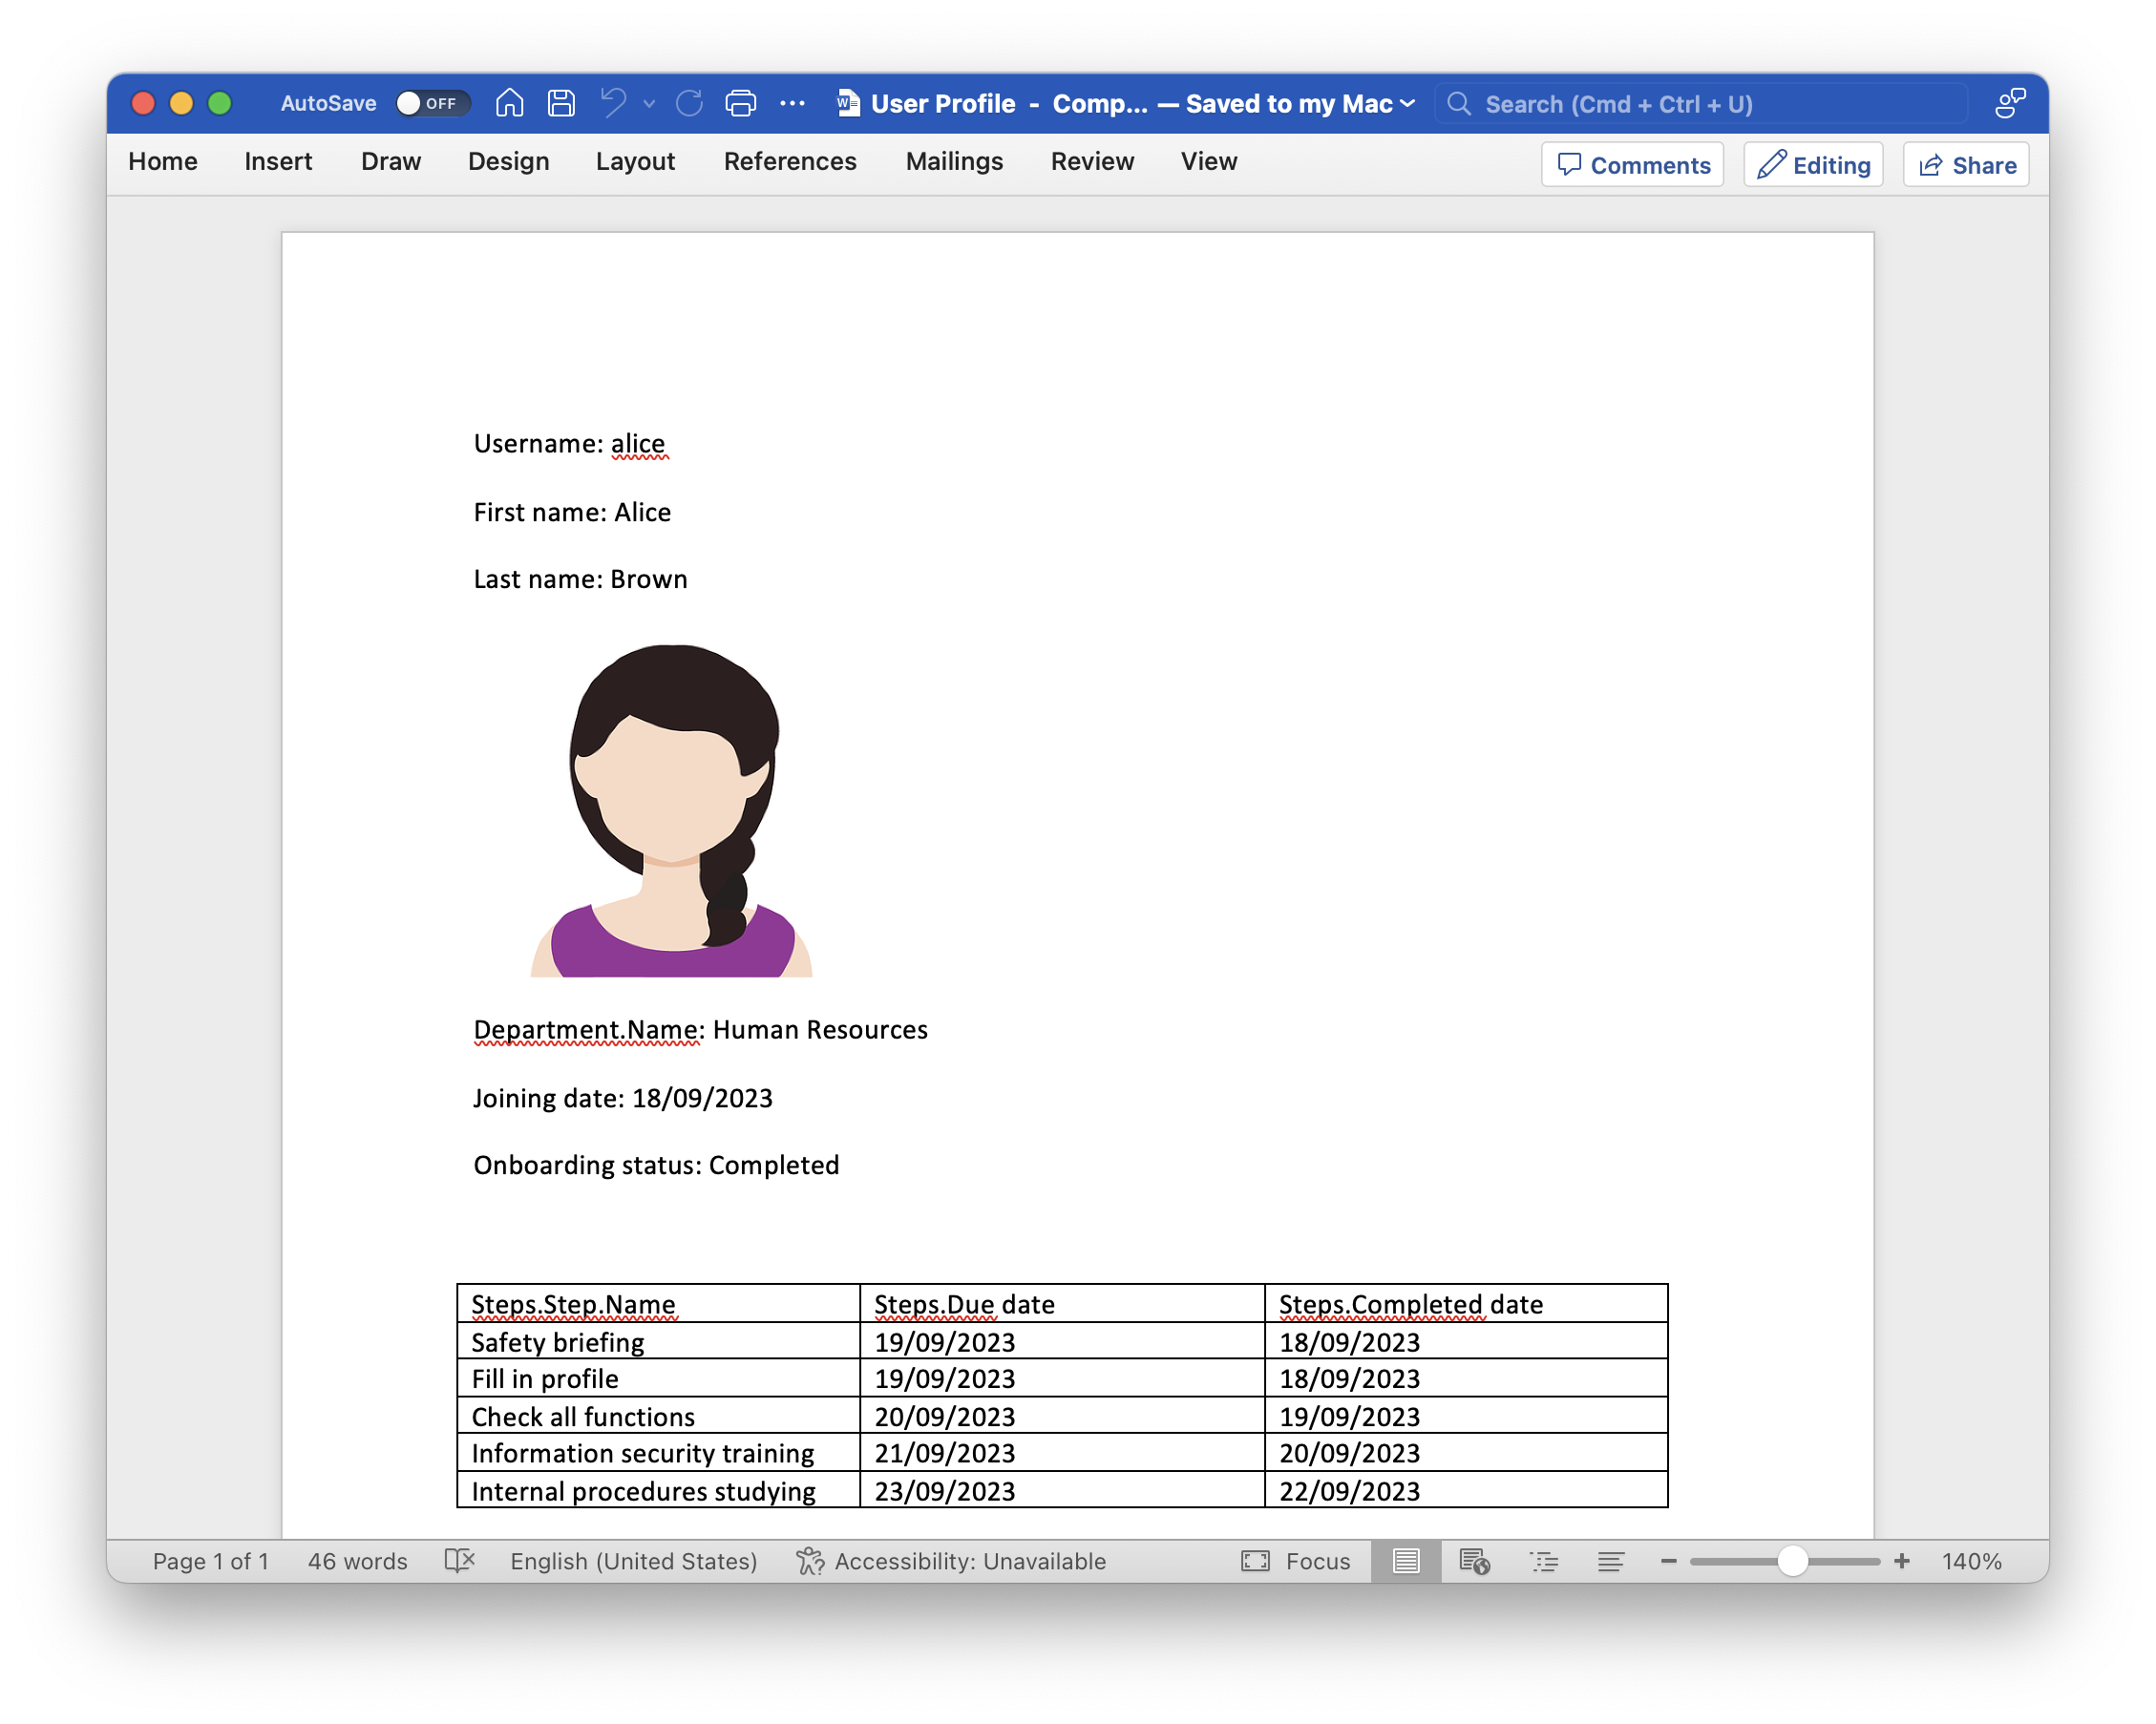
-
Now let’s configure the application to run the report from the Users view.
Switch to the Roles and views tab of the report detail view and add
User.listto the Views list: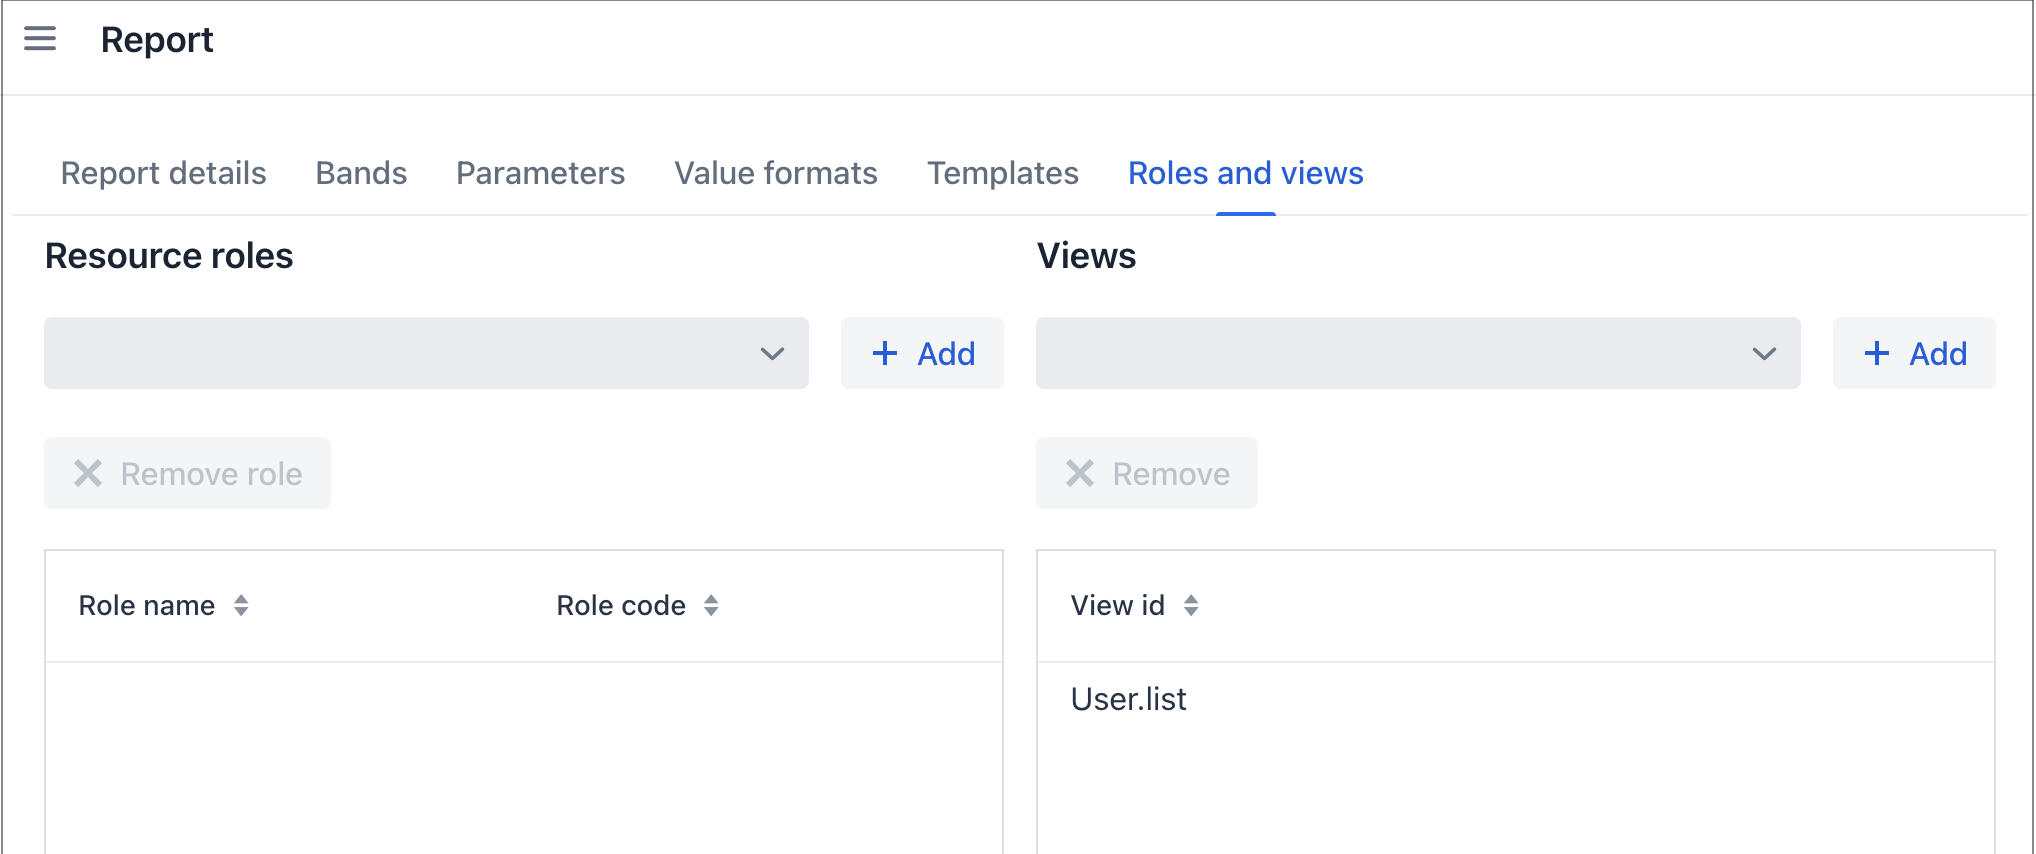
Click OK to save the report definition.
Open
user-list-view.xmlin your IDE and add an action of thereport_runListEntityReporttype and a corresponding button to the view layout:src/main/resources/com/company/onboarding/view/user/user-list-view.xml<hbox id="buttonsPanel" classNames="buttons-panel"> <!-- ... --> <button action="usersDataGrid.runListEntityReport"/> </hbox> <dataGrid id="usersDataGrid" width="100%" minHeight="20em" dataContainer="usersDc"> <actions> <!-- ... --> <action id="runListEntityReport" type="report_runListEntityReport"/>Make sure the view is hot-deployed or restart the application. Open the Users view, select a user in the data grid and click the Print reports button. The report for the selected user will be generated and downloaded.
Creating Report at Design-Time
In this section, you will create the List of Users report in Studio. The report definition and template will be stored in the application sources.
| The wizard in Studio currently cannot configure the structure and fields of the created report the same as the runtime wizard does. It just creates a working example that displays application users and roles, no matter how you call the report. |
-
In the Jmix tool window, click New (+) → Report Definition. In the first step of the New Report Definition wizard, enter
ListOfUsersto the Class Name field: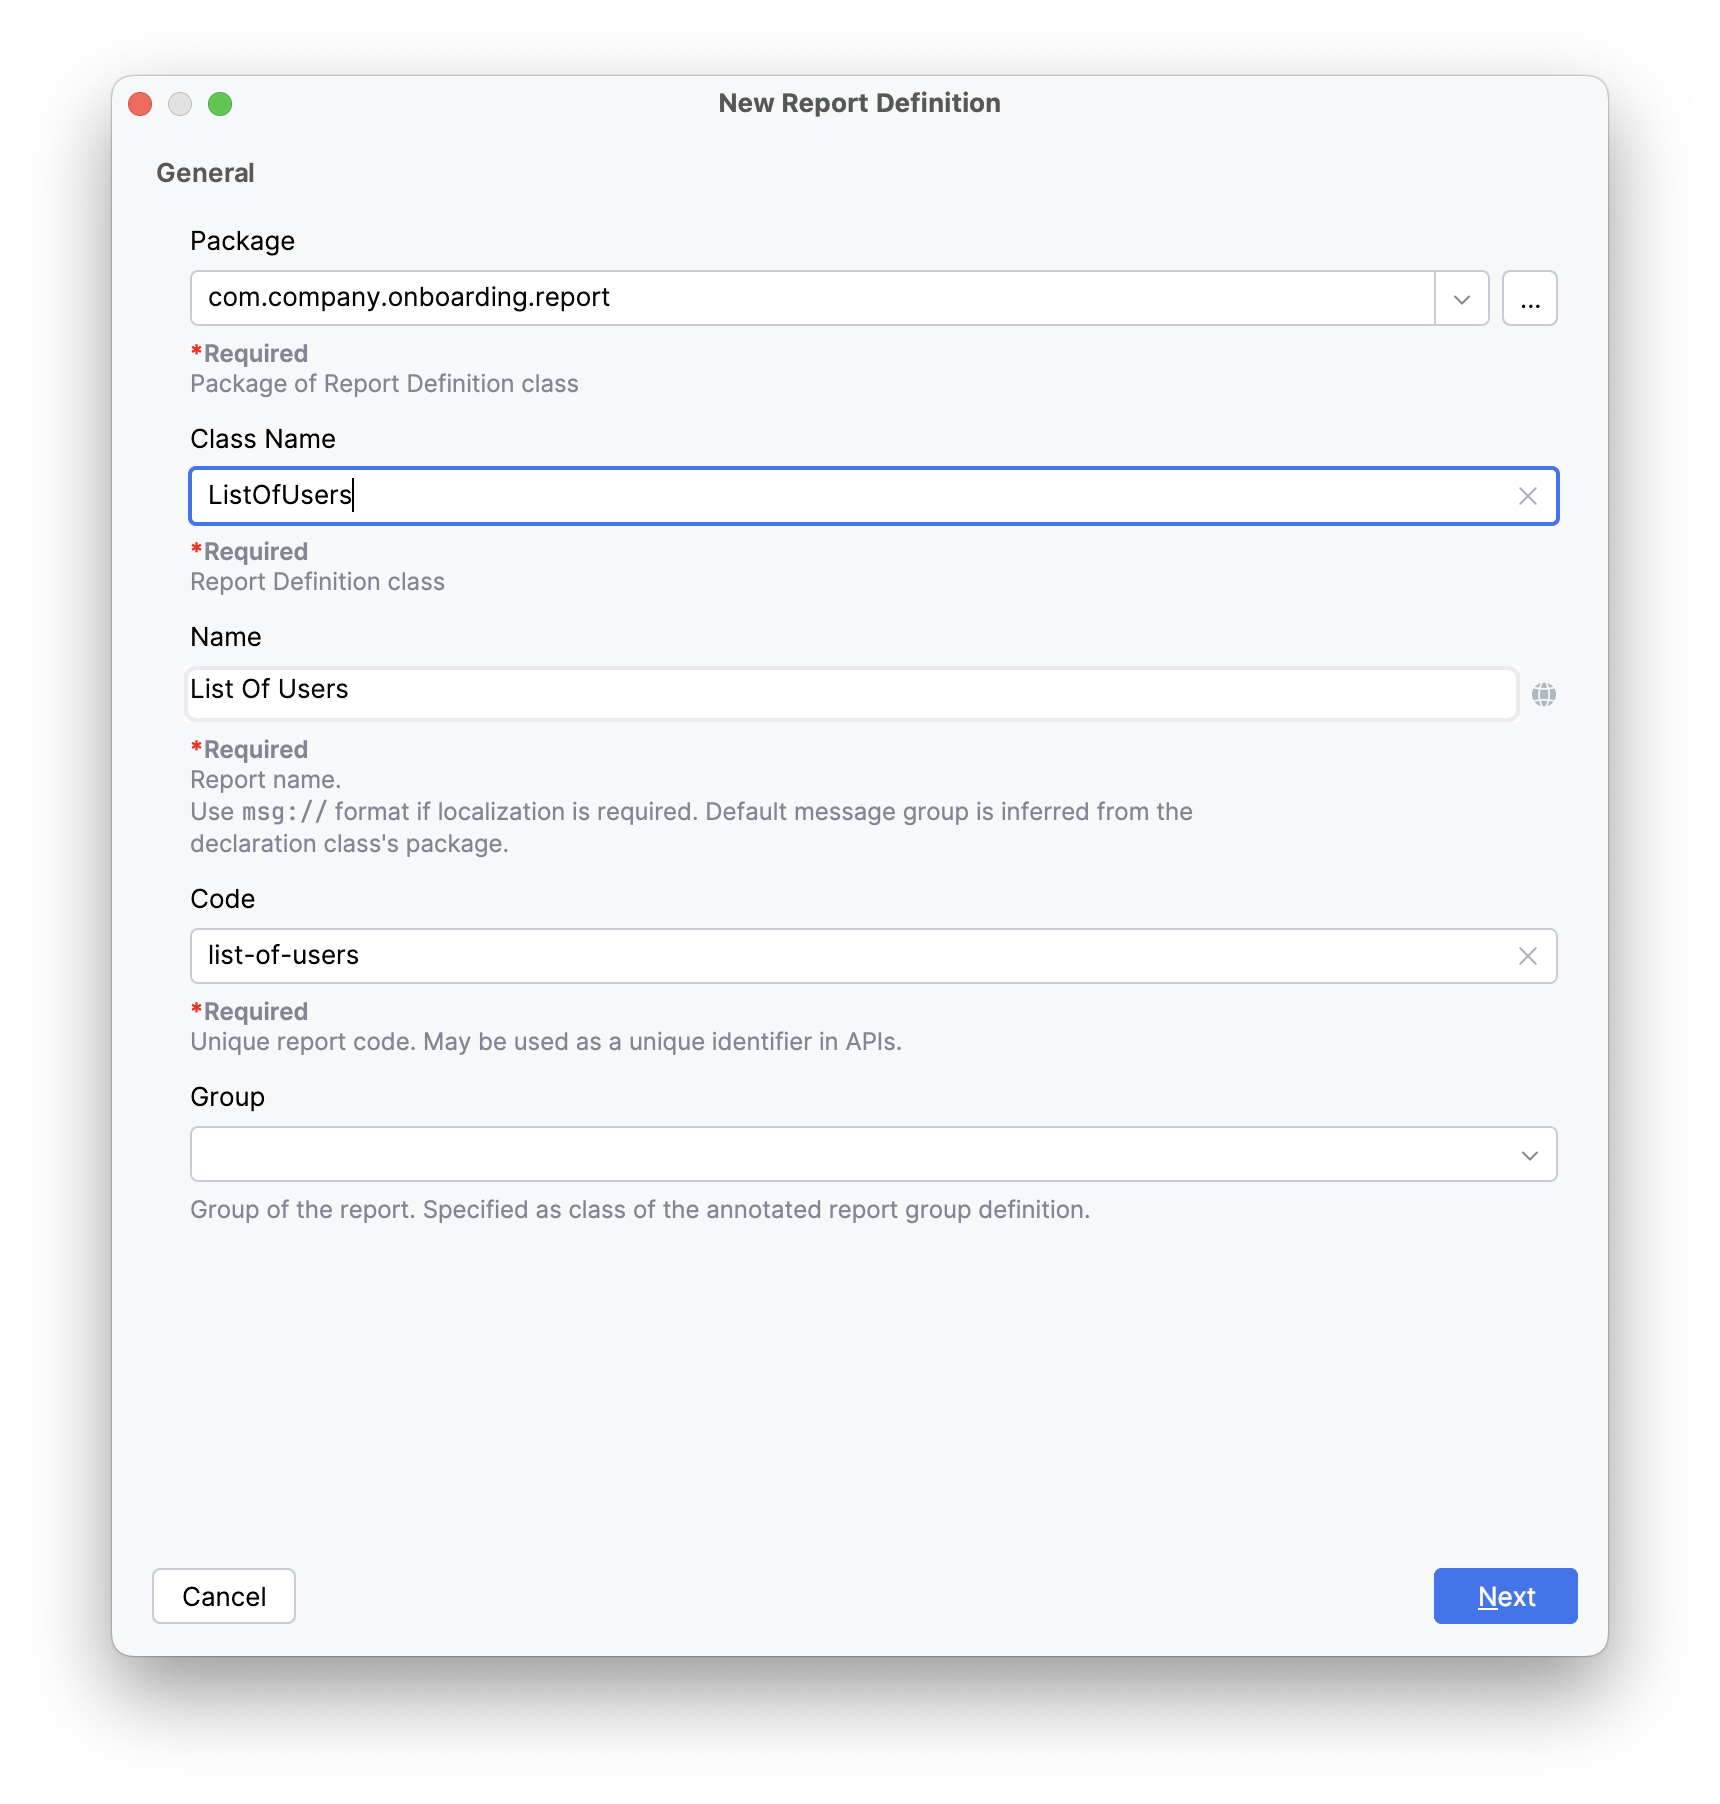
-
In the Additional Parameters step, leave all fields empty and make sure the Generate code and template for printing the list of users and their roles checkbox is selected:

-
In the Availability step of the wizard, add
UserListViewto the Available in Views list: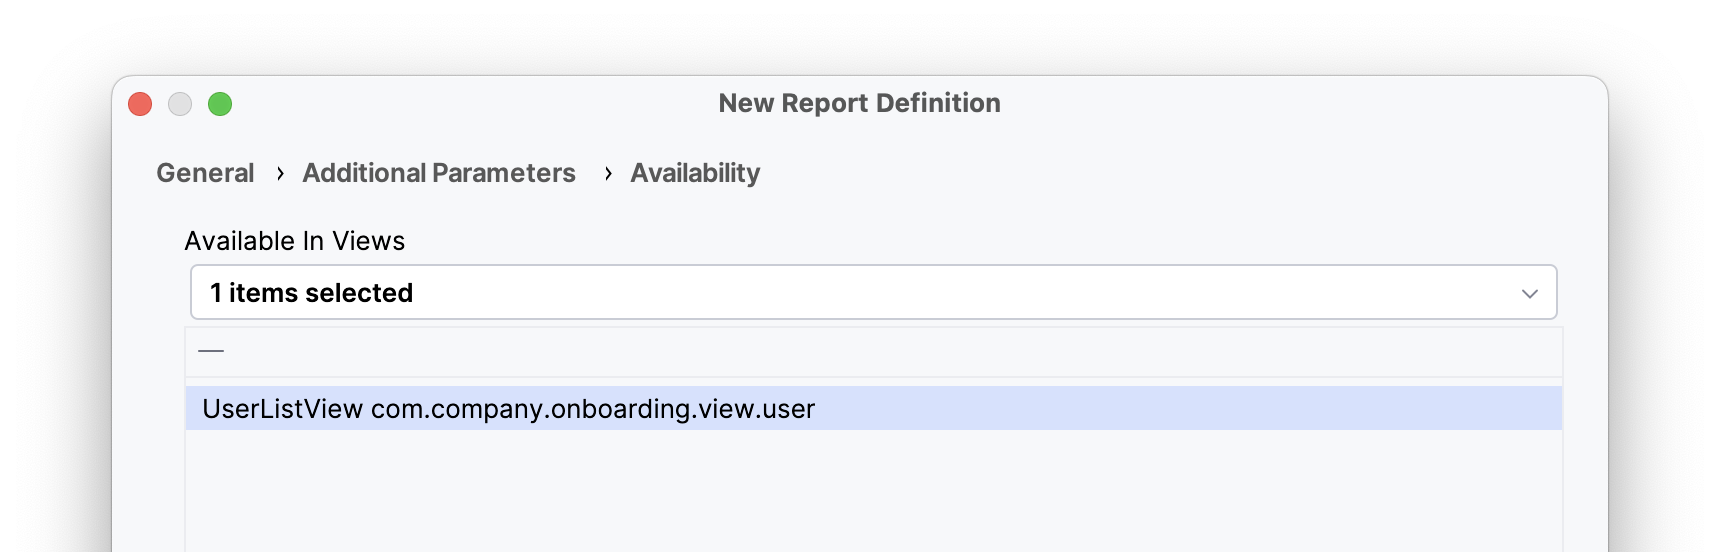
-
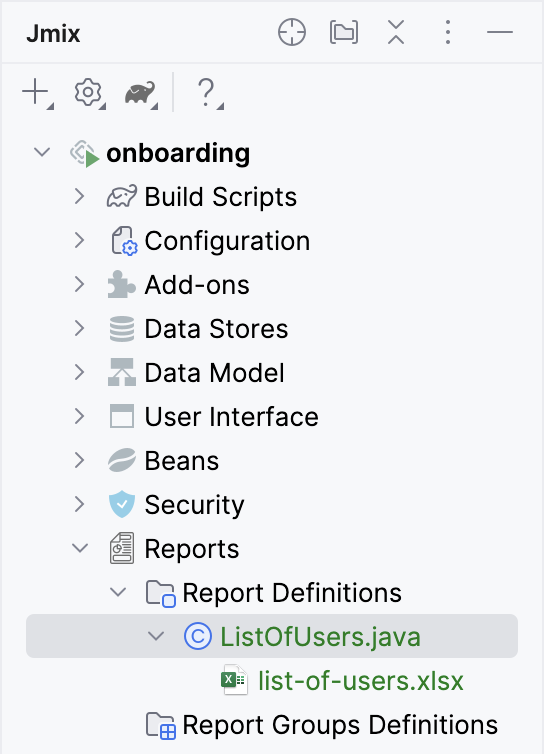
After finishing the wizard, the created report class and template are available in the Report Definitions section of the Jmix tool window:
The report class defines the report structure using annotations and includes a method for loading the list of users. The nested
Rolesband selects user roles using SQL.src/main/java/com/company/onboarding/report/ListOfUsers.javapackage com.company.onboarding.report; import com.company.onboarding.entity.User; import com.company.onboarding.view.user.UserListView; import io.jmix.core.DataManager; import io.jmix.core.Sort; import io.jmix.core.querycondition.PropertyCondition; import io.jmix.reports.annotation.*; import io.jmix.reports.entity.DataSetType; import io.jmix.reports.entity.ParameterType; import io.jmix.reports.entity.ReportOutputType; import io.jmix.reports.yarg.loaders.ReportDataLoader; import java.util.HashMap; import java.util.List; import java.util.Map; @ReportDef( code = "list-of-users", name = "List Of Users" ) @AvailableInViews(viewClasses = UserListView.class) @TemplateDef( isDefault = true, code = "DEFAULT", filePath = "com/company/onboarding/report/list-of-users.xlsx", outputType = ReportOutputType.XLSX, outputNamePattern = "list-of-users.xlsx" ) // >>> begin example code @InputParameterDef( alias = "username", name = "Username contains (leave empty to select all)", type = ParameterType.TEXT ) @BandDef( name = "Root", root = true ) @BandDef( name = "Header", parent = "Root" ) @BandDef( name = "Users", parent = "Root", dataSets = @DataSetDef( name = "users", type = DataSetType.DELEGATE ) ) @BandDef( name = "Roles", parent = "Users", dataSets = @DataSetDef( name = "roles", type = DataSetType.SQL, query = """ select ra.role_code as "role", ra.role_type as "type" from sec_role_assignment ra where ra.username = ${Users.username}""" ) ) // <<< end example code public class ListOfUsers { private final DataManager dataManager; public ListOfUsers(DataManager dataManager) { this.dataManager = dataManager; } // >>> begin example code @DataSetDelegate(name = "users") public ReportDataLoader usersDataLoader() { return (reportQuery, parentBand, params) -> { List<User> users = dataManager.load(User.class) .condition(PropertyCondition.contains("username", params.get("username")).skipNullOrEmpty()) .sort(Sort.by("username")) .list(); return users.stream() .map(user -> { Map<String, Object> map = new HashMap<>(); map.put("username", user.getUsername()); map.put("firstName", user.getFirstName()); map.put("lastName", user.getLastName()); return map; }) .toList(); }; } // <<< end example code } -
Now you can run the report from the Reports and Run report views.
-
To run the report from the Users view, open
user-list-view.xmland add an action of thereport_runReporttype and a corresponding button to the view layout:src/main/resources/com/company/onboarding/view/user/user-list-view.xml<hbox id="buttonsPanel" classNames="buttons-panel"> <!-- ... --> <button action="usersDataGrid.runReport"/> </hbox> <dataGrid id="usersDataGrid" width="100%" minHeight="20em" dataContainer="usersDc"> <actions> <!-- ... --> <action id="runReport" type="report_runReport"/>Make sure the view is hot-deployed or restart the application. Open the Users view and click the Run report button. You will see the Run report dialog with the list of reports available in the Users view.
