Getting Started with Maps
This guide shows how to start using maps in your application.
Let’s consider that we have Order entity and want to:
-
Add a new order and point its location on the map.
-
Watch all orders on the map.
-
Know the product of creating order by pointing the cursor on the order.
Creating Entity and Screens
-
Create
Orderentity containing the following fields:-
datewithDatetype. -
productwithStringtype. -
amountwithIntegertype.
-
-
Create
OrderBrowseandOrderEditscreens.
Adding Maps on Screens
To display a map on the screen, you need to add geoMap UI component in the XML descriptor.
First, declare the maps namespace in the root element of the order-edit.xml descriptor by adding xmlns:maps="http://jmix.io/schema/maps/ui" schema:
<window xmlns="http://jmix.io/schema/ui/window"
        xmlns:maps="http://jmix.io/schema/maps/ui"
        caption="msg://orderEdit.caption"
        focusComponent="form">
Next, declare the geoMap component:
<maps:geoMap id="map"
             height="400px"
             width="800px"
             centerX="-99.755859"
             centerY="39.164141"
             zoom="4">
</maps:geoMap>-
heightandwidthspecify the size of the map window. Can be set in pixels or per sents. -
centerXdefines longitude of the initial geographical center of the map. -
centerYdefines latitude of the initial geographical center of the map. -
zoomdefines the initial zoom level. The default value is 15.
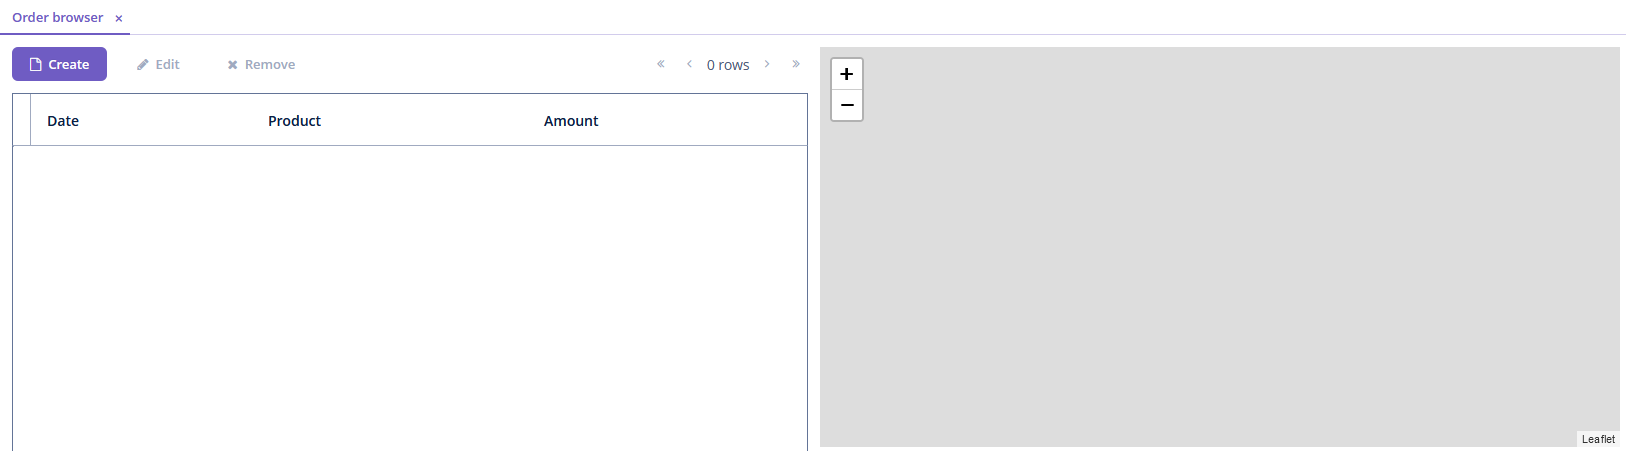
Do the same in the order-browse.xml file.
Use hbox and vbox elements to set the map position on the screen. Here is an example of Order browser screen:
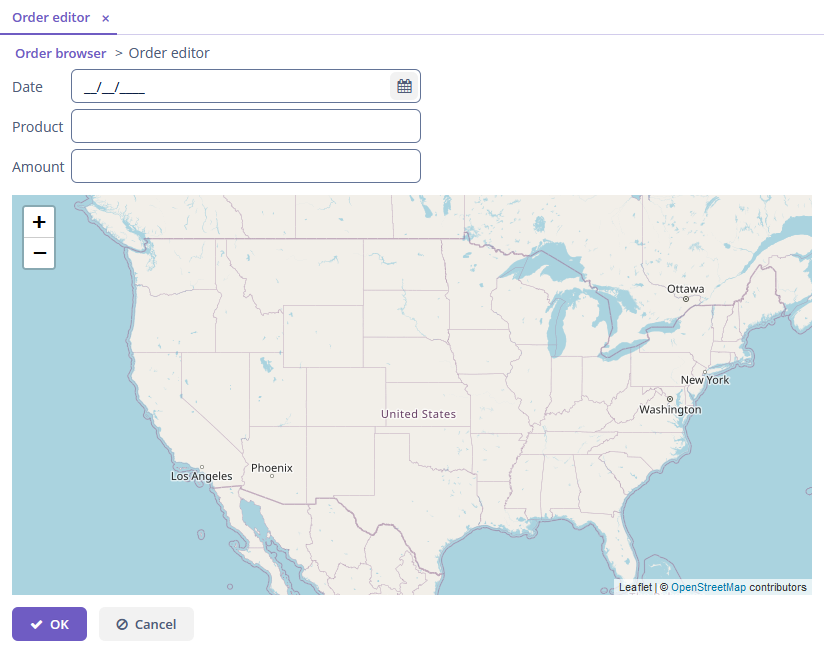
Adding Raster Layer
We will use a raster layer as a base background layer of a map. Let’s use OpenStreetMap tile provider which comes out of the box, so you can use it like this:
<maps:geoMap id="map" height="400px" width="600px" centerX="-99.755859" centerY="39.164141" zoom="4">
<maps:layers>
<maps:tile id="tiles" tileProvider="map_OpenStreetMap"/>
</maps:layers>
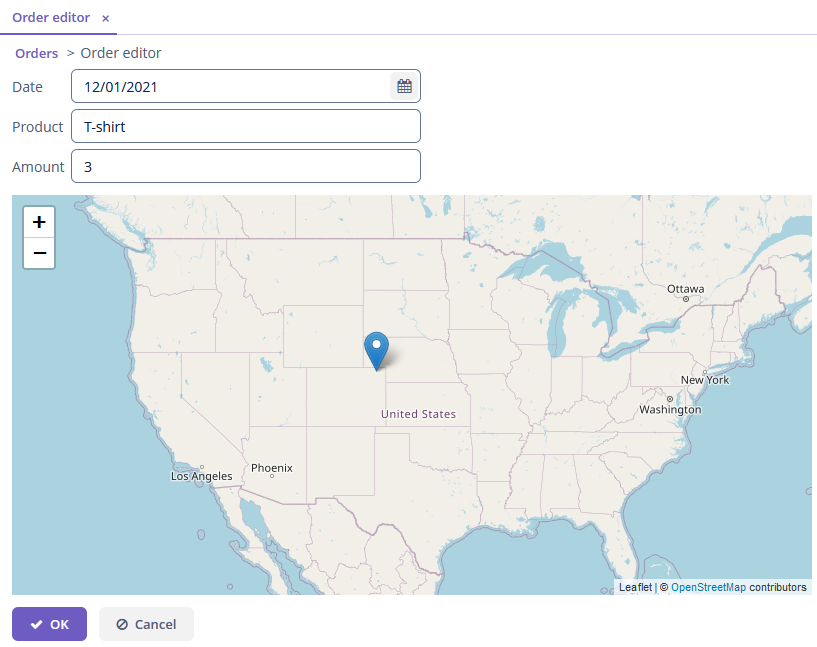
</maps:geoMap>Add the code above in the edit and browse screens. Here is how the Order Edit screen looks:
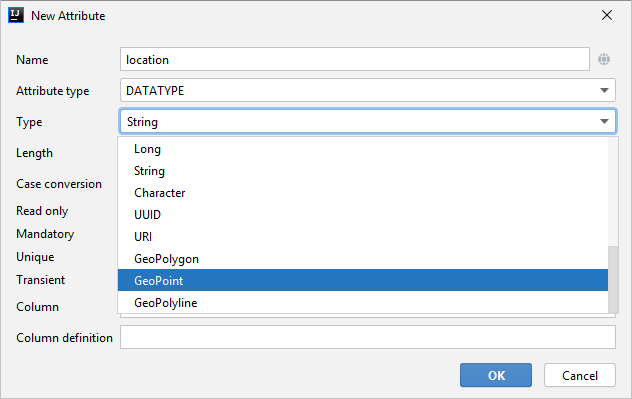
Creating Geo-Object
To make a geo-object from the entity, add an attribute to it with one of geo-specific datatypes. We want to place orders on the map, so let’s add the attribute of GeoPoint datatype.
Open entity designer and create a new attribute location. Select GeoPoint datatype from the list.
When you added the attribute, open the code of the entity, and add the @Geometry annotation.
@JmixEntity
public class Order {
    //...
    @Geometry
    @PropertyDatatype("geoPoint")
    @Column(name = "LOCATION")
    @JmixProperty
    private Point location;
    //...
}
Adding Vector Layers
To display geo-objects on the map, you need to add a vector layer.
Lets’s start with Order Browser screen, declare a vector layer in the XML descriptor and pass a dataContainer to the layer:
<maps:geoMap id="map" height="400px" width="600px" centerX="-99.755859" centerY="39.164141" zoom="4">
    <maps:layers>
        <maps:tile id="tiles" tileProvider="map_OpenStreetMap"/>
        <maps:vector id="orderLayer" dataContainer="ordersDc"/>
    </maps:layers>
</maps:geoMap>
Then, add the following code under the layers tag into Order Edit XML descriptor.
<maps:layers selectedLayer="orderLayer"> (1)
    <maps:tile id="tileLayer" tileProvider="map_OpenStreetMap"/>
    <maps:vector id="orderLayer"
                 dataContainer="orderDc"
                 editable="true"/> (2)
</maps:layers>| 1 | The layer should be selected on the map so that it can fires events, reacts on user clicks and can be modified by UI interaction. |
| 2 | The layer is editable, so you can modify the geometry of geo-objects. |
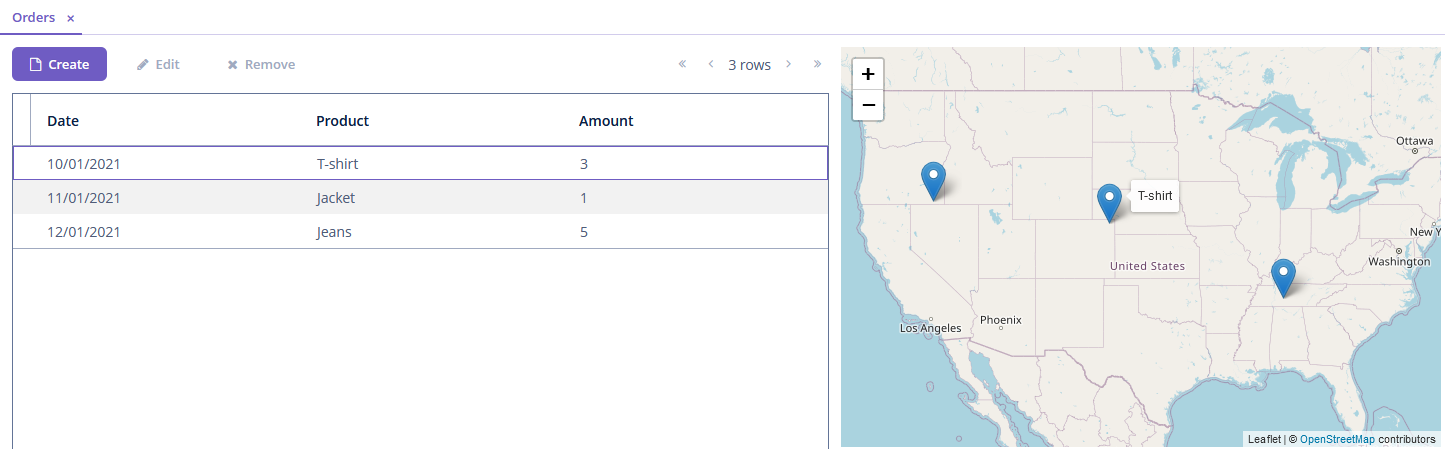
Adding Tooltip
To display a product next to orders on the map on mouseover, we will use the tooltipContentProvider.
Let’s perform it declaratively using the @Install annotation in the screen controller:
@Install(to = "map.orderLayer", subject = "tooltipContentProvider")
private String mapOrderLayerTooltipContentProvider(Order order) {
    return order.getProduct();
}
Maps in the Application
Now, we are ready to run the application. Go to the Order browser screen and click Create. Let’s add a few orders. To point the location of the order, just click on the map.
Go back to the Order browser screen. To view the product of the order, move the cursor on the order.